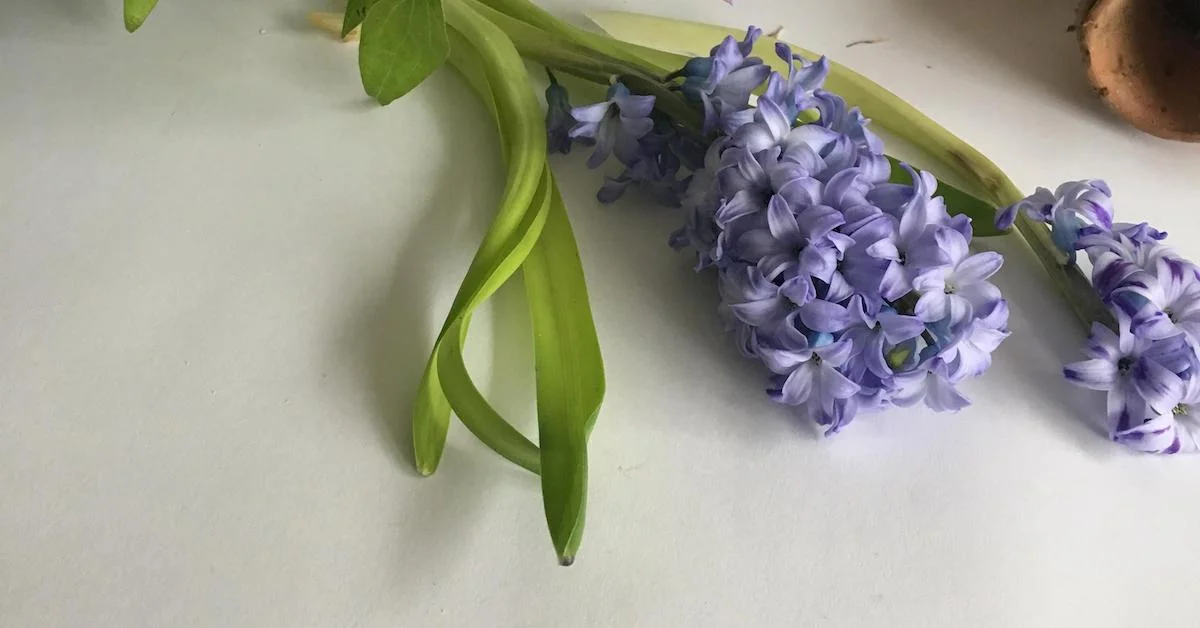
In this video Kelly shows how to make necklace of flowers with a needle and thread. Use this foundational floral design skill to create beyond the necklace — floral installations, flower chains for fashion, chair backs, and more are possible.
———————
Transcript:
- In this video, we're going to create a little hyacinth necklace that would be really fantastic to use as a little flower girls piece, or you could have chains that the girls are holding, backs of bride and groom chairs. There's so many different ways that you can use these sweet little chains. What I have is some silk bead cord, and a little needle that is used whenever you're creating jewelry. So, this is by the company, Beadalon. And I just picked it up at a local craft store. Now, whenever we're using needles and going through flowers, particularly with these fragile hyacinth, it's important that we have something that has a little bit of give to it, and so, that's why I really love using these needles and this nice silk, so that nothing's going to be torn or stretched. It's all a very smooth experience. So, to get started, I'm going to take the hyacinth, and I'm going to snip it off, leaving this little piece, that if you were wiring the hyacinth, you would want to leave that on. But for this application, we're going to snip it off. And each one of these little petals is a bead in our necklace. Now that all our little beads are ready to go, we're going to go ahead and start threading. So, I have the most of this blue color, so I'm going to go two blues, and then a purple, and a dark purple, and two blues, but you can do whatever kinds of color combinations you want, of course. Just going to get a general idea of like, how long I'd like it to be. And then, I'm just going to leave the rest of my thread. So, that'll be my little stopping point. So, whenever you're threading them, you are just going straight through the center of the flower, and coming out as close to that little part that we snipped from as possible. And when you get down here, you just want them to layer on top of each other, just like that. So, here we go. Speed it up. Okay, here we go! We've got our necklace all strung together. And to finish it off, we are just going to snip, and tie the ends, end to end. I'm going to get it as close as I can, so it looks like one continuous piece. I'm just going to tie it in a simple knot. Now, if you weren't quite sure who is wearing this, or the exact size that it needed to be, you can just leave the ends, and tie them in place, or you could even put a little jewelry style kind of hook on it if you wanted to. And there you have it.


