5 Steps to Create a Living Succulent Bouquet
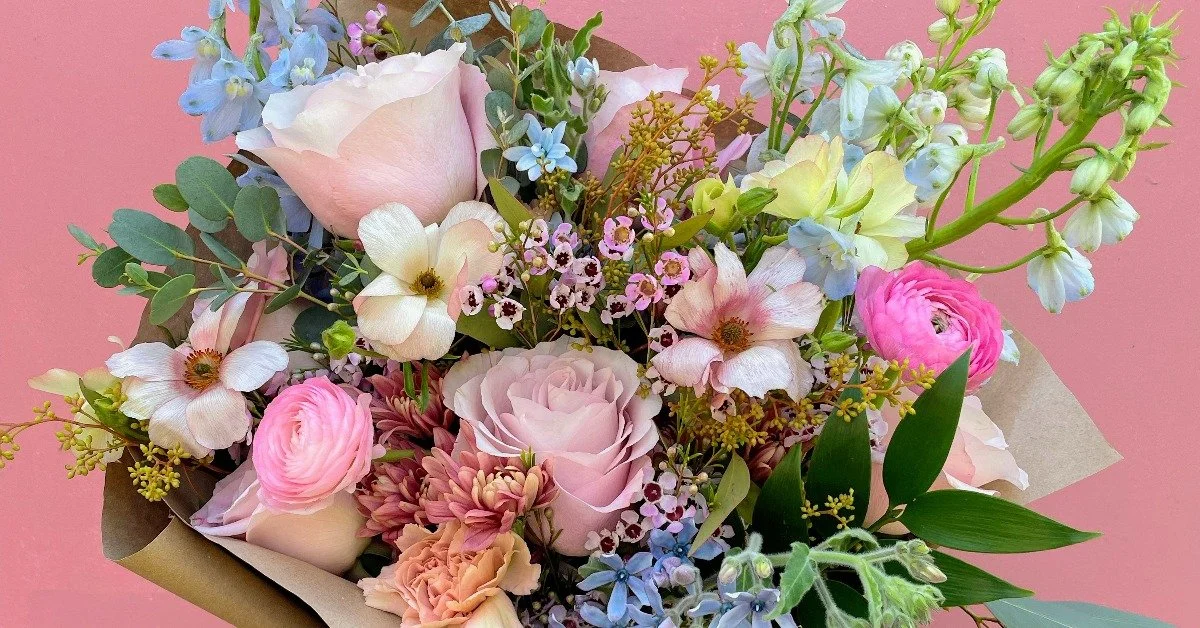
Wouldn't you agree that receiving a big, luscious, fragrant bouquet is one of the most exciting experiences, especially if you love flowers as much as I do? A bouquet with sweet peas is the best!
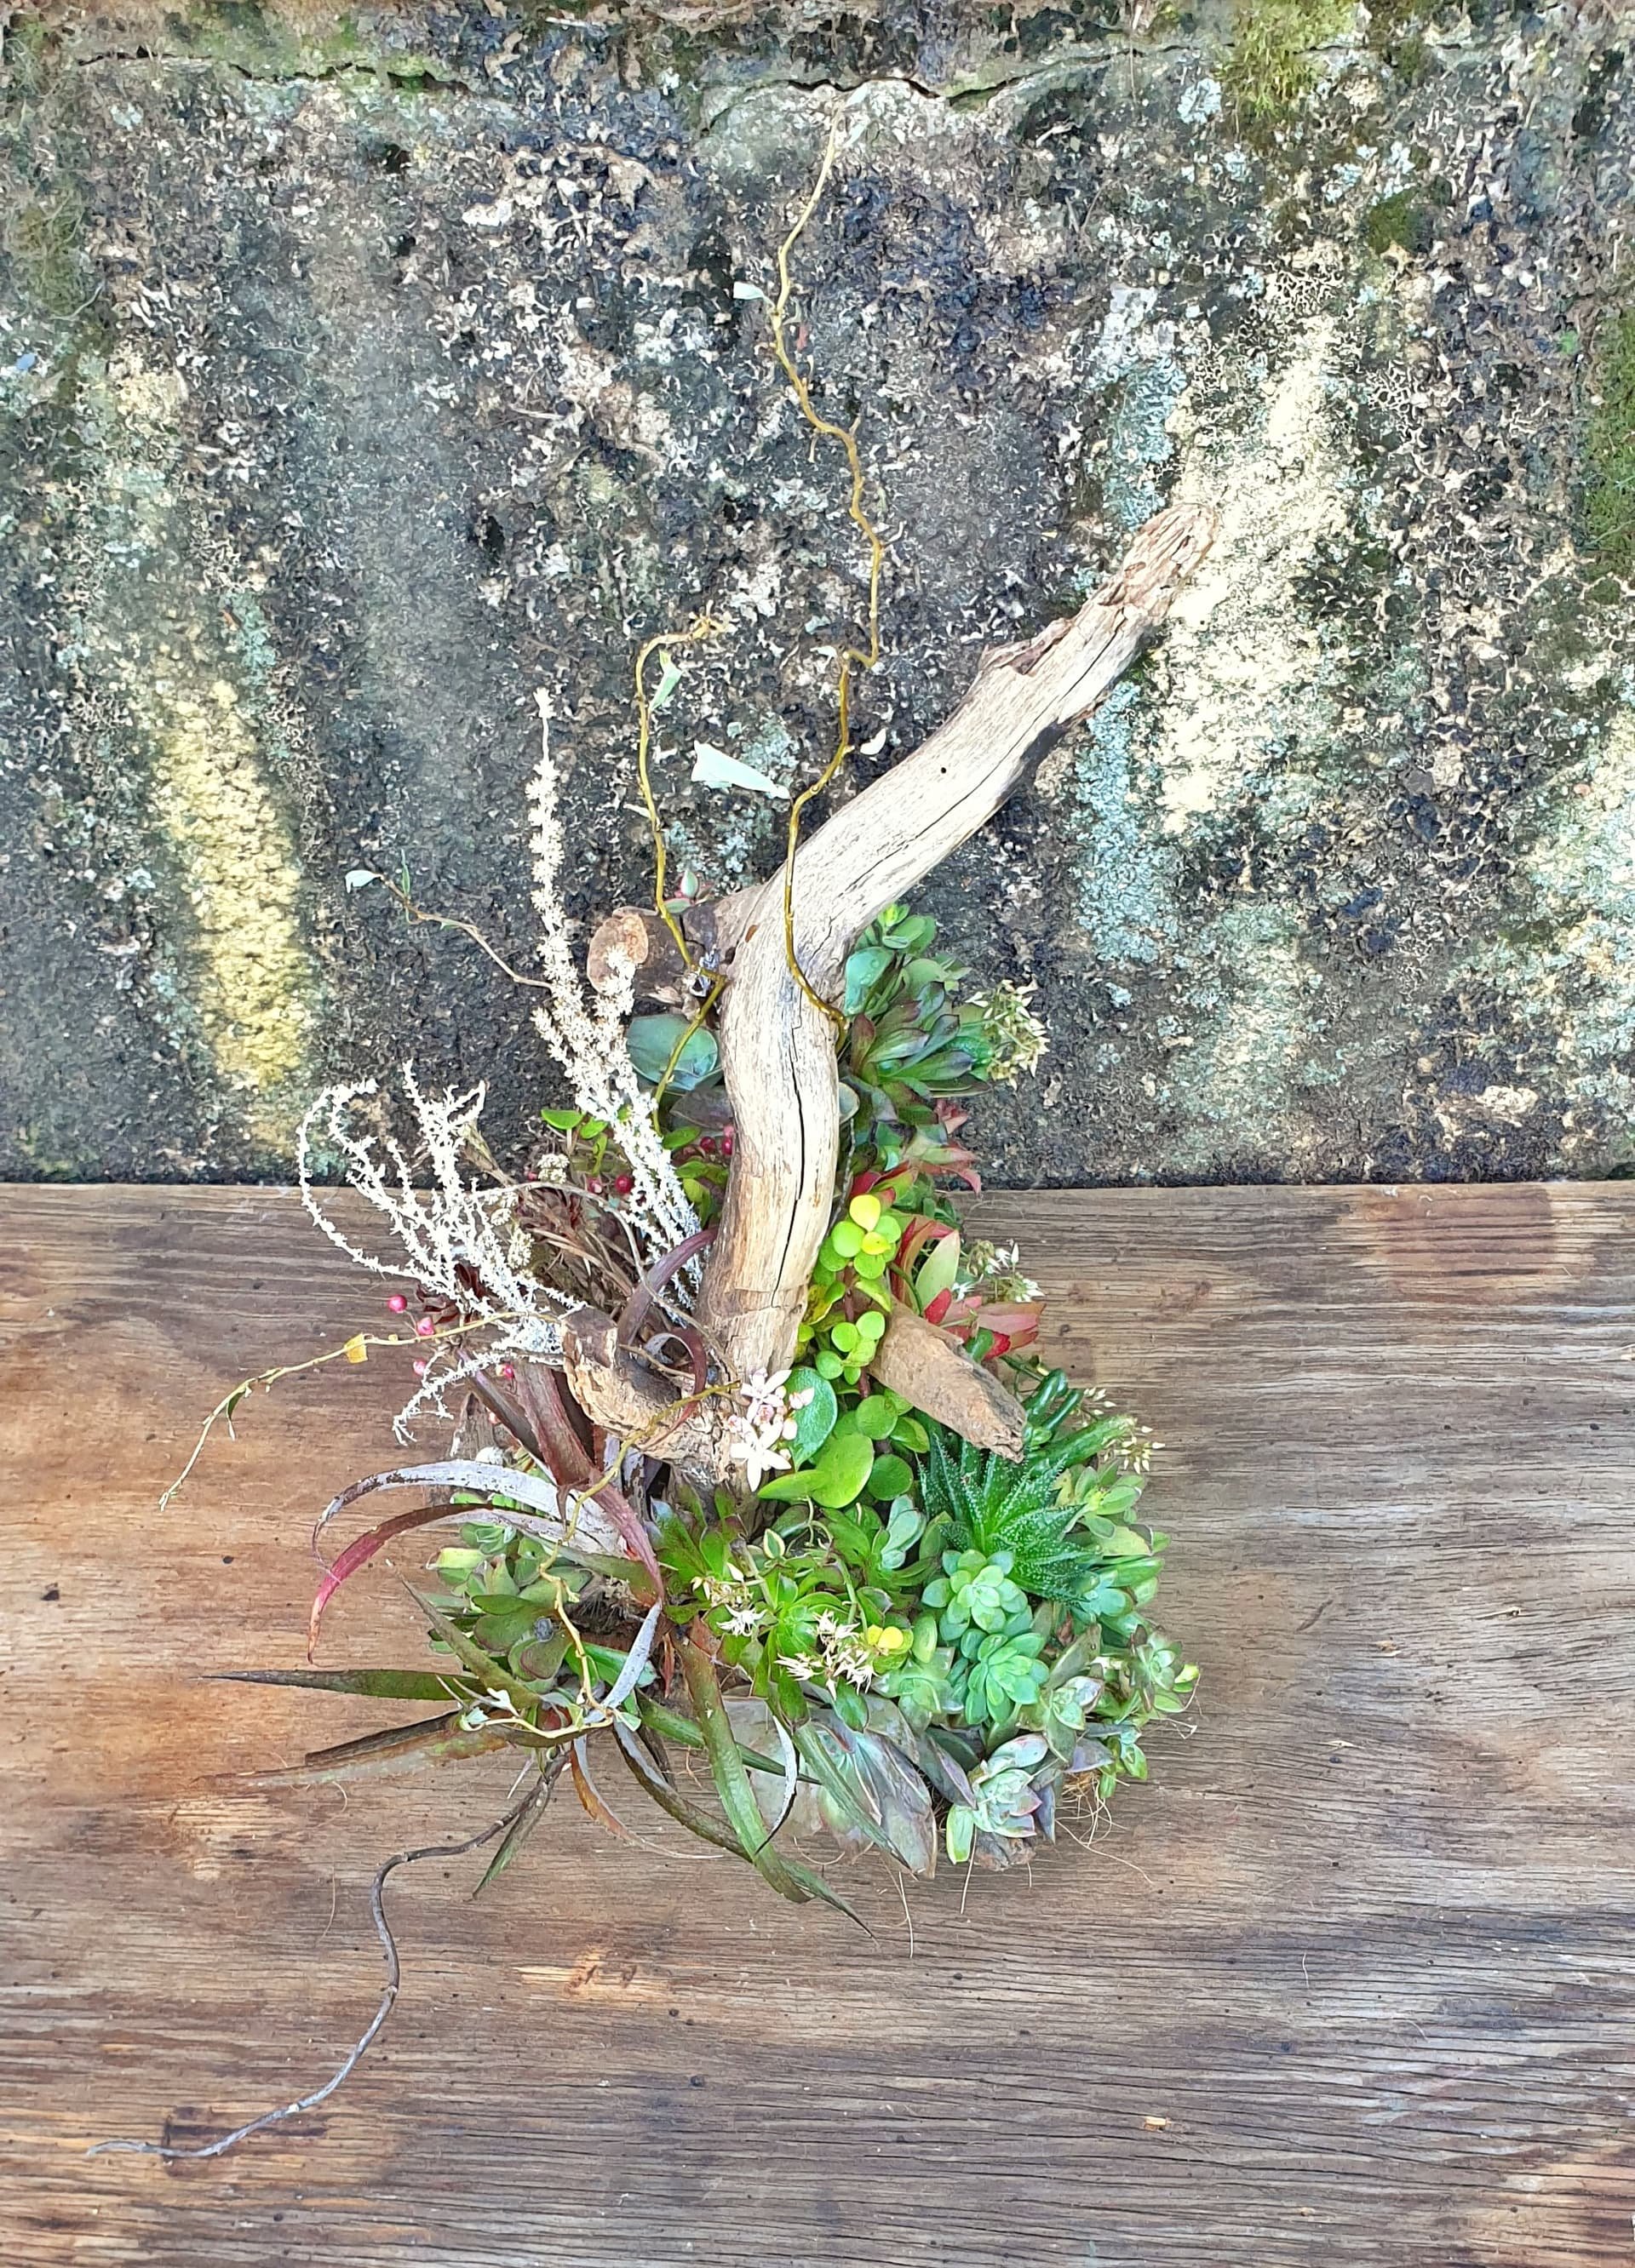
This piece was so extraordinarily charming that there was no need to add another piece of wood.
If I am being honest, it came as a surprise and a revelation when succulents and dried botanicals crossed my path, and I started to become infatuated with these 'juicy' plants. My journey started with making succulent balls, followed by succulent trees and walls. I also started to follow well-known floral creators who made living succulent bouquets with dried botanicals and air plants incorporated in a bouquet!
Creating a living and growing succulent bouquet is gratifying for the giving and the receiving party! These days, with sustainable living becoming more of a lifestyle necessity than a choice, a bouquet that will keep growing contributes to a greener planet in a minuscule way!
Let's get started!
We are going on an exciting journey, from selecting the wood to sourcing just the right succulents, dried botanicals, and air plants for the final exquisitely unique design!
Supplies and Ingredients
Wood
Chicken wire
Wire
Wire Cutter
String
Flower-glue
Coir or hessian
Sphagnum moss
Shears
Glue gun
Various Succulents, air plants, aloes, dried florals—willow branches, seedpods, etc
Step One
Start by finding the ideal piece of wood! This will determine how the final product will look!
Taking a stroll on the beach, veld, bush, or forest will be the best way to forage the wood. Nature gifts us with unusual, stunning, and unique pieces of wood that present us with endless ideas to design the bouquet.
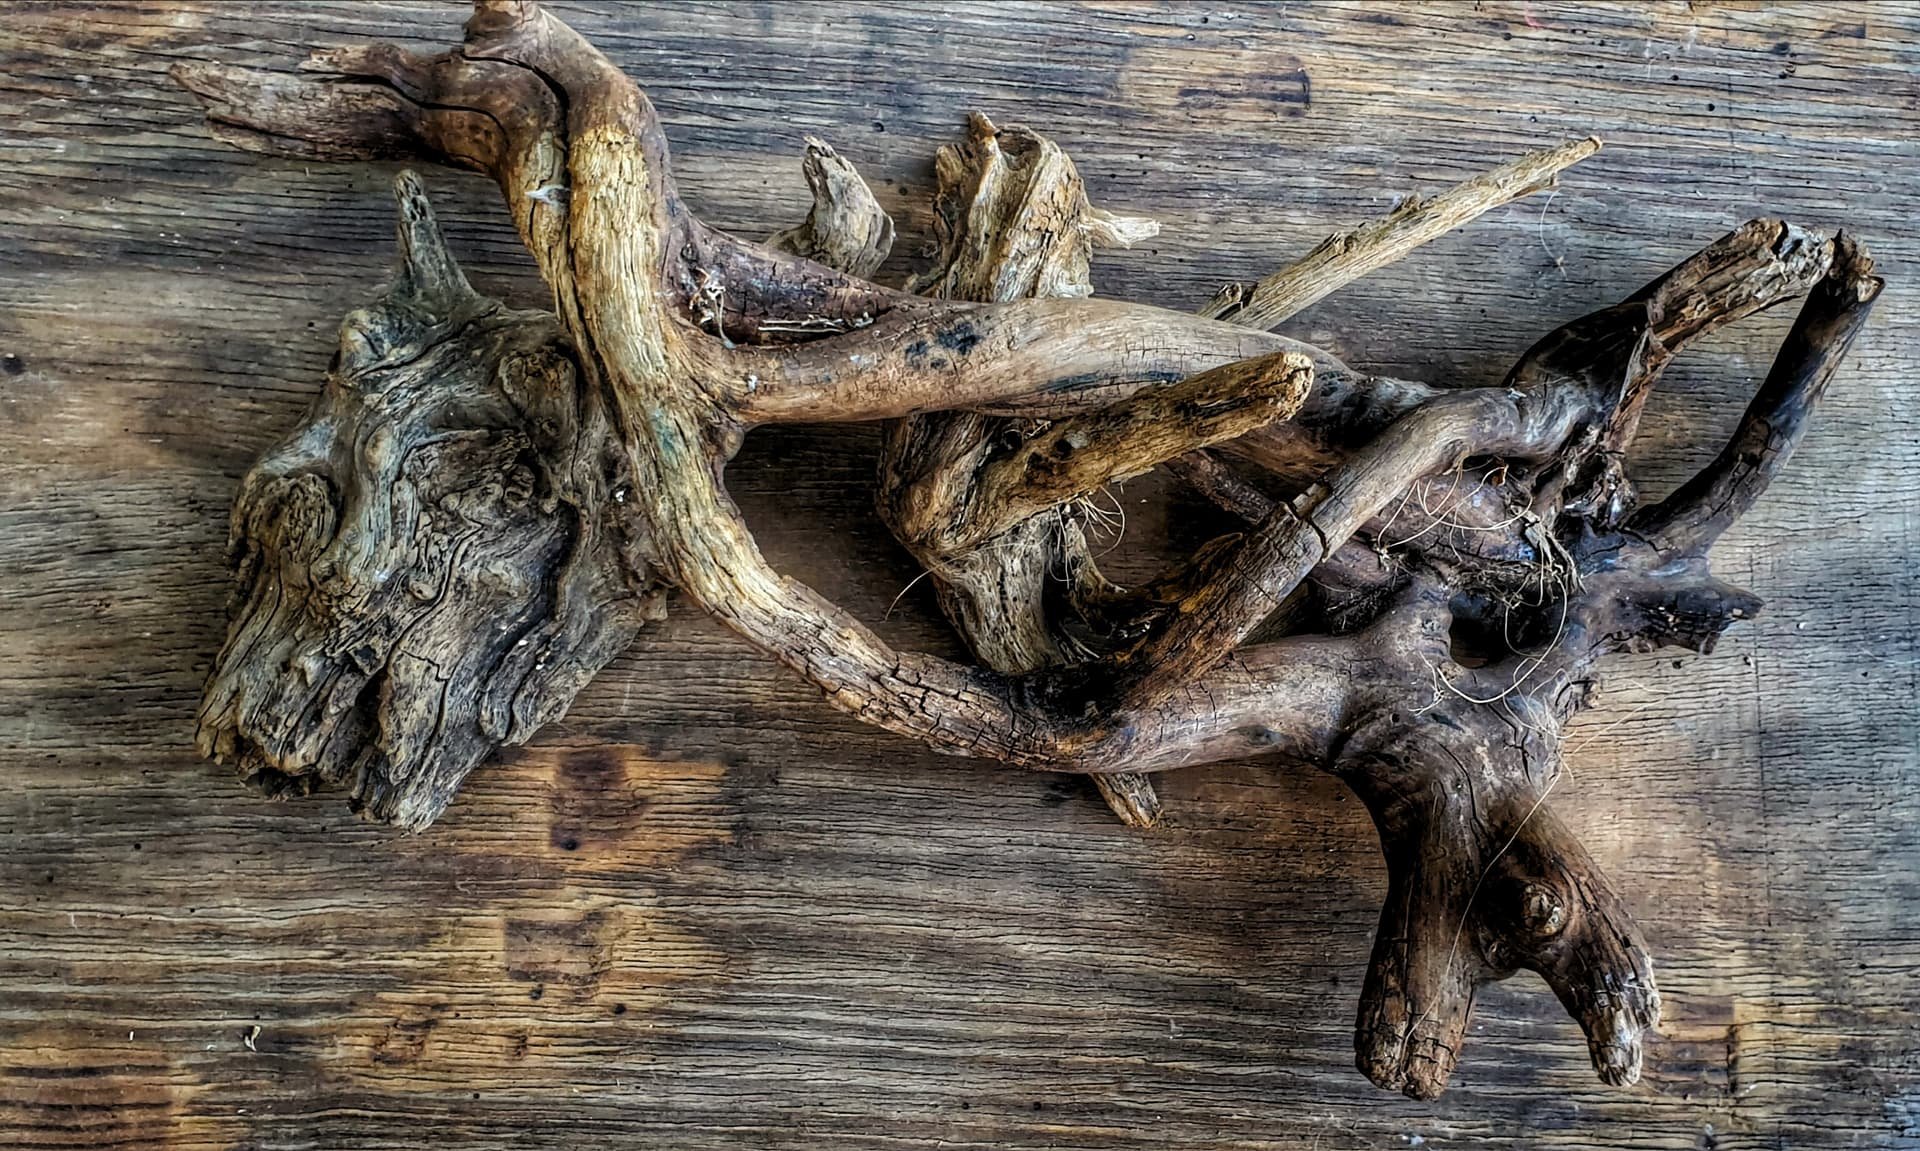
Isn’t it romantic that dead branches can be the foundation for such beauty?!
Treatment of the Wood
Before you begin the design, you will need to treat the wood. Especially the wood found in the veld! They are the home of critters and other guests hiding in the crevices and cracks. You do not want the person receiving the bouquet to be surprised by a creepy crawly! So dip the logs in very hot water and use a brush to get rid of all remaining 'dead' bodies, soil, and any other matter not wanted!
Step 2
In my opinion, the most important one. Getting the basis of the design ready, depending on your design creation process, whether it is going with the flow or drawing it out beforehand. Sometimes one piece of wood will make a fantastic design, but sometimes there is a need to add 2-3 or more pieces to create a stunning bouquet.
Keep in Mind: As this is the basis of your design, these pieces of wood must be securely put together.
You can use your glue to attach the pieces, but because there are so many elements incorporated in the base, using wire and string to join the wood will be better. If you are handy with a drill or lucky enough to have someone to assist, drilling holes in the wood and fastening it with wire will make this base very strong.
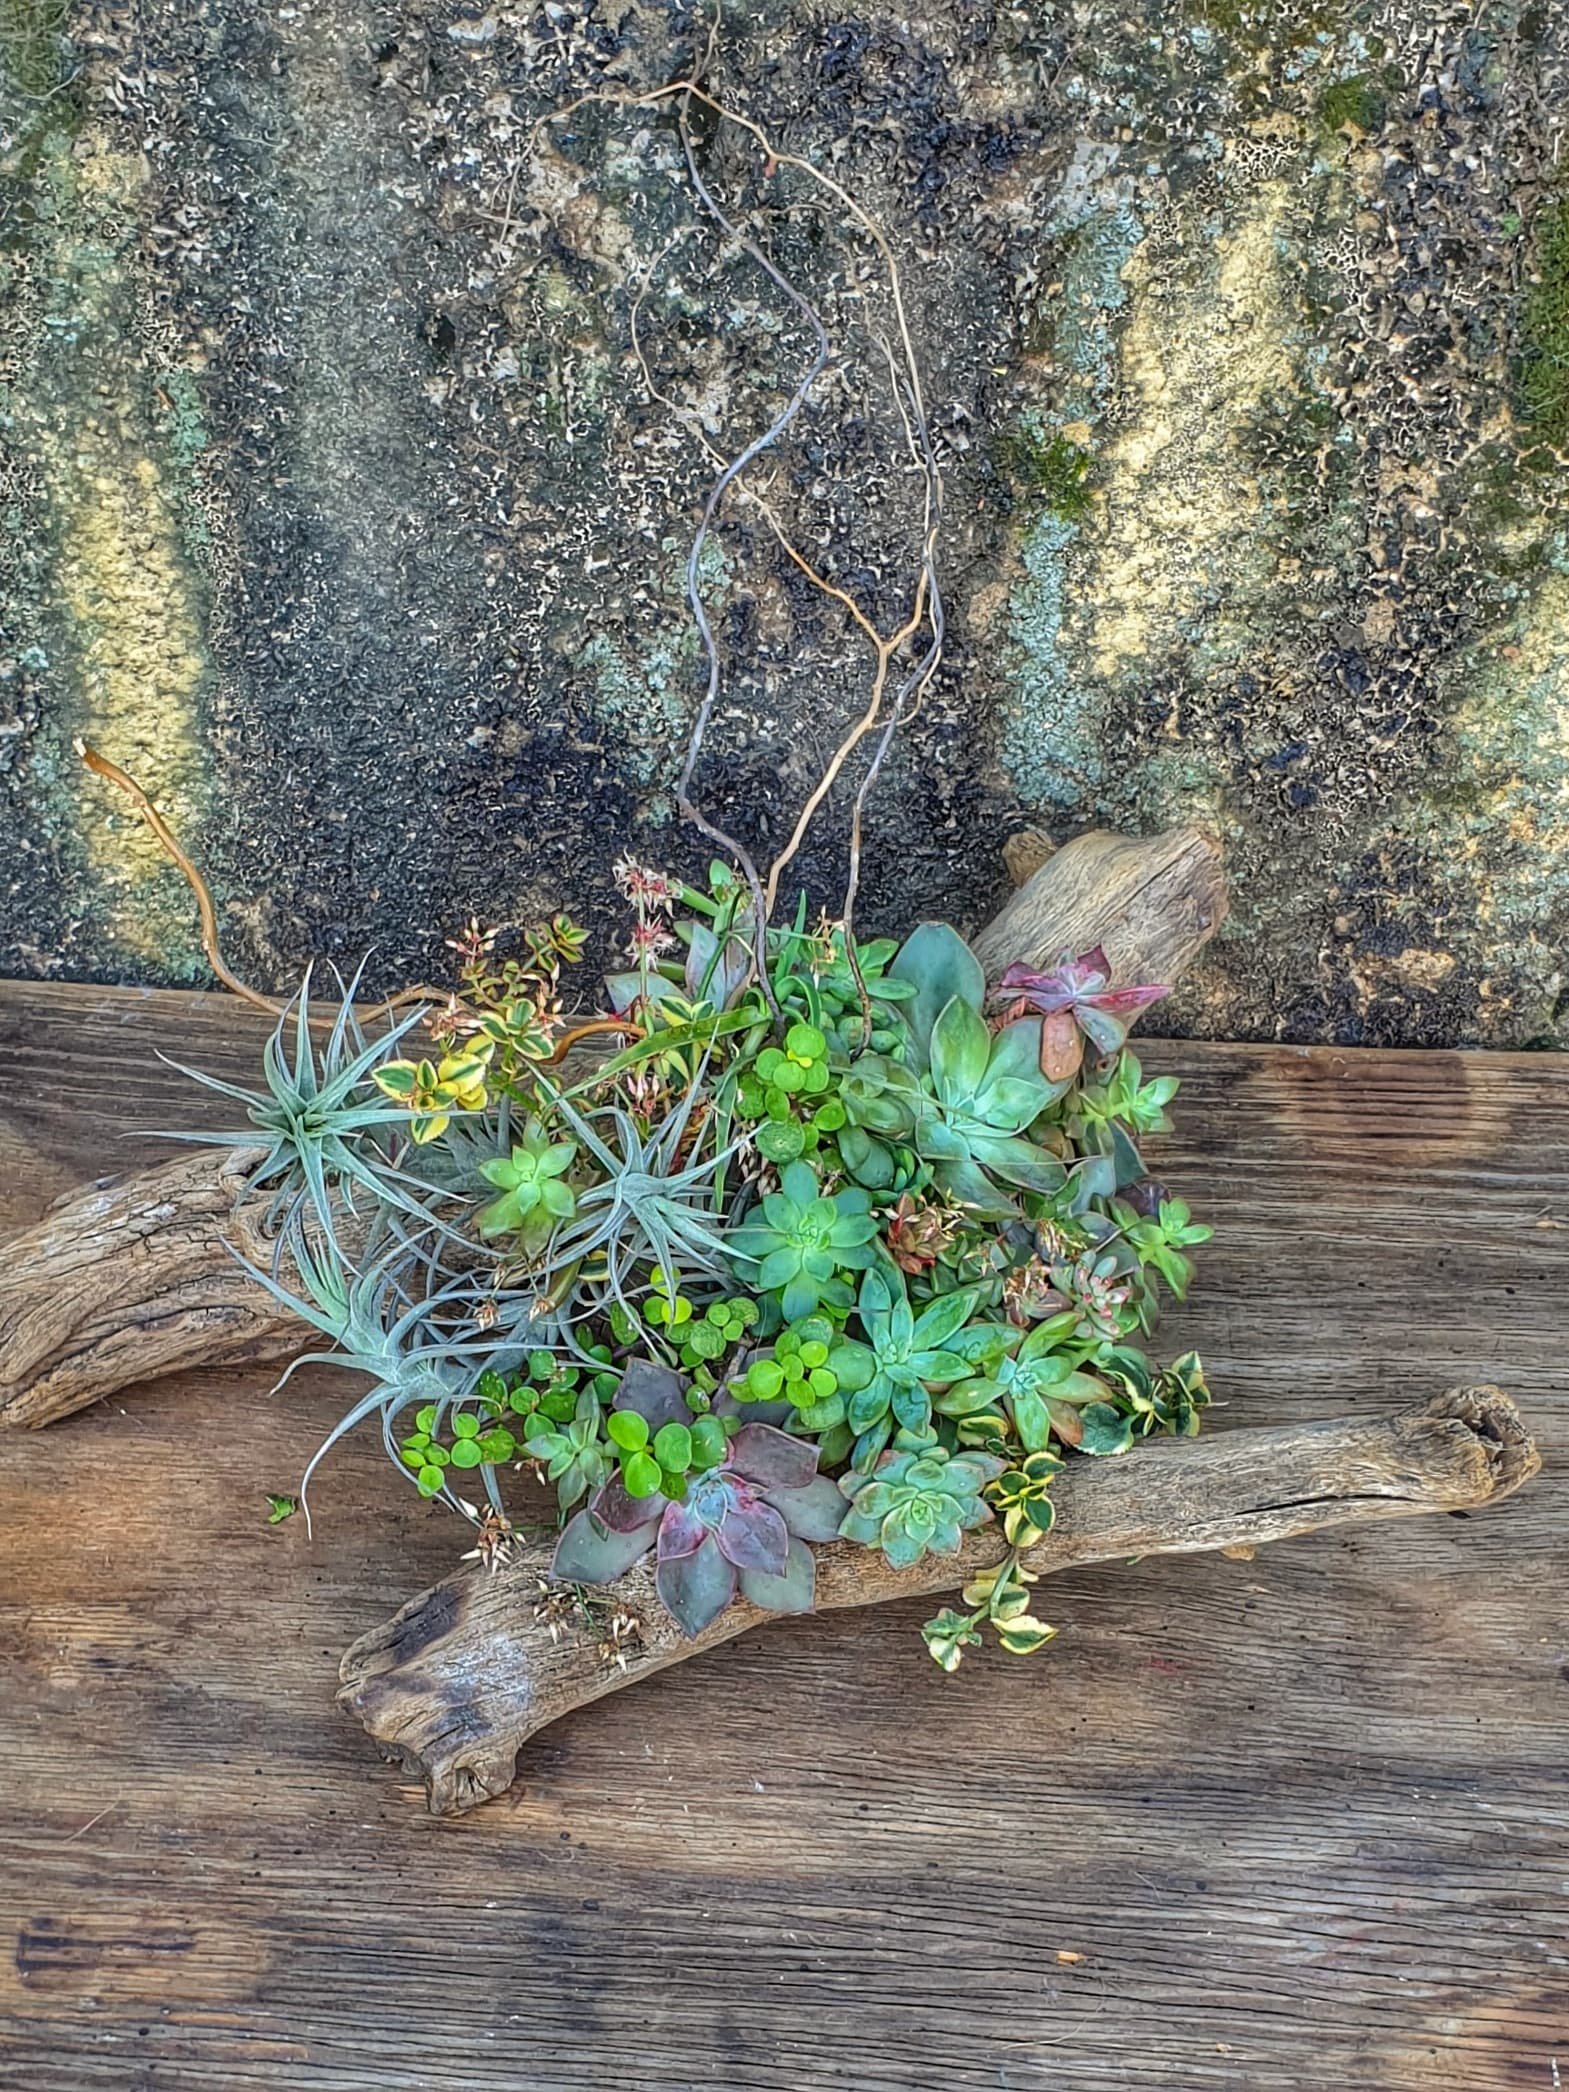
With this design I made my wooden base with three pieces of wood.
This bouquet consists of two pieces of wood and one piece adding a beautiful line upwards giving it a fascinating asymmetrical design!
Step 3
Make the 'cage' for the plants. The plants need to be 'planted' in a structure that is lightweight and invisible such as a chicken wire holder for the sphagnum moss. This will be added in areas of the design where you will plant the succulents. Leave the pieces of wood 'open' where they form part of your design as you wish. Fasten the chicken wire with pieces of wire or ties and cover with hessian or coir. Then, fill these areas with sphagnum moss.
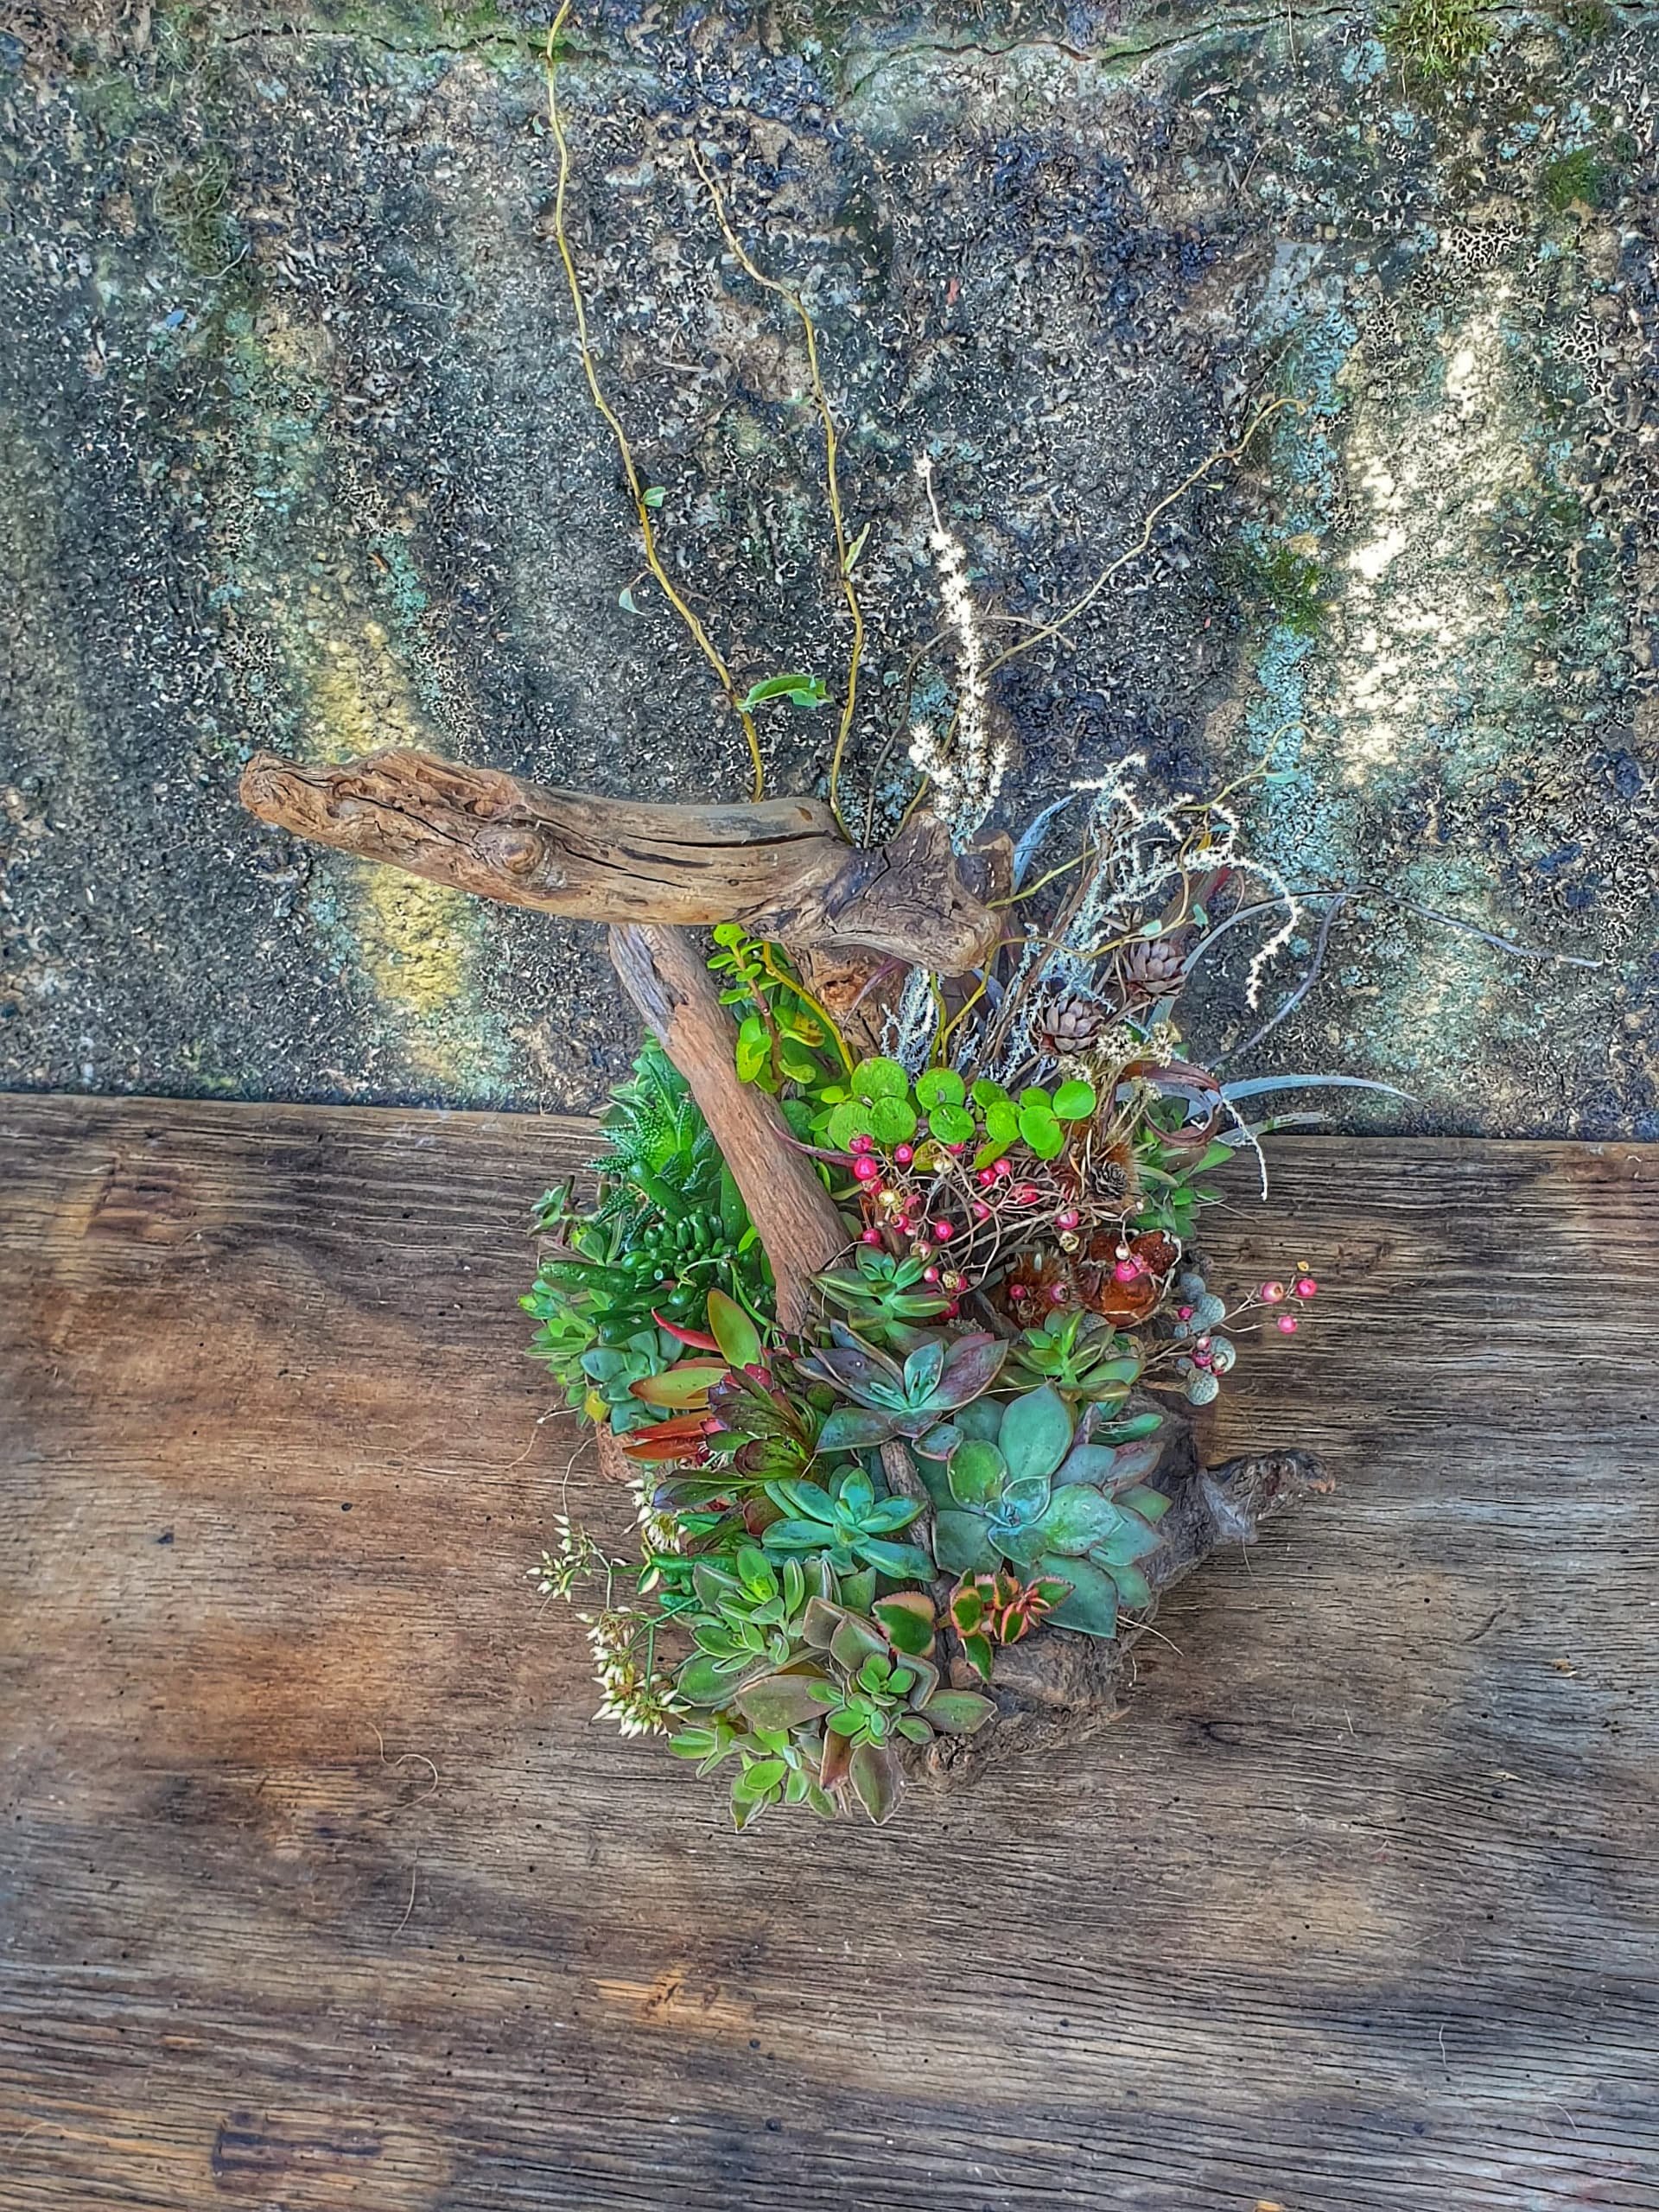
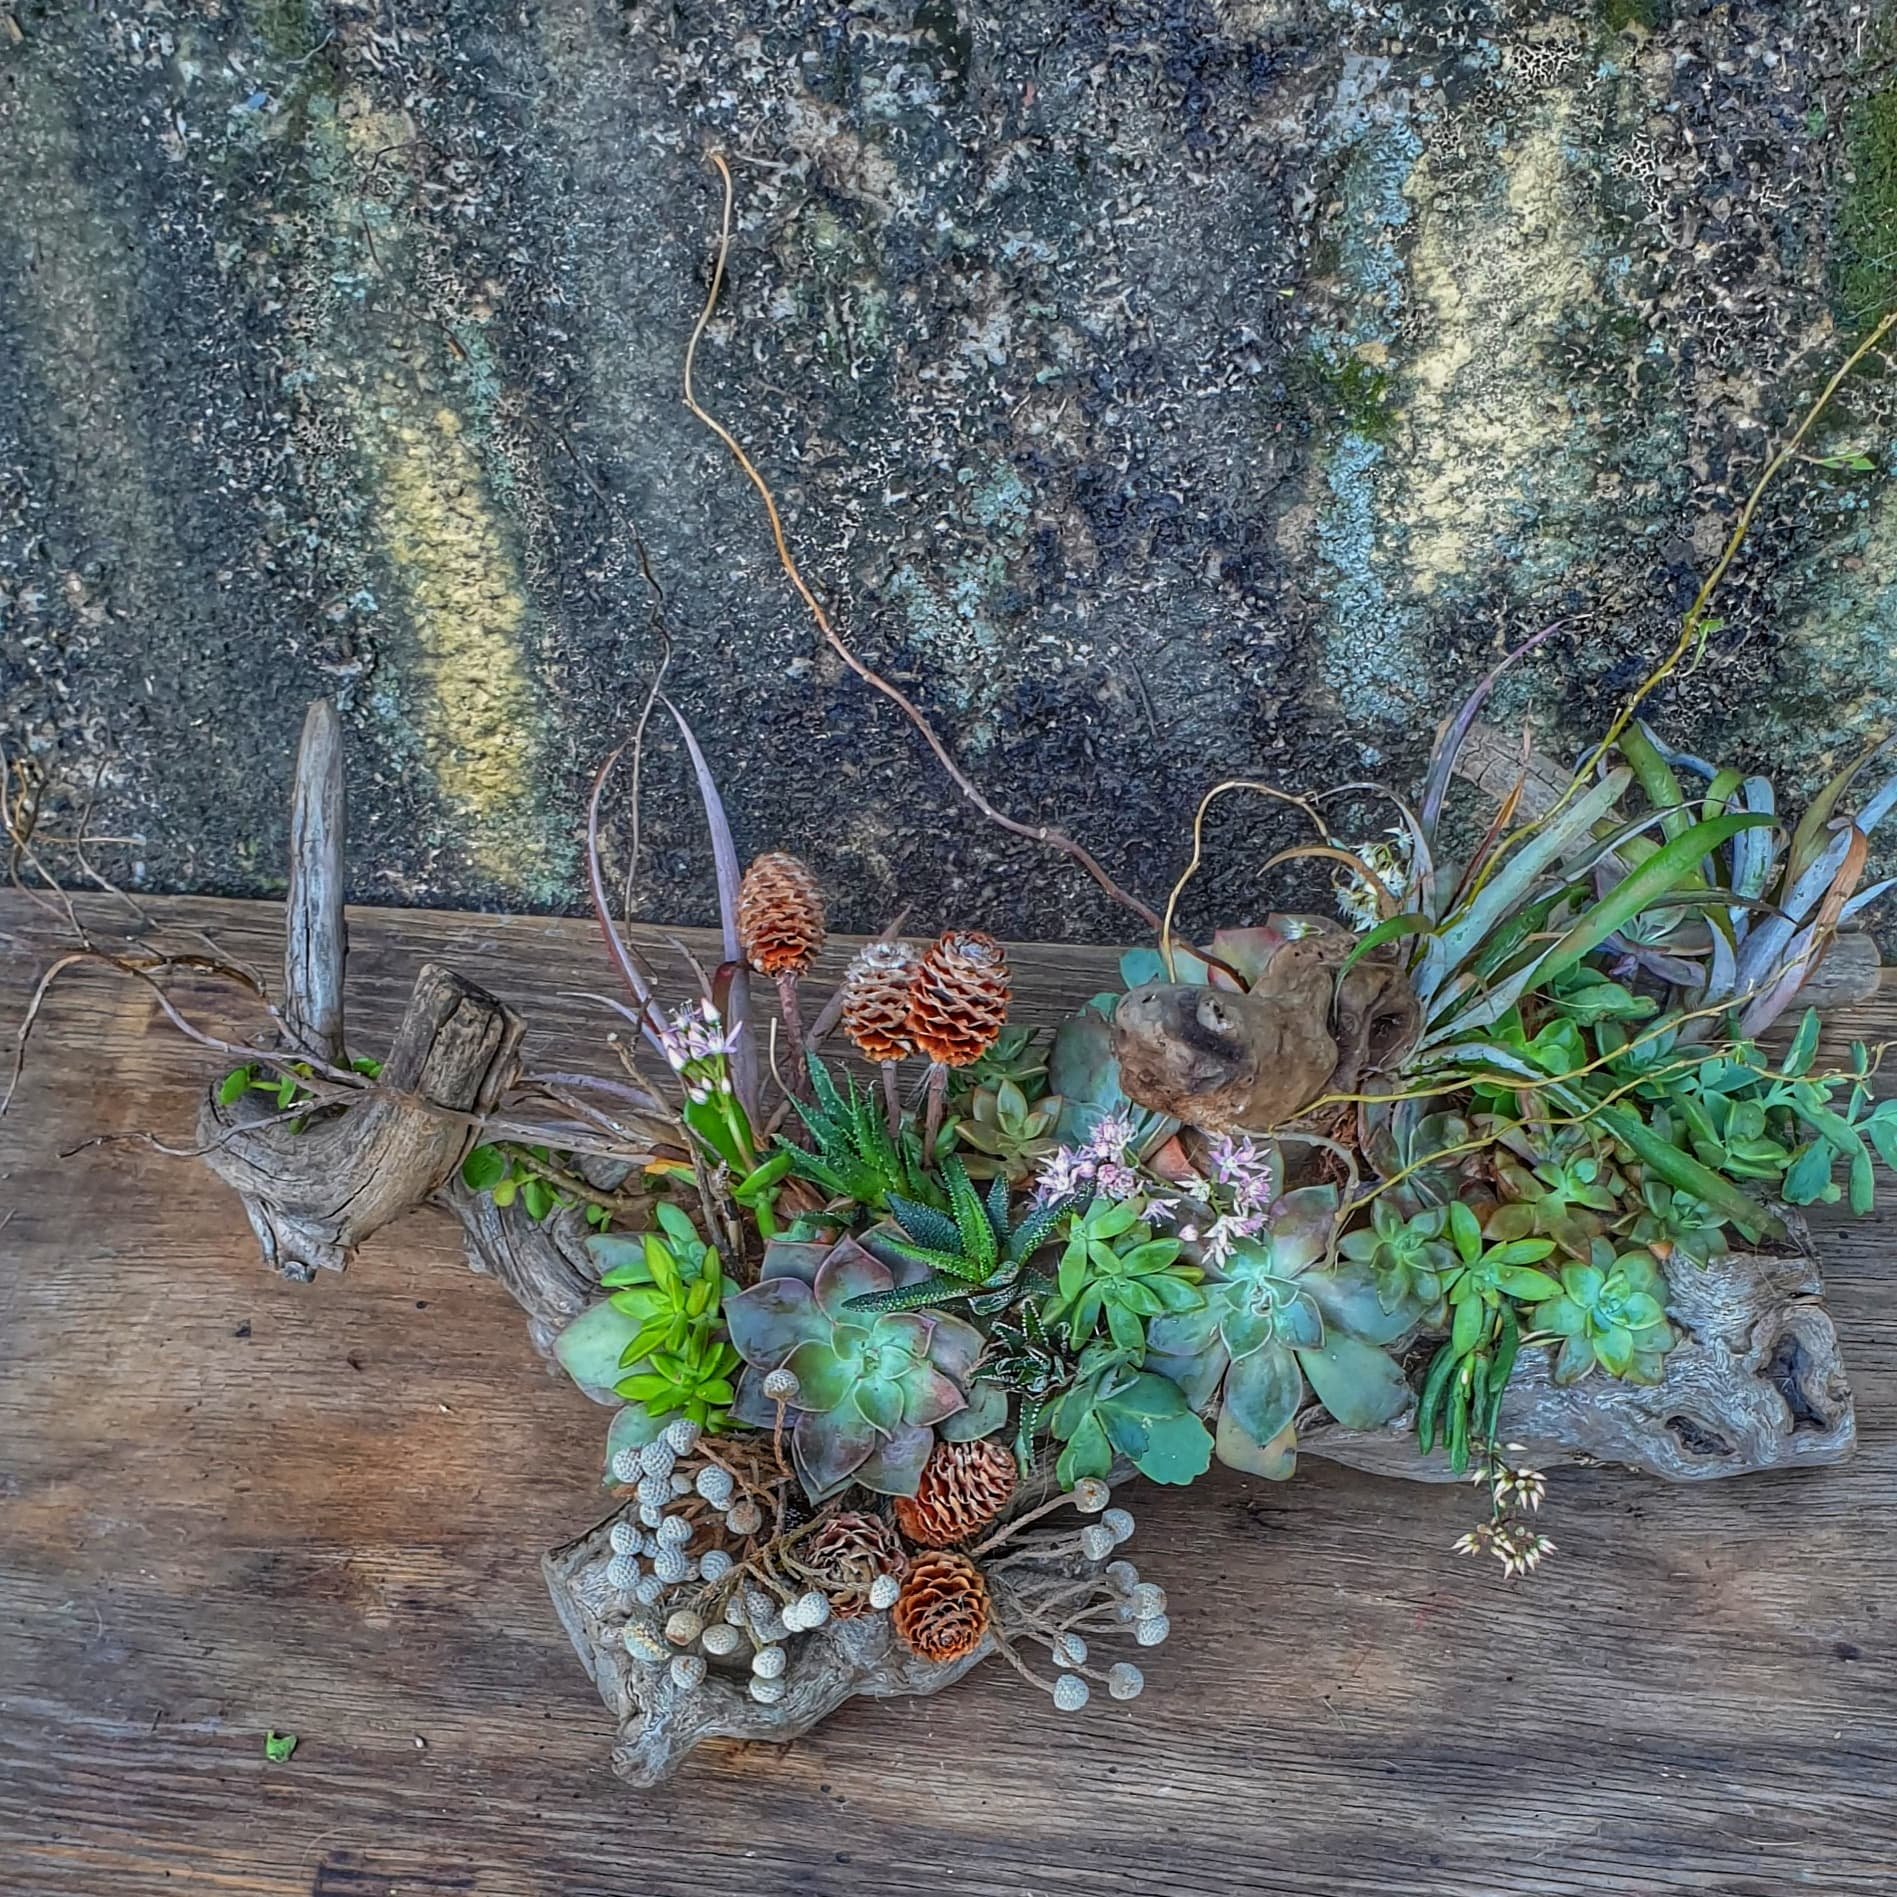
Pepper berries highlight the redness of the succulents.
Step 4
This is the exciting stage where the artistry begins after all the mechanics! First, the planting of the succulents and the air plants, and lastly, adding the dried flowers!
Keep in Mind: Succulent cuttings should be gathered about three days before planting to prevent these plants from rotting. Succulents with intact roots are ideal—just wash those roots and ensure that no earthworms are hiding in there—nobody wants this kind of surprise when receiving the bouquet!
Start planting the succulents in the "cage" according to your design. Make a hole in the hessian or coir with a screwdriver or other sharp instrument where the succulents are to be inserted, as you desire.
Paste a bit of glue around the edges of the succulent so that it stays secured in the cage. You can play with all the different and eccentric kinds of succulents to create a design with textures and colors. There is a wide variety of succulents from the different echeverias, haworthias, Portulacaria Afra' spekboom'. Then, add the small aloes and air plants for points of interest. You can soften the design by rounding it off (because everybody needs to put on lipstick before leaving the house).
Quick Tip: The spreading Spekboom planted first is an excellent plant to cover most of the mechanics and may be better than using moss to insert in areas where the mechanics are still visible. (Please make double sure that none of the mechanics are visible! You don't want everyone to see the secret behind how the magic is made—keep it a mystery).
The Spekboom is also a lovely part of the bouquet, with some of the branches giving height to the bouquet.
The dried flowers bring more texture to the design. Apply glue onto the pieces and insert where the design would be elevated. These can include willow branches, seedpods, dried fynbos and protea, grasses, and whatever your part of the world offers.

This base with an ideal hollow for placing the ‘cage’ made it easy to add all the elements.
Step 5
Use a spray bottle and spray the plants with water—they are living creatures, after all.
Don't forget to add a note with care instructions for the receiver when presenting the 'bouquet'! They will need to place the bouquet for about 6 hours per day in a sunny area and to water the succulents with a spray bottle about every two weeks!
I hope that making this bouquet will bring you joy and that the person receiving it will be ecstatic! YOU will also know that you are giving back to the environment by creating something sustainable and will make the atmosphere around you happier and cleaner, and best of all, you had fun while doing it!