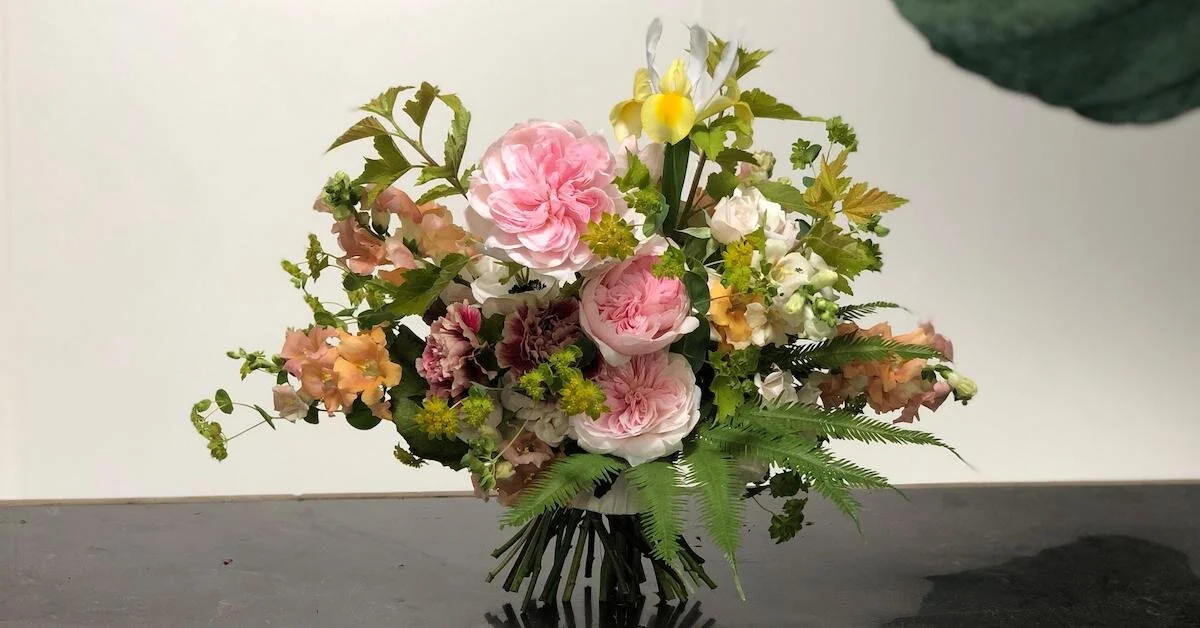
These days, with sustainable living becoming more of a lifestyle necessity than a choice, a bouquet that will keep growing contributes to a greener planet in a minuscule way!

All tagged Bouquet
These days, with sustainable living becoming more of a lifestyle necessity than a choice, a bouquet that will keep growing contributes to a greener planet in a minuscule way!
Color is beautiful and can be used in so many ways! In this seasonal design highlight, discover tips to create floral arrangements that are monochromatic, analogous, complementary—or even with all colors!
Joining us on the Team Flower Podcast is Liz Inigo Jones from London, England. Liz has an abundance of experience in the floral industry, and she’s here sharing all kinds of tips and tricks of the trade, including important considerations when designing a bridal bouquet!
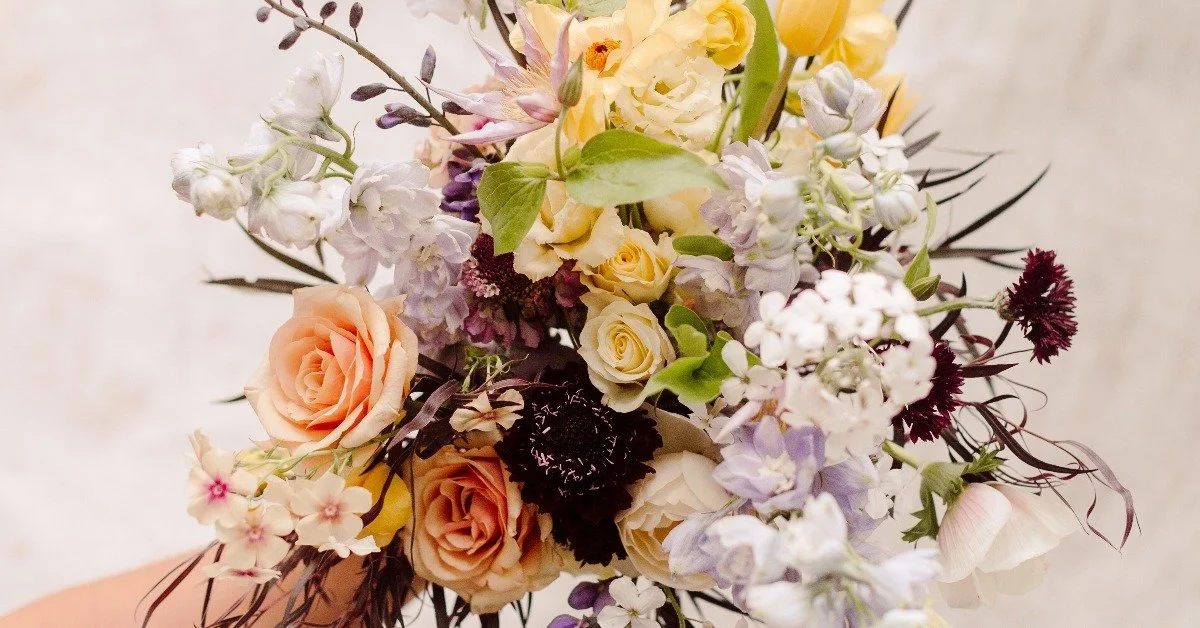
Believe it or not, bouquets are trending toward a more petite styling! In this design highlight, discover some crucial tips for building a petite cascade bridal bouquet—one with lots of color.
In this design highlight, floral designer Amy Balsters gives tips on how to liven up a bouquet in a white and green palette. In addition, she discusses how to use the spiral technique to create a variety of shapes.
Atlanta based Shean Strong joins us in this episode of the Team Flower Podcast. We are talking about the importance of embracing the power that flowers hold in changing the ambiance of an entire room. Shean is sharing about his culturally rich background and how that now plays out in his floral designs as well as how he maintains an open view of floral design. We are also walking through a few simple fixes designers can make to increase the visual appeal of their arrangements. You'll learn the in's and out's of connecting with other business in your community and using those connections to successfully conduct a flower pop-up. Shean is giving us the scoop behind his Valentine's Day pop-up at a popular venue in downtown Atlanta - from how he wrapped the hand-tied bouquets to which flowers he used.
In this video, Kelly demonstrates how wiring flowers can help blooms be used in bridal bouquets and other floral applications in ways that would otherwise be impossible. This trick can be applied to multiple flower types!
In this video Kelly uses blush peonies and sweet peas to create a classic round wedding bouquet with a full stem wrap and no foliage.
------------------------
Video transcript:
In this bouquet, I'm using a fragrant blend of springtime peonies and sweetpeas, both in blush. We're going to start by getting the shape of the bouquet using the peonies. First, I'm going to look and I'm going to take the peony that I feel is the most open and the most beautiful. That will be my flower that is at the top center of the bouquet. Toss off these tiny little pieces around and the next step is just surrounding this peony with lots more peonies and each time I add one, I am aligning these stems so that I am creating one big stem at the bottom. We're just going to go around in a circle around that first peony that we placed. Then, I'm going to start adding some of these smaller peonies in the centers. So, you can see I'm going to tuck that right in there to cover in some of that space. I want to make sure that I don't have any foliage showing at all so I'm going to pull these off as I'm going. Okay, so I have a round bouquet here. Now, I'm just going to adjust and tug stems to get it to be perfect round. Next, I'll add the sweetpeas. I'm just going to gently, in between peonies, slide these down in. I don't need this one here so that will get popped off. With each addition of the sweetpeas, I'm just seeking to keep this rounded out. These are so great for filling in just the little holes in these pieces underneath of the bouquet. The way that the flowers are shaped on the sweetpeas allow me to gently bend and fill in and ruffle the underside. Okay, a quick little assessment again. See if there's any that just need to be tugged out just a little bit to get it perfectly round. Even whenever we're doing tighter balls of flowers, it's good to give the flowers a little bit of a tug so that they don't get too compacted. We still want them to have room for their petals to fluff. Then, this one right in the center, I'm going to pop it out just a bit so that we get that little bit of fluff there and now we'll tape. So, I have a piece of the green oasis tape that we've been using throughout the rest of the class. I'm just going to do a simple wrap-around once and then back around the stems again. I have to put a ribbon on here. Wrap it around. You can go around as many times as you like. My ribbon is pretty long and I'm just going to let it as it lays. Then you would just pin and do your simple little tie to get something like that and you still want your stems to be exposed. Sometimes girls that really love this ultra-classic look like to have their full bouquet wrapped, ribbon and all, so I wanted to show you how to do that. We haven't talked about it yet. I'm going to snip the stems pretty short so that whenever they're holding, I have just about an inch, an inch and a half of space at the end of the hand. Then, with that tape that I have put up higher in the bouquet, I'm going to use that to just do a little U-shape around the stems. I'm going to do the same thing on the opposite side so this part with the tape and these yucky ends that I have will be completely covered by the final wrap that I'm doing. You might be wondering, how am I going to keep these flowers hydrated if the stems aren't exposed? You know, that whole piece of it and it is a great question. What, typically, this is done in France a lot and they'll just deliver the whole bouquet with the ribbon. They'll just pop this into the water and the ribbon would actually be wet and then you would towel-dry it before carrying it, carrying it down the aisle. When I have done this in the past, I just had one client that really preferred this look. What we did for her, hers was wrapped with pearls and I did it on site shortly before she was getting ready to carry it for her photos and things. We did put it back into the water before the ceremony took place. So, I've just taken this ribbon at the top, going around until I get to the bottom and then I will secure with a pin. Tucking in those edges. I used a little bit of glue whenever I did the pearls, putting those on the bouquet. You can do that as well, tacking in some of these little ends with that. If you're sensitive to that, you can also take a pin and go around and just secure the edge there with a pin. I'm just doing a simple fold and securing with that little pin. I think we'll go with the pearl pin on this one. A little bit more classic with the ribbons and the peonies. She's probably wearing some pearl earrings. All right. There you have it: the classic Peony and Sweetpea Wrapped Bouquet.
In this video, I’m demonstrating how you can use a floral egg to create a sculptural bouquet. My friend Holly Chapple designed this helpful mechanic for arranging both bouquets and centerpieces!
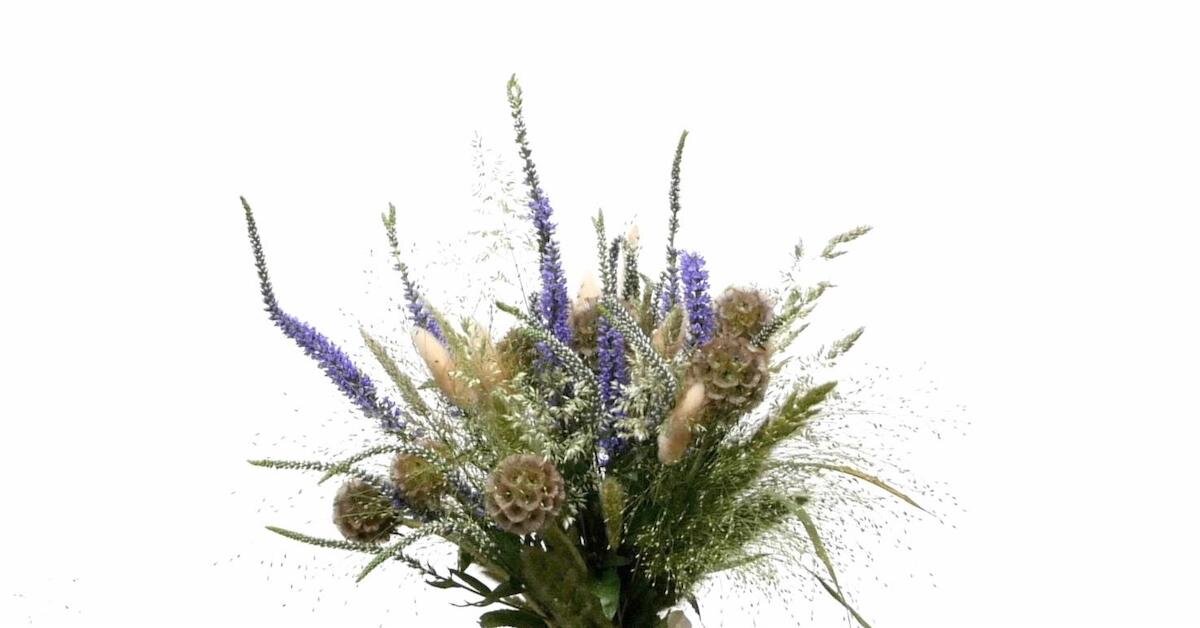
There’s something really simple and sweet about using ingredients that you experience along the side of the road, on a walk, or just along the edge of your driveway. To celebrate these experiences, I’m creating a small meadow bouquet of several types of grasses (dried grasses and fresh) along with a few other types of flowers.
In this video, you’ll learn how to create a blush bridal bouquet using a variation of the spiral technique. This is a pretty basic and simple foundational design to have in your toolbox, and it can easily be built upon to create a more complex bouquet.
Sunflowers are the first flower I remember growing, so they are special to me. I know I’m not alone, as so many people love the happy yellow faces sunflowers have to offer. If you’re a designer, though, they can be quite difficult to work with! In this video, I’m going to demonstrate how to create a sunflower wedding bouquet, specifically in a cascading shape.
Seven years ago this week Jesse and I were getting ready for our wedding! I thought it would be fun to celebrate by recreating the bouquet my sisters-in-law made for me. It has eucalyptus, spray roses, sweet peas, lisianthus, garden roses, anemones and lamb's ear. Watch this fast bouquet time-lapse come together!
On this episode of the Team Flower Podcast, we’re talking with Rachael of Siren Floral Co. She’s chatting about collaboration and how important it is to work with other creatives.
This clip from the Team Flower Bouquets and Personals class demonstrates how to make a tailored bouquet. This type of bouquet is typically a little more round and classical in shape. In this clip, Kelly shows us how to create a more structured bouquet with a fun flair!
In this bouquet tutorial video, Kelly will show you the mechanics needed for a garden-style look. Learn how to become a florist and take floral design classes online with Team Flower. Here you can even learn tips on flower gardening for beginners. We'll show you how to do flower arrangements in flower arranging videos.
Transcript
Hi. I wanted to take you on a little flower tour of what's happening here in the beautiful mountains of North Carolina in May. We're working with some hydrangea foliage. And this will be really beautiful later this summer, with lots of blossoms and blooms. And in the fall, it turns the beautiful. It has little speckles of burgundy in it.
We have weigela here. One of my favorite flowers to work with because it can act both as a green and as a little punch of color. We have lupine here.
This is something that is really well known here in the mountains. We have a lot of this. A lot of this in the area is what you'll find growing sometimes at grocery stores. And of course, in backyards and things like that.
I have some lady's mantle here today as well. I have a few ranunculus that I had left from-- that I just decided I didn't like with what I was doing for an event last week. So I have a few of those that I might incorporate. Some ranunculus, I have some beautiful tree peonies from the garden out front.
And then we have some poppies. And we actually still have tulips up in the mountains since our season starts a little bit later than other people's. And then I have some pretty fun little apples from my apple tree out here in the backyard.
So there's the ingredients that we're going to be working with today. And I'm just going to show you a little technique for doing a simple hand-tied bouquet. But I also wanted to talk a little bit about efficiency as we go through it.
So whenever you've got your studio set up, and you're working on an event or a wedding, a lot of times with the bouquets, if you just jump into making it without having a plan in place before you go ahead with it, they can get really cumbersome. Because you're trying to strip a leaf here, and trying to hold your bundle of flowers here.
So something that I really love to do is have someone help me strip all of the leaves down to-- I'll just give them a little tutorial on where I'd like the leaves to be stripped to. And then, I-- especially if I'm doing several bouquets-- rather than having it all laid out on the table like this-- which is just so that you can see what we're working with today-- I just have it in little vases.
The ingredients for each bouquet would be in a vase. And they would just go through, and whatever my instructions were-- three stems of the hydrangea and three stems of the weigela and five stems of lupine. It would just will be all arranged there.
So then that makes actually putting the bouquet together really, really easy. And you can have another bucket on the side of just an extra thing. Sp sometimes, these underrate pieces to all work together. So you can trade out some pieces from maybe an extras bucket or something like that, if you arrange.
Just a little thought to get you set up and going. But I like to hold my bouquets, is just with a really open, loose grip here, like a C. And I'm going to layer these hydrangea pieces in and a little bit of just a triangular, tripod shape.
So you just have two on one side, one on the other side. So this is normally my long piece. And then I have a medium piece and a shorter piece. It's how I start them.
And then, I was a little gun shy to cut my weigela just because I wanted to see how the pieces could form in my hand real quick. So that's one thing that I did not prep in advance. But I think I'm just going to work with this hear. And we might adjust it as we go along. But I'm going to go for that one there.
And then, I'm going to clip this one. This is really one long piece. And I'm going to clip it into two pieces. So there is a little bit of a shorter piece. Just strip a few off of this to do a long piece.
Now I just strip these off of here. This would make a really sweet boutonniere or corsage ingredients. So you could put a little vase there to collect those pieces as you move along throughout your arrangements.
So I've got this one coming out to the side, this one here. And this one I'm going to put in the back and up high so that I keep everything balanced. Because I need to have room in here as well to place some flowers. And next, I'm going to move from this-- the weigela has a really bright, punchy pink that goes and fades to more of a light pink.
And I'm going to eventually get into incorporating a little bit of yellow in here. So I'm going to start with my darkest lupine that just a hint of yellow in it. Just hints of yellow, tiny little bit. I'm going find a spot to layer that in. We'll go just about there.
And next, I'm going to put in a piece of lupine that is even just a shade brighter than the one that I just put in. And it also has a hint of yellow in it, but a little bit more than the one before. So we're just slowly and gently introducing this next colored to the arrangement.
Next, we're going to go for yellow. I'm going to just look and see if any of them have a slight pink hue to them. And that's how I'll be bridging this gap. This one has just a tiny little touch.
So you can see how we've moved from dark to light. And now we're going to really fill out this yellow here on the other side. And then, when I'm trying to decide where I want to put something, I'm examining which way is that naturally pointing and making the line of the arrangement go.
I've got this going here. I think it might be nice to try this to be an upswing since we've been going down on the other side. It might be nice to have this pop up.
And I'm about to add some lady's mantle that will help support this a little bit better than it is right now. So this is a little bit of a heavier ingredient. Probably should have put the lady's mantle in first to support these since they're heavier.
So we'll just carry that color back through with two pieces of loop and ruff. But I'm going to wait, and I might come back to those after I put a few more things into the arrangement.
So next, the purpose of this lady's mantle, you can see how there's different spikes. This one in particular has pretty sturdy stems. So what I like to do with this is to place it pretty low in the arrangement as a little bit of texture. But it's also adding some stability so that as I continue to layer flowers in, they have something to catch on to and to be stabilized with.
So I'm working with five stems of this. If you're working with a lower budget, you could maybe just do three stems. It just depends what the big picture of what you're looking like is.
Have some in the front, and then working it back in this way. Again, going to fade this one little piece that I have just in case if coming back, I decide I want to add some more in. These ranunculus, I think these are going to act as a little bit of an accent flower.
So again, I'm looking through and I'm seeing out of all other ranunculus that I have, which one would be the best fit for the pallet in that particular spot. Because you can see, some of these are real dark, and then some are lighter. So what I would like to do is add a little grouping of three of them here.
Paying attention to the size a little bit as well. Putting the things that are the smallest at the top. This one has a little bit more purple as opposed to pink. And this one has a little bit more pink. So I'm going to swap that out.
And you want to have some void back there behind your flowers so that they can really pop out and shine. So you don't want to put it here, how that's on the same level. Put that up just a step above that.
Next, I'm going to go, and I'm going to pop one back in here. And this is not acting so much as a beautiful element of the bouquet as much of it stability element. I can feel that there's a little bit of movement back in there. So I'm just putting that there to hold some things in place. I'll turn around, and we'll work on the backside of it a little bit.
You can see, this is a great place for this ranunculus that was darker, and just a little bit too much for this area of the arrangement. Back here, that's a great little spot for that. It fits right in there with that weigela. And then this one's slightly darker. Brings your eye up and a little bit of depth.
And this one just a space filler as opposed to a [INAUDIBLE]. You just want to think about what's the purpose of the flower that you're putting in there. And you use the really beautiful flowers, the stars of the shows higher in the arrangement. And then some of these other ones that aren't as beautiful, you use lower in the arrangement.
Now back here, I feel like I'm lacking some ingredients in this area. So it's great to save-- like I said, we saved this one piece of lady's mantle. And that fills that in and takes care of that problem. I also feel like this one piece of hydrangea greenery is in the way of where am I might like to put a focal flower in the future. So I'm just going to tug that out, and add that back in here to bridge the gap between the lady's mantle and the end of this.
So I have these other ranunculus that are a little bit darker. But I think I'm going to pause on putting those in for now. And I want to experiment and see what these focal flowers could look like in here, and how I want those to be presented. Now that's going to happen too, where something's going to slide out of place. You can just gently coax it back in.
Something I'm going to do real quick is just to trim all of these because those lupine stems are thick, and they're a little bit heavy. So whenever they're rolling around down there, that can get them out of place a little bit as well. So if you just keep this trimmed periodically, that will help with that problem. And it'll also keep your hand in good shape so that it doesn't tire out too quick.
I think it's very predictable to sink things right in this area. And you can, and I think that that's pretty. And it's something that I like to do a lot. But have you ever thought about putting some beautiful focal flowers off to the side in framing the silhouette? Just another way to think about it and look at it.
So we've got this movement carrying back here the largest peony, and medium-sized peony and small peony. Oh my goodness. Look at this. [GASPS] [LAUGHS] Oh wow. We'll just let him hang out.
Now on the backside here, we can still catch the color of these two. We have this little stair step with the ranunculus that's really beautiful, and I think will frame this peony really well. Just going to pop that right down in there.
Now, I'm going just adjust this. I had it towards the outside. But I'm going to pop this right through the backside of the arrangement. And to make that just so that the orientation of the face is a little bit different.
To make that a little bit easier, you can trim the ends of your stems to be a little like a nail so you can just pierce through there. So much easier than struggling and forcing it. OK, so that again is carrying that line back that way.
A few ingredients left. Poppies, I call it a little finishing flower. And you can use them in different capacities, of course, but I like to use them as a little finish. Something to float higher in the arrangement, just to finish it off. And then I go back, and we're going to look at this base area of the arrangement as well.
Now again, I'm just noticing the colors. Some have slightly peachier tones to them, some more pink. So I'm just experimenting and seeing where would that one best be showcased.
Think we have the dark pink side over here. That loop and how you're carrying that. So I'd be privy to put over here in this area. You can wrap them in among some other flowers to get it facing how you'd like it to face.
I might come back and pop those in at the very end, but I'm going to move towards thinking about what's going on down here. So we have this exposed branch, so I'm going to adjust the hydrangea foliage a little bit. And then I'm going to add some tulips down in that area so we don't have anything that isn't really beautiful being showcased at some point while it's being carried. Just going to waterfall, I guess you could call it. I don't know, I think I just made that up, maybe.
Put those in there. And then I'm going to pop it off with one up here, higher. Let's look at it from this side. OK. So that carried the tulips further back into the arrangement, rather than having it be flat.
And the last thing I wanted to do was finish it off with some of these cute little apples down here, around the base. Hm, I don't feel like I need that one. I like to give it a little shake. These things can get heavy in your hands.
OK. I have some of these little peony leaves too left over. And these are great-- flat leaves are great for framing areas down here at the base. Just going to pop that in just down in there low.
I think I'm finished with that. What I might do at this point, if this was a bride's bouquet, is just set this aside. And I would go work on something else for a little while. Maybe I'd do like a boutonniere or two.
And then I would come back and look at it again because sometimes if you're working and you're solving all of these problems. When you're putting an arrangement together, you're solving a lot of little problems, like a little puzzle piece. And sometimes stepping away from it just for a few minutes, and coming back, get yourself some water, a little granola bar or something.
And then come back to it. You'll see things that you didn't necessarily see whenever you're doing it first. So that's what I'm going to do right now. I'm going to take a little break. Then I'll pop back in, and see if I want to switch anything up.
So I've stepped away from the arrangement. And I've come back, and I've quickly identified a few things that I wanted to switch up. So this is the backside of the arrangement. And I was noticing that I lack some color here. And I have an opportunity to carry this yellow a little bit further.
And I have these two stems of lupine left that we didn't use yet. And see how that went from being maybe not a whole lot to-- then this just being something that can pop in there and really finish that back section off so it doesn't feel so empty.
So that was one of my quick little adjustment. It carries this line with the lupine the whole way through, as opposed to just abbreviating that. And then, the other thing I noticed is that I really wanted a finishing piece back here as well. So I have this poppy that we didn't use that I'm going to incorporate back here. And I'm going to use that hydrangea leaf frame that little guy.
And then, the last thing that I noticed that I wanted to do is there's a spot right in here that I feel could lend itself to if the bouquet is being photographed from this side here. This little piece-- and I accidentally tugged off one of its petals earlier today. And I thought I probably won't use that-- but since we're tucking this down deep in here pretty low, we can actually disguise that pedal is missing altogether. So a flower that may have gone to waste otherwise can still add some beauty to the arrangement. Even if it's just the yellow center and all the petals come off, it's just a little pop of color happening down in there that I think would be valuable.
Great. So I'm going to call that finished. The only thing we didn't use were some of these were ranunculus, which were these pieces that we pulled off of the weigela would make a really sweet coordinating boutonniere to go with this. So sometimes with boutonnieres, I'll maybe order specifically one thing. But I like to use pieces from everything else that I'm doing. It helps it to all coordinate a little bit better.
I'm just taking the tape around the stems, going that way in one direction. And then I'm going to go backwards with the tape for a second. So that whenever I put my ribbon in here, I've got something to grab onto. And this little poppy just needs to be supported. So I'm going to wrap him behind the apples since he is falling down.
OK. A ribbon. This is just a simple satin ribbon from May Arts. It's great, all-purpose ribbon. And before I get that on there, let's trim this off a little bit lower. Feels like you're really trimming small. But the point of the flowers is flowers, so we don't need a lot of stems going everywhere.
So I've just folded that back, and then wrapping this around, just real gently. I'm going to go ahead and cut this free. Just want to arrange it so that it's smooth. If your stems are in the way or making it impossible for it to be smooth, just situate things a little bit. And get it so you can have a smooth stem wrap.
So right now, I'm on the backside of the bouquet. And I'm going to move over to the front because I'm going to finish this off in the front. So I'm going to put my thumb right here in the middle.
And I have this one little tail that's popping up. This is such an easy, fast way to do a nice, tailored edge quickly. This gets hidden back in here. And then right there, where your thumb is, you're just going to pop a pin in there. And that grabs both the wrapping that you've done, and that also grabs that second piece.
I might tug one more back in there, just to make sure that's really secure. And then that just drapes down like that. And you didn't have to do anything extra. It's just real fast and easy.
And now that I have this in my hand, I see where the ribbon's falling. I'm going to cut these stems even shorter to their finished length. And if I'm holding this in my hand, I just want a little bit popping down, don't need much at all. Don't want to cut it so short that it's not balanced, and that it's going to topple over on you whenever you pop it in the vase and travel with it.
It's OK to keep it pretty short. And you may, if you're traveling-- obviously, not today-- but I'm going to leave it a little bit longer. And then do this final cut once you get to the event venue so that there's a fresh cut on the flowers.
But I wanted you to see the end product as well. I'm just going to gently lay this little guy down. And just give these ribbons a final snip.
These are Joyce Chen clippers, and they're really great multi-purpose. They can go through wire. They can go through ribbon. They can go through the plants, branches. All kinds of stuff. Fabulous, fabulous scissors. If they get gunky, they're not good for ribbon.
All right. So that's it. That's our pink and yellow bouquet or tour of the mountains in May. [LAUGHS] Have a good one.
Ready to use extraordinary florals and to boldly go where no florist has gone before? Foraging for your own flowers just takes an extra little bit of creativity and a sense of adventure. Here’s some insight on how to use unique and foraged local flowers in your designs.
Watch a fun & bright time-lapse bouquet celebrating Valentine's Day!
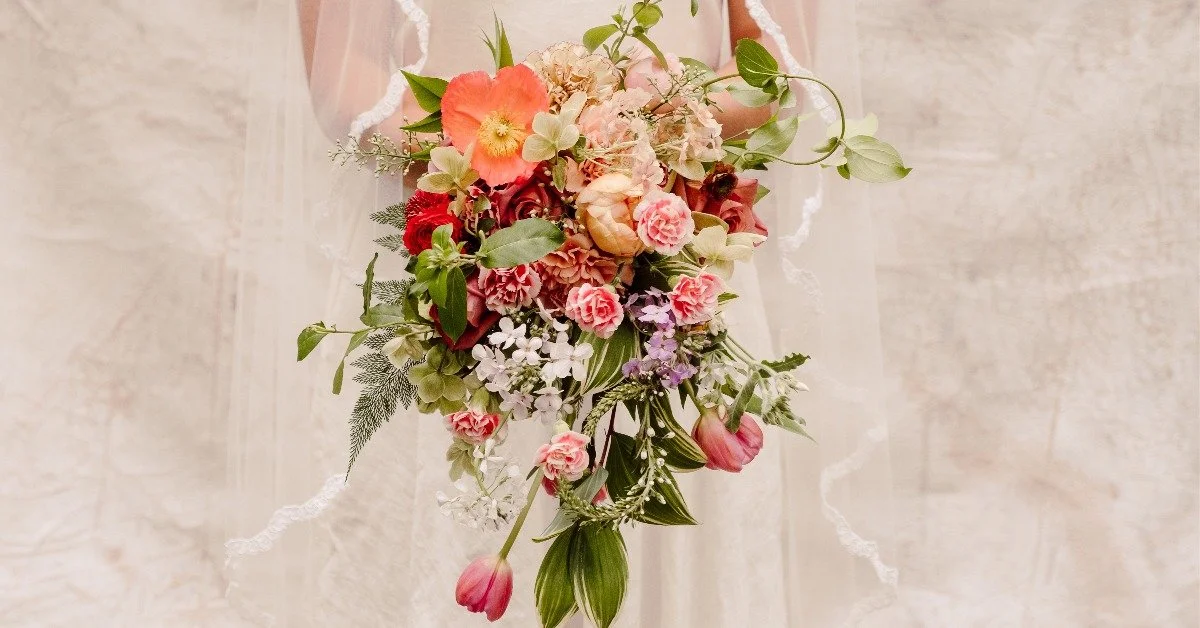
The cradle bouquet (also known as the pageant bouquet) is often overlooked by designers. This bouquet shape is perfect for gracefully draping over one arm. It is similar to a cascade, but it moves out and away from the body rather than in front. It's pleasant and easy to hold, surprisingly lightweight, and perfect for a bride who likes to keep her flowers close.
In this excerpt from the Team Flower Advanced Wiring Techniques class, Kelly demonstrates how to wire large, over-sized flowers. Wiring flowers is a skill that can be incredibly useful as a floral designer. Not only does it enable you to move and direct a bloom in a specific direction, but it also allows for extra support for top-heavy flowers.