How to Arrange with Unique and Foraged Flowers
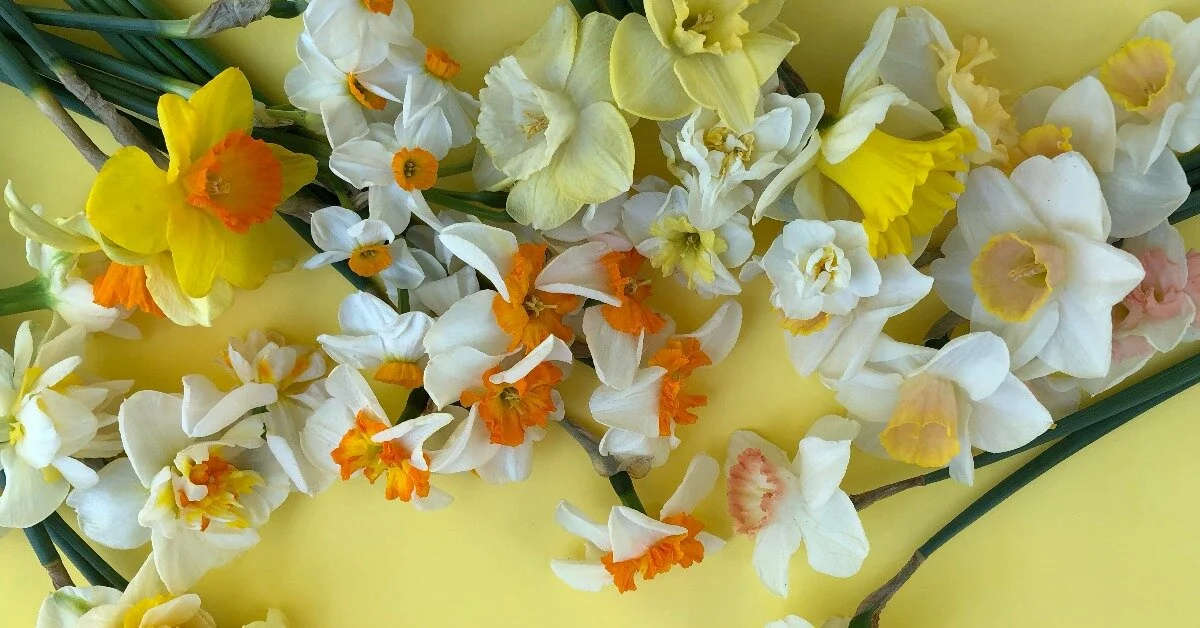
Ready to use extraordinary florals and to boldly go where no florist has gone before? Foraging for your own flowers just takes an extra little bit of creativity and a sense of adventure. Here’s some insight on how to use unique and foraged local flowers in your designs.
The internet is full of gloriously inspiring images of bouquets and arrangements, but somehow I often found them discouraging because creating something similar is totally out of my realm of possibility. Why? I live and work in Costa Rica, and I can’t imagine what I’d have to do (or how much I’d have to pay!) to get my hands on some beautiful peonies or dahlias.
Local flower farms don’t grow them, or sometimes the weather is just not right. There are many reasons why I (and many floral professionals working in the tropics) don’t have easy access to the trendy, popular flowers that everyone is making magic with.
What was I to do? I found my answer from a line in a makeup ad: What makes you different can also make you beautiful. These words of wisdom crystalized into my design philosophy: seek, find, and create beauty wherever I may be.

Foraging MATERIALS for Floral Design
Using native flora and foraged goods is an adrenaline sport. You never know what you’re going to get, so every time you gather and every time you design will be unique and demand your full attention, creativity, and skill set.
If you solely forage, you’ll no longer have thoughts like I will need 12 Cafe Au Lait dahlias, 15 cream sweet peas, and a bunch of seeded eucalyptus when you’re making your design plans. And you’ll have no safety net: just you and a bucket or two of gorgeous, vibrant plant material.
Let me tell you briefly about how I forage and test, and then I’ll share some design strategies that work for me.
Foraging for your own product is truly a way of life. Once you start down that slippery slope, your family might as well get used to the clippers and bucket in the car—and the frequent stopping on the roadside to clip berry-laden branches, gather silky grasses, and occasionally climb the odd tree to capture the most beautiful velvety seed pods. (Just make sure you have permission to forage and that it’s a safe space to do so!)

I could go on about foraging for DAYS, but I’ll leave you with this simple reminder: always have a good cutting instrument on hand (a Swiss Army Knife has even done the job for me sometimes) as well as something to hold your goodies in until you get home. Here’s my trusty shopper after a good power walk:
Testing and Caring for Foraged Materials
Testing foraged plant material is what I imagine playing the stock market is like—you think some will do well and others don’t look promising, and the outcome is always surprising!
Treat your foraged materials quickly and with love, and set them up to succeed with a good clean cut, some Quick Dip if you prefer, and a good, long drink of cool water with flower food.
I like to sort my materials by the use I plan to give them: firm and shapely branches go in a bucket; soft, fluffy grasses go in a tall mason jar; imposing “face” flowers, pods, or clusters go in another; and if I was lucky enough to find good vines, they get their own container too. Then you put everything in a good, safe spot (one that’s cool with no drafts and no direct sunlight) and wait 24 hours.
I’m too impatient and will usually check after a few hours, and I can already see who didn’t make the cut. Remove any materials that are wilted and miserable looking, and then let the rest be for a few more hours.
After 24 hours, you should know what you can work with. And now it’s time to design!
What will you be making?
Creating Floral Arrangements with Foraged Materials
1. Front-Facing Bouquets: I love a wild, foraged bouquet because they can get really dramatic in no time.

My approach with front-facing bouquets is to cross 2–3 long branches to get a shape I like. I’ve been known to use ficus, liguster, and guava. Ultimately, what you’re looking for is something that is woody, hard, and trustworthy. Let these pieces guide you! Here is used shield aralia and callistemon for shape and structure—and I love aralia’s huge shiny coin-like leaves.
Use grasses and fluffy flower clusters as filler, and sit whatever looks most impressive at the front—in this case, it’s actually a tuft of yellow croton and a cluster of unopened aloe flowers.
I love to finish my bouquets with a trailing vine, some droopy amaranth, or even a few small fruits just to give it that feeling of abundance and fecundity. Your bouquet runneth over, and you are ready to tie and wrap!
2. Bridal Bouquets: For bridals I tend to avoid the stiffer branches and instead use long sword ferns or softer, more flexible branches for shape.
I love to make a bride look like a forest goddess, so my bouquets tend to be super lush with lots of textures, veil-like clusters of tiny white flowers, and—you guessed it—some vine or flower cluster spilling down. This bouquet used coriander flowers and fronds, which added a heavenly fragrance.
Now if only brides would let me go as big as I’d like to!

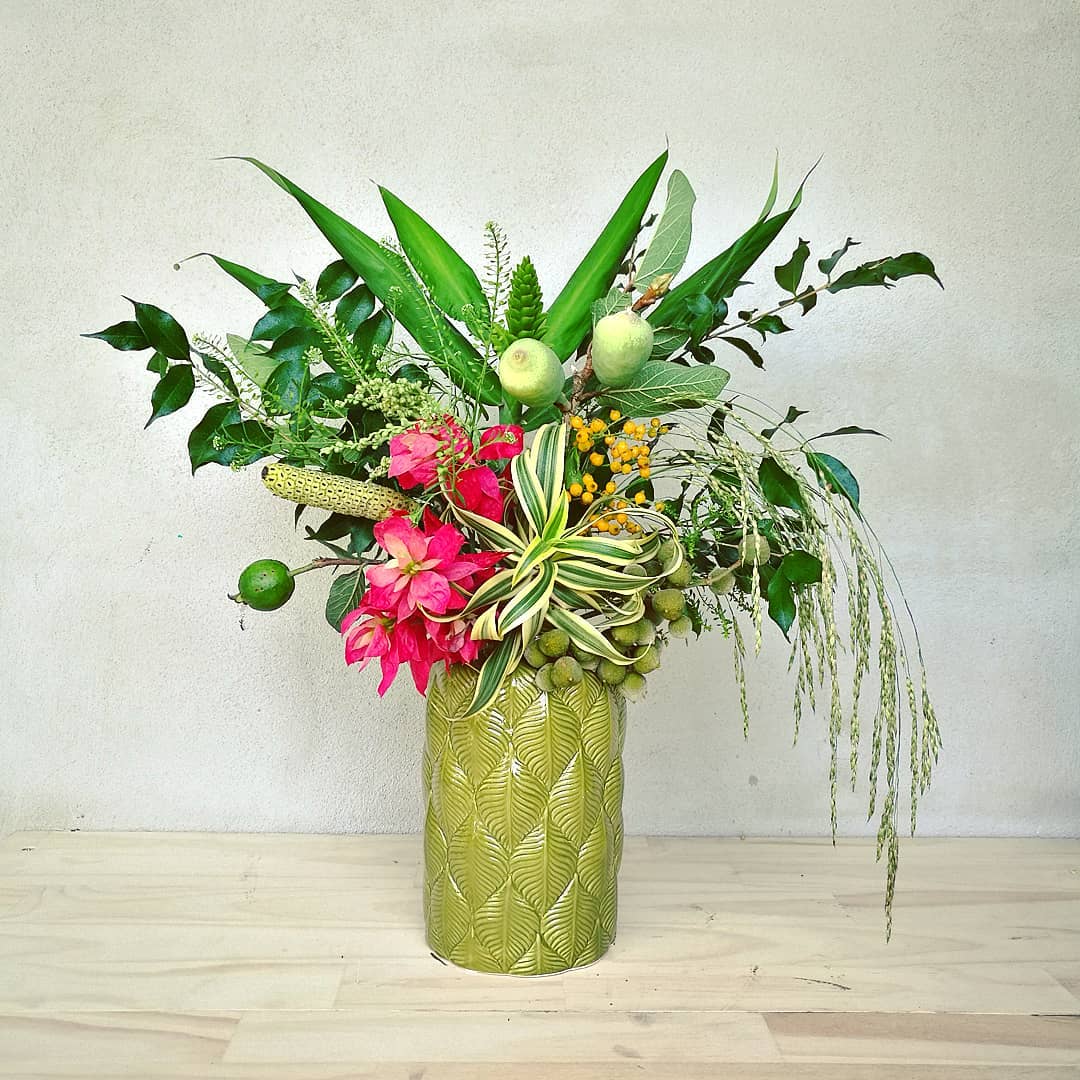
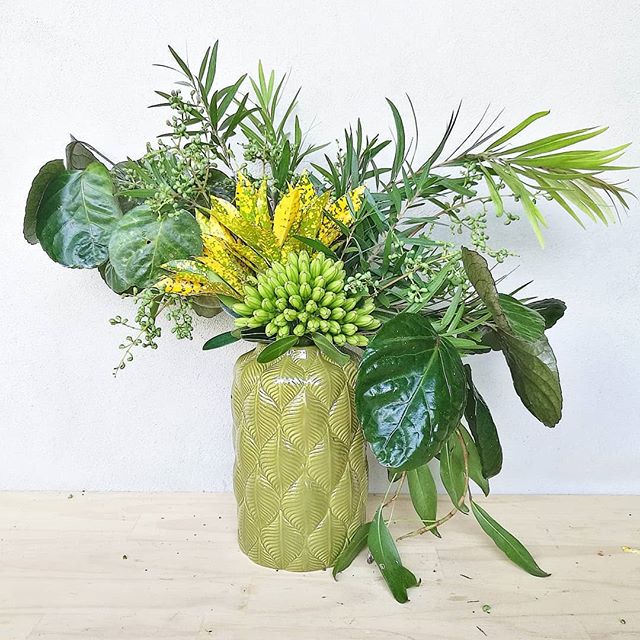
3. Arrangements: You have branches, so make them sing! Go tall, go wide, go architectural.
For arrangements, I like to set down a general shape with my foraged materials first, then “dress” my base with moss, hydrangea, or whatever else I may have that looks like good cover and then keep building.
Don’t be afraid to use fruit, berries, and even twigs—the contrast between a thin and brittle twig and the juicy, tender greens next to it will make your heart (and your client’s) go boom.
4. Crowns and Small Personals: These items might be my favorite things to make with foraged greenery.

For intricate, small pieces like these, I love taking the humblest little grasses that no one ever notices and setting them like jewels in a bed of leaves and buds that will allow them to shine in all their miniature beauty. I’m not shy about wiring blooms and small fruits or pods that require it, and I’m not precious with the floral glue either.
When you forage your materials and get so close to nature, the textures and colors of the littlest greens will totally steal your heart. Think of the sprites of the forests and go wild!
I hope this article inspires you to go out into the wild with a pair of clippers and a song in your heart! Don’t get arrested for trespassing (Ha! Although it is important to remember to have permission!), and please show me what you clipped and what you made with it.