In-Depth Techniques You Need for Growing Delphinium

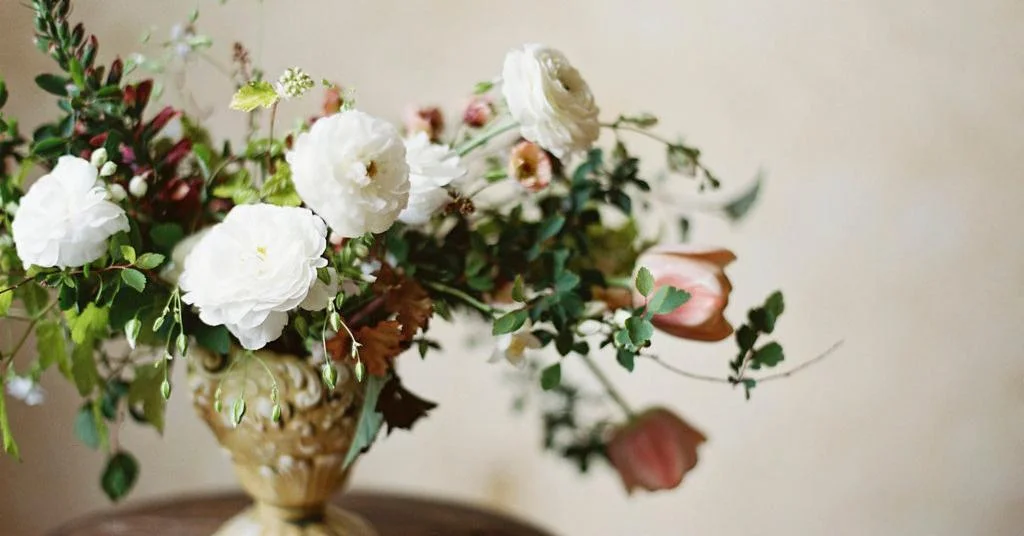
Growing delphinium as a cut flower crop can have its challenges, but if you follow an orderly process, it can be a very rewarding flower to grow. Delphinium has several advantages such as its striking, dramatic quality and large stature which can be useful in larger arrangements. It also blooms during that early June window when your spring flowers may be finished, but your summer annuals aren’t flowering yet, helping you fill in that gap. It also provides that hard-to-find true blue color in both light and dark shades.
Choosing the right varieties can help you have success from the beginning and eliminate some of the trial and error you might otherwise experience. There are two basic types of delphinium, and they use the same growing techniques. The Hybrid Delphinium is the larger, sturdier one with full sets of large florets along the stem. The Belladonna types are the slimmer, more delicate and airy varieties, with small florets spaced further apart along the stem.
Two of my favorite hybrid varieties are the Aurora Series and the Guardian Series. You will find the seed is more expensive than other types, but that’s because they have desirable qualities such as a uniform bloom time, useful medium size, full floret formation along the stem, and pretty colors—and they also bloom the first year from seed. If you would like to start out with a more affordable seed, the Magic Fountains series is a good alternative. For the Belladonna types, I prefer delphinium Bellamosum for dark blue and Clivendon Beauty for light blue.

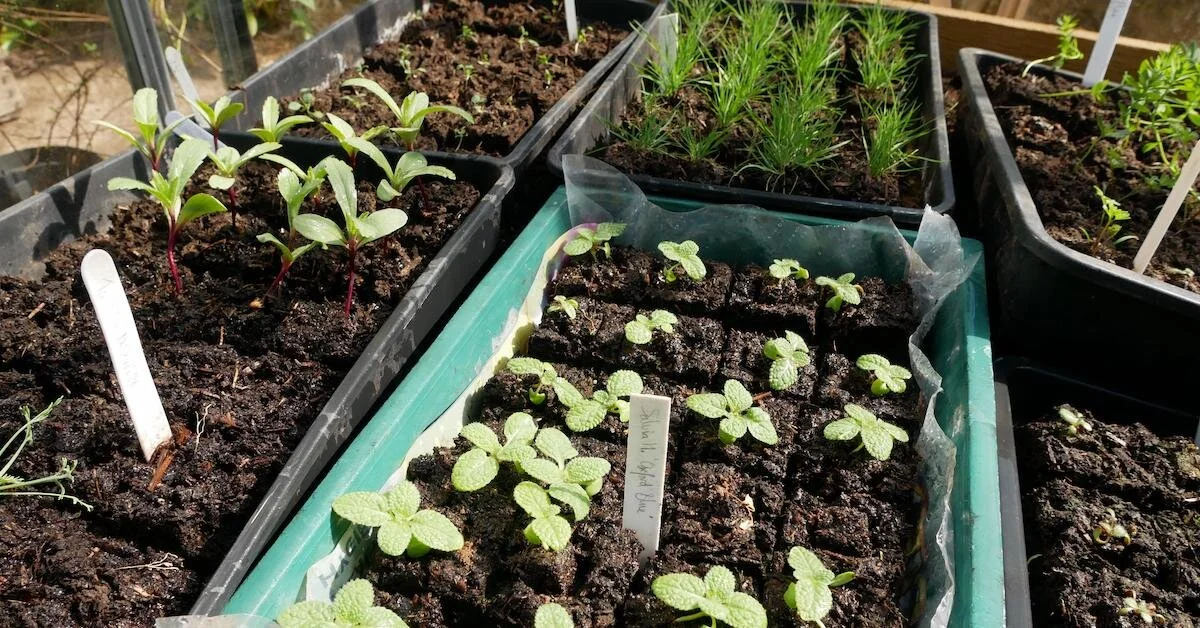
In Rhode Island (zone 6), I start my delphinium seeds indoors under lights at the beginning of January. Delphinium germinates at an uneven rate, so don’t get discouraged when only a few seeds come up in your tray at first. They will grow sporadically 7 to 21 days from sowing. I like to mix a little regular potting mix into a seed germination mix to make it just a little bit heavier and richer. If you have enough room, start them in 72 cell trays, but if space is an issue you can use 125s or 200 cell trays. Bottom water the tray first to make sure the soil is nice and moist, then make 1/8" indents in the soil surface with the eraser end of a pencil and place 2 or 3 seeds in each cell. Cover lightly with a little germination mix and spray the surface with a water mist. Cover tray with clear dome and place on a heat mat with the grow lights (fluorescent tubes) just barely above the dome. Set your heat mat to 70˚ for the first week, but as soon as a few germinate, turn it down to 65˚.
Once your tray has some visible seedlings in it, remove the dome so they don’t get moldy, lower the lights to about 2 to 4 inches over the seedlings, and place an oscillating fan in the room to keep the air moving. After about 21 days, or when many cells have germinated, remove the heat mat altogether to keep seedlings from getting leggy. Water with mist or bottom soaking as needed, but let soil just barely dry out in between watering. The soil surface may look dark and moist, but misting alone will not be enough to keep the roots moist once they really start growing. Judge whether they need water or not by the weight of the tray in your hands.
After 7 or 8 weeks, your seedlings should have a few true leaves and be ready to move out to a protected spot, such as a greenhouse, hoop house, or cold frame. We turn our greenhouse heater to stay above 28˚ and keep the trays covered with frost fabric on cold nights. If you used smaller celled trays for germination, you will need to transplant them into larger ones at this stage.

Here in zone 6, we still get frosts in April—but delphinium are hardy, and as long as you harden them off thoroughly before planting, you can transplant the young plants out about April 1 (sooner if planting indoors). We plant most of our delphinium into outdoor 4’ x 10’ x 1’ raised beds filled with commercial potting mix for perennials that we buy by the pallet. Mix in your compost and organic granular fertilizer before planting. We space our delphinium at 8 to 9 inches in all directions. Make sure you don’t plant them too deeply, as they don’t like to have their crown buried. Generally, plant at the same level as they were in the tray.
This is important to remember: Delphinium must be supported with flower support net! If you skip this step, you will see all of your nice, tall, straight flower stems fall over into a jumbled mess just days before they are ready to harvest. Believe me—it is heartbreaking! I like to wait to put on the netting until flower stems are visibly about to shoot up. This way if you need to weed the bed, fertilize with fish emulsion, repair irrigation lines, or remove diseased plants, you can do so easily without netting in the way. We use rebar, t-posts, wooden stakes, or whatever we have on hand to support Hortonova flower support netting.
Delphinium can be susceptible to disease and caterpillar damage, but you can keep these problems in check by making sure the plants aren’t stressed. Give them good air circulation, keep them fertilized with fish emulsion applications, and apply BT either preventatively or at the first sign of damage. BT is an organic worm and caterpillar control that is available under many brand names as either a granular application or a spray.
By planting in several locations, you can stagger and extend your bloom time. We also order plug trays for September delivery and transplant them into ground beds covered with landscape fabric in the hoop house for earlier spring bloom. We are too busy in summer to start our own seeds, so ordering plugs is more convenient for fall planting. Then we start our January seeds and plant some of those in greenhouse beds and most in the outdoor raised beds. That way, we are assured of a pretty ready supply of delphinium from May through mid-July when it starts to get really hot, and then again in September when it cools down.

Harvest delphinium when the first 25% to 35% of the florets are open and place in clean water. For the health of the plant and better lateral stems, cut the stem all the way down at the base. Use tall, narrow buckets to support long stems, and don’t be afraid to cut stem length off the bottom if you don’t need them that long. They are just more prone to breaking during handling and transportation if they are too long. For retail customers, you can let the florets open more before harvesting, but once bees pollinate them they will shatter more quickly, so I like to harvest them pretty tight.
After you harvest one or two tall main stems, you will continue to get smaller lateral shoots which are useful in bouquet work and smaller arrangements. If bees and shattering are a problem, you can cut with as little as one flower open, and let the rest open in the vase, as long as the buds are fully colored and nice and puffy.
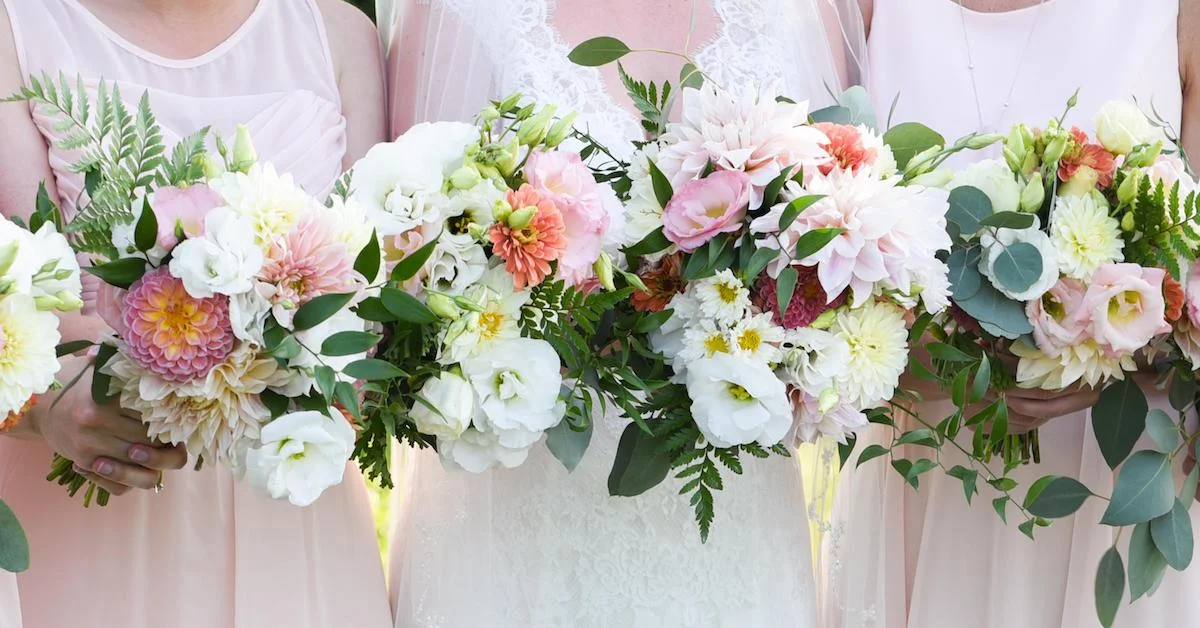
Delphinium will not have the highest dollars per square foot ratio of all your cut flowers, but for us, they fill a valuable niche in providing dramatic May and June blooms with a true blue color in both light and dark shades. Start with a smaller patch and investment for your first try, and you will probably fall in love and decide to add them to your yearly cutting garden. We tried one year without them and missed them terribly, so we have grown them 9 out of our 10 years of farming.