Best Practices for Flower Farming in New England

Flower farming in New England is not for the faint of heart. Blazing heat and humidity in the summer, frigid cold temperatures in the winter, wind, rain, snow—then throw in the occasional hail storm, hurricane or Nor’easter, and you know you need a resilient and determined personality (read: stubborn) to grow flowers professionally in New England. With a relatively short season in which to grow, season extension and succession planting are the keys to success, but learning to accept your zone and work within its natural cycles is also important. In this article, I will attempt to summarize some of the best practices for growing flowers in New England.
Be Realistic
With so many talented flower farmers sharing inspiring content on social media, it’s easy to get caught up in the excitement and want to try everything—but keep in mind that what works in regions like the Pacific Northwest and the mid-Atlantic is not always going to translate to success in New England. To keep your plans and expectations realistic, it’s helpful to look to farms in colder climates for inspiration—places like Minnesota, Michigan, Ohio, and Ontario. Accepting your zone’s limitations and working with its natural seasonal flows is more rewarding than beating your head against the wall trying to perform like a zone 7 in zones 3–6. Choose varieties that naturally thrive in your climate.
Set Up an Indoor Seed Starting Area
With an indoor seed starting area, you can begin your season even when there is still snow on the ground, but be careful not to start warm crops too soon. When you get antsy in January, choose perennials that bloom the first year from seed when started early, such as Delphinium, and cold hardy crops you would like to bloom in a hoop house in May, such as Stock. You can use cinderblock and board shelves with florescent lights from the hardware store, or purchase a rolling cart with shelves and lights built in. All you need is a small room you can keep at about 50 degrees in the winter—a barn office, basement, boiler room, etc. The heat mats and lights will warm the ambient temperature around the plants.
Practice Season Extension: Invest in a Hoop House
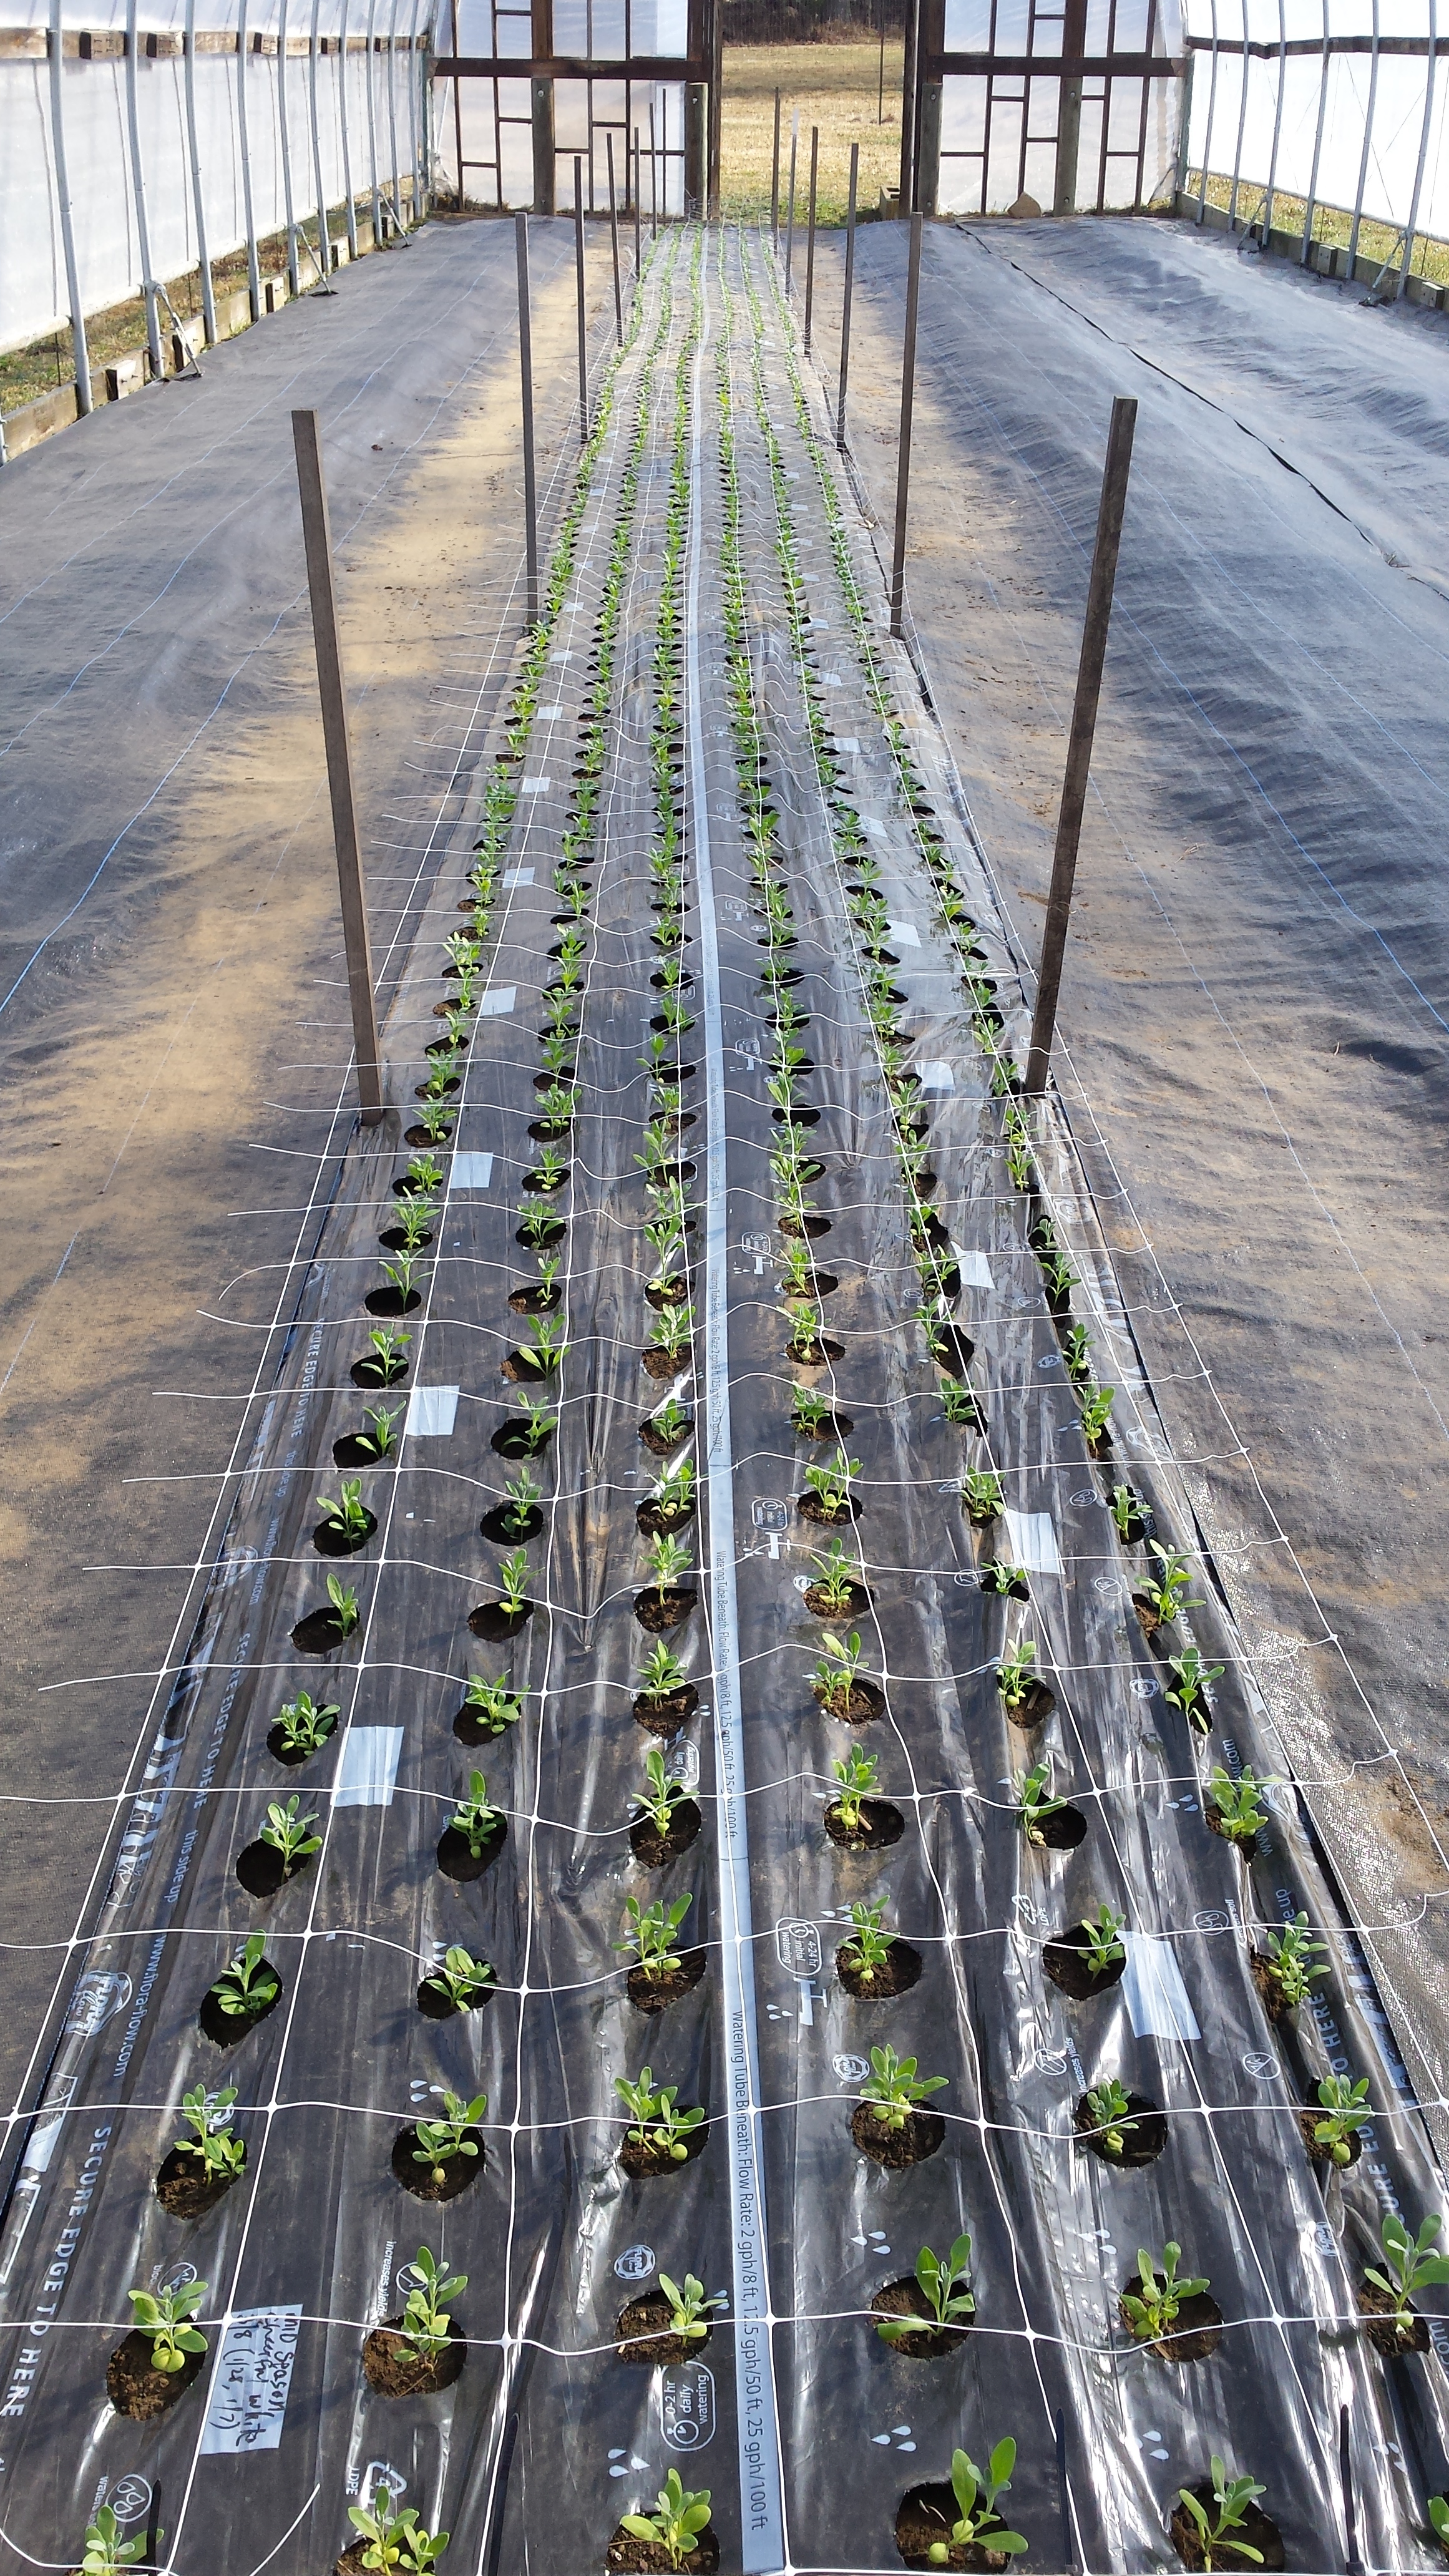
Season extension refers to growing flowers under some form of protection, such as a hoop house, greenhouse, or caterpillar tunnel, allowing for an earlier and/or later harvest that wouldn’t be possible without protection. In New England, some type of protective structure is key if you want to be able to harvest crops in April and May as well as October and November.
We prefer a hoop house over caterpillar tunnels because you can walk around and move in there without the added labor involved of removing and re-securing tunnel coverings to get to your crops. Plant some overwintering crops in the fall for an earlier spring bloom, or plant your winter-sown seeds in the hoop house in March, as you will see in the calendar below. Even in a hoop house, you need to plan on planting cold-hardy varieties that will thrive in New England. I once planted a whole house full of dahlias from cuttings as late as mid April and lost them all to frost inside the house. Stock, snapdragons, larkspur, feverfew and other cold-hardy varieties are better choices for spring planting.
Even if most days are 50˚ and nights 35˚, when flower farming in New England, you have to plan for the one day in the month that could be 20˚. If you don’t have a hoop house, you can still plant your most important fall bloomers together in one area, so if you have to cover them with fabric at the last minute to protect from an unexpectedly early frost, the process will be more efficient.

Don’t Skimp on the Hardening-Off Process
Hardening off is so important in New England, as I am sure it is everywhere. Before you plant your seedlings outside, you must expose them to gradually increasing doses of sun and wind. Put them outside in a protected location for a few hours where a gentle breeze can begin building their ‘“muscles,” and gradually increase the amount of sun and wind they are exposed to for about a week before planting out. Do not skip this step!
Use Cover Crops to Protect and Build the Soil
Cool season cover crops like peas and oats planted in the fall (or even in early spring) can provide some soil cover and nitrogen while you are waiting for the weather to warm enough to plant your summer annuals like dahlias, sunflowers, and zinnias. We love cover crops because they add organic matter, nitrogen, and also suppress weeds. They make the field look pretty and organized too, which is very satisfying.
Practice Succession Planting
Succession planting refers to repeatedly sowing seeds over a given period in order to create multiple harvests during the season. When I first started out farming, I used to spend the winter months making detailed charts, trying to pinpoint the exact “days to harvest” of every plant I was growing, counting back on the calendar to figure out planting dates for each item individually. This was ridiculously overwhelming and confusing, and I would inevitably get too busy during the season to stick to the complicated seed starting schedule I had invented.
I decided to simplify my process and do a huge wave of seed starting on the first of every month from January through July. This works great to keep your work flow sane and organized, especially if you have customers like CSAs or farmers markets where you have some flexibility as to what flowers you offer when. If you’ve promised florists a weekly supply of something, however, such as sunflowers or lilies, then you must make planting them every single week a priority. And if you are custom-growing for specific weddings, those start dates need special attention as well. Below I share with you a simplified version of our basic succession seed sowing calendar.

January: Start cold-hardy perennials and annuals you would like to bloom in May in a hoop house, such as delphinium, stock, and snapdragons.
February: Start cold-hardy annual fillers such as Queen Anne’s lace, feverfew, and strawflower. Sow another batch of stock and snaps for planting outside in April.
March: Transplant stock and snapdragon seedlings into the hoop house. Sow another wave of annuals under the lights.
April: Sow another wave of cool season annuals and begin sowing summer crops such as celosia, basil, and zinnias. Harden off and transplant February-sown cool season annuals outside.
May: Sow another wave of annual fillers and warm weather crops. Transplant warm weather seedlings outside after Mother’s Day or when threat of frost has passed. Transplant March-sown hardy annuals outside. Begin direct seeding summer crops in the field, such as sunflowers, zinnias, and cosmos. May is also dahlia planting time.
June: Sow another wave of annuals and any additional fall crops you might want—sorghum, millet, amaranth, ornamental kale, etc.
July: Sow the last wave of annuals and any biennials you have been wanting to try.

Plant Perennials & Woody Shrubs
Supplementing your seed-grown annuals with material you can cut from perennials and shrubs is very helpful, especially in that lean transition time between spring and summer. It’s nice to walk out to the field and be able to harvest a cartful of baptisia, yarrow, and ninebark foliage that you didn’t even have to plant or pay attention to that season.
These tips work for me here in Rhode Island’s coastal zone 6. If you live in colder parts of New England, you can just shift the dates to 4 to 8 weeks later to adjust for your last frost.