You are in for forty minutes of fun, laughter, and practical advice on this episode with Canaan Marshall! He is a ball of sunshine in a dark world! In addition to the joy he spreads, he has an abundance of knowledge to share.

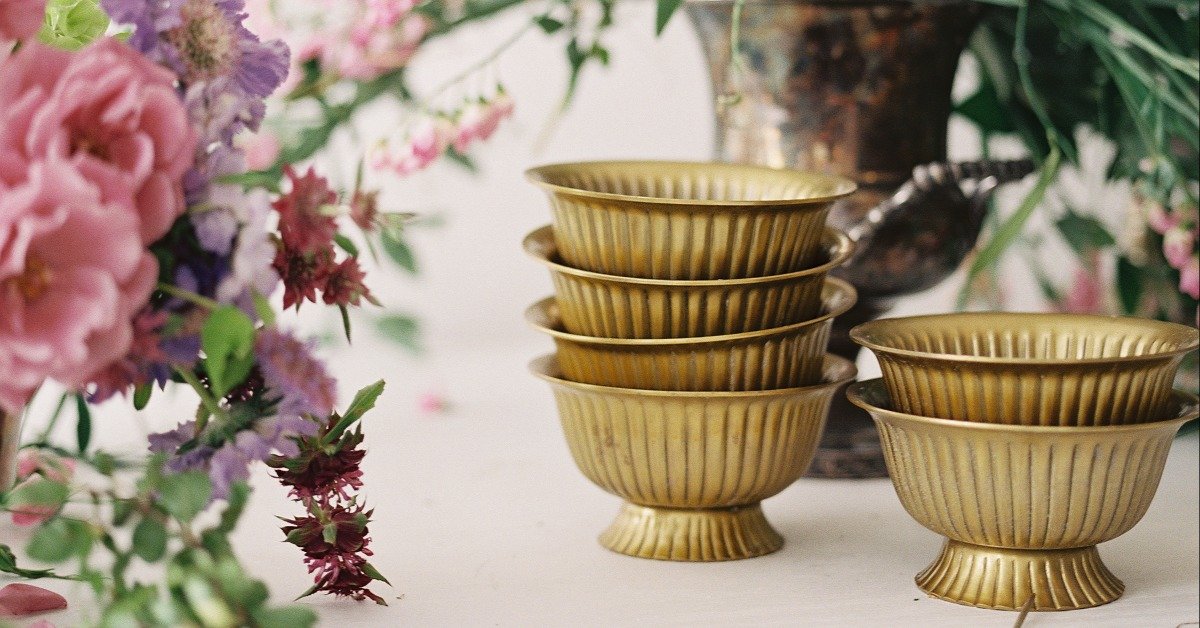
All tagged Mechanics
You are in for forty minutes of fun, laughter, and practical advice on this episode with Canaan Marshall! He is a ball of sunshine in a dark world! In addition to the joy he spreads, he has an abundance of knowledge to share.
Get a full list of the essential flower arranging tools that florists use. Discover where to buy florist tools, tips, and additional resources.
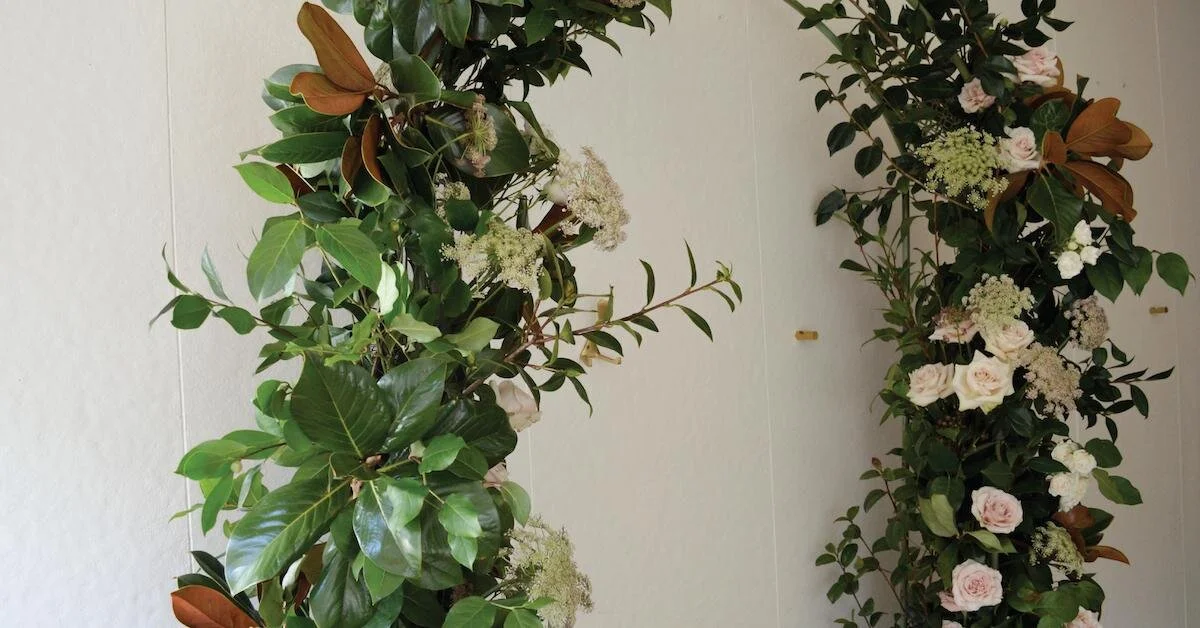
Have you ever had a bride send over an image of greenery sprawled on a wall and think “How on earth do I do that?” In this article, you’ll learn how to create and hang these masterpieces. Courtney shares her tips, tricks, and toolkit for building some unforgettable greenery displays on a variety of surfaces.
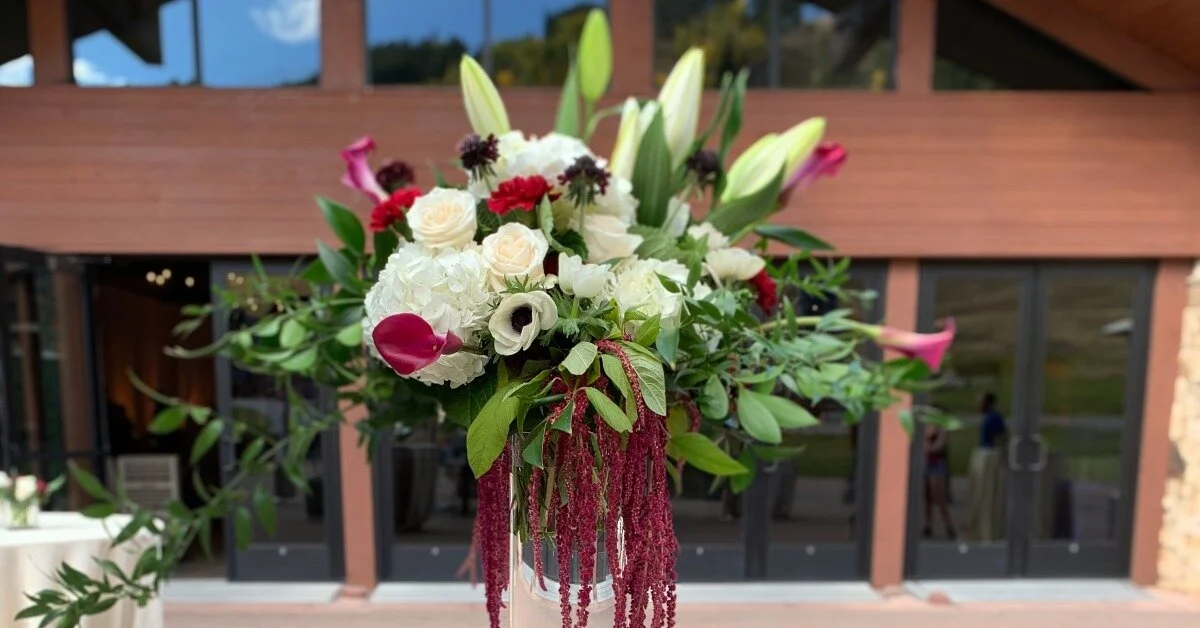
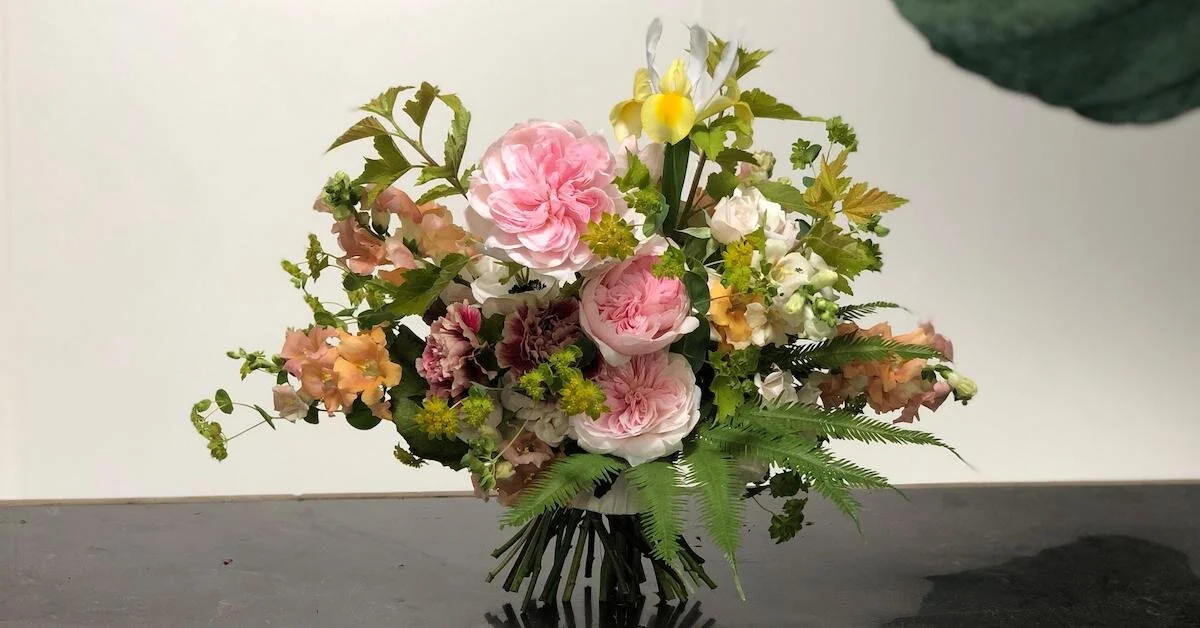
In this design highlight, floral designer Amy Balsters gives tips on how to liven up a bouquet in a white and green palette. In addition, she discusses how to use the spiral technique to create a variety of shapes.
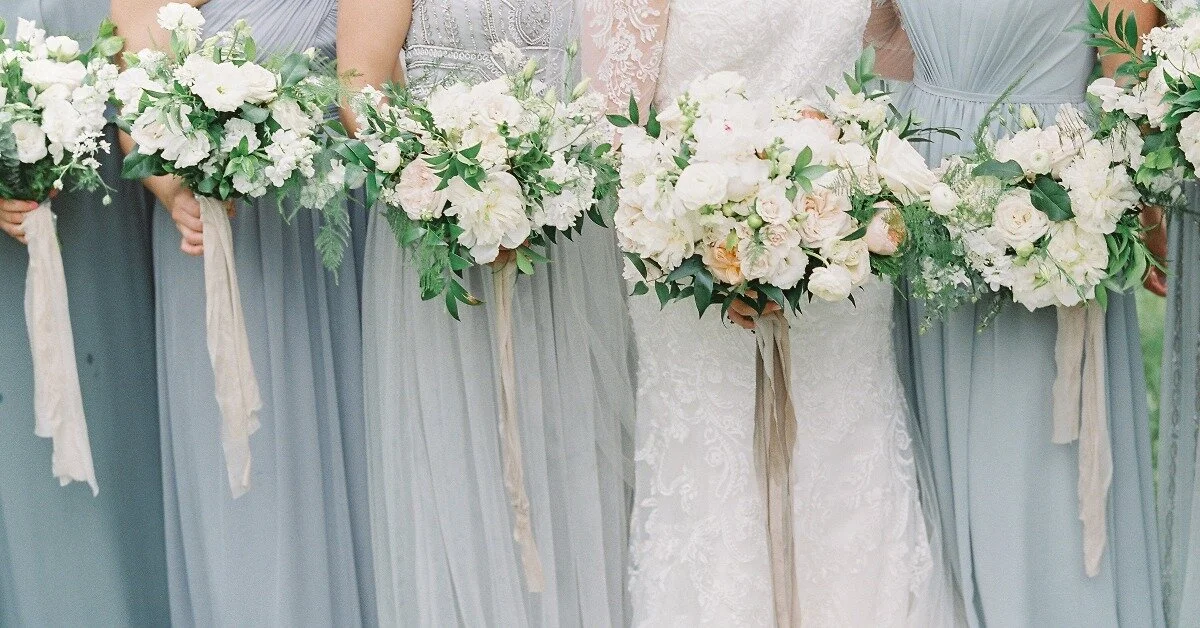
Don’t let gorgeous bridesmaid bouquet designs go to waste after the wedding ceremony—learn how to repurpose these bouquets in creative ways that make both budget-conscious clients and floral designers happy!
Mabel Maposa of Mabel M Florals is joining us all the way from Cape Town, South Africa! She is passionate about conducting her floral business sustainably and is sharing what is in her foam-free floral design toolbox!
Large-scale floral design is more popular than ever for weddings, events, and even photoshoot stylings. Here, learn about a floral mechanic that can help you build and transport large floral pieces more easily!
Without the proper mechanics, special requests for tribute and sympathy floral arrangements can seem quite daunting to floral designers. Read more to learn about solutions to these challenges that have recently been developed for our industry.
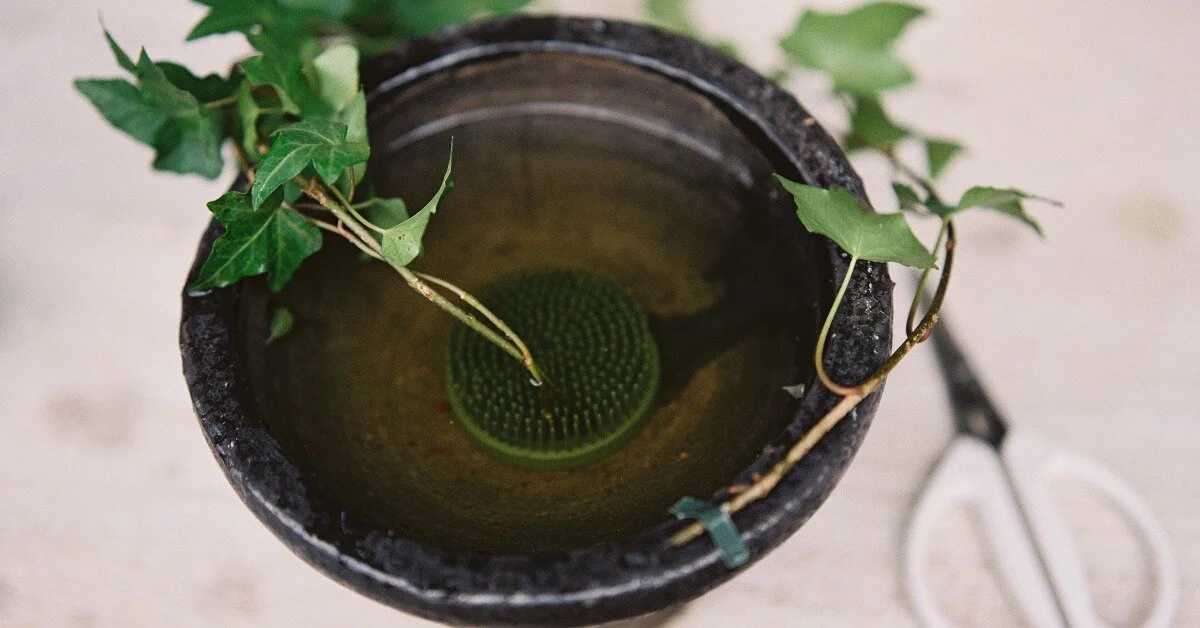
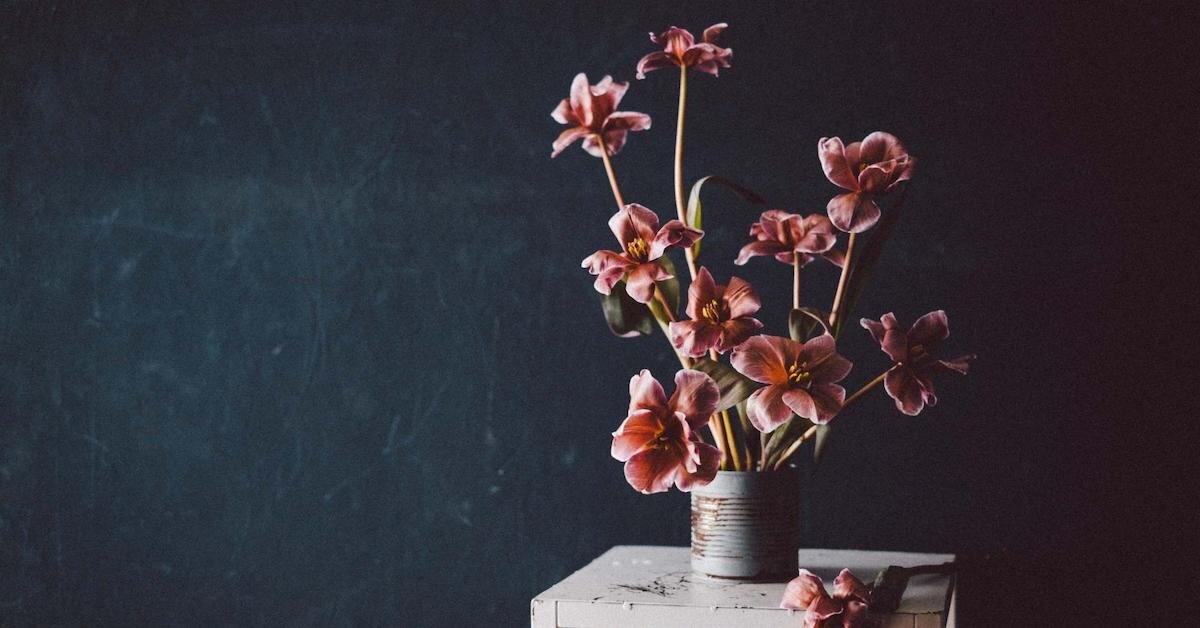
Flower frogs (also called kenzans or pin frogs) are a floral arranger’s best friend. They’re reusable, durable, eco-friendly, and lend themselves to helping you create gorgeous, lush garden-style floral designs—in addition to exquisite, minimalist floral creations. Here’s how to use them, where to buy them, and more!
Sharon Hays takes you on a comprehensive look at how to build caterpillar tunnels to overwinter your ranunculuses, anemones, and any other blooms that require winter protection.
Have you used the classic floral tape grid mechanic in the past? It can be time-consuming, and it isn’t reusable. Enter the DIY Floral Grid—it serves as the reusable fix to the traditional tape grid used in flower arranging. In this article, learn how to use it (as well as how much time and money it can save!)
What are the three levels of an arrangement, and why should we be thinking about them as we design? In this video, Kelly walks you through the design principles of balance, shape, and rest and how she used them to guide every piece she creates. These three principles are the building blocks that lead to efficiency, balance, and freedom in design!
Believe it or not, building a reusable floral backdrop is super straightforward. If you’ve never built anything before and the idea is stressing you out, don’t run yet—you can totally handle this! And we’ll give you step-by-step instructions.
Create DIY hand-dyed silk ribbon by following this simple guide with photos. Learn how to make silk ribbons with natural dye—it’s easy and affordable!
You may have heard of a kenzan (also known as a flower frog), a magical little tool used in ikebana and Oriental floral art. Explore the benefits and applications of this tool outside of ikebana with floral designer and Team Flower Member Daria Bokova.
In this video I show how to use netting, foam and a tape grid together to support floral elements in a creative way! What happens when you want to use flowers who need different levels of support? What if you have an idea for a design that needs firm support in one area and loose support in another? That’s when using multiple floral mechanics is helpful!
Transcript
Hey, I'm Kelly. Welcome to "Team Flower." Today, I'm going to create a winter arrangement with you, and I have just five simple ingredients, golden raintree, and I have some of the pieris japonica, foxtail lilies. I have some grass. This is the grocery store grass just from the little field beside the grocery store, and a poinsettia from the grocery store. So all things that-- this is probably if you're going to go out there and practice an arrangement that's similar to this, this is probably going to be the thing that you might have a little bit of trouble finding, but you really don't need this specific type of thing. You just need something that's long and reaching and has a little bit of a bend to it.
So I'll talk about the purpose of the ingredients. The purpose is really the most important part. You can substitute with anything that fills a similar purpose and recreate a similar look.
Now, in terms of mechanics for this arrangement, I'm working in, I guess this is what I like to call the sailboat shape. But if you can come around here and just get a close up of how we have this set up. A lot of times I talk about wire, wire foam, and frogs and tape. There's lots of different ways to put together the mechanics for your arrangement.
And I like to choose those things based on the ingredients that I'm putting in the arrangement, not just what my preference is because I think sometimes people get locked into, well, I only use frogs or I only use foam or those kinds of things. But not all flowers perform really great in foam, but some flowers really need that really strong, stable thing. This container doesn't allow me to have a frog in here, at least not the shape. I just have the round ones in the studio right now. And just the way that it's shaped, it's difficult to really secure a frog in there really well.
So I thought through, well, how is the end of the design going to look? What are the components for mechanics that I can use to put together so that every flower's need is taken care of? So usually my technique for mechanics is a little bit simpler than this, but for this arrangement, in particular, I think it's important to have these different components.
So I'm going to fill this up too tall so I can tip and show, but you'll see I have a layer of chicken wire in here deep inside the bowl. And then I have a little piece of foam over here on my right-hand side, and then I have some tape grid over top of that. So this foam is important for the foxtail lily, which is really heavy and has a very thick stem.
The chicken wire, we can easily handle. The pieris can go in that. And this grass, I didn't put the foam to the edges on both sides because I need a little bit of room for the grass to go right into that chicken wire.
So I just wanted to share that with you as you're thinking through arrangements that you could be making. You can configure these in any type of way to meet the needs of the flowers, the ingredients, the end place that it's going to really serve your client best and meet their needs. And this one is just going in the house, so I'm not concerned about water sloshing in the car or anything like that. And if I was, I would just tip out water and refill whenever I got to my destination.
But without any further ado, let's go ahead and get started. I am going to begin with the pieris as the base in my creation here today. And right now, we're establishing the shape and the size of the arrangement. And this ingredient, while I am going to use the foxtail and the grasses are going to play an important role in shape and size as well.
This is really that low piece that the other flowers can be supported by, but it's also a pretty important shape component as well. So rather than just only using it to cover it down here in the rims, I see it being a pretty prominent piece.
So before I got started, I surveyed all the ingredients that I had, and I thought in my mind how would I like to go about arranging them, what are their strengths, how can I showcase them the best. And with the pieris, I really love the idea of it being dominant on one side, a little bit heavier on one side, but still having a little touch of it over here because I imagine these foxtail lilies shooting up in this area. So that's going to add some visual weight and balance it out over there.
So this is what we're looking at over here right now. And I'm designing this. I think if I have extra ingredients, I might go back in and finish up the back side, but I'm imagining this arrangement with what I have available to me just being one sided and being placed up against a wall and show cased in that light. So it's a silhouetted end use is what I have in mind. When we're really focusing on, the lines that are being created here, not as important that we have a finished back in this case.
So there's the main shape and silhouette that I have going with the pieris, and I'm going to add some of the grasses. The grocery store grass is next. I want those to shoot up and flow out over to the right side. And these are something that necessarily need lots of water right now. They're already pretty dry.
So what I'm going to do is do a little bit of a measure here, and then I'm going to bind them together so that they stay hanging out as a club whenever they get mixed in here with the rest of the flowers. And if the position isn't quite right and we need to pull the binding apart, that's no biggie. But that's what I think will perform the best, which you don't know until you get going. Every arrangement is different. Every flower group is different.
So now I've just got those together. Now, they're all one stem as opposed to being many, and that makes it easy to get it situated in here. Drama. Drama. Grass drama. Pretty fun.
So these foxtail lilies I saw as being really the backbone of this arrangement, so I'm going to add those next, nice and tall and reaching that uppermost point. And I thought it be a fun contrast with these really light grasses. The grasses really give us quite a drama moment too. But these add that touch of stability, and they have so much personality with their little curves.
And this tall one, if I just only use the tall one and I have a thing. I have naked stems very much. Sometimes they're fine, but for this, I like using the two pieces to work together to keep the flower beds going the whole way down into that base. And I think I'm going to stop with those for now. There could be another one. It depends what suits you, gives it a heavier look.
See whenever they're here at the same angle, they look like little-- I'm going adjust that a little bit. I don't know what littles they look like, but you just need to adjust the height of them so they don't look like, we'll call them ears. So that gives us a little stair step.
And the last ingredient, well, we have two more. We've got the raintree yet. And this I thought would be this pretty coming down and spilling out along with the pieris, little accent for that.
And since these don't need to be in water at all, you can use that pieris to tuck them in. Since some of them have shorter stems, you can touch them in and support them in and among the pieris. And you'll see I do have there is lots of open space in here. The mechanics are totally visible right now. That's something that we'll address.
But whenever you're doing something that is a little bit more sculptural, you need the negative space deep down inside here. So if you start filling that up too quick, too fast, then you really lose the interesting silhouette of the foxtail lily and things like that. So under here, this is an opportunity where just some light layering of moss can go in, trachelium, things like that that are very flat.
And in this case, I'm probably going to do a little bit with the poinsettia, just a leaf over top of the mechanics. Very, very subtle. So it's around Christmas time up here in the mountains, so the grocery stores, the poinsettias are out in the masses right now.
I love to get this poinsettia right in the water, directly in the water. Poinsettia does have the white sap. And so whenever that bleeds out, it will bleed out and will form little scab. The sap will eventually stop coming out of the plant, so it's important when you create an arrangement like this with a flower that has that, some people recommend clipping it, putting in water, letting it all run out and then switching it into a new bucket. So they say cut them at the length that you would want when you go in the arrangement. Well, sometimes when you're making the arrangement, you're not quite sure how long you need it to be.
So when you're planting, you can clip and let it sit in a little vase beside you and test it out, and then let it drain out and put it back in. What I'm going to do today is I'm going to put it in, I'm going to let it drain, and I'm going to flush the water. Just want to keep the water clean. But all of these plants are being clipped, and they're taking that first drink. So you if did do that, I'd recommend adding this one in a little bit later after they've already had a chance to get some of their water out.
But I could also just clip and pop them in my little vase here as well. So that is up to you. You can do some experiments and see what kind of difference it makes.
Now, we're just adding those poinsettias in there. I think I really could have stopped before, but these are that nice little focal point, and by little I mean big. Focal points are big, but I think with this, with the emphasis that we had on the shape and the way that the lilies came up and out, I think it could have easily been done before.
So we're at that matter of preference point. It's all a matter of preference, actually, but the principles are what help guide us. So we can interpret them a lot of different ways. So my dominant principle before I added the focal point could have just been the line of the foxtail lily. It works both ways.
All right. So that's what I've landed with and where I'm going to hang out and quit. But I am going to just go back over with some of the poinsettia and the raintree and just do some low coverage in here at the bottom to cover mechanics. But that's all, nothing really interesting to see there with that.
So here you have it with the poinsettia, and I will pop these out so you can see and get a visual again if the line was going to be the dominant principle, how that would change the overall composition. So there you have it. Thanks for watching.
Are you looking for ways to create a wedding arbor without floral foam? This article gives you a supply list and step by step guide to designing a wedding arbor foam-free!
In this video, I’m demonstrating how you can use a floral egg to create a sculptural bouquet. My friend Holly Chapple designed this helpful mechanic for arranging both bouquets and centerpieces!
I’m excited to share my moss roulade technique with you! It’s my go-to base for a foam-free flower spray, and I use it for the majority of the wedding arbors I make because it's a versatile and easy technique (one that is even reusable!).