Floral Tools 101: Your Guide to Fundamental Flower Arranging Tools
Every floral professional (or hobbyist!) needs a set of tools to arrange, process, and care for their flowers.
Flower arranging and floral design work can be relaxing, inspiring, therapeutic… and a little technical. If you’re ready to take your floral design hobby to the next level—or if you’re taking steps to become a floral designer or farmer-florist—there are some essential floral tools you’ll need for fundamental flower arranging basics.
In this guide, you’ll learn what kind of floral tools you’ll need (and when to use them!). You’ll even get recommendations for free resources and videos that show you how to use these tools the proper way—that way, you can design more confidently.
Keep reading, because you’ll also get helpful lists of recommended tools for where you are in your floral journey.
In this article, you’ll cover the following:
Florist tools for different stages of your floral journey
You’ll have different flower arranging tools and supply needs based on your floral design goals. Your floral toolkit might be a little lighter if you’re a hobbyist. And if you’re someone who is opening a floral design business, your floral tool needs will be a bit greater.
We’ll cover both sets of needs in this article.
So whether you’re designing the florals for your best friend’s wedding as a one-time thing or going all-in on your floral business dreams, we’ll cover the essentials you need!
List of essential floral arranging tools to build a bouquet
Let’s start at the basics. If you’re a floral design hobbyist or an avid gardener who loves creating bouquets for neighbors and friends, these are the floral arranging tools you’ll need to get started.
Clean snips or clippers. An excellent pair of clippers go a long way in floral work. Keep them clean and disinfected between uses to reduce the spread of disease between plants, and you’ll enjoy them for years to come.
Light gloves. A lightweight pair of gardening gloves that offers protection from thorns and floral chemicals will come in handy.
Bouquet ties. Ribbon, rubber bands, or twine work great. If you’re dressing up your bouquet as a gift, choose a simple ribbon over rubber bands—but even kitchen twine can make for an adorable presentation.
Bouquet wrap. Recycled newspaper, craft paper, or tissue paper works well to dress-up floral bouquets for gifting to neighbors and friends.
Scissors. A clean pair of good scissors come in handy for cutting ribbons and paper.
Containers. These are nice-to-have but aren’t exactly necessary if you’re giving away bundled bouquets. But your bouquet will need a water source until you deliver it. A simple vase, thrifted and saved jelly jars, and glass vases from the dollar store do just fine to deliver your homemade floral creations with a bit of water to friends.
Ready to get official floral tools, so you’re always prepared for your next bouquet-building endeavor? Check out our floral toolkit with perfectly and beautifully curated essentials that everyone needs!
List of basic florist tools for a table arrangement
If you’re building table arrangements—whether it’s for event centerpieces or an end table in your own home—here’s what you’ll need to have on hand.
Important note: Some of these items are repeats from the bouquet flower arranging tools listed above, but they’re also needed for centerpiece arrangements. So you might already have some of these items available to you!
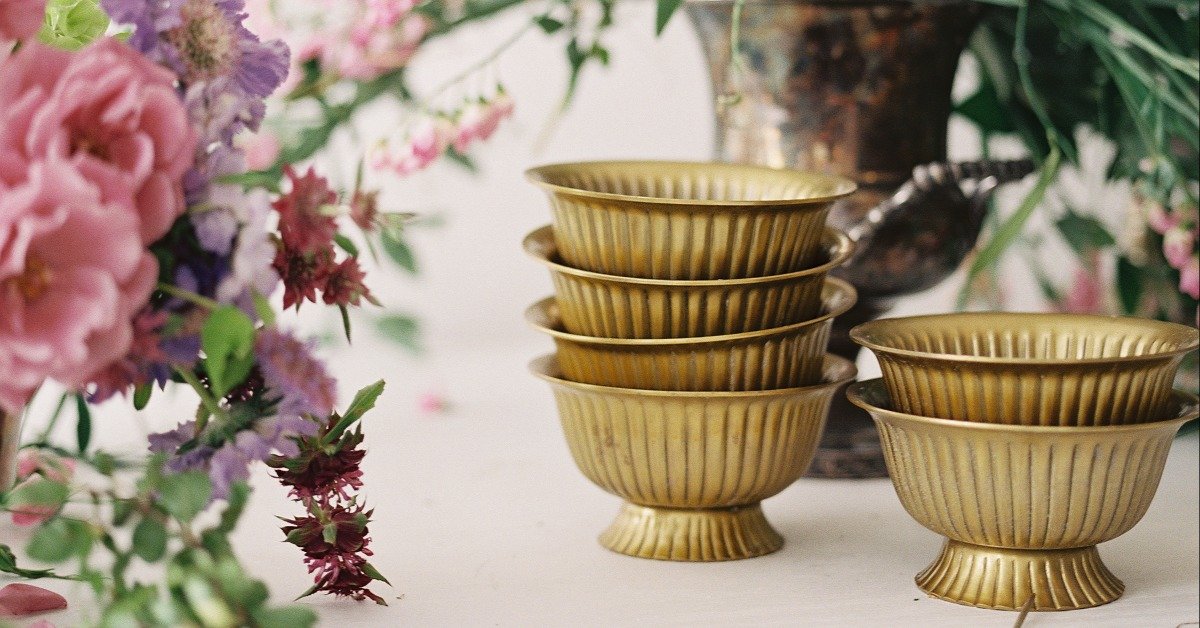
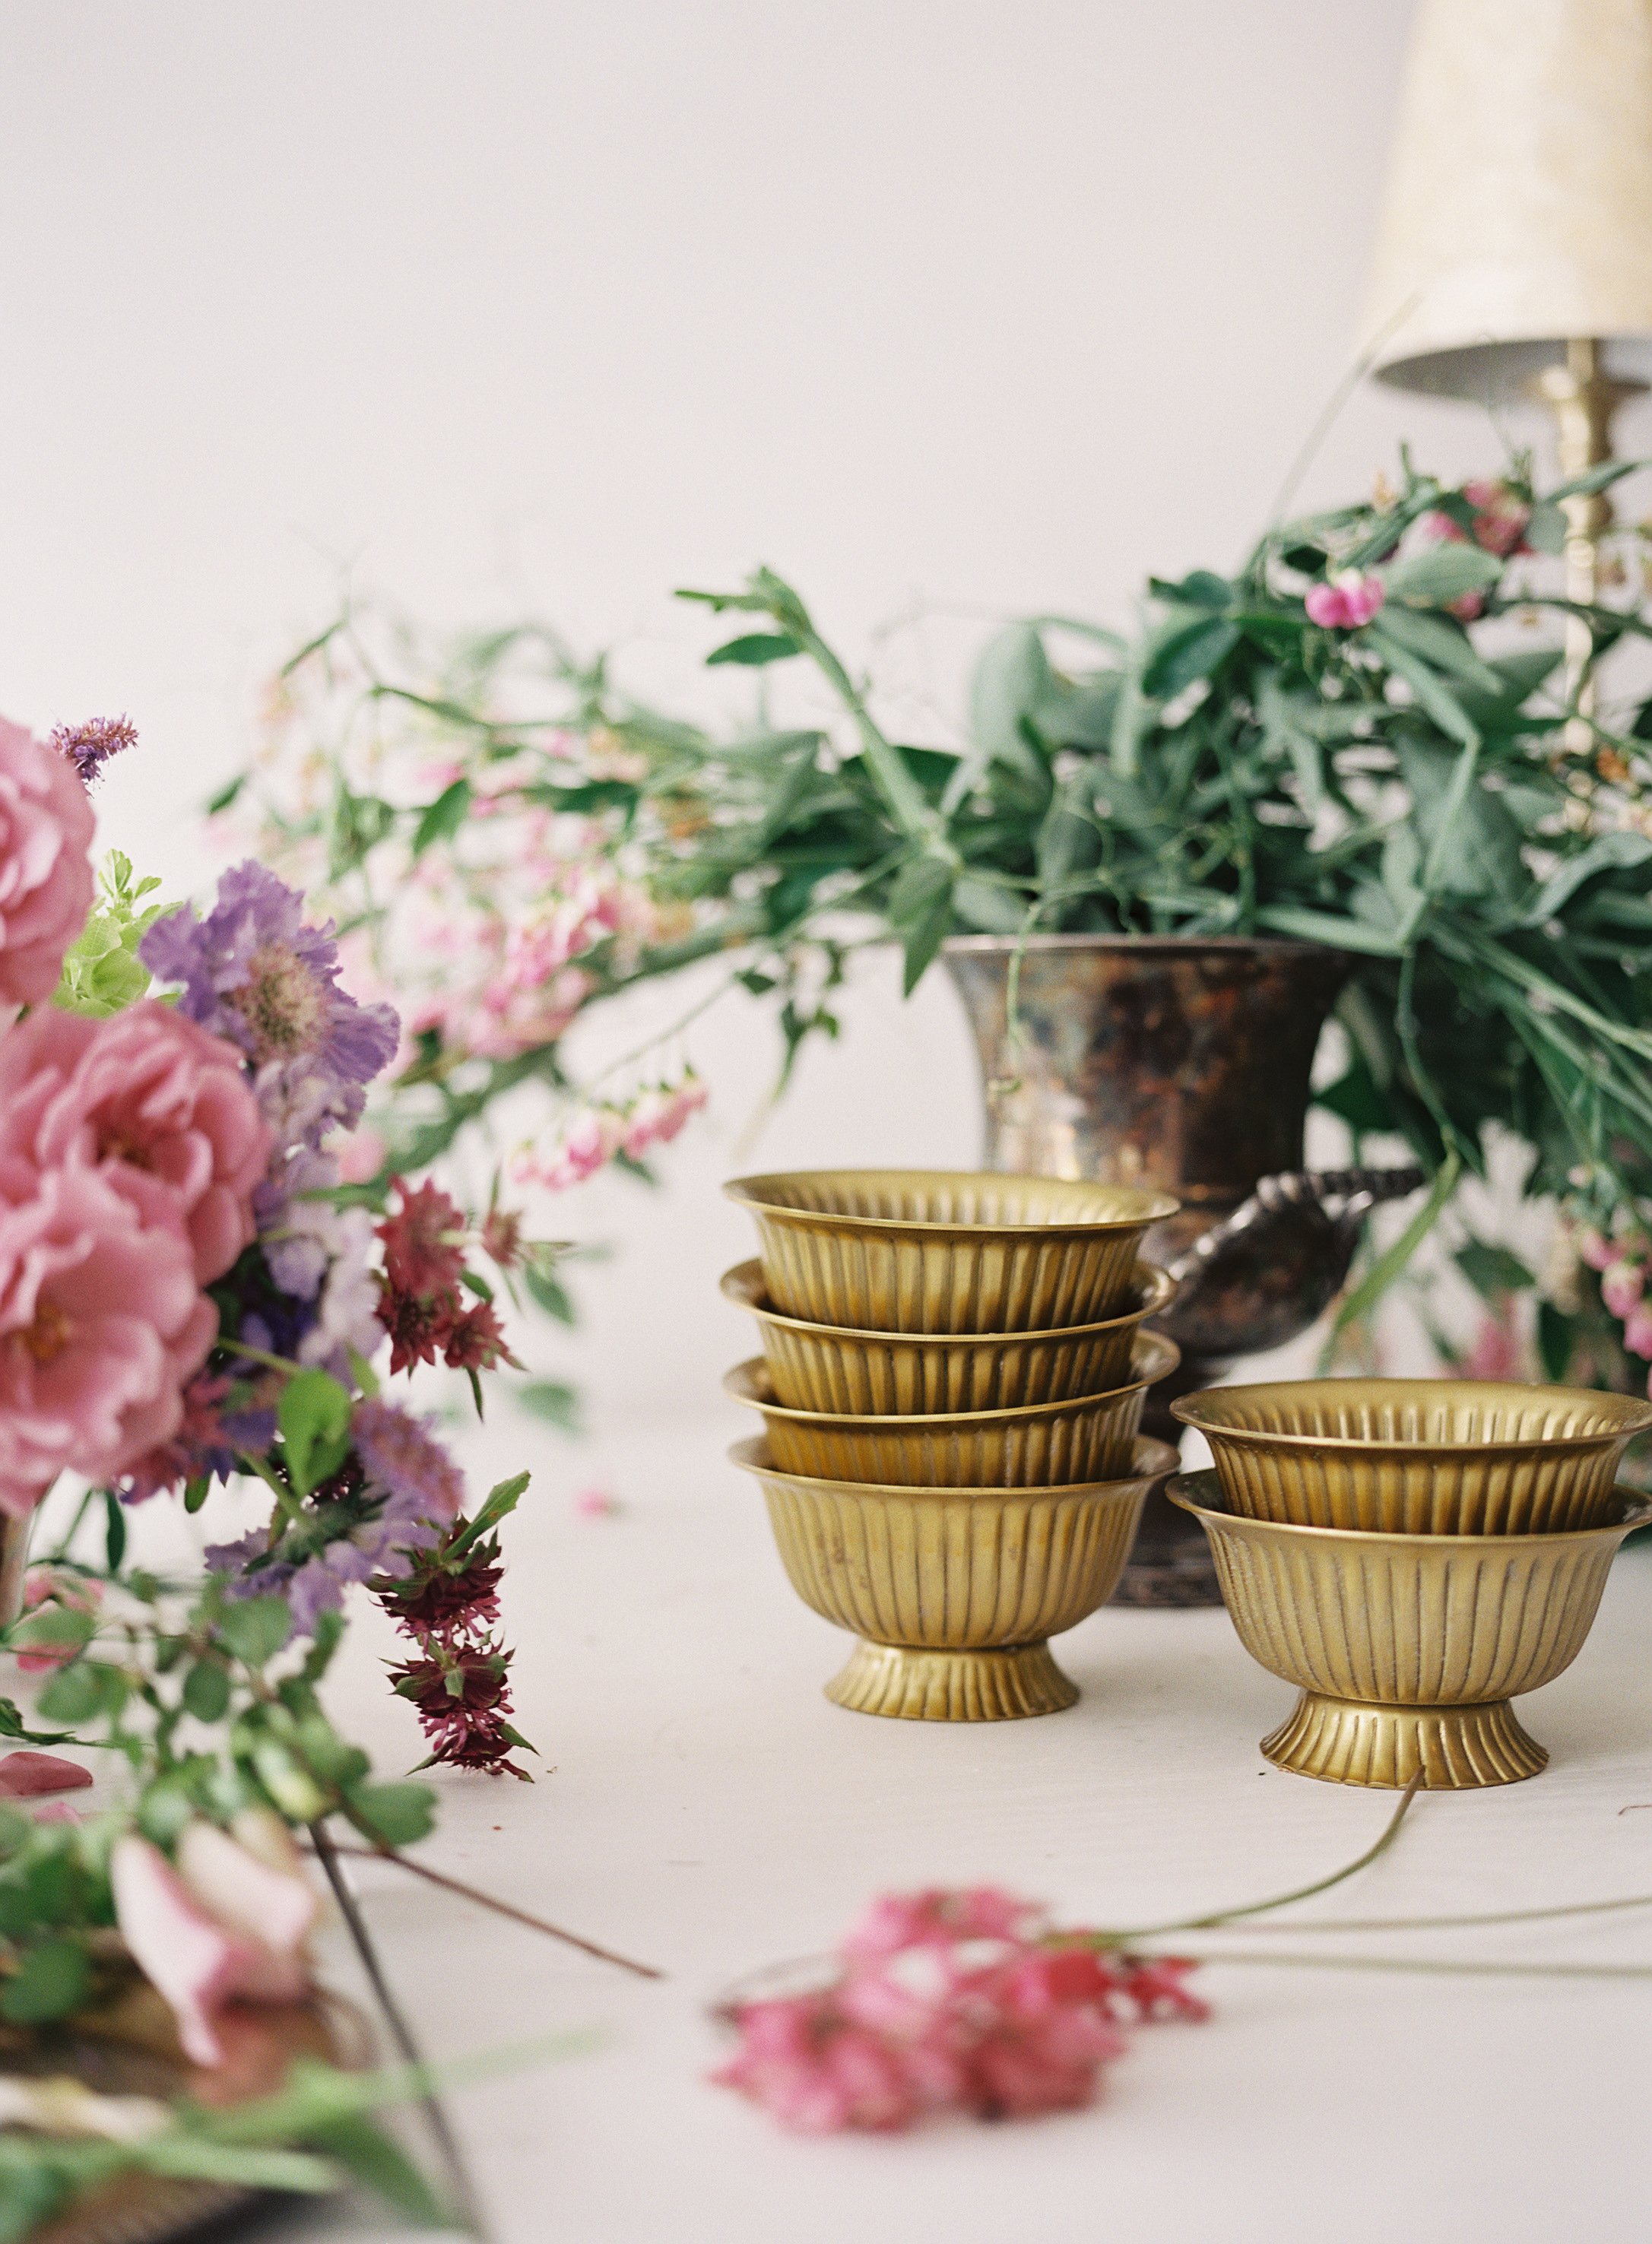
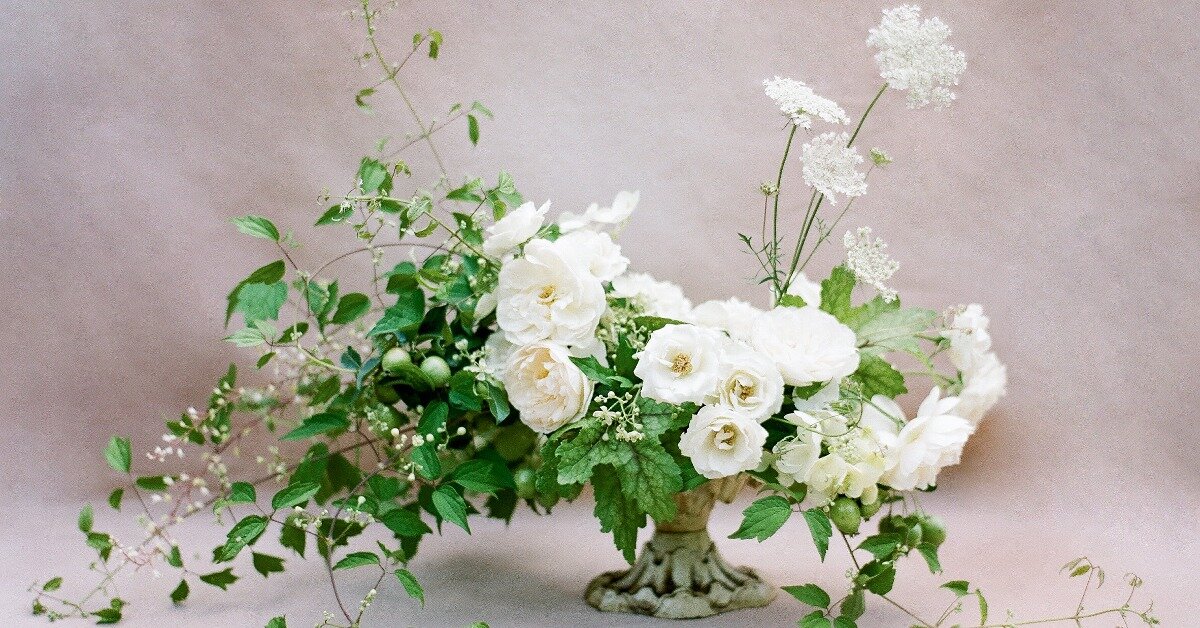
You’ll need compotes like the ones pictured above for floral arranging.
Clean snips or clippers. Remember, keep your clippers clean and disinfected between uses!
Containers. The right container can help your table arrangement shine. But remember, sometimes a simple thrifted vase or jar is all that’s needed!
Light gloves. Light protective gloves can offer protection from thorns and floral chemicals.
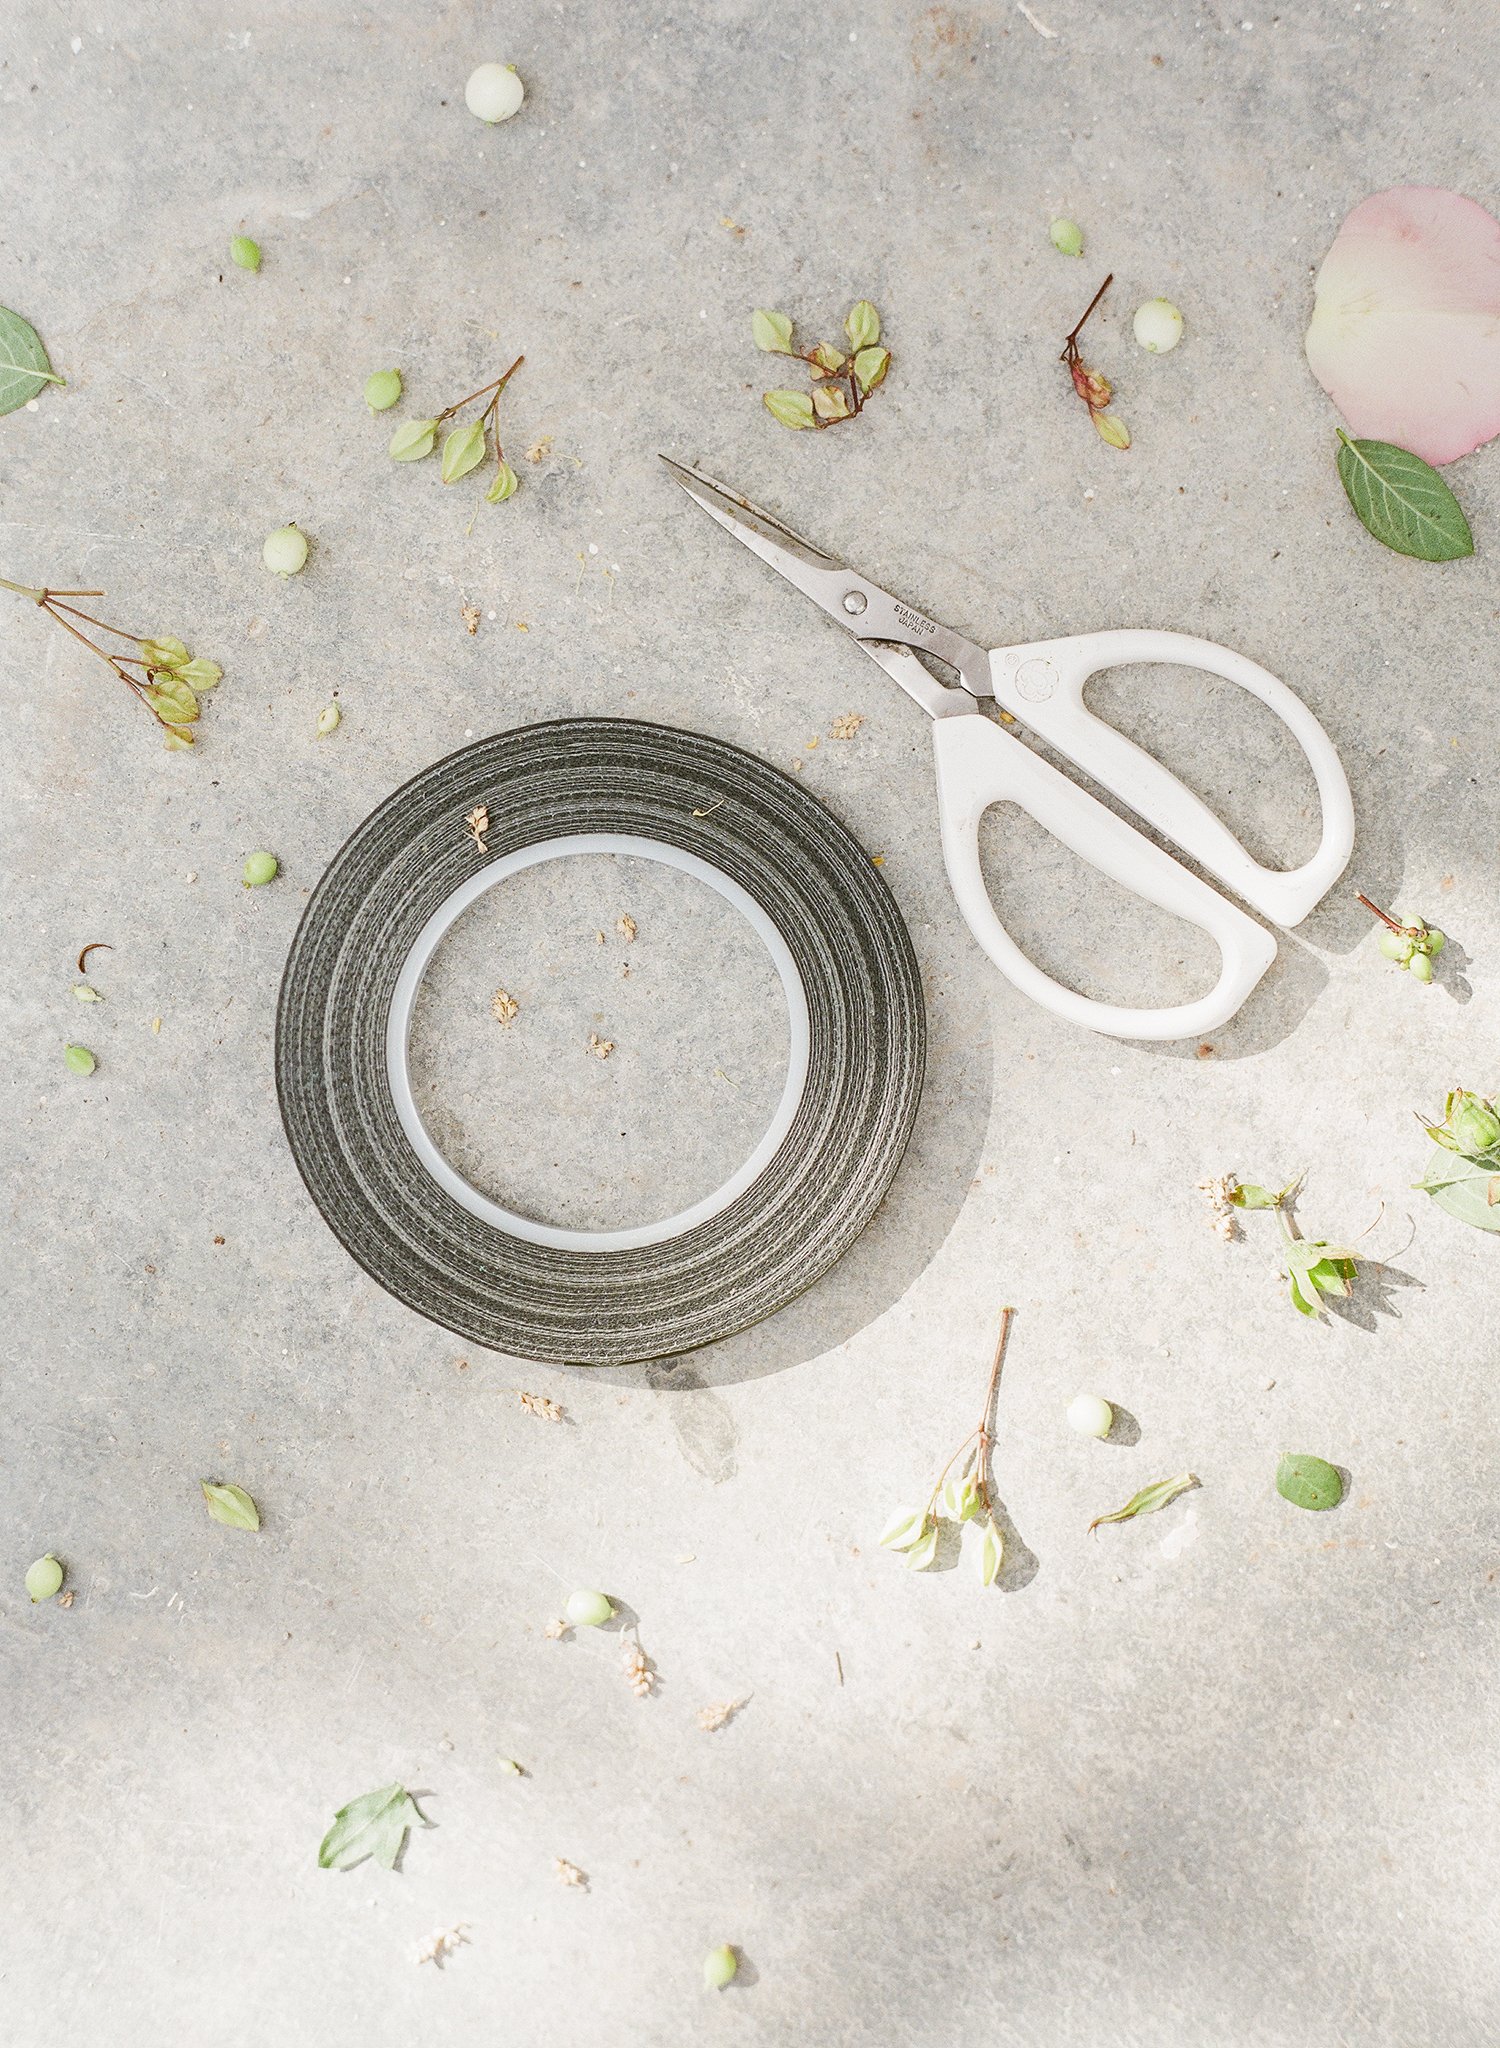
Waterproof clear floral tape. Clear waterproof floral tape allows you to create a grid on top of your chosen container to support and place your blooms. It can help the flowers stay in place if you’re delivering them as a gift. Or check out this DIY Floral Grid.
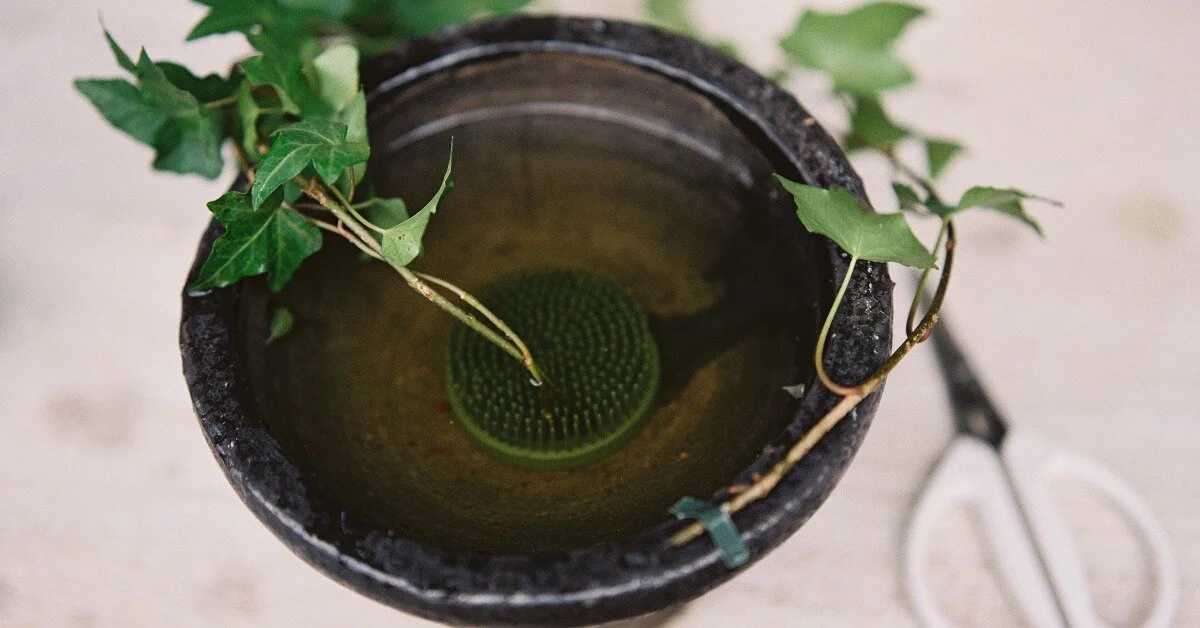
Flower frog. Professional floral designers love flower frogs, and they’re a reusable workhorse of a floral design tool. This isn’t an essential tool for a basic home floral arrangement, but it’s wonderfully nice to have and know how to use. (And it can eliminate the need for floral tape.)
Watering can or nearby water source. A watering can with a long, thin spout can allow you to add additional water after bloom placement more easily.
Notice we didn’t add the green floral foam that you’re likely to see in the floral section at craft stores to this list.
Some professional designers love to use floral foam as a floral tool, some use it very sparingly, and others avoid it as much as possible for sustainability reasons. We’ll discuss alternatives to floral foam later in this article!
Core Floral Tools for New Floral Designers
Are you working toward becoming a florist? Here are the core floral tools you’ll need on hand as you dive into your new career!
Floral clay is waterproof and sticky and is the best tool to adhere your flower frog to your container.
Remember: Some of the tools listed here are repeats from above—but you’ll definitely need those too. Make sure they’re available to you!
Clean snips or clippers. Remember, keep your clippers clean! You also might want to include a couple different types in your collection as you grow.
Light gloves. There are many chemicals used on cut flowers. You’ll be working with them quite a bit, so protect yourself!
Floral clay. Waterproof florist sticky clay lets you anchor floral mechanics to your container, even when wet! Use it to secure flower frogs (and even chicken wire if needed) to the bottom of your container.
A lazy Susan. Having a rotating platform on hand helps you quickly get a 360-degree view of your floral work.
Floral wire. Floral wire is one of the tiny powerhouses of floral design—when you know how to use it correctly! Wire tricky blooms to stay in place and upright in bouquets, boutonniere, and more. Learn how in our Advanced Floral Wiring online class.
Flower frogs. Having a collection of flower frogs on hand is key—you can often find them through thrifting, or check out FloralGenius for our favorite flower frogs.
Floral cage or pillow. In a way, floral cages or pillows function as a reusable tape grid floral mechanic. They’re usually green or clear plastic and come in various shapes and sizes. You set them on top of your vessel and tape it down or build a bouquet with them, using the grid to guide and support the placement of the flowers.
Waterproof clear floral tape. Remember, clear waterproof floral tape can create a grid on most containers to support and hold bloom placement.
Watering can or nearby water source. This is self-explanatory. Flowers need fresh water! But when you’re creating a large number of arrangements and moving buckets around, a close water source is key.
Spray bottle. A clean, empty spray bottle will come in handy for spritzing blooms.
Chicken wire. Nope, you’re not building a chicken coop. Chicken wire is handy as a core floral mechanic, helping you place and support blooms for beautiful arrangements. (Learn more about how to use chicken wire in floral arrangements.)
A container library. Here, you’ll want to ramp up your container game a bit. Having a variety of container shapes and styles on hand allows you to play and get creative with the style of table arrangements you create. Check out our staff-favorite Accent Decor containers and 18 centerpiece vessels and event decor pieces for ideas to add to your container library. You can also thrift different basic container styles and vintage pieces to get a head start.
Cold glue. Cold floral glue can help you build just-right personal flowers, like boutonnieres, corsages, and even floral collars for pets! Learn how to use floral glue here.
Hot glue. You can use hot glue with fresh flowers, but be careful. It can be helpful to have in your toolkit to adhere heartier botanical pieces, like greenery and woody stems.
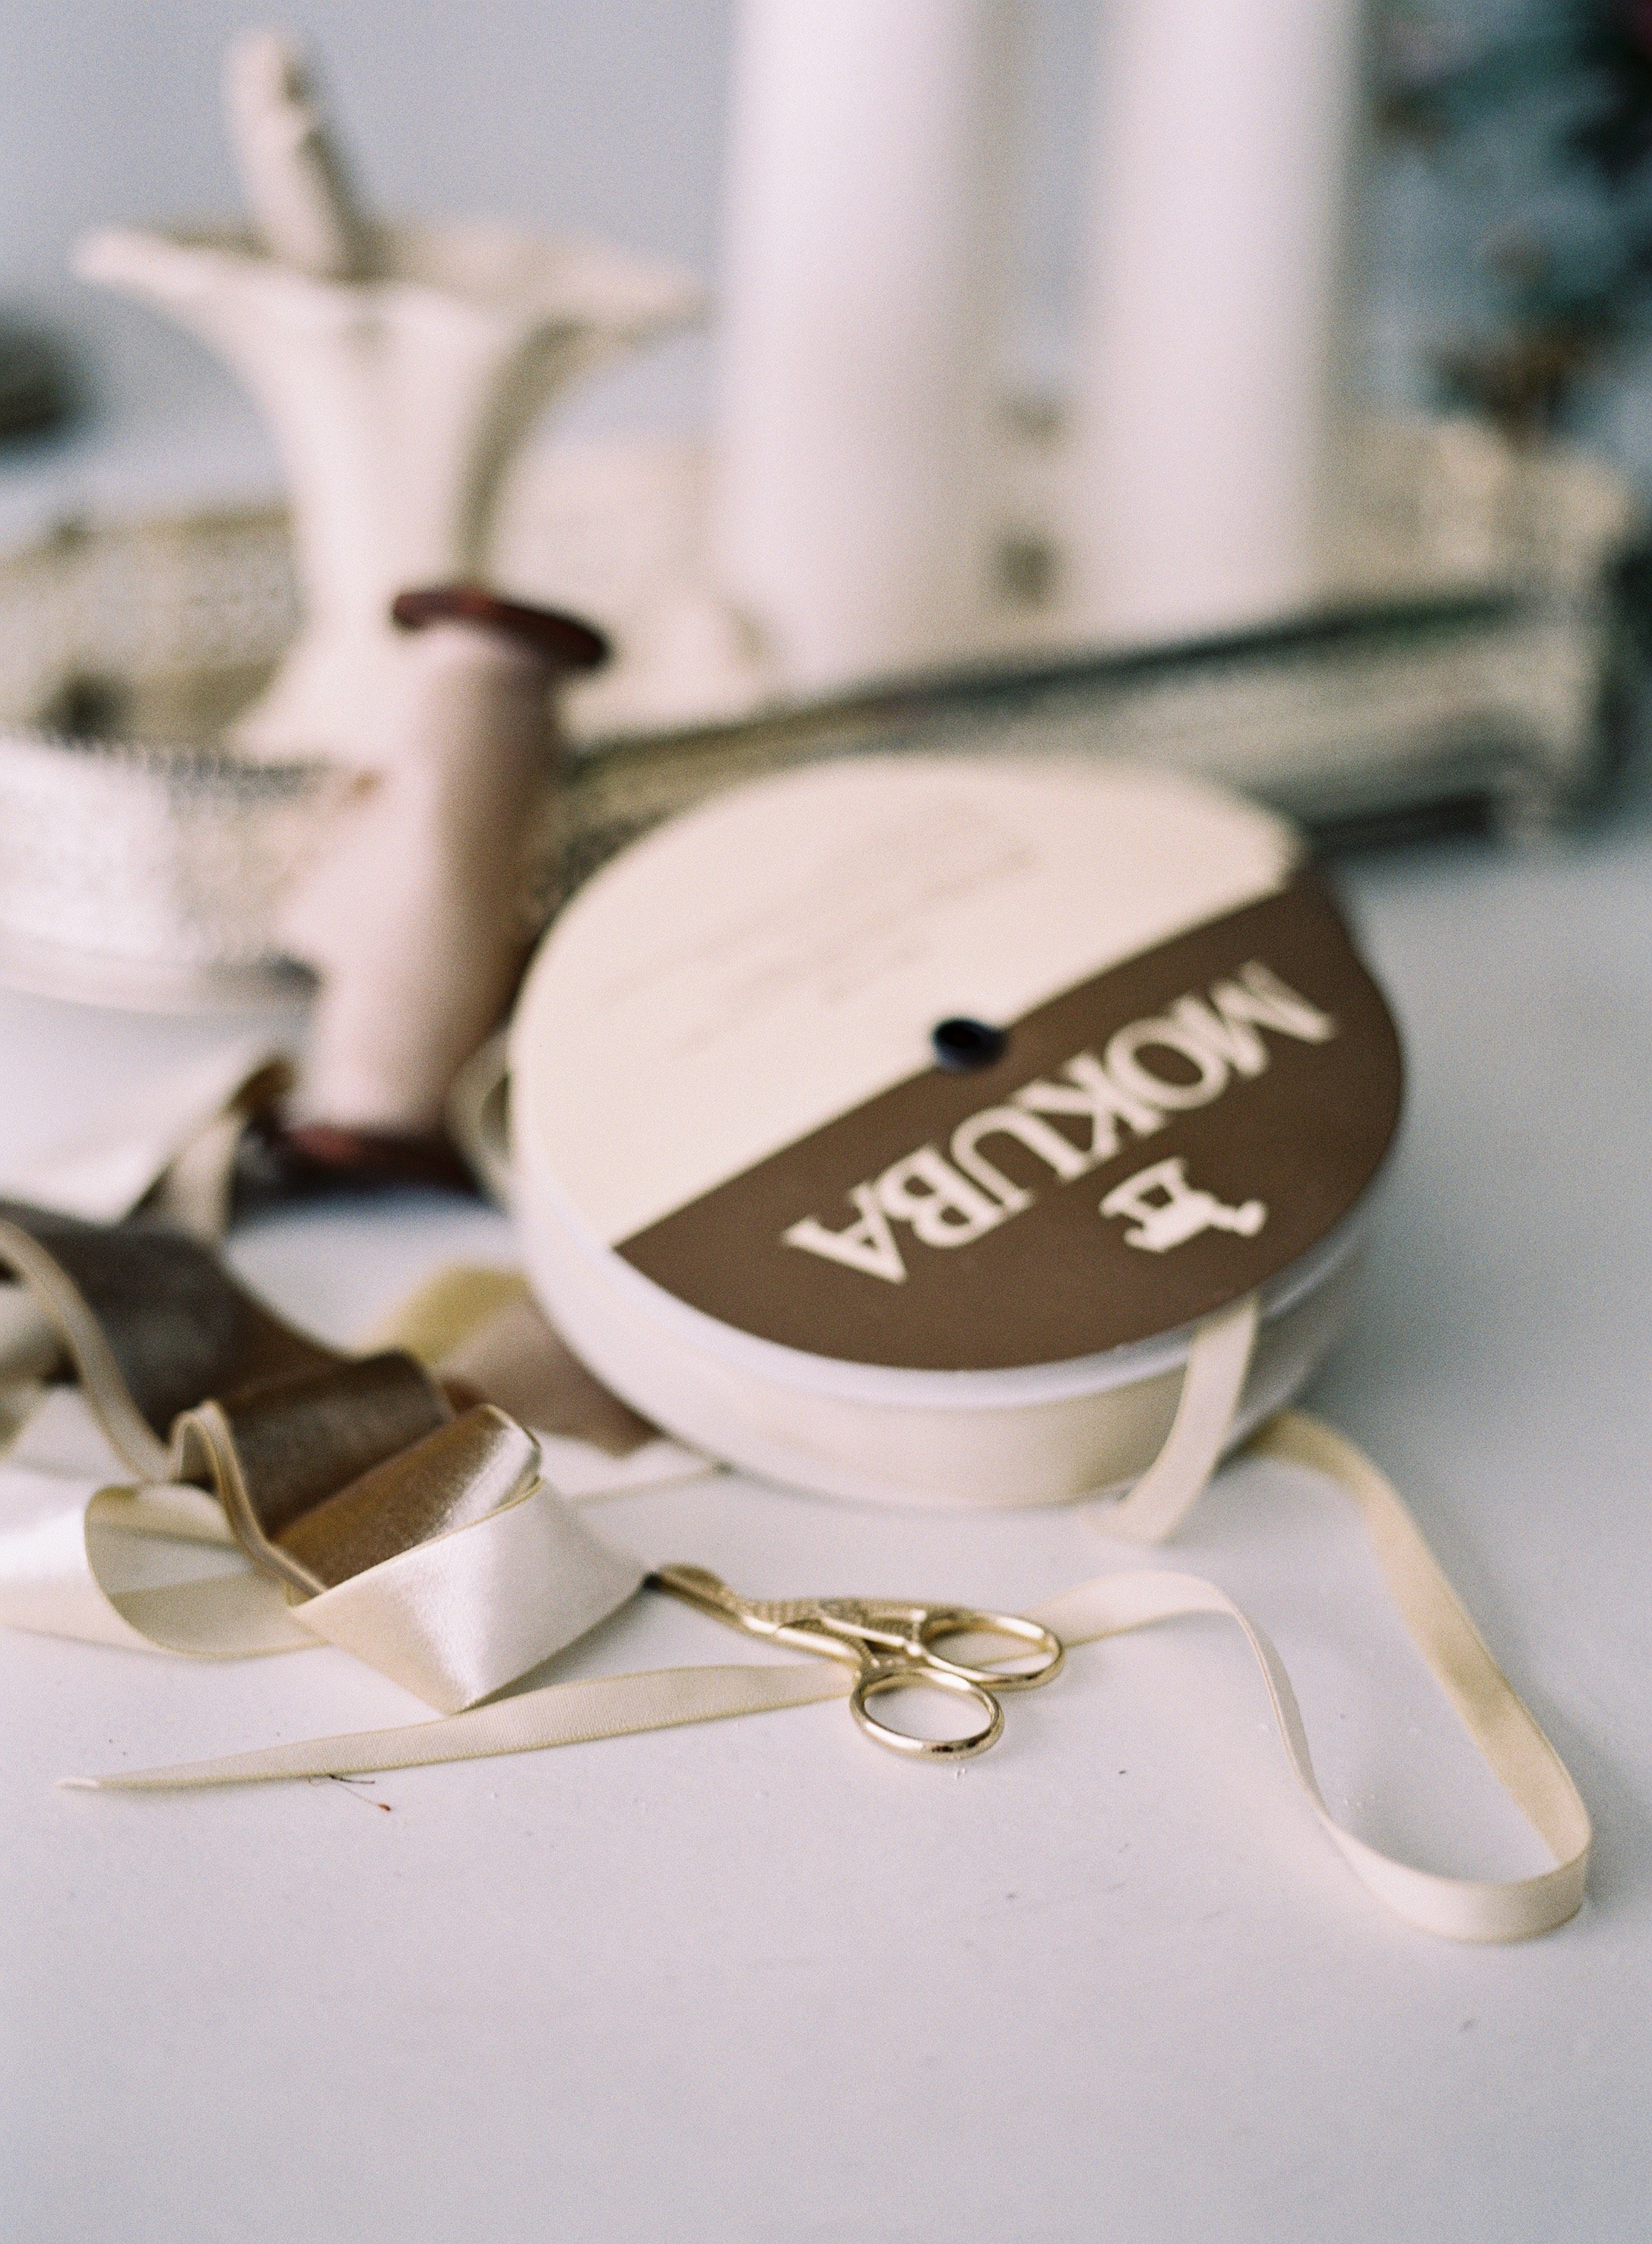
Ribbon library. Having a variety of ribbons and ties available, in addition to recycled rubber bands, will come in clutch. A few basic ribbon options, including silk ties, will help provide the perfect finishing touch for wedding flowers. Or make your own DIY hand dyed silk ribbon!
Floral tape. The classic green floral tape will help you wrap stems as needed, especially once you’ve wired them with floral wire.
Stock bracelet cuffs, headbands, and more. Supplies to create smaller personal flowers, like corsages and boutonnieres, should be in your floral tool library.
Floral foam alternatives: Floral foam has assisted florists in creating stable floral arrangements and installations for many years, but it isn’t the healthiest option for our planet. Have a number of foam-free floral mechanics on hand to play around with in your floral work—like a moss roulade, etc.
Ready to build your floral resume? Learn how to create a florist portfolio in our free guide.
List of basic florist tools for flower processing or cut flower preparation
If you’re new to flowers, welcome to the world of professional cut flower care—there’s more to it than you might think!
Professional floral designers put a lot of effort and time into preparing and caring for delicate, perishable cut flowers before they reach the customer, wedding, or event.
Clean snips are a MUST. No matter your floral career, you’ve got to have a trusty pair at all times!
There’s quite a bit that goes into cut flower processing, and you’ll need the following basic tools on hand to care for flowers well.
(Again, some of these tools are repeated from above lists… so if you already have it on hand—great!)
Clean snips or clippers. It’s a given that you’ve got to have clean, disinfected, and trusty snips when you’re regularly working with flowers.
Gloves. Remember, cut flowers will come to you from your wholesaler, but they’ve had a long journey—one that involves a lot of chemicals. Protect yourself when processing flowers!
Nearby water source (or a really big watering can!). You’re going to be lugging buckets back and forth quite a bit if you don’t have a sink or hose access nearby. But a hefty watering can will help if you don’t have easy water access.
Spray bottle. You’ll need this to refresh and hydrate delicate blooms.
Clean buckets. Flowers come from your wholesaler in flat-packed boxes, so having fresh buckets of water to give them a good drink after their travels is important. Buckets should be disinfected between uses, and you should have enough of them to separate flowers that don’t like to share the same space. You can pick up buckets at a local hardware store or shop around to thrift them! Learn how to clean flower buckets here.
Thorn stripper. A thorn stripper is needed for a quick preparation of, well, flower stems with thorns. That way, you can design with ease (and your clients can enjoy roses that are a bit more gentle.)
Fresh flower stem cutter or flower bunch cutter. One tried and true way to keep flowers looking and feeling great is to give them a fresh, angled cut. You’ll be doing this regularly, so having an efficient tool can be really helpful to save time (and pain in your hands!).
Flower food. You’re going to need to feed your blooms to keep them nourished and healthy. FloraLife is a popular option.
Disinfectant. Whether you use bleach or a natural, homemade bucket-cleaning alternative, make sure you disinfect your buckets and flower processing tools, like clippers and bunch cutters, as you go. This minimizes the risk of bacterial growth and keeps your cut flowers healthy.
Crowning Glory Floral Spray. This flower processing product can help seal in moisture for cut flowers. It can also help slow the deterioration process.
Quick Dip. This floral care solution can help your flowers get (and stay) hydrated quickly. It can help reduce droopy stems and tired-looking blooms after shipping.
You’ll also want to consider having organized containers for floral and botanical waste, but more on that in the next section.
Florist tools you need to have on-hand for your floral design studio
When you’re ready to grow, start collecting a ribbon library for you (and/or your clients!) to choose from.
In addition to the lists of tools above, if you’re building out your floral design studio—whether it’s in your garage, basement, or a public space—you’ll want to have the following available:
Clean buckets. Having an inventory of buckets on hand that are easily stackable will come in handy in receiving wholesale cut flowers.
Water source. If you’re outfitting your home studio, you’ll definitely need a water source nearby for convenience—even if it’s just a smartly placed water hose.
Garbage bins. Shipped blooms come with lots of packaging. You’ll need efficient organization for components and waste that come into your studio.
Compost bin. Research what cut flower and botanical waste is safe to compost in your area and what isn’t. Remember, cut flowers often come with quite a bit of chemicals that may not want your own home garden, but your city may have an appropriate composting program.
Recycling bin. Lots of cardboard is coming your way, so having a smart way to organize and recycle your shipping boxes is essential.
Work table. You’ll want a floral work table that sits at a standing-desk or kitchen-island height to save your back. But it doesn’t have to be fancy! A plastic folding table on lifts can do the trick.
Ribbon library. Ready to grow? Have a well-stocked ribbon library available for bouquets, personals, and last-minute touches.
Container library. It’s time to build a robust container library for event rentals or retail arrangements. Start collecting baskets, glass vases, opaque options, and more!
A cold holding space. Professional florists know how to get creative, and wherever your studio is, you’ll discover a way that works for you (and your budget) to keep your arrangements fresh. Whether that’s a cooler, very cold room, spare refrigerator, or CoolBot, there are many creative options!
Water tubes. You’ll need these little guys for installations and more!
Cardholder picks. You might need card holders for arrangements if you plan on offering retail and gift arrangement delivery services.
Pins and supplies for personal florals. Basic supplies for personal florals are a great thing to keep in your studio, like pins, bracelets, wristlets, barrettes, hairpins and headbands to create personal flowers for weddings or events.
Bouquet wrapping and delivering supplies. You’ll need bouquet wrap, ties, and gift bags or tissue for bouquet deliveries.
Have questions about how to use any of these tools? We’re here to help!
Learn how to use florist tools
Ready to take next steps in your floral journey? Here are some resources to help you, no matter what you’re ready for!
Comprehensive video training on florist supplies (free!): Learn how to use florist tools step by step with floral educator Kelly Perry.
Get your floral toolkit: We’ve curated a beautiful starter florist toolbox filled with exactly what you need to build lovely arrangements.
A full guide to how to become a florist: In this free article, get steps and advice on starting your floral career. (And we have an online class for becoming a florist, too!)
Floral design classes online: Grow your flower skills with robust, professionally developed online classes!
Not for sure what step to take next? Chat with us via the button on the right to get your free professional development plan.
Photography by Heather Payne Photography.

