How to Make a Flower Arrangement Using the DIY Floral Grid
Have you used the classic floral tape grid mechanic in the past? It can be time-consuming, and it isn’t reusable.
As the world continues to seek solutions to alleviate single-use plastics, the great developers and manufacturers in the floral industry are hard at work bringing new products to the table. And in this article, I will introduce my favorite secret floral design tool: the DIY Floral Grid.
What Sustainable Alternatives Are There to the Floral Tape Grid Method?
We've seen great success in foam-free solutions through the creativity of designers using unique hardware as well as fresh floral design products such as the Holly Chapple Collection of Pillows and Eggs.
Although these new products and creative techniques have allowed us to reduce the amount of floral foam waste that we produce, there is still one floral design staple wildly overused in our industry: floral tape.
Just as there is still an absolute need for a brick of floral foam from time to time, there will always be that one situation that calls for floral tape. But that doesn't mean that we as designers can't adopt new practices and integrate tools to help us use less of this single-use plastic.
Enter the DIY Floral Grid. (And the DIY Floral Grid serves as the reusable fix to the traditional tape grid used in flower arranging!)
My Favorite Flower Arranging Secret Weapon: The DIY Floral Design Grid

Designer Derek Woodruff using the DIy Floral Grid method (photo by Sarah Brown Photography)
I have been using the DIY Floral Grid for a little over three years, and I can confidently say it is one of the floral world's best-kept secrets. This tool has become a secret weapon of mine for:
Designing arrangements in vases
Hosting workshops
Training new and seasoned floral designers
I even include it in my own floral design kits that I distribute to consumers!
The magic of the DIY Floral Grid is that it removes grid-taping a vase out of the formula of floral designing—generating less waste and freeing up more time—as well as saving designers and owners precious dollars.
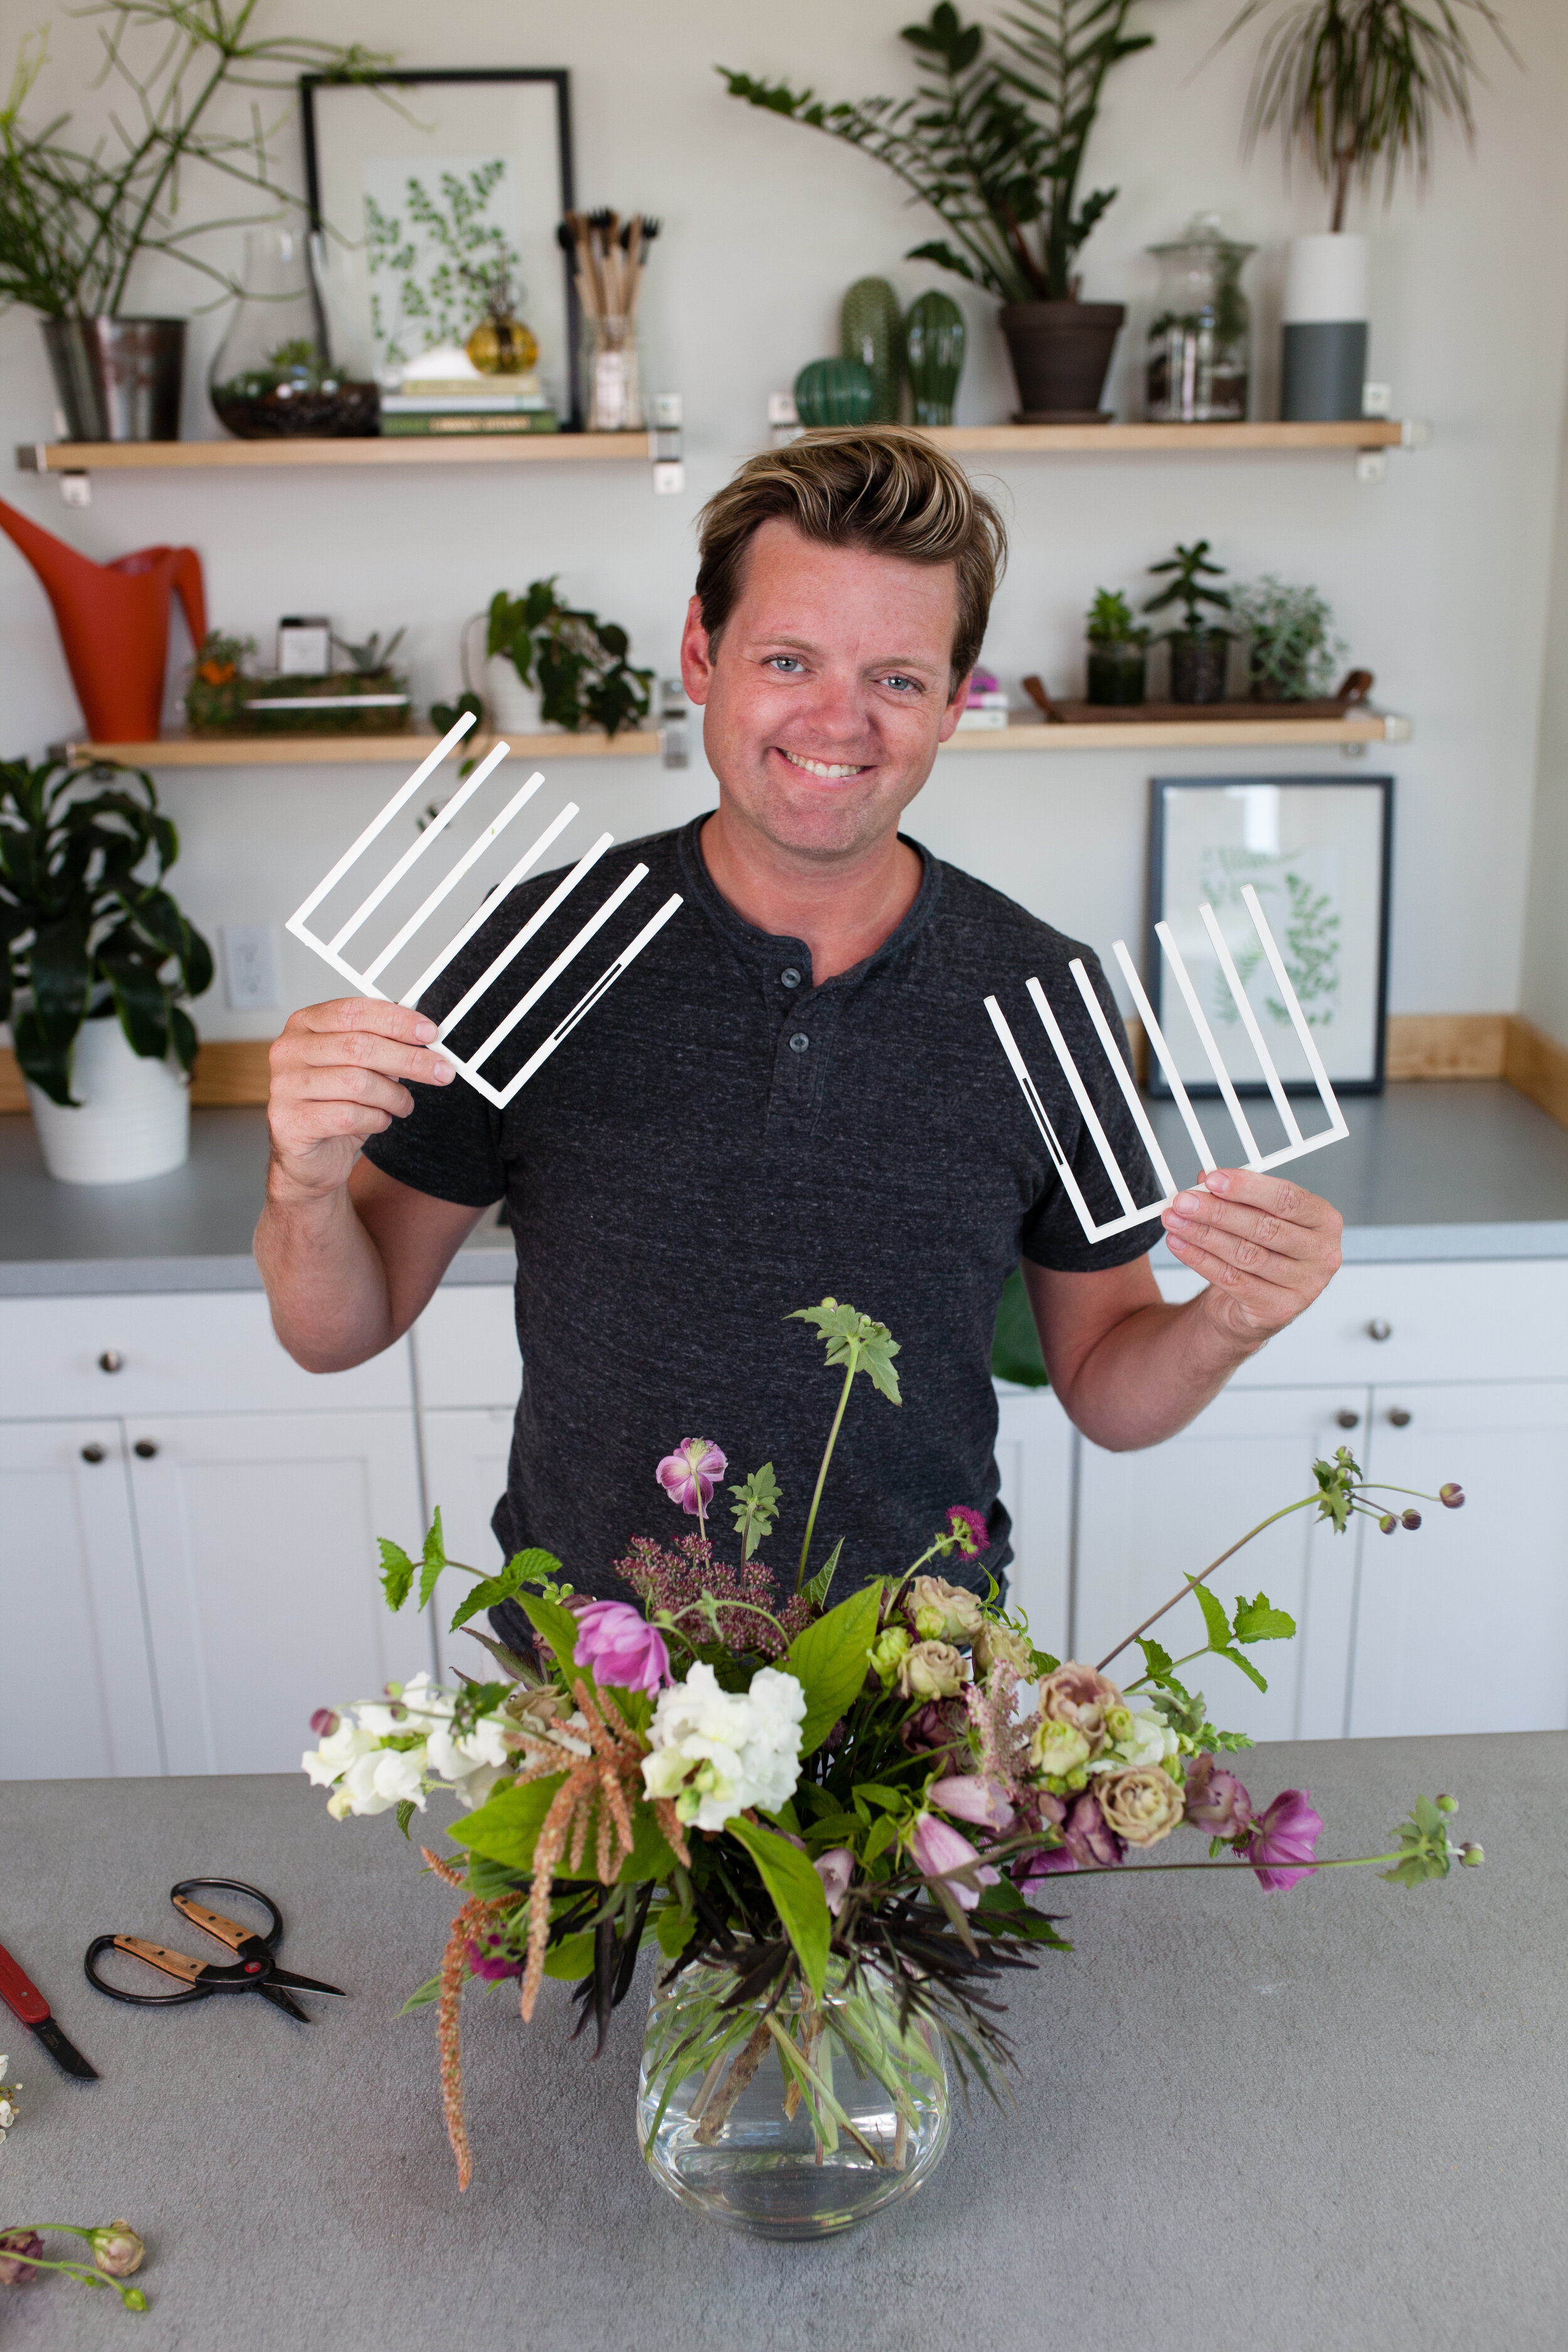
The DIY Floral Grid comes in two identical pieces that can be assembled into one square grid.
The grid works best on vases with a six-inch or smaller opening, and it’s optimal for vases without a chokepoint like cylinders or squares, although it truly will work on any vase. Simply fill the vase with water, add floral nutrients, and place the grid on top of the vase. There is no need to secure the grid to the vase. As stems are added, they will help the grid stay in place.
How to Use the DIY Floral Grid
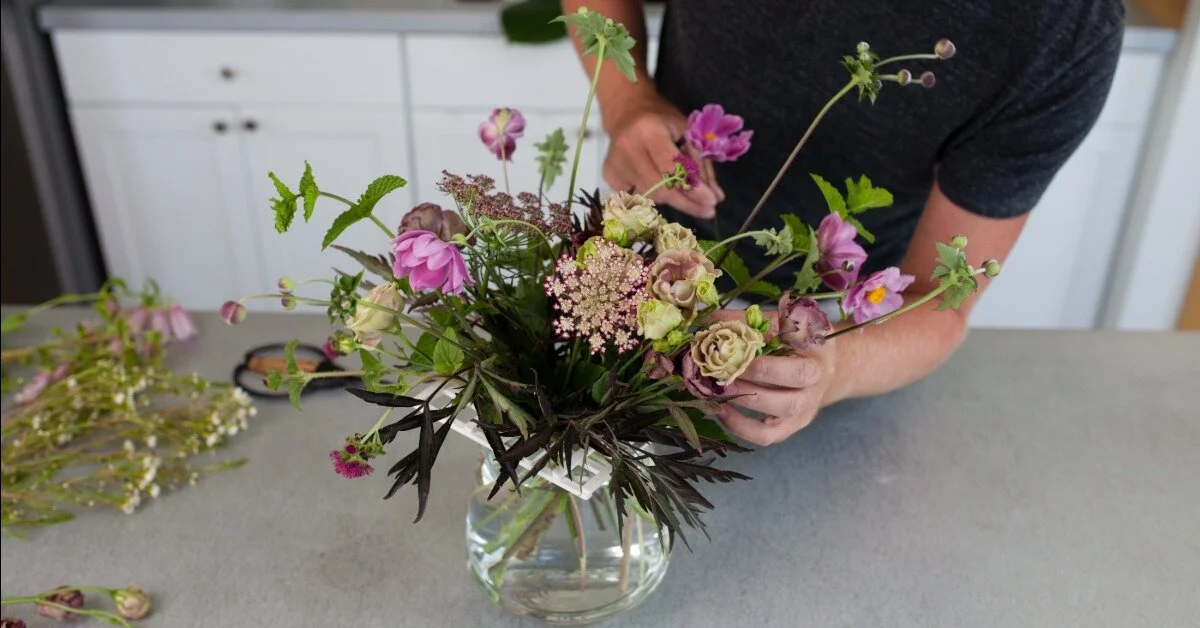
First, begin designing by adding a few stems of greenery, holding the grid in place with one hand if need be. There is no mathematical equation about which holes the stems should go into first. Just remember to crisscross the stems down inside the vase when placing them through the grid.
After four or five greens are placed within the grid, it should be secure enough to stay in place to finish the design efficiently.

Sarah Brown Photography

Sarah Brown Photography
Sarah Brown Photography
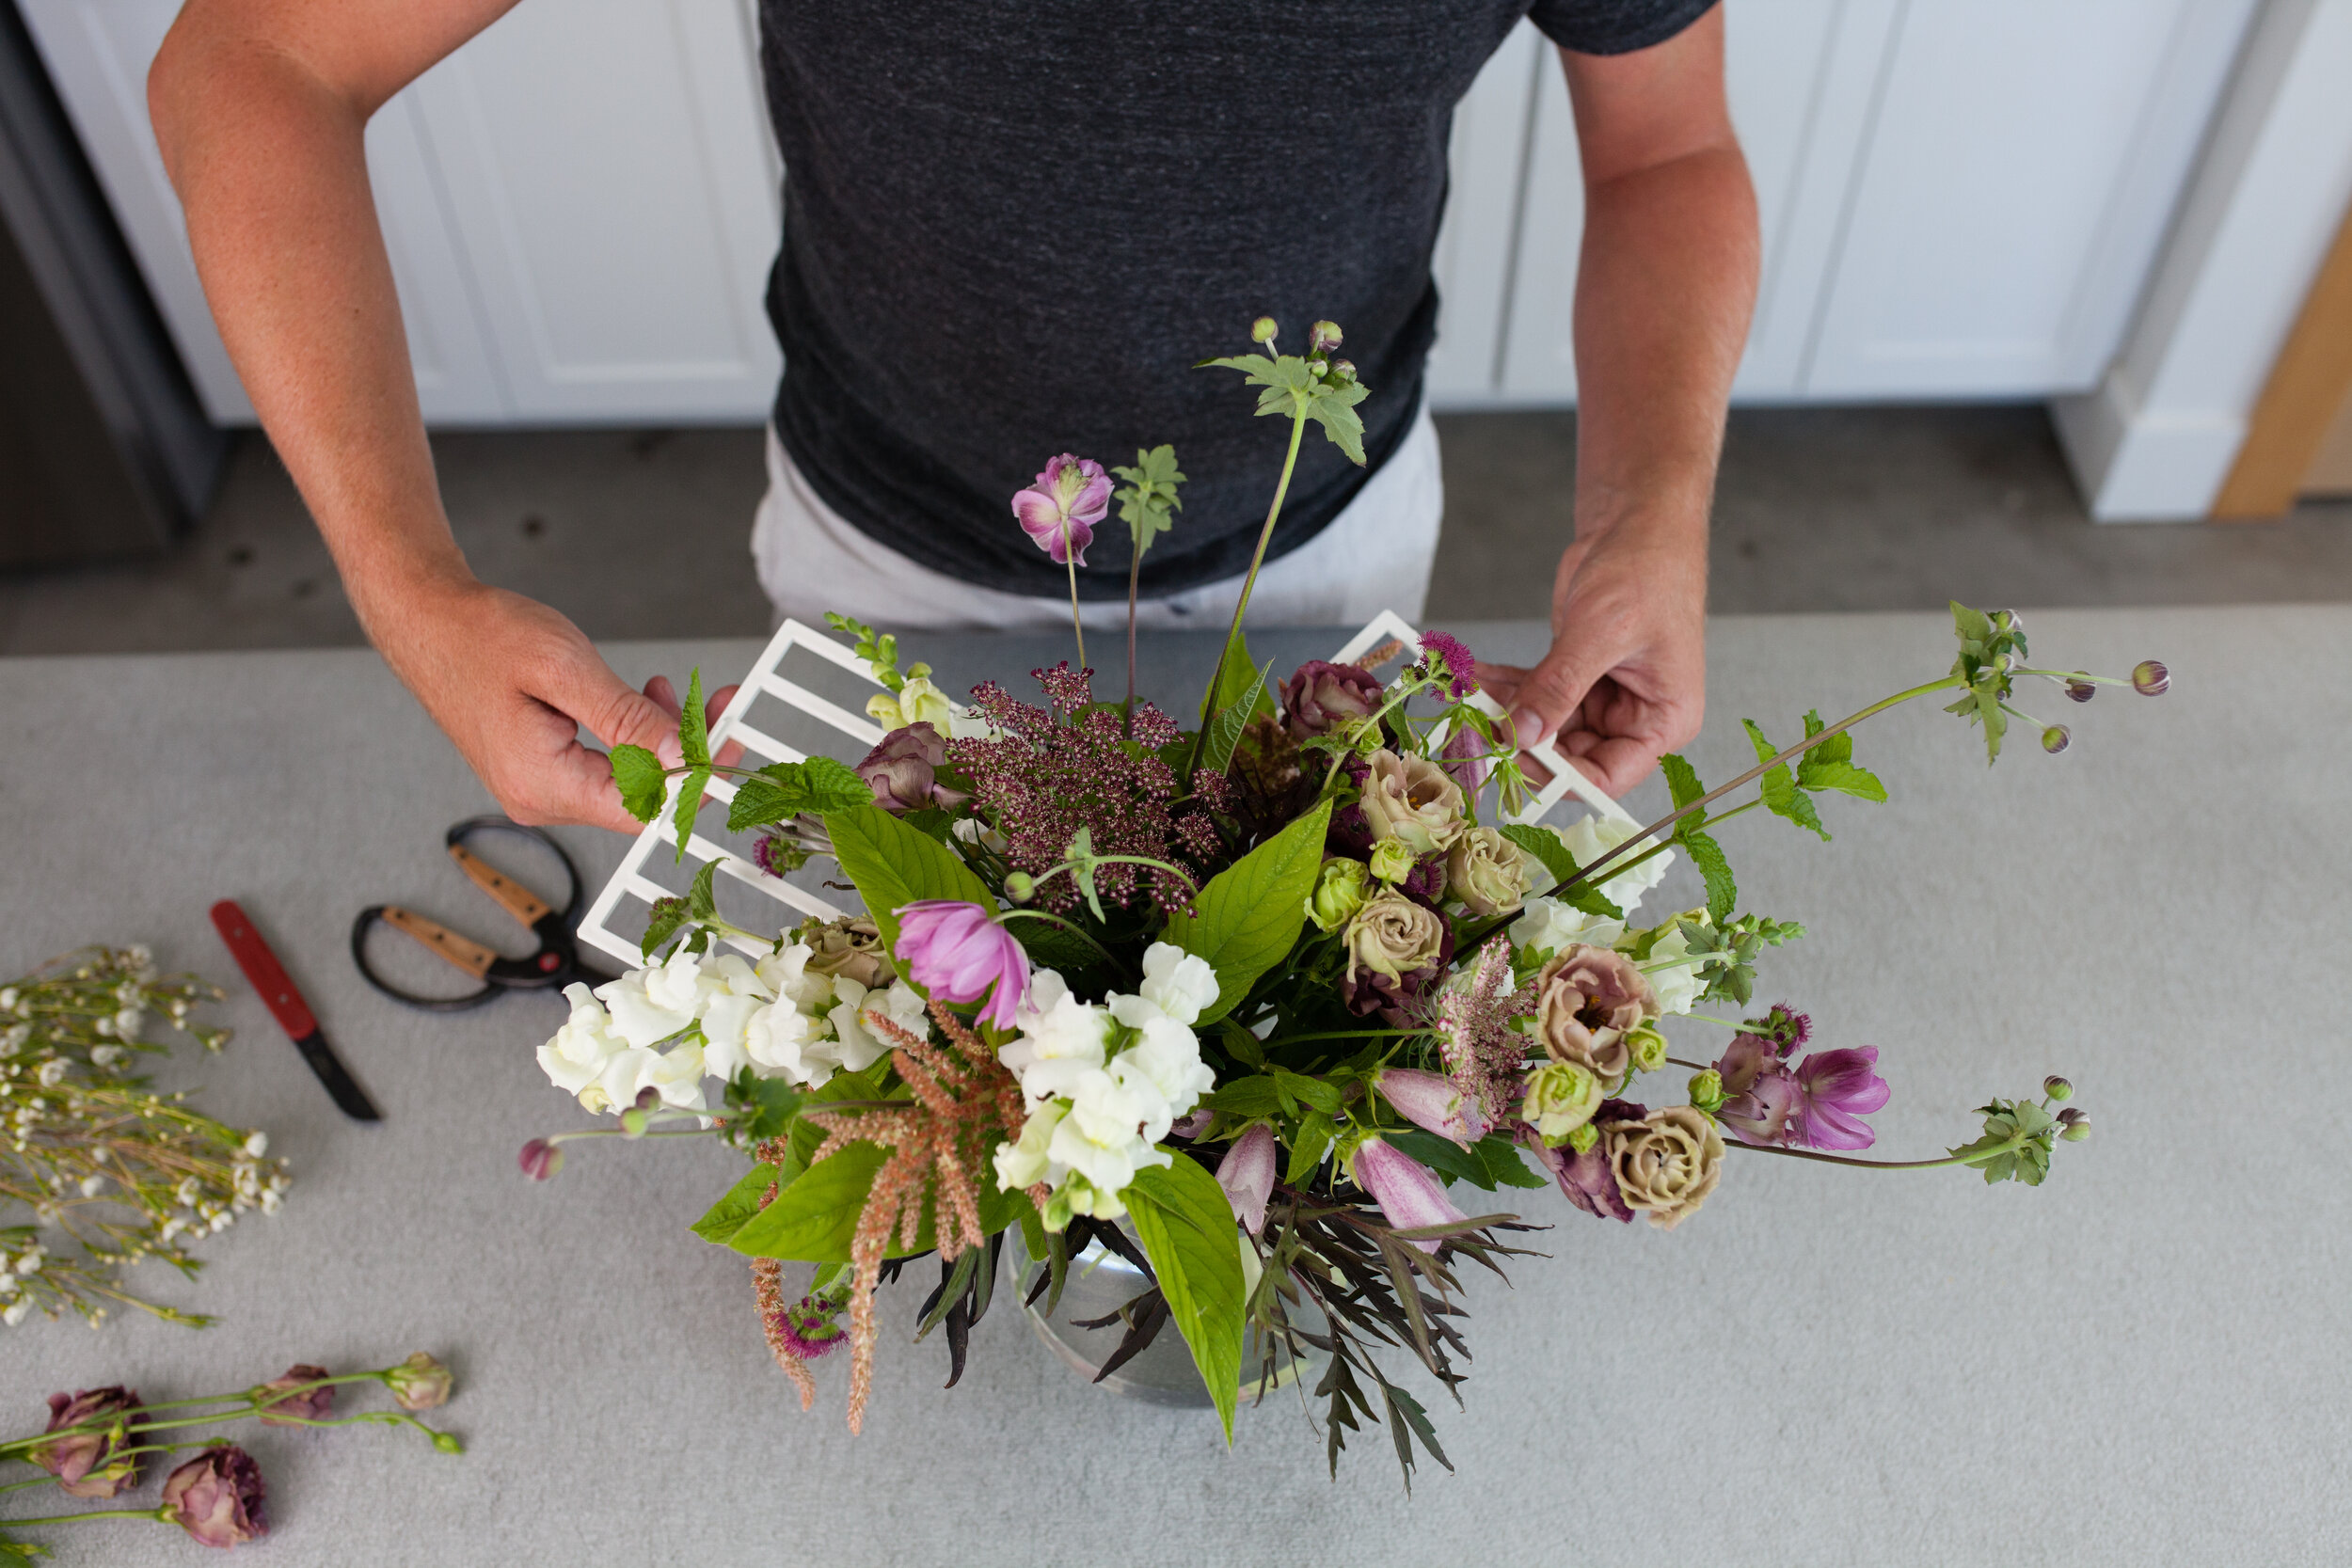
The best part about the grid is that it takes the guesswork out of which order flowers should be placed in the vase. Any pro-designer may already know the optimal order to insert various types of stems and blooms.
Still, it may not be obvious to consumers, hobbyists, or even beginner or semi-pro designers. With the grid, place the ingredients into the arrangement in any order, and all of the blooms and greens stay right in place, not unlike when using a grid-taped vase.
It's important to remember that there should not be any foliage or floral below the grid line and down into the water. However, wedging stem laterals within the grid will help strengthen the arrangement when the tool is removed.
Sarah Brown Photography
Once the appropriate number of stems has been added and the desired look has been achieved, separate the grid pieces using the tabs and slide the two pieces away from the arrangement.
Presto! That's it! The arrangement stays intact with not a posey out of place. It's easy to quickly move on to the next arrangement, reusing this tool over and over again countless times.
How Much Time and Material Is Saved by Using the DIY Floral Grid?
Now it's time for some fun math. A roll of floral tape is 60 yards. (Keep in mind that means 60 yards of single-use plastic.) It takes an average of about one yard of tape to grid tape a vase.
So, out of one roll of tape, you can grid tape about 60 vases. Additionally, it takes approximately 45–60 seconds for a designer to fully grid tape the top of a vase. Using up a whole roll of tape means almost an hour of just taping!
Instead, assemble a DIY Floral Grid and place it on top of a vase in about three seconds! And then reuse the grid tool infinitely. Time and money saved!
the DIY Floral Grid Is An Amazing Design and Training Solution
The DIY Floral Grid has changed the way I arrange flowers in vases and has also given me a stronger connection with consumers when teaching floral design workshops.
These flower arranging tools also make great retail up-sells when hosting workshops. The development of such a great tool has also helped me cut down the amount of floral tape that I use regularly, thus allowing me to eliminate a fair amount of single-use plastics from my craft.
Training new design staff or onboarding new floral design interns? Here is your new secret weapon! Give it a try, and enjoy using this tool as much as I do! To purchase a DIY Floral Grid, visit 46spruce.com