Getting Creative with Floral Garlands: Building Unique Pieces
The first floral garland I made was for a client’s home during the holidays. I was still new to floral design, and I only understood garlands to come preassembled from a wholesaler.
My job was to unpack thick ropes of eucalyptus, lemon leaf, and pittosporum so I could measure and mist them for an upcoming wedding. I hadn’t yet realized the potential a garland can have in creating a unique aesthetic and atmosphere.
“With equal parts frustration and excitement, the florist gets to strike a balance between function and form, art and engineering.”
I drove out to the client’s historic stone home, where she had kindly set up a workstation for me outside. She provided the tools and had cut the greenery from her property. She even served hot chocolate to help me work through the December chill.
I spent the day weaving lengths of garland, designing arrangements, and fashioning other accents out of the various evergreen foliage.
After some trial and error, blisters, and sap-covered hands, a rhythm and method revealed itself. With equal parts frustration and excitement, the florist gets to strike a balance between function and form, art and engineering. I had successfully found a way to create the full look the client was after—and a garland that also stayed attached as we hung it along the walls of her home.
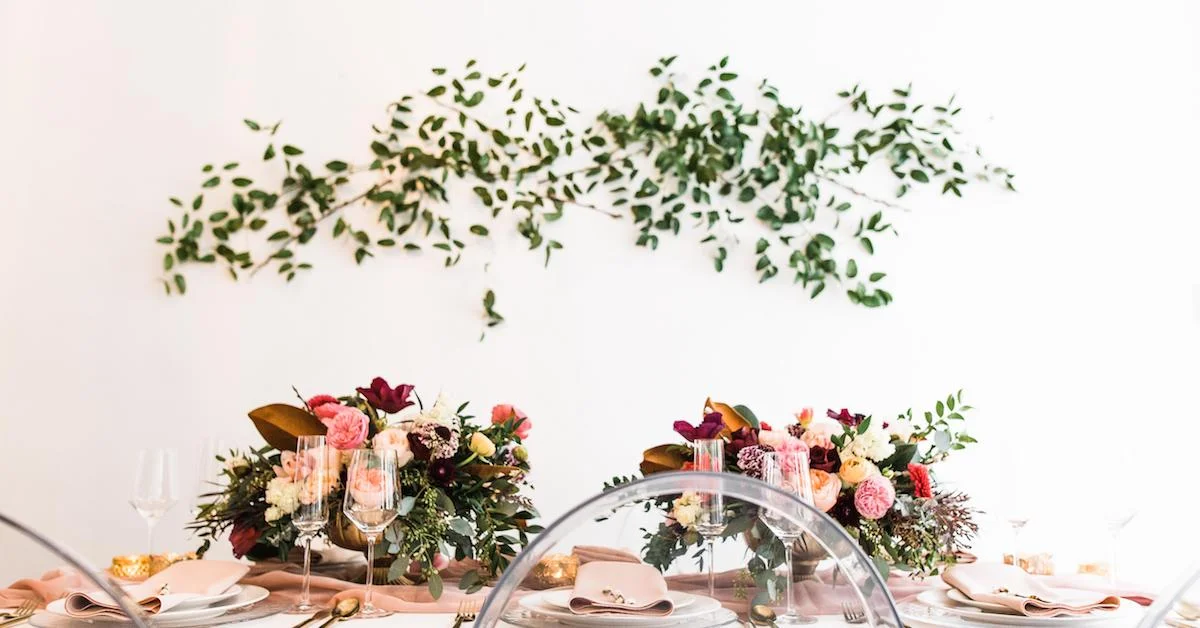
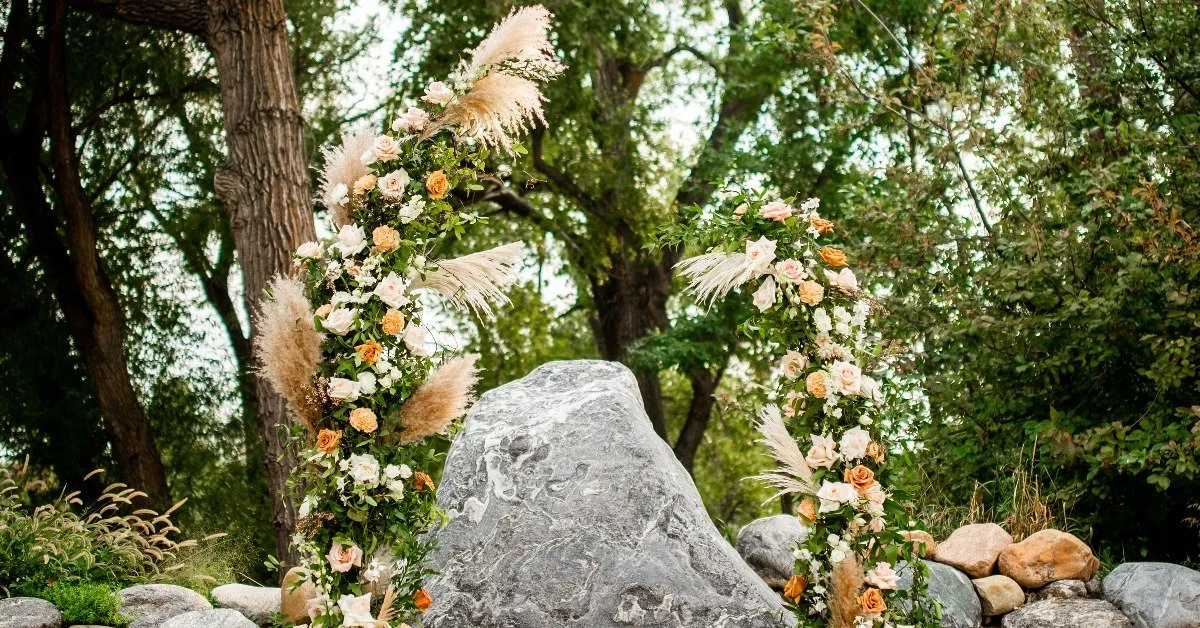
The classic flower garland is a floral design piece that is just as versatile as it is durable. It can go beyond a wedding or holiday decoration. And it’s multifunctional: It knows how to drape over an archway, cascade off a mantel, or lie flat along a table.
“Garlands can go beyond a wedding or holiday decoration. ”
And because they’re made mainly of greenery, they don’t require the same delicate handling that other floral pieces might. You can wrap them up, fold them, even throw them over your shoulder as you climb a ladder to hang them—all without the worry of damaging fragile blooms or breaking a vase.
Part of the durability of floral garlands are also found in their forgiving nature. While a single wilted blossom or leaf can undo an entire bouquet or centerpiece, garlands can easily live without a small discrepancy once you snip it out.
“There are about as many ways to create one as there are types of greenery.”
And a quick Google search or scroll through Instagram will reveal the limitless possibilities in designing a floral garland. There are about as many ways to create one as there are types of greenery.
Even in drafting this article, I became a little overwhelmed by all the different ways I could approach this topic. So, I decided to break out my clippers and make a couple of garlands myself!
By tinkering with the design and construction, I could better articulate the myriad of ways a garland can become a statement piece—one that won’t break a client’s budget. Read on to find out my main takeaways from this garland-building exercise!
Designing a Floral Garland

Often color is a starting place for any floral arrangement. A client typically has a color palette in mind, but for the sake of this exercise, I decided to use the late summer season to inspire colors.
The simmering dog days of summer signal warmth, while the fast-approaching autumn and cooler weather reminded me of cooler greens you often see in eucalyptus.
I married these two ideas for color palettes and used them as a springboard for the garlands: one with warm tones and another using cool tones.
When thinking through the design of a garland, you’ll want to consider the shape or fullness of each one as well as the individual shapes of the foliage. For the sake of this exercise, I decided to create one full, voluminous garland and one that’s more petite and delicate.
Perhaps the most important aspect I wanted to convey through these garlands was the texture. Even with only a couple of different types of greenery, you can achieve quite a bit of depth and visual interest.
“Even with only a couple of different types of greenery, you can achieve quite a bit of depth and visual interest. ”
Color and shape play into this as well. Just as you weave the varying types of foliage together, these elements of design weave around each other to create an eye-catching floral piece.
Making a Warm-Toned Greenery Garland

The first floral garland I made was in a style I naturally gravitate toward—jungle-like fullness with lots of variety.
While I bought a couple of bunches of greenery from the grocery store, most of what I used came from the yard, the roadside, and houseplants. (Remember to forage safely and with permission! Don’t use a foraged plant that you’re unsure about or aren’t familiar with.)
Texture and variety were at the forefront of my mind as I started fitting bunches of greenery together.
Below are the ingredients used.
Ingredients for Warm-Toned Floral Garland
Korean Boxwood (about 3 bunches)
Pieris Japonica (about 3 bunches)
Hosta Leaves (3-4 stems)
Fatsia Leaves (4 stems)
Begonia Leaves (8 stems)
Nandina (5 stems)
Spider Plant Babies (3 pups)
Ivy (3 stems)
Burgundy Amaranthus (6 stems)
Poke Weed (6–9 stems)
Building Your Warm-Toned Garland
Like many floral recipes, you can lay out an exact stem count for your garlands. But, like my cooking, I don’t rely on precise measurements.
I tend to throw in extra of one ingredient and leave something out altogether for another as I go. Depending on the client and event, leaving room for this improvisation can open up your creativity and allow for some surprises or discoveries.
I especially love the colors and shape of the begonia leaves I snipped from my plants (after I’m finished with the garland, I’ll try to propagate the leaves into new plants).
“Depending on the client and event, leaving room for this improvisation can open up your creativity and allow for some surprises or discoveries. ”
My spider plant was sprouting new pups that I added for dimension (they remind me of air plants, which could also work well in a garland). And the pokeweed—with its vibrant rhubarb-like stem and green berries—tied together the foliage and moody amaranthus.
A word of warning: Pokeweed is toxic to humans and some animals. And the berries on pokeweed turn to a dark purple that’s beautiful but messy. I pulled off the dark berries to avoid staining the table, and they’re still just as beautiful. I also snipped the leaves off the pokeweed, as they don’t hold up out of water.
I waited a day before laying the garland out to photograph to see how well each type of greenery survived. Except for a couple of hosta leaves that needed replacement, the warm-toned garland held up well.
Below, get a glimpse of the completed piece.

warm-toned greenery garland
Creating a Cool-Toned Greenery Garland
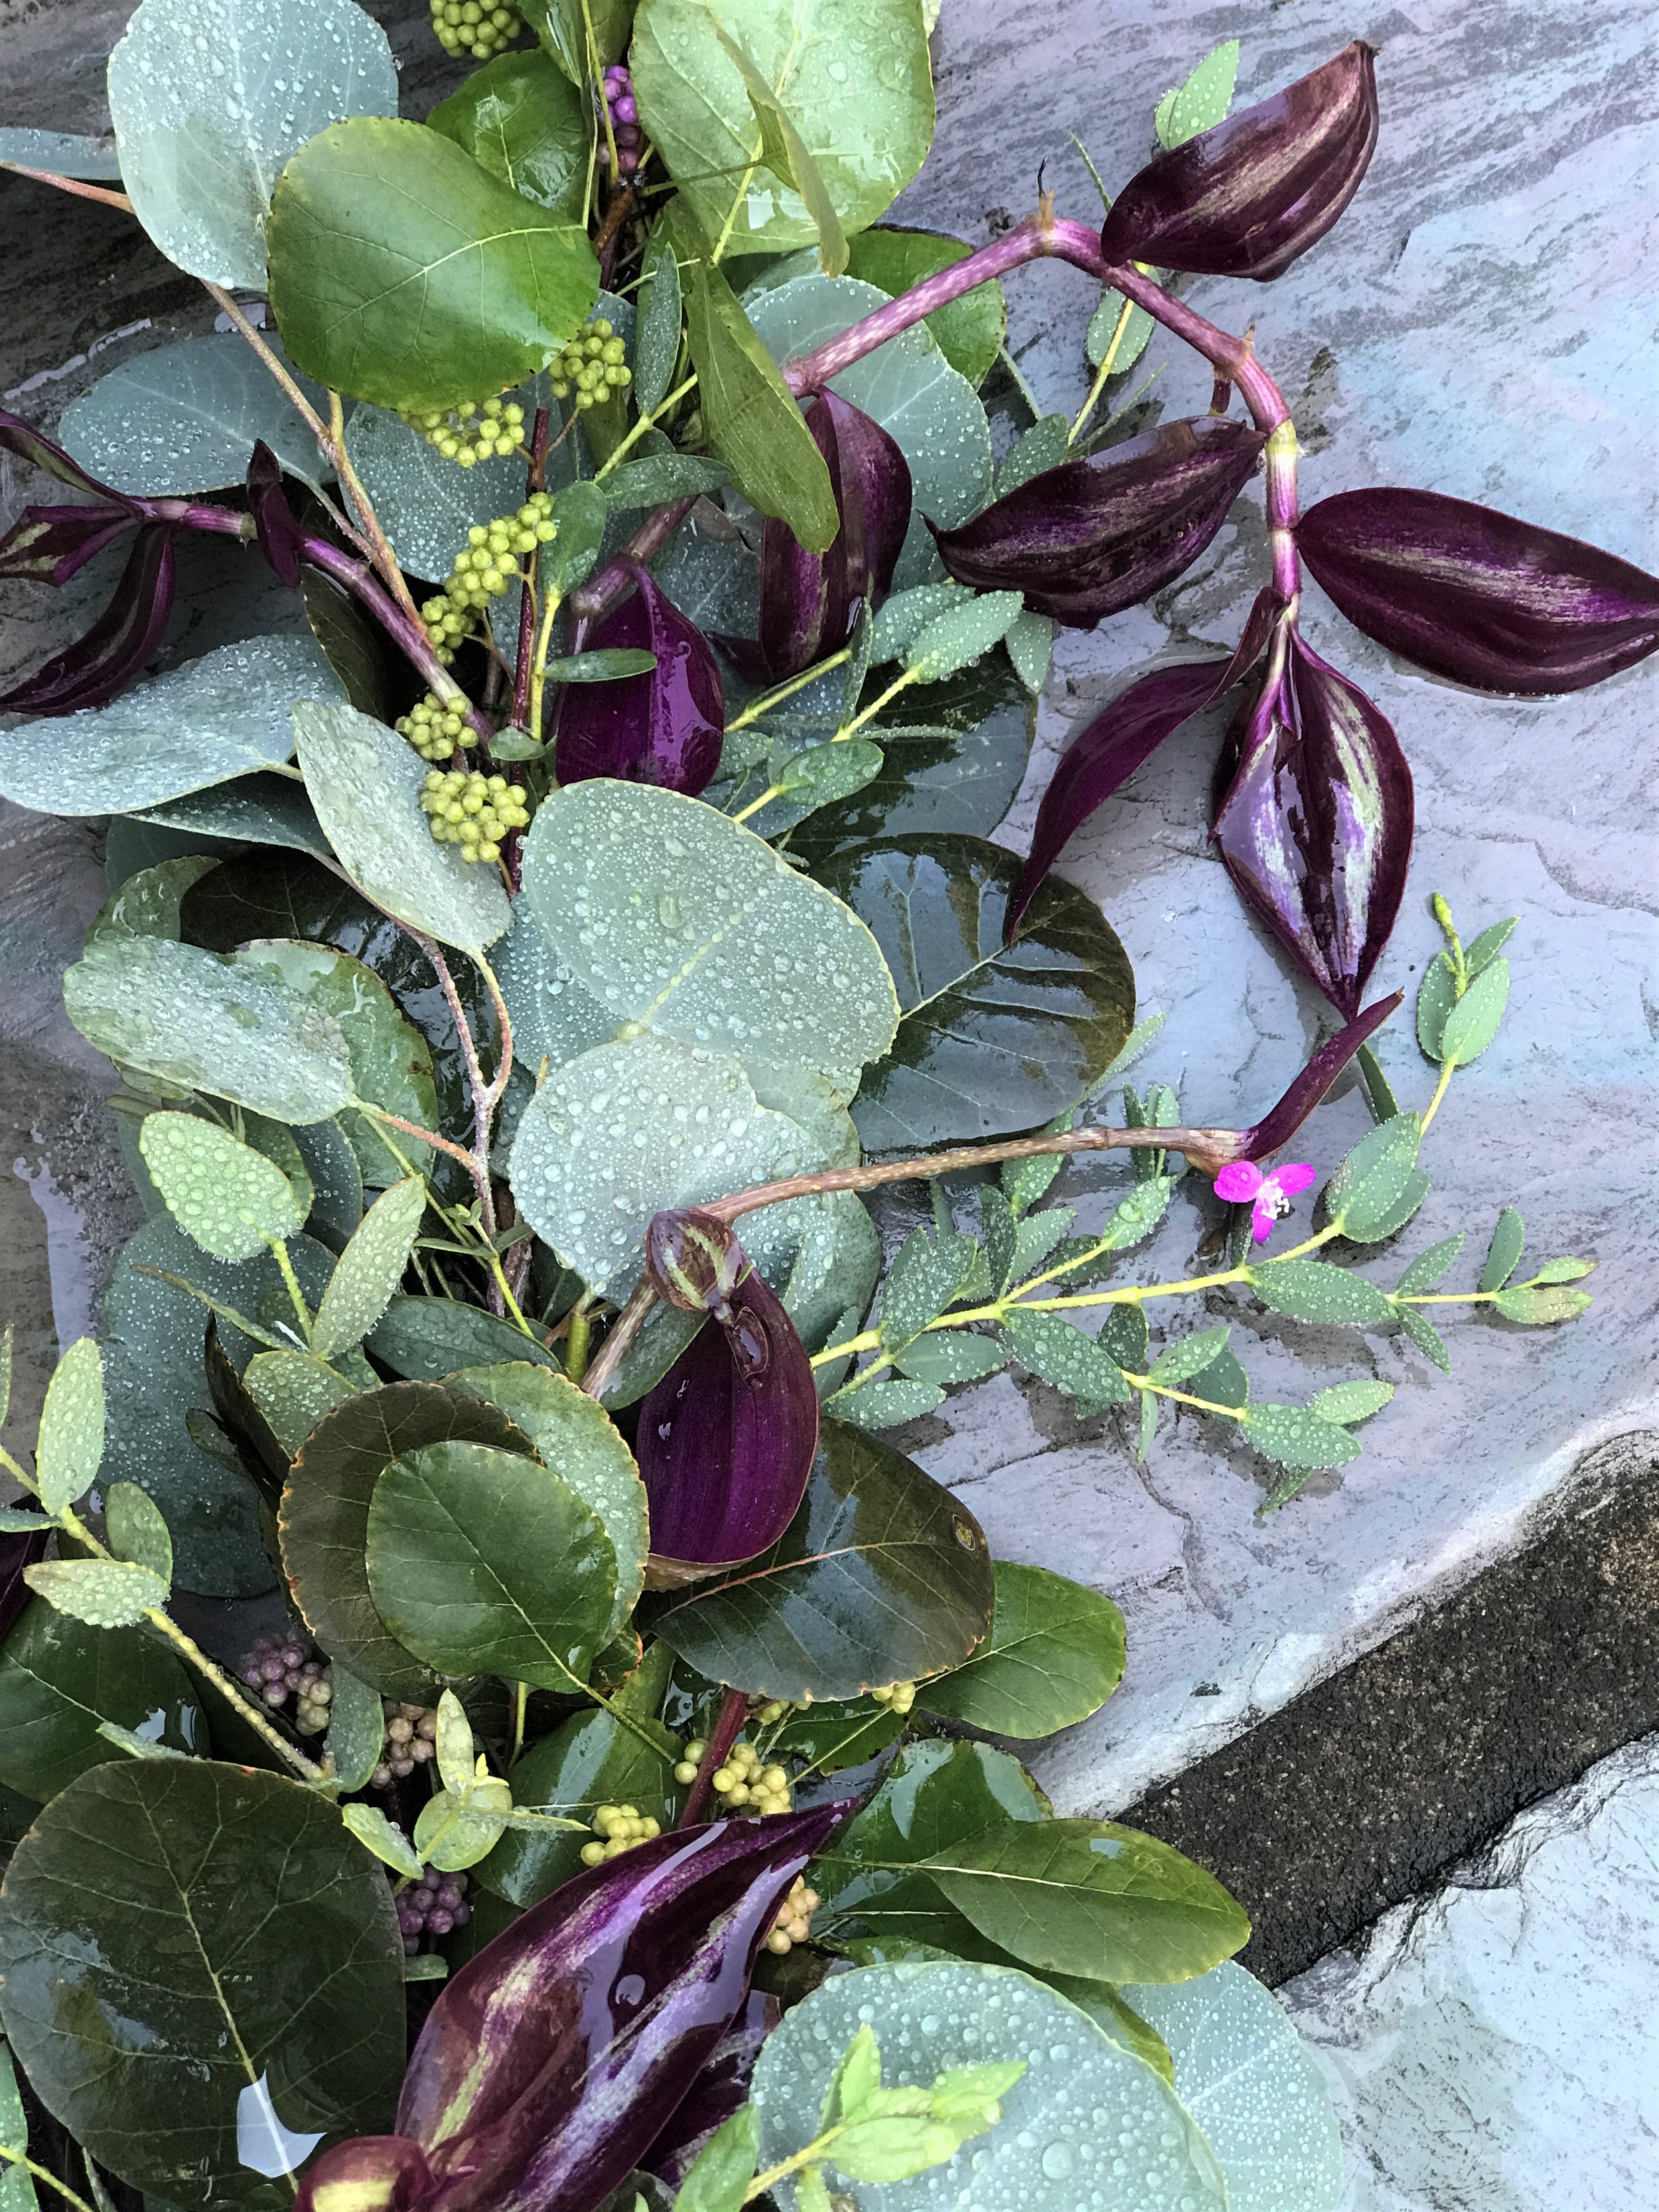
After completing the first garland, I practiced a lot of restraint to keep the cool-toned garland paired down.
The ingredients for this garland are listed below.
Cool-Toned Floral Garland Ingredients
Silver Dollar Eucalyptus (3-5 stems)
Gunni Eucalyptus (3 stems)
Smoke Bush (About 1 bunch)
Zebrina Plant (About 1-2 cuttings)
Beauty Bush (3 stems)
Ever-faithful eucalyptus served as a great base for this cool-toned floral garland, and I incorporated smoke bush and trailing Zebrina plant for contrast. The berries from beauty bush were a sweet finishing touch, with their light green and purple tying in the light and dark shades.
An important note: Like the pokeweed, I snipped off the leaves off the beauty bush, as they wilted out of water.
And like the first garland, I waited a day to see how it held up. I snipped a few leaves off the smoke bush, but overall, it also kept its freshness.
Below, you can take a look at the finished garland.

cool-toned greenery garland
Tools of the Garland Trade
When making a garland, I’ve learned it can be as simple or complex as you want—or your client wants—it to be.
If you’re looking to create one that calls for intricate details, you may want to wire blooms or foliage that allow for easier weaving or “stitching” into the length of the garland.
If a client wants fresh flowers, you can use water tubes, floral glue, or any tool that works best for you and your particular design.
For the sake of this exercise, I aimed for simplicity. I used my clippers and paddle wire. Paddle wire is the secret weapon for garland making because you can unspool it at the exact length you need without tangling it.
“When making a garland, it can be as simple or complex as you want—or your client wants—it to be. ”
Plus, making garland is hard on your hands. Any way you can reduce the amount of tugging and tightening wires with your bare hands is worth considering. The paddle allows you to grip the entire length of wire without tearing up your fingers.
I used a 22 gauge wire, which felt a little thick initially. It can hold larger bunches of greenery, while a thinner gauge allows for more flexibility.
Final Takeaways on DIY Floral Garlands
One of the chief goals in making a garland—and any floral piece for that matter—is creating a sense of unity. I did this by tinkering with a pattern that worked well for me.
“One of the chief goals in making a garland—and any floral piece for that matter—is creating a sense of unity.”
For example, the boxwood and pieris japonica served as a strong base, while the fatsia leaves broke up the texture. This allowed me to add in other elements without the overall design becoming too busy. And having a general framework kept my work consistent and allowed room for some variation.
Whether I laid the garland out on a table or hung it on the back of the chair, having some extra greenery was crucial for filling in the gaps I missed.
With my first garland, I stretched it out on the dining table and added the final begonia leaves and pokeweed for a balanced flow of color and shapes. After tying the second, smaller garland to the chair, I could see places where wires peeked out. I could cover them up with extra smoke bush or eucalyptus.
Allow for wiggle room. This applies to the design more so than the technique of weaving the garland together. I found the tighter I wrapped the wire around the foliage, the more secure and full it looked. But when it comes to approaching the design, it’s important to remember there’s no single way to make a garland.
“Tinkering gives you an edge as a designer and entrepreneur. ”
Since I made the initial garlands for the client’s holiday decorations, the insight gained from tinkering can be invaluable. The term tinkering sounds inconsequential and frivolous, but I believe it gives you an edge as a designer and entrepreneur.
Tinkering can allow you room to make mistakes and learn from them. It gives you room to refine your technique and rule out the tools and methods that don’t serve you. This, in turn, exposes you to new tools and innovative methods that will make you more efficient and save you time and money.