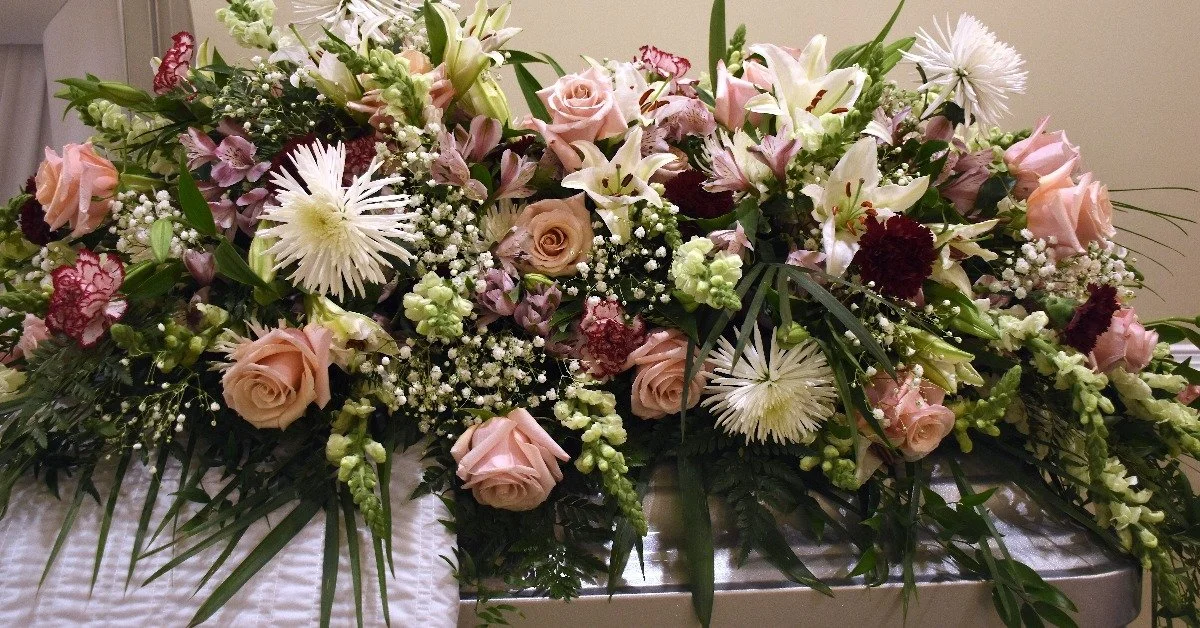
In this article, you’ll learn how to make a casket blanket to honor a loved one or the loved one of a floral design client. Designing meaningful funeral floral arrangements are a beautiful way to love the world through flowers.
All tagged How To
In this article, you’ll learn how to make a casket blanket to honor a loved one or the loved one of a floral design client. Designing meaningful funeral floral arrangements are a beautiful way to love the world through flowers.
In this video you'll learn how to quickly prune limelight hydrangeas for optimal health, get quick pruning tips, and discover what supplies are needed. Learn the pruning method to get the best bloom yield!
------------------------
Video transcript:
Today, I'm going to show you how to prune a limelight hydrangea bush. It's springtime here in Boone and limelight hydrangeas bloom on new growth. So that means that I can leave the flower heads on them all winter long and have that nice winter interest in my garden, and then I can go ahead and prune in the springtime because it's not going to affect the buds. There aren't any buds on this bush yet. So what I'm going to do is three steps, I'm going to trim the bush down, and that is going to help me have uniform sizing. It's also going to create a nice, sturdy base for all of these big blooms to come out and away from. The next thing I'm going to do is thin out some of the stragglers, the ones that aren't quite as strong, that won't support the blooms quite as well as some of the sturdier branches. Now, as I'm doing that, it means that I'm going to get less blooms but I'm going to get a higher quality bloom, I'm going to get a bigger bloom. So that's why I'm going in and clipping out some of those side shoots. Then, I'm going to clip anything that's crossing over one another. So that, kind of, crowding that happens, I want all of my branches to have some elbow room, I want them to have space for water to drip down and through, I don't want them growing all in and around each other. So I'm going to thin and trim in that area as well. To get started here today, I have a pair of pruners. And the important thing with pruning is to make sure that your clippers are very clean before you get started because you're basically doing plant surgery, right? So I have a Chlorox solution that I'm dipping my clippers in and just sanitizing and cleaning them off. The first step is measuring to 18 inches, that's what I've chosen for where I'm going to do my cuts on this particular bush due to its size. So I'm going to go ahead and measure to 18 and then I'm going to clip on an angle. Just like this, so this keeps the water from sitting in there and the water just can run off the sides. And I'm going to continue doing this using that as a general guide. And as I clip, I'm looking for these little areas of three. These two types of hydrangea, the limelights and the pink diamond, bloom on new growth. It's very important to know the distinction between the different types of hydrangeas because some bloom on woody growth. So this type of pruning would affect the bloom for you if it was another variety of hydrangea. So I'm going to continue doing this the whole way around. Now, what we've just done is created a strong base for the new growth to come up and out on. Now, we're at a point here where you have to make a decision. Do you want bigger blooms? Or do you want smaller blooms and more of them? If you want bigger blooms, it's important to go back down into the plant and to clip out some of these smaller, weaker stems. So that's what I'm going to do, I'm going to clip out some of these because these aren't really, these ones that are curved and wonky aren't really supporting... New growth that will come up. And I want to use strong stems like this that have a really great base, so I'm just going to cut some of these... out... Of the plant. But I'm not going to prune quite as hard as some people may who are searching for bigger flowers because in design work for me, unless I'm doing a really large scale piece, really giant limelight hydrangea blooms, they're kind of giant, even the small ones are a little bit giant. So I would prefer to have more blooms and less of them. But right now I'm just going to get rid of these smaller stems that aren't going to be a big support for the plant. The other thing I'm paying close attention to is some of these stems that are inner-locking. I want them to have a little bit of room, so I'm going to trim out any that are crossing over each other. Thanks so much for tuning in. I'm looking forward to seeing your nice, healthy, strong hydrangea bushes.
Growing sweet peas is one of our favorite things to do each year and starting sweet peas indoors is a great way to get a jump on the season. Sweet peas grow quickly and can become tangled before weather permits safe transplanting. In this video, you’ll see a demonstration of how to safely train and trim your sweet pea seedlings without harming the plant. This sweet pea pruning process not only makes it easier to transfer the individual plants to your garden, but it also encourages side-shoot growth making each plant stockier than before.
------------------------
Video transcript:
Hey, I'm here to demonstrate snipping back the sweet peas. You'll see that we have, like Kathleen suggested, we have all of our little twigs in here and our sweet peas are trailing up them. Now, if it was time to go ahead and plant these out in the garden, I would just pull these out, plant them, take their little sticks and plant those towards the trellis that they will eventually live on. But I still have several weeks until it's time to plant these. I started them pretty early. Sweet peas aren't something that you need to start early. I was doing a little bit of an experiment and I wanted to have some available here to show you how to snip them back in case yours get ahead of you as well. So, what I am going to do is I'm looking for the first, true set of leaves. So, that is the leaf that looks like a sweet pea leaf. So, if we can get a closeup right here, you'll see that the plant is coming out of the ground and right here is its first set of true leaves. So here is where I can snip it back to tame the growth of it. So these will continue growing down here, more leaves will continue popping out. And by the time it's time to get these out into the garden, it'll be a little bit stockier... Because of what we're doing here. And I won't have a tangled mess. So, I'm going to snip back half of them. And then the other half I'm going to let get wild and crazy and see if I notice any noticeable differences in my garden. So that's just something that I'm choosing to do this year. I tried starting them several different ways. This is my little sweet pea experiment patch. Okay, so we're all set. You can see how this one that I had cut back a few weeks ago has now a second stem coming out down here from the bottom so I'm getting some branching going on. And that will eventually happen with these little guys as well. So there you have it, snipping back your sweet peas.
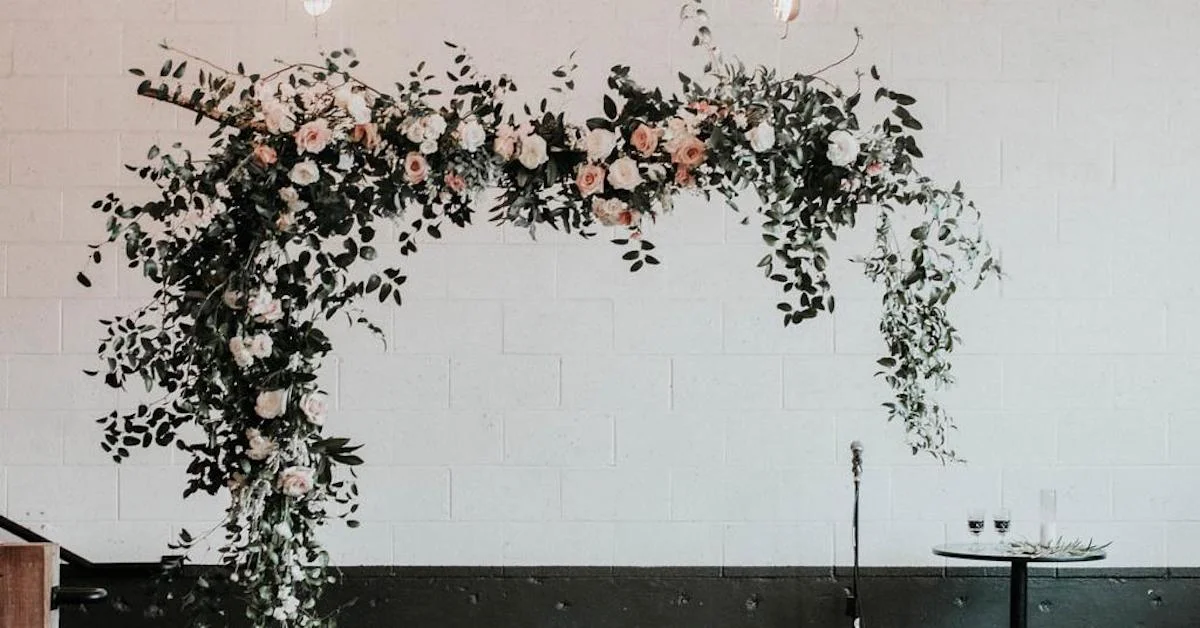
When we first decided we wanted to incorporate one of these into our weddings we were VERY intimidated. There were so many questions! What would we use? How would we get it to stay level if it’s asymmetrical? How would it be strong enough to not cave in the middle?
I have a love/hate relationship with these little lovelies. Everyone loves the striking green lines that Bells of Ireland add to an arrangement. Their fresh color is indeed a refreshing component to many color palettes, but have you ever tried to grow them? They aren't particularly hard to grow, but they undoubtedly produce patience. They are quite picky, and they are slow to germinate - somewhere around three weeks or slower!
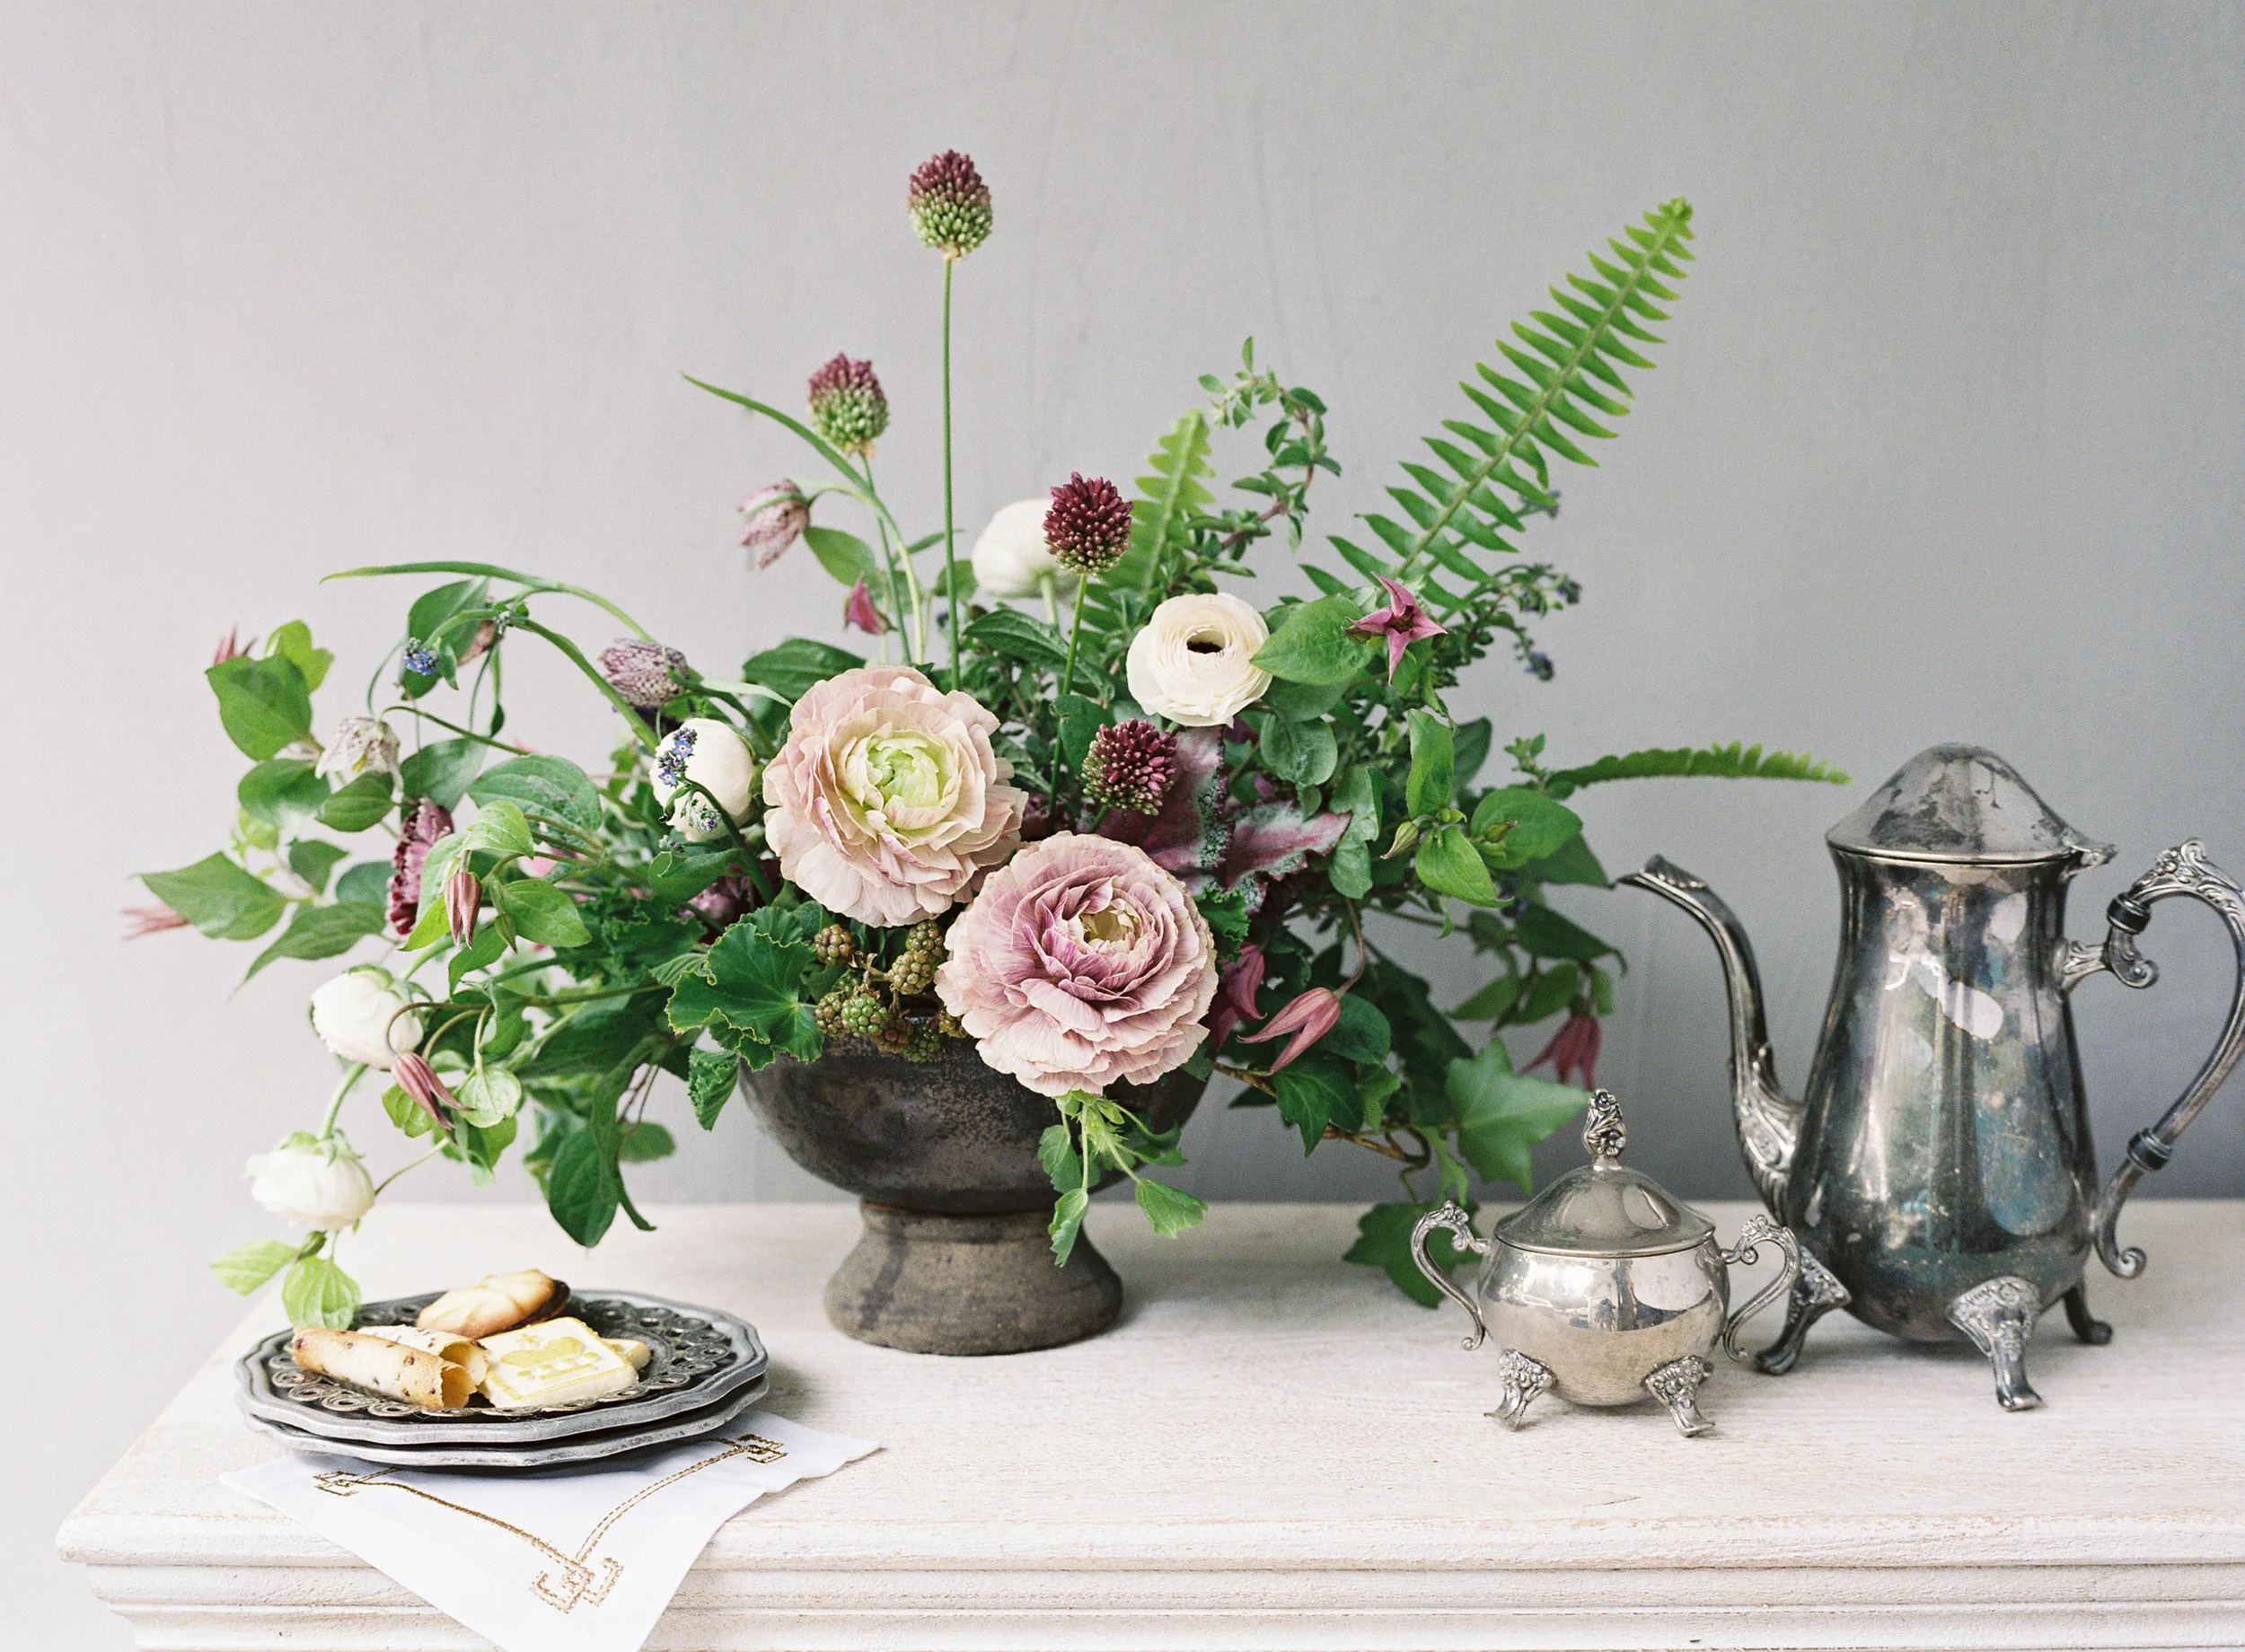
This garden arrangement tutorial was recently featured in Flower Magazine. I'm happy to bring this feature to you — celebrating the present moment with flowers! See, garden flowers are just around for short spurts in time. Peonies are amazing in May, usually making a grand flush across the country around Mother's Day (or if you live in the mountains like me, mid June). Foxgloves wave their tiny bells and forget-me-nots rise from creek bed in front of our home in the summer. Poppies pop and surrender in what seems like an instant.
Recently while working in the garden, I found myself mesmerized by the beauty of the Annabelle Hydrangea, and imagined myself sprouting out of the ground, surrounded by the beautiful flower. The idea for a floral dress took hold, and I decided just to do it. Let’s see what it looks like to walk around in a flower!