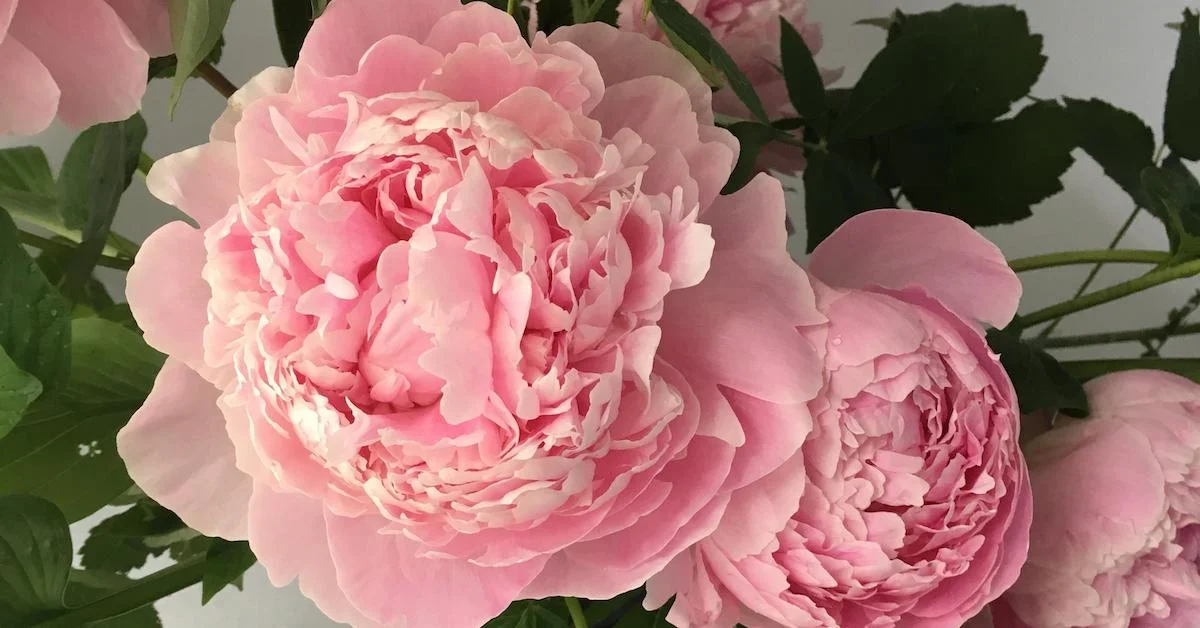
Ready to take a closer look at different types of peony bloom forms? In this guide, you’ll get notes not only about the forms, but also on where and when these blooms fit best!

All tagged Peony
Ready to take a closer look at different types of peony bloom forms? In this guide, you’ll get notes not only about the forms, but also on where and when these blooms fit best!
In this video Kelly uses blush peonies and sweet peas to create a classic round wedding bouquet with a full stem wrap and no foliage.
------------------------
Video transcript:
In this bouquet, I'm using a fragrant blend of springtime peonies and sweetpeas, both in blush. We're going to start by getting the shape of the bouquet using the peonies. First, I'm going to look and I'm going to take the peony that I feel is the most open and the most beautiful. That will be my flower that is at the top center of the bouquet. Toss off these tiny little pieces around and the next step is just surrounding this peony with lots more peonies and each time I add one, I am aligning these stems so that I am creating one big stem at the bottom. We're just going to go around in a circle around that first peony that we placed. Then, I'm going to start adding some of these smaller peonies in the centers. So, you can see I'm going to tuck that right in there to cover in some of that space. I want to make sure that I don't have any foliage showing at all so I'm going to pull these off as I'm going. Okay, so I have a round bouquet here. Now, I'm just going to adjust and tug stems to get it to be perfect round. Next, I'll add the sweetpeas. I'm just going to gently, in between peonies, slide these down in. I don't need this one here so that will get popped off. With each addition of the sweetpeas, I'm just seeking to keep this rounded out. These are so great for filling in just the little holes in these pieces underneath of the bouquet. The way that the flowers are shaped on the sweetpeas allow me to gently bend and fill in and ruffle the underside. Okay, a quick little assessment again. See if there's any that just need to be tugged out just a little bit to get it perfectly round. Even whenever we're doing tighter balls of flowers, it's good to give the flowers a little bit of a tug so that they don't get too compacted. We still want them to have room for their petals to fluff. Then, this one right in the center, I'm going to pop it out just a bit so that we get that little bit of fluff there and now we'll tape. So, I have a piece of the green oasis tape that we've been using throughout the rest of the class. I'm just going to do a simple wrap-around once and then back around the stems again. I have to put a ribbon on here. Wrap it around. You can go around as many times as you like. My ribbon is pretty long and I'm just going to let it as it lays. Then you would just pin and do your simple little tie to get something like that and you still want your stems to be exposed. Sometimes girls that really love this ultra-classic look like to have their full bouquet wrapped, ribbon and all, so I wanted to show you how to do that. We haven't talked about it yet. I'm going to snip the stems pretty short so that whenever they're holding, I have just about an inch, an inch and a half of space at the end of the hand. Then, with that tape that I have put up higher in the bouquet, I'm going to use that to just do a little U-shape around the stems. I'm going to do the same thing on the opposite side so this part with the tape and these yucky ends that I have will be completely covered by the final wrap that I'm doing. You might be wondering, how am I going to keep these flowers hydrated if the stems aren't exposed? You know, that whole piece of it and it is a great question. What, typically, this is done in France a lot and they'll just deliver the whole bouquet with the ribbon. They'll just pop this into the water and the ribbon would actually be wet and then you would towel-dry it before carrying it, carrying it down the aisle. When I have done this in the past, I just had one client that really preferred this look. What we did for her, hers was wrapped with pearls and I did it on site shortly before she was getting ready to carry it for her photos and things. We did put it back into the water before the ceremony took place. So, I've just taken this ribbon at the top, going around until I get to the bottom and then I will secure with a pin. Tucking in those edges. I used a little bit of glue whenever I did the pearls, putting those on the bouquet. You can do that as well, tacking in some of these little ends with that. If you're sensitive to that, you can also take a pin and go around and just secure the edge there with a pin. I'm just doing a simple fold and securing with that little pin. I think we'll go with the pearl pin on this one. A little bit more classic with the ribbons and the peonies. She's probably wearing some pearl earrings. All right. There you have it: the classic Peony and Sweetpea Wrapped Bouquet.
In this excerpt from the Team Flower Growing and Arranging Peonies class, Foxie and I give a hands-on demo of how to plant peonies. You’ll see us give details on how to plant a peony root!
Is there anything more thrilling than preparing a garden plot that will pay floral dividends for years to come? Many gardeners plant peonies for pure enjoyment, but peonies also play an important role commercially as a high-dollar flower for floral design work. As a farmer-florist, you can grow the cultivars that compliment your design style, including some that are otherwise hard to find or not available on the commercial market. You also have total control over the harvest, selecting only the most perfect buds for your design work.