How to Host a Floral Design Workshop
Have you ever thought about expanding your love and passion for flowers in a way that will bring joy to your local community? Hosting a floral design workshop is an excellent opportunity to gain new floral fans for your business, build relationships with future clients, venue networking opportunities, and ability to share your unique design style with your community.
In this article, you'll find:
Essential elements to consider
How to host a successful workshop
Building connections with the community
Venue partner tips
Preparation for the workshop
Details that add a special touch
Recipe example
A class flow example

Essential Elements to Consider When Planning a Workshop
What theme/style do you want to share/design with your community?
I recommend sharing your unique floral design style that you are most confident in and a theme that brings you joy. If you are excited about the event, your participants will be too! Do you love making bouquets, or are centerpieces more your style?
What is the current season?
As summer was ending, choosing a theme like Late Summer Joy perfectly completed the time and season toward the end of August. Many attendees loved that they had something to look forward to as schedules and demands started to pick back up.
What are your goals for your class?
Take some time to consider what kind of journey you would like to take your class on. Do you want to spend your time talking about one specific educational topic or doing a live demonstration and giving each attendee private instruction? Sticking to foundational concepts, a brief introduction to color theory and proper floral care were topics that attendees seemed very interested to learn. Those topics are very valuable to the participants, and they wanted to learn more! Most participants are generally beginners if you are hosting in your local community. It is neat to see personalities come out in each of their arrangements! Something to keep in mind is ensuring everyone is happy with their arrangement at the end of class.
Time management is key during classes because time goes by quickly when you are the host, instructor, coach, photographer, etc. Writing a brief timeline of the topics you would like to discuss will help keep you focused and feeling prepared.

Number of Participants
I would recommend sticking with 10–12 people max. To really connect with the participants, you will need to keep your classes around that size. Also, when it comes to ordering your containers and sourcing your materials/products, you will not have to order additional quantities. Most containers are available in a pack of 12.
Staffing
Having at least one assistant is very helpful to help set up/tear down the event, offer guest support, take pictures while you are teaching, as well as manage your sales (any products you are selling after the event is over).
Building Connection with the Community
Building connections with your local community is so important. That is what sets your business apart. When you build those connections, you gain some awesome flower fans! They will follow you on social media, continue attending floral workshops, and become your personal cheerleaders. It is also great because many attendees will bring more friends to your classes. Creating a fun experience with beauty and grace is what it is all about. We all need nature and joy in our life, and what a blessing it is to spread love, light, and joy with those around us through flowers!

Tips for Partnering with a Venue
Consider the type of venue you would like to partner with. Examples: bookstore, coffee shop, gift shop, crafting studio, vintage decor shop, etc.
Do a walk-through. Just like taking a walk through a venue for a wedding, it is important to learn about the space.
Meet with the manager/person of contact for an event at the venue. Staying in communication is key. At that time, you can discuss the event's timeline, set up area, determine where attendees will park, and discuss the loading/unloading area. You will want to communicate how you will set up the workstations with the work tools, flowers, refreshments, etc.
Discuss fees and payments. Do they require you to submit a W-9 form? You will want to have your EIN ready. You will need to decide how much you charge your guests to cover your costs and time, and don't forget about sales tax! You and your venue partner will also determine how to divide the funds or what they will need to add to your price. There are many ways to accomplish this. As long as you and your venue partner are comfortable with the agreement, it is a win!
Share your vision board. Including a visual aspect will bring your design concept to life. This ensures that you both have an understanding of the theme/style of the event.
Determine marketing strategies. You will want to discuss ticket sales, who will be bringing refreshments, and how you will promote the workshop.

Things to consider when preparing for the workshop:
Make your floral recipes ahead of time and stick to your budget! This can be very hard to do when going to the wholesaler and seeing all the pretty flowers and products. Having your quote and sticking to the budget is very important to make a profit.
When preparing and processing, you will want to separate each floral count into its own bucket. This ensures you have enough stems and variety. When you arrive on-site, it is very easy to set up.
Bring a lazy susan, and use it while you do your live demonstration. This will make it very easy for you to stay in your designated space where you are teaching, especially if you don't have a large workspace.
Order extra teaching materials to sell after the class is over. Ex: color wheels, clippers, mechanics, vases, business merchandise, etc. Many participants wanted to know where I purchased my materials from and were requesting to purchase them.
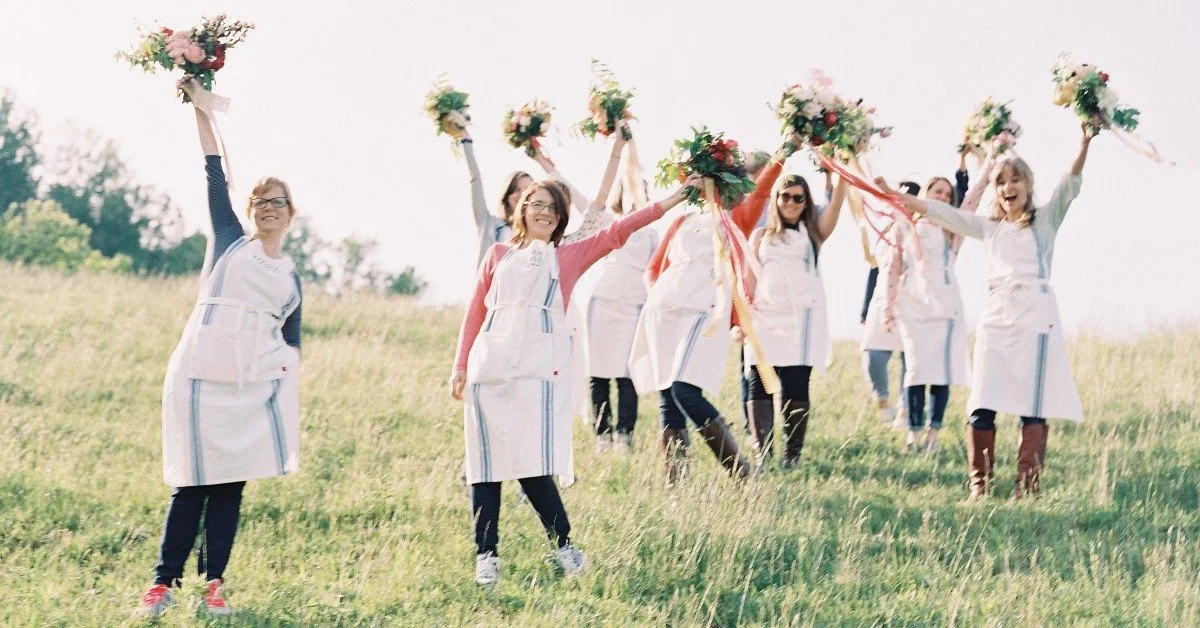
Create a photo backdrop area and take a group photo! This will bring even more joy and fun to the event! It is also great content for social media, websites, google, etc. Also, you can follow up with the participants by email by sending their images. This is a great opportunity to ask for their feedback and if they could leave a google or social media review. It is an amazing feeling to hear the wonderful feedback from the participants.
Details
A welcoming note is often a great idea to communicate your mission and thank the participant for attending. You can also give your social media tag and business info.
Placing a handwritten name place card at each place setting can add a nice touch of personalization and thoughtfulness that the participant will feel welcomed.
Giveaway: Doing a raffle is a great way to bring excitement during the workshop. I like putting together a basket filled with a nice candle, a small vase, or a tea towel.
Transportation
It is a good idea to consider how the participant will take their arrangement or bouquet home. For arrangements, I let the participants take the cardboard box with them that the container came in. You could offer to wrap bouquets in paper or provide tote bags for them.

Example Recipe Per Student for a med-large full arrangement (garden style):
Hard Goods
Container
Mechanic
Tape
Ribbon (as needed)
Flowers
3 Focal
3-5 Secondary
3 Line
5-7 Stems of filler
3-5 Stems of your movement flowers ( I like to think of them as icing on the cake.) They bring the whole look together. They are going to be more of your delicate florals.
Recipes are very much customizable. Recipes/types of flowers will depend on the budget/cost/profit that fits your business.

Flow of Class
Start your class with a small introduction about your business, mission, family, etc. Participants enjoy hearing your story and how you became involved with flowers. Be sure also to thank your venue partners and team.
The class now begins! Discussing the education topics (foundations, color theory, etc.) works well before diving into designing! Everyone is ready to start playing with those beautiful flowers, but it is a great way to give everyone a good foundation. It is a good time for them to ask questions as well. As each topic is discussed, you'll notice confidence starts building in the room.
Take each design step one at a time. Start with mechanics, filling containers with water, taping, etc. Follow up with creating your floral base/foundation to create the shape of the arrangement. Follow with secondary flowers: focals, line, fillers, movement, etc. Coaching and answering questions as you go. (Note: Walking around the room as you coach is a great way to continue building connections and assist with design techniques.)
Everyone will enjoy the process of designing with you and will soon keep designing as you are instructing.
After everyone finishes arranging, walk around the room to take a few selfies and admire and celebrate the attendees' beautiful creations.
Photographs: Taking each participant's photo is fun and also a beautiful moment for them to see what they created from a different angle. I recommend investing in a portable backdrop stand. It will make the photoshoot feel more formal and organized. A light background often works well.
So what do you do after the class is over, pictures are taken, everyone is happy, and everything is cleaned up, loaded up, and packed out? You get to celebrate! What you did takes strength and courage to put yourself and your unique design style into the world! Once you complete your first workshop, excitement is sure to build for your next class for you and the participants!
Happy Teaching!