Top Tips for Growing Cut Flowers in Containers
Do you love growing flowers but are short on space?
Believe it or not, it is entirely possible to start a cutting garden, even in the smallest spaces. By looking at your surroundings and simply starting where you are, a season of beautiful blooms can be at your fingertips.
In this article, you’ll learn some crucial tips for growing cut flowers in containers. And yes, a cut flower container garden can be in your future—even if you only have just a small apartment patio as your growing space.
be mindful of your light and water sources when planning a container cutting garden.
Evaluate Your Outdoor Space for Growing Cut Flowers in Containers
You should be mindful of two major things before planning your cut flower container garden: your available light and water sources.
Even on the coldest of winter days, one can get a sense of how much sun may (or may not) bless a garden. Don't forget to look to the sky, as treelines and shade should be considered.
Take an entire day to follow the path of the sun, perhaps sketching out how it travels across your growing space (which could be a simple terrace or back patio).
Flowers and plants also need water—and when they’re in containers, they need lots of it. Do you have a small spigot in your growing area? Or will you need to haul water from a nearby kitchen sink, requiring a watering can? Develop a simple plan for how you will water your blooms and purchase the required supplies to do so.
Select Containers for Your Cut Flower Garden
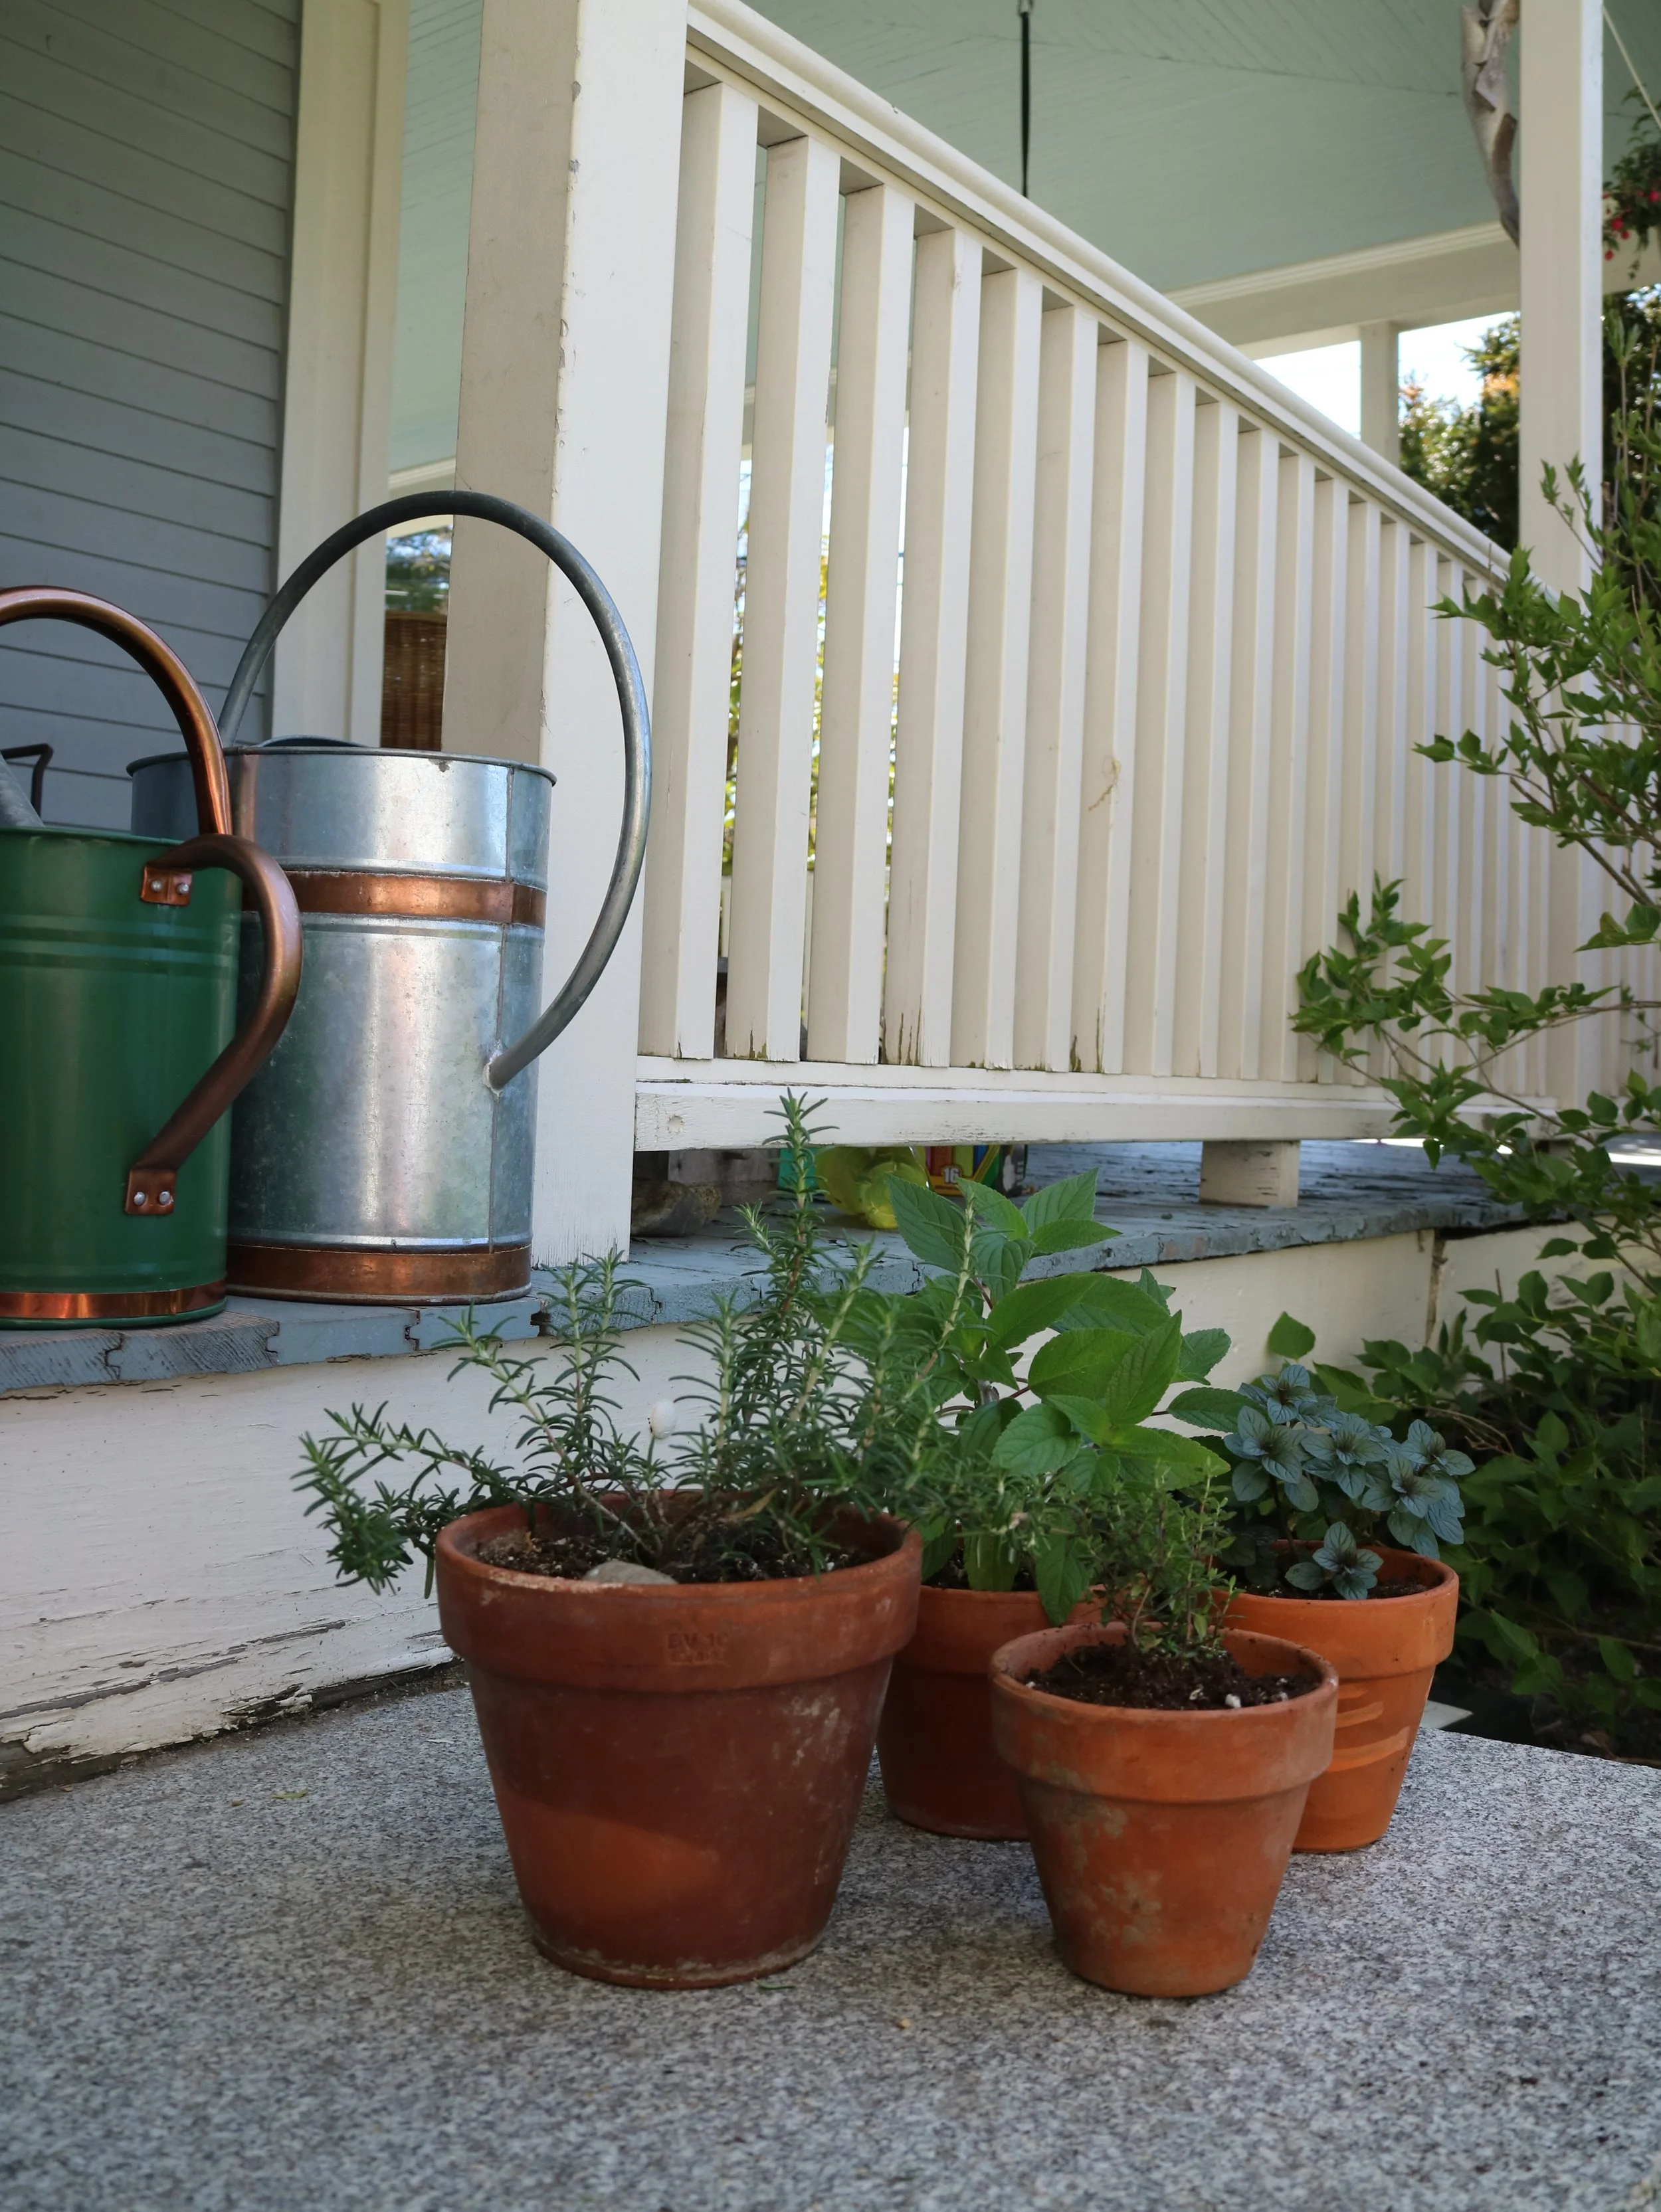
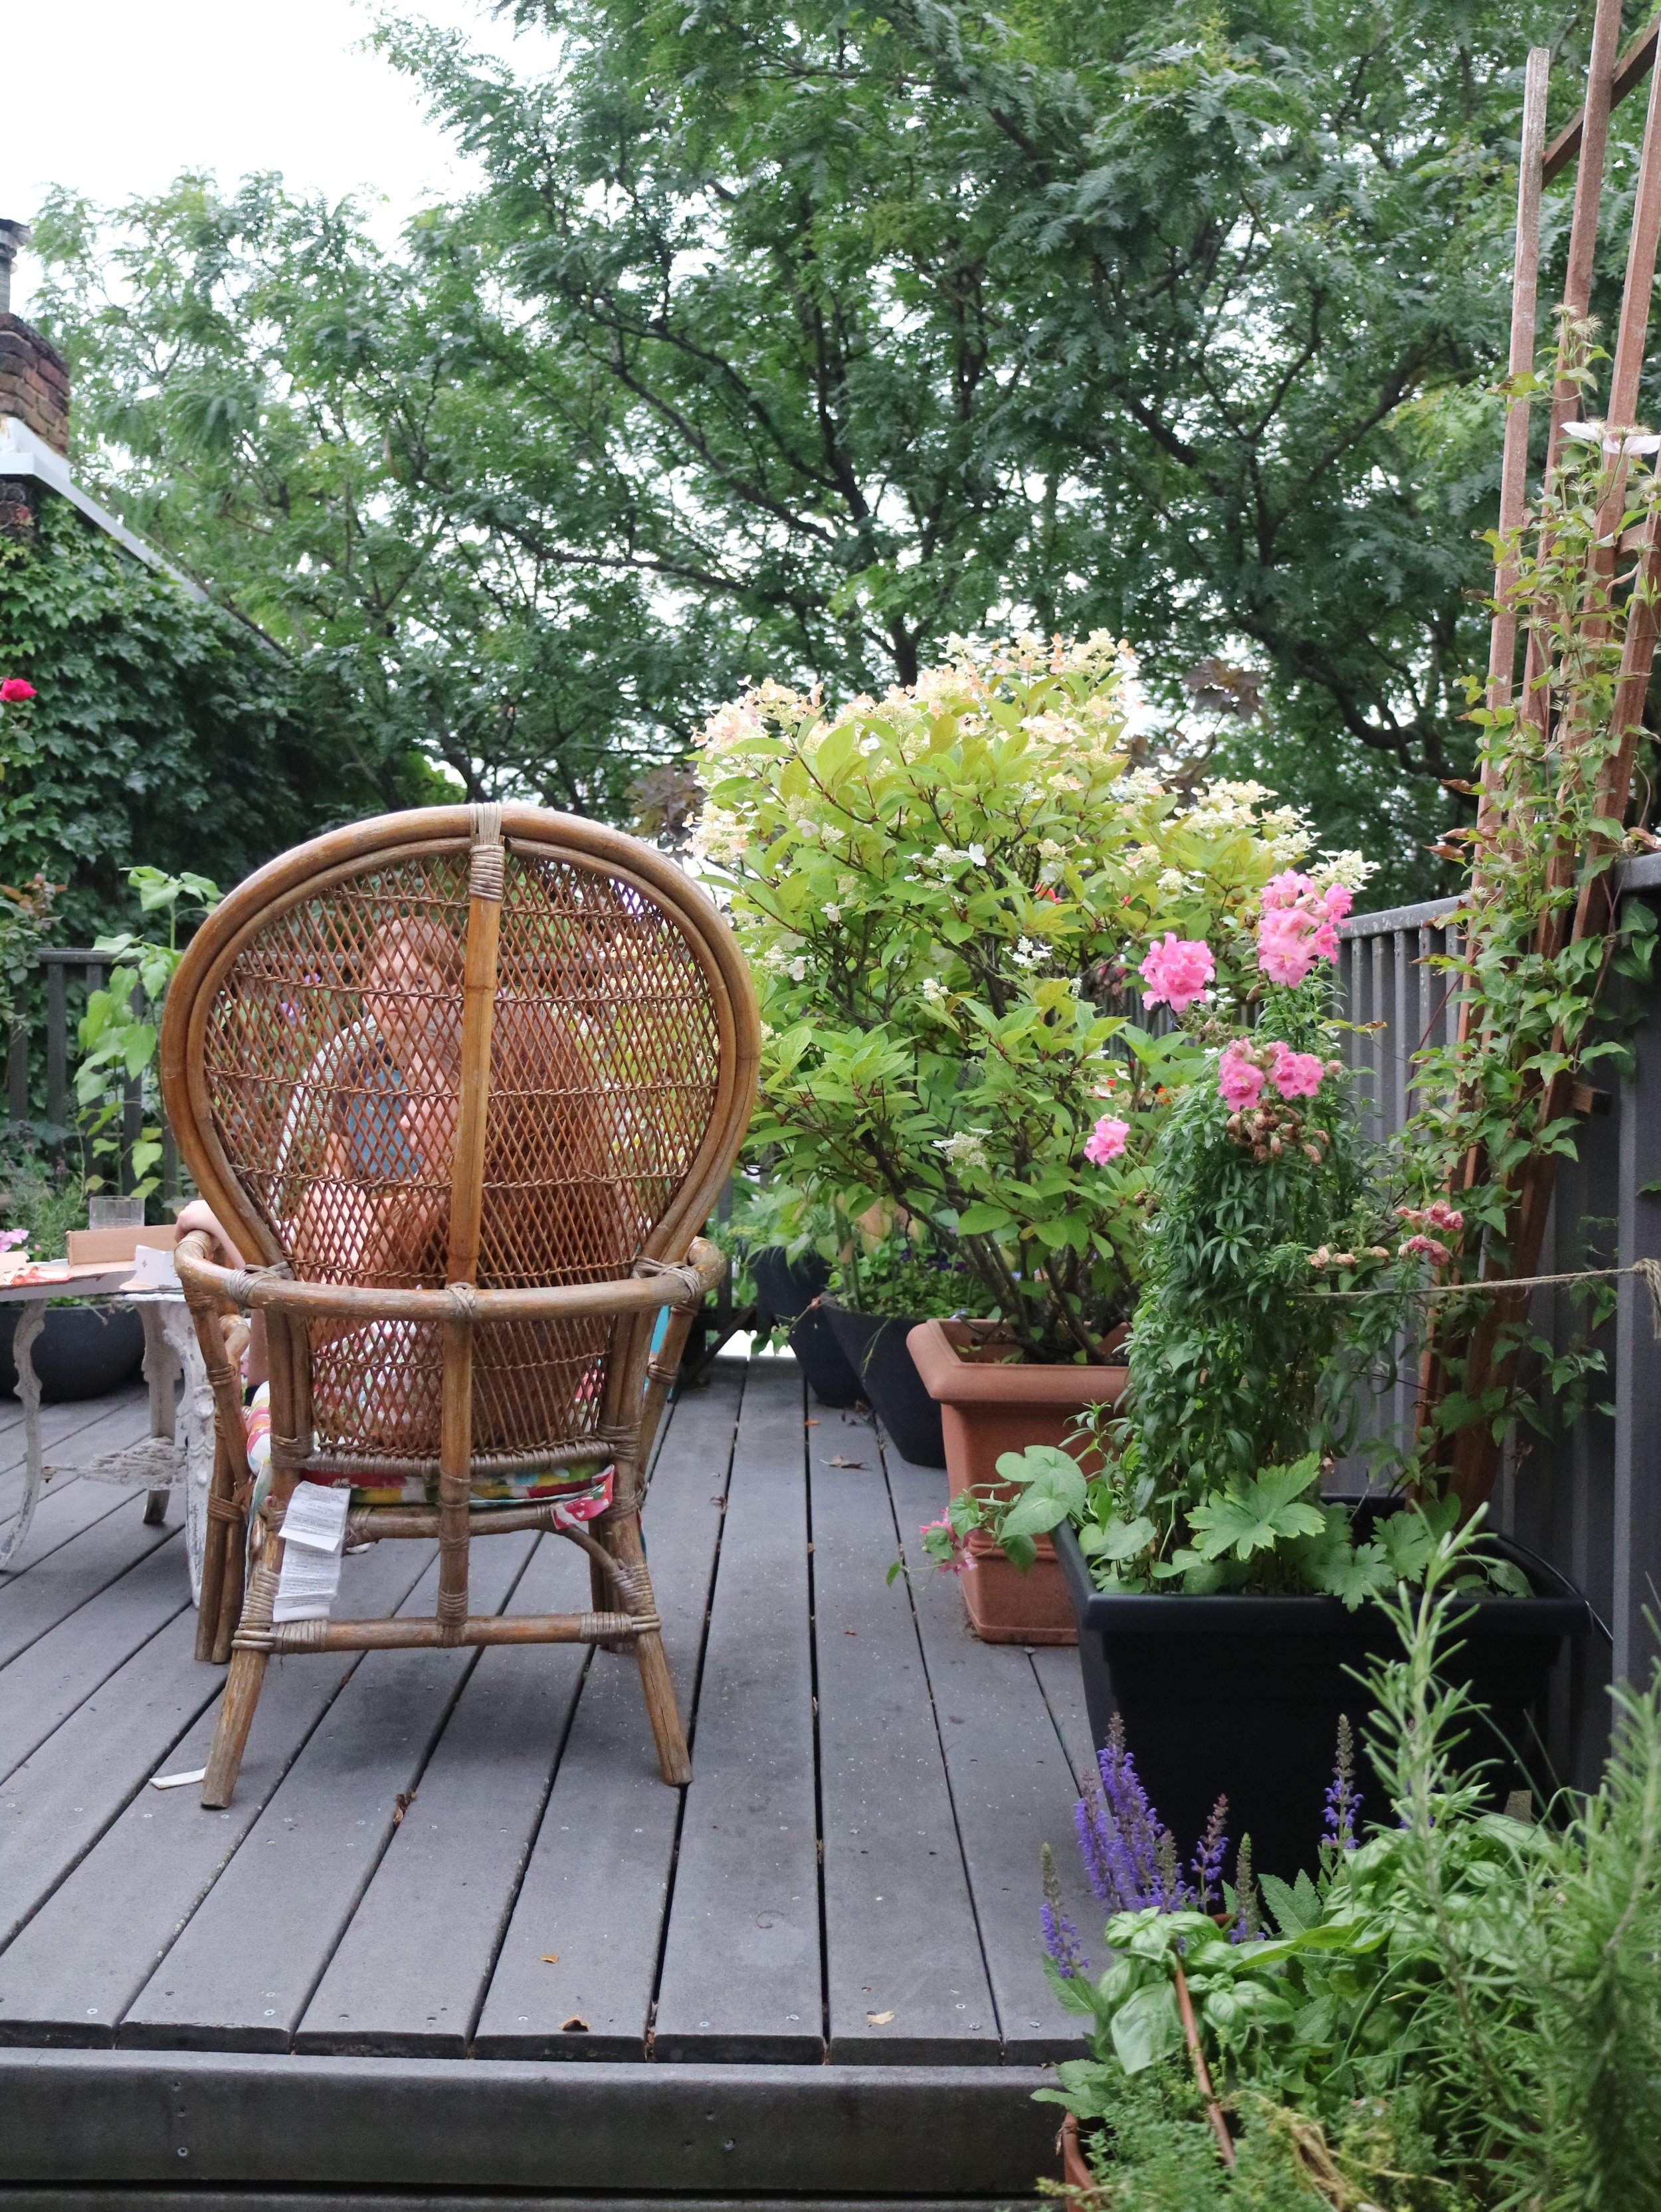
When it comes to containers, there are endless options. Personally, I like to mix my container sizes. Smaller pots are used for herbs, while larger pots hold tall flowers such as cosmos.
For visual purposes, one can follow the principles of design and rules similar to that of bouquet design. Think of flowers that will grow to roughly 1.5x the height of the actual container.
“If antiquing is your thing, just about anything can be made into a container (think a wooden crate or vintage buckets), but be sure there are holes for drainage! ”
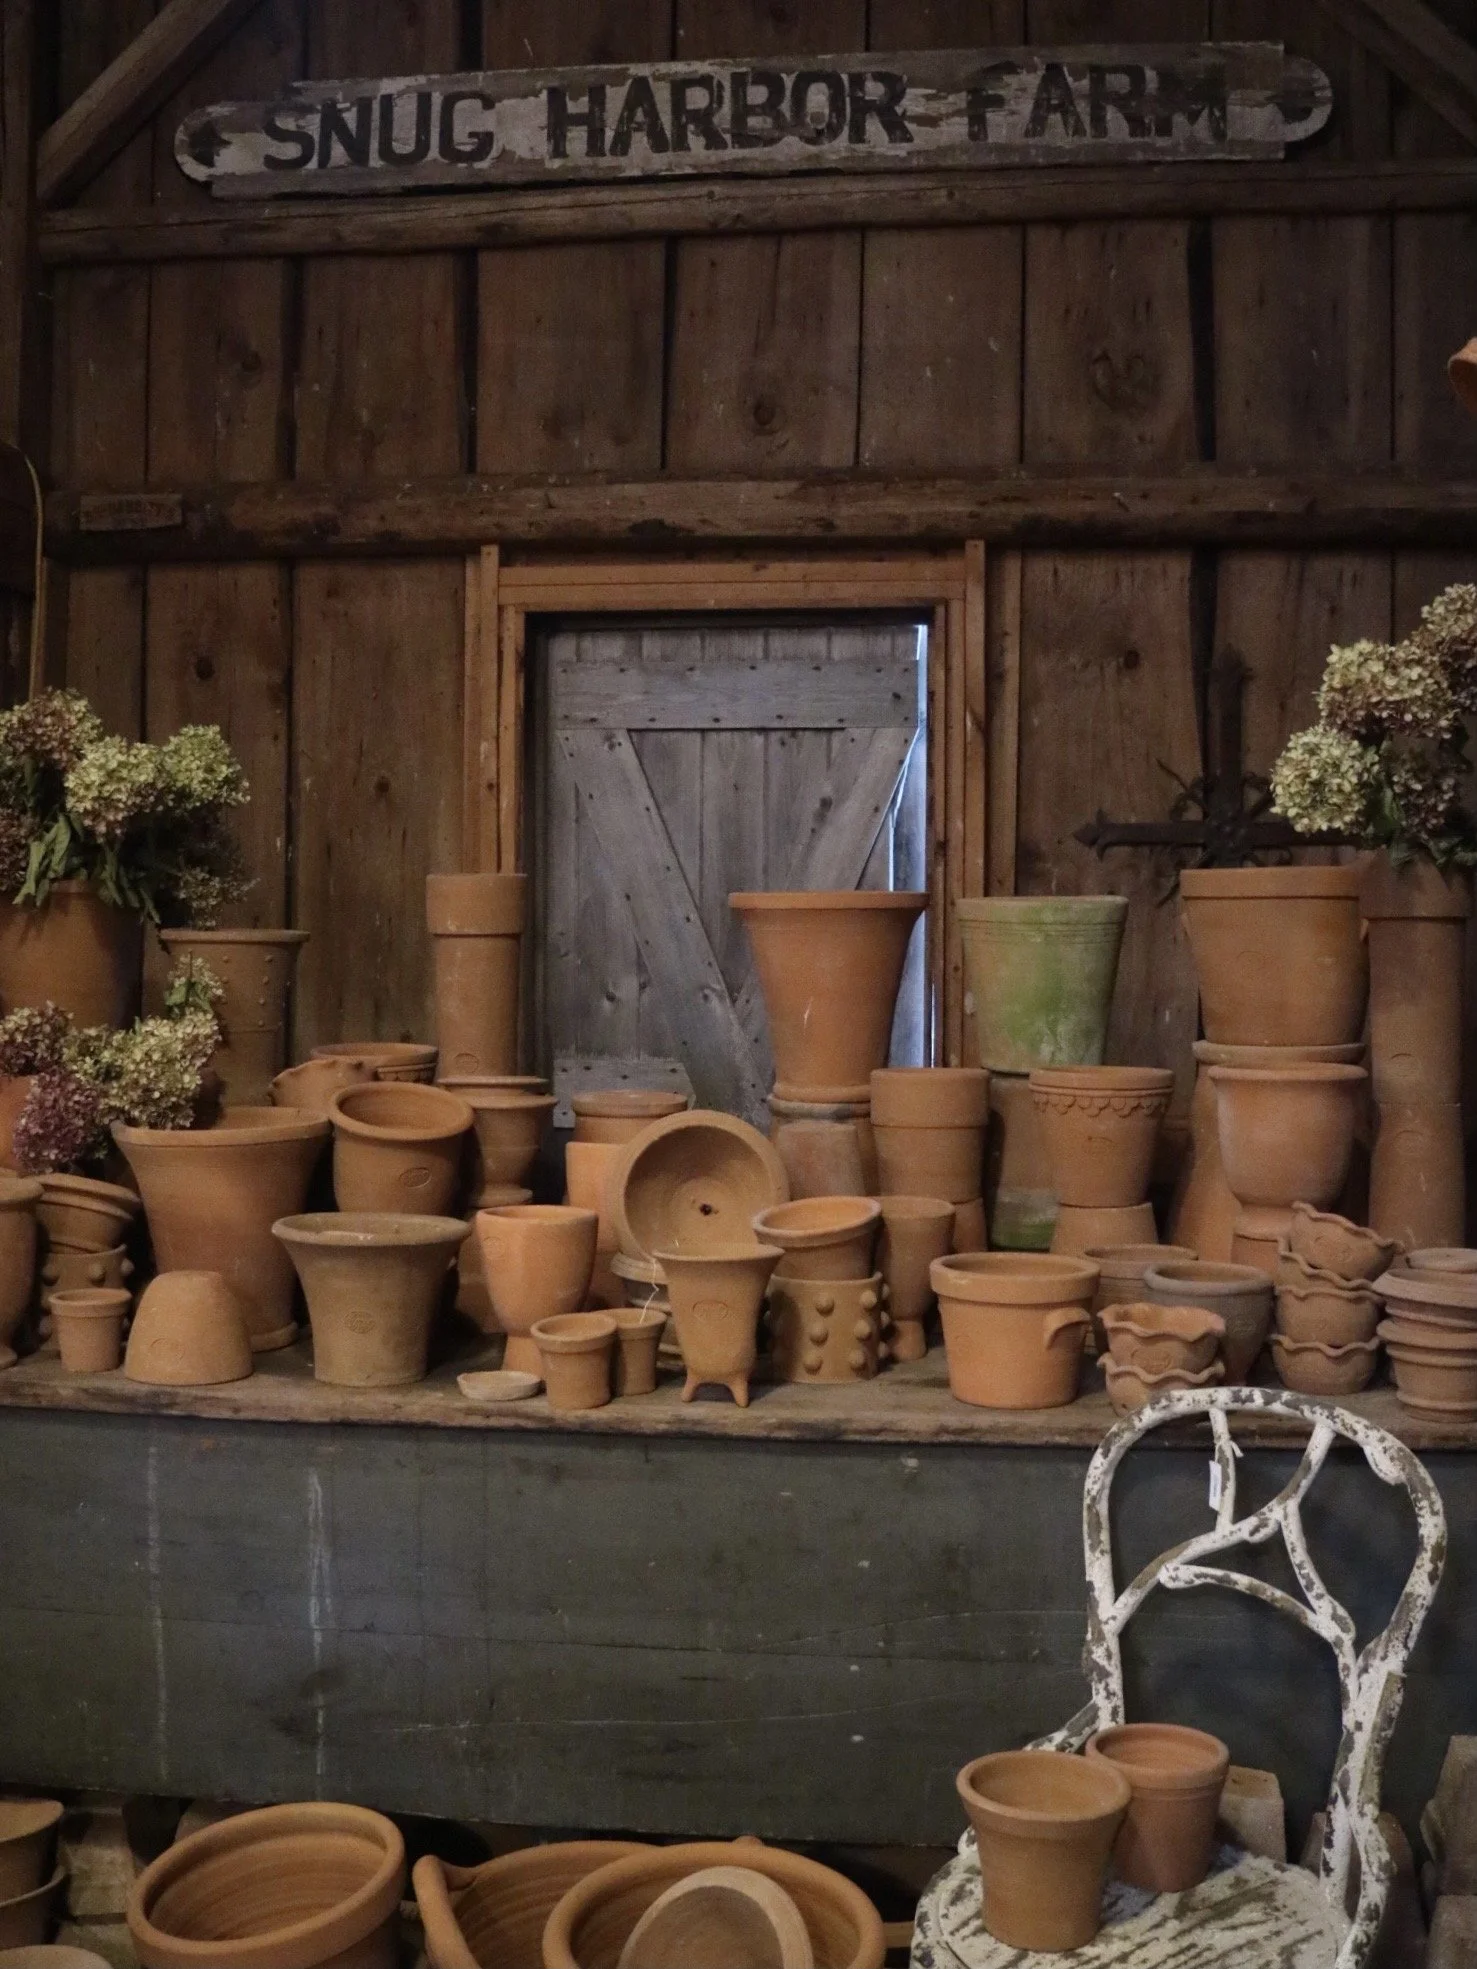
Terra cotta pots are lovely, should last you a lifetime if properly cared for, and have a distinct old-world charm. My favorite terra cotta pots come from Snug Harbor Farm in Kennebunk, Maine. They are designed by farm owner Tony Elliot and are hand thrown in the Philippines. Once they arrive at Snug Harbor, the pots are placed in greenhouses to develop patina and color.
If terra cotta pots don't charm you, consider wooden baskets to add texture at a more affordable price for your cut flower container garden. And if antiquing is your thing, just about anything can be made into a container (think a wooden crate or vintage buckets), but be sure there are holes for drainage.
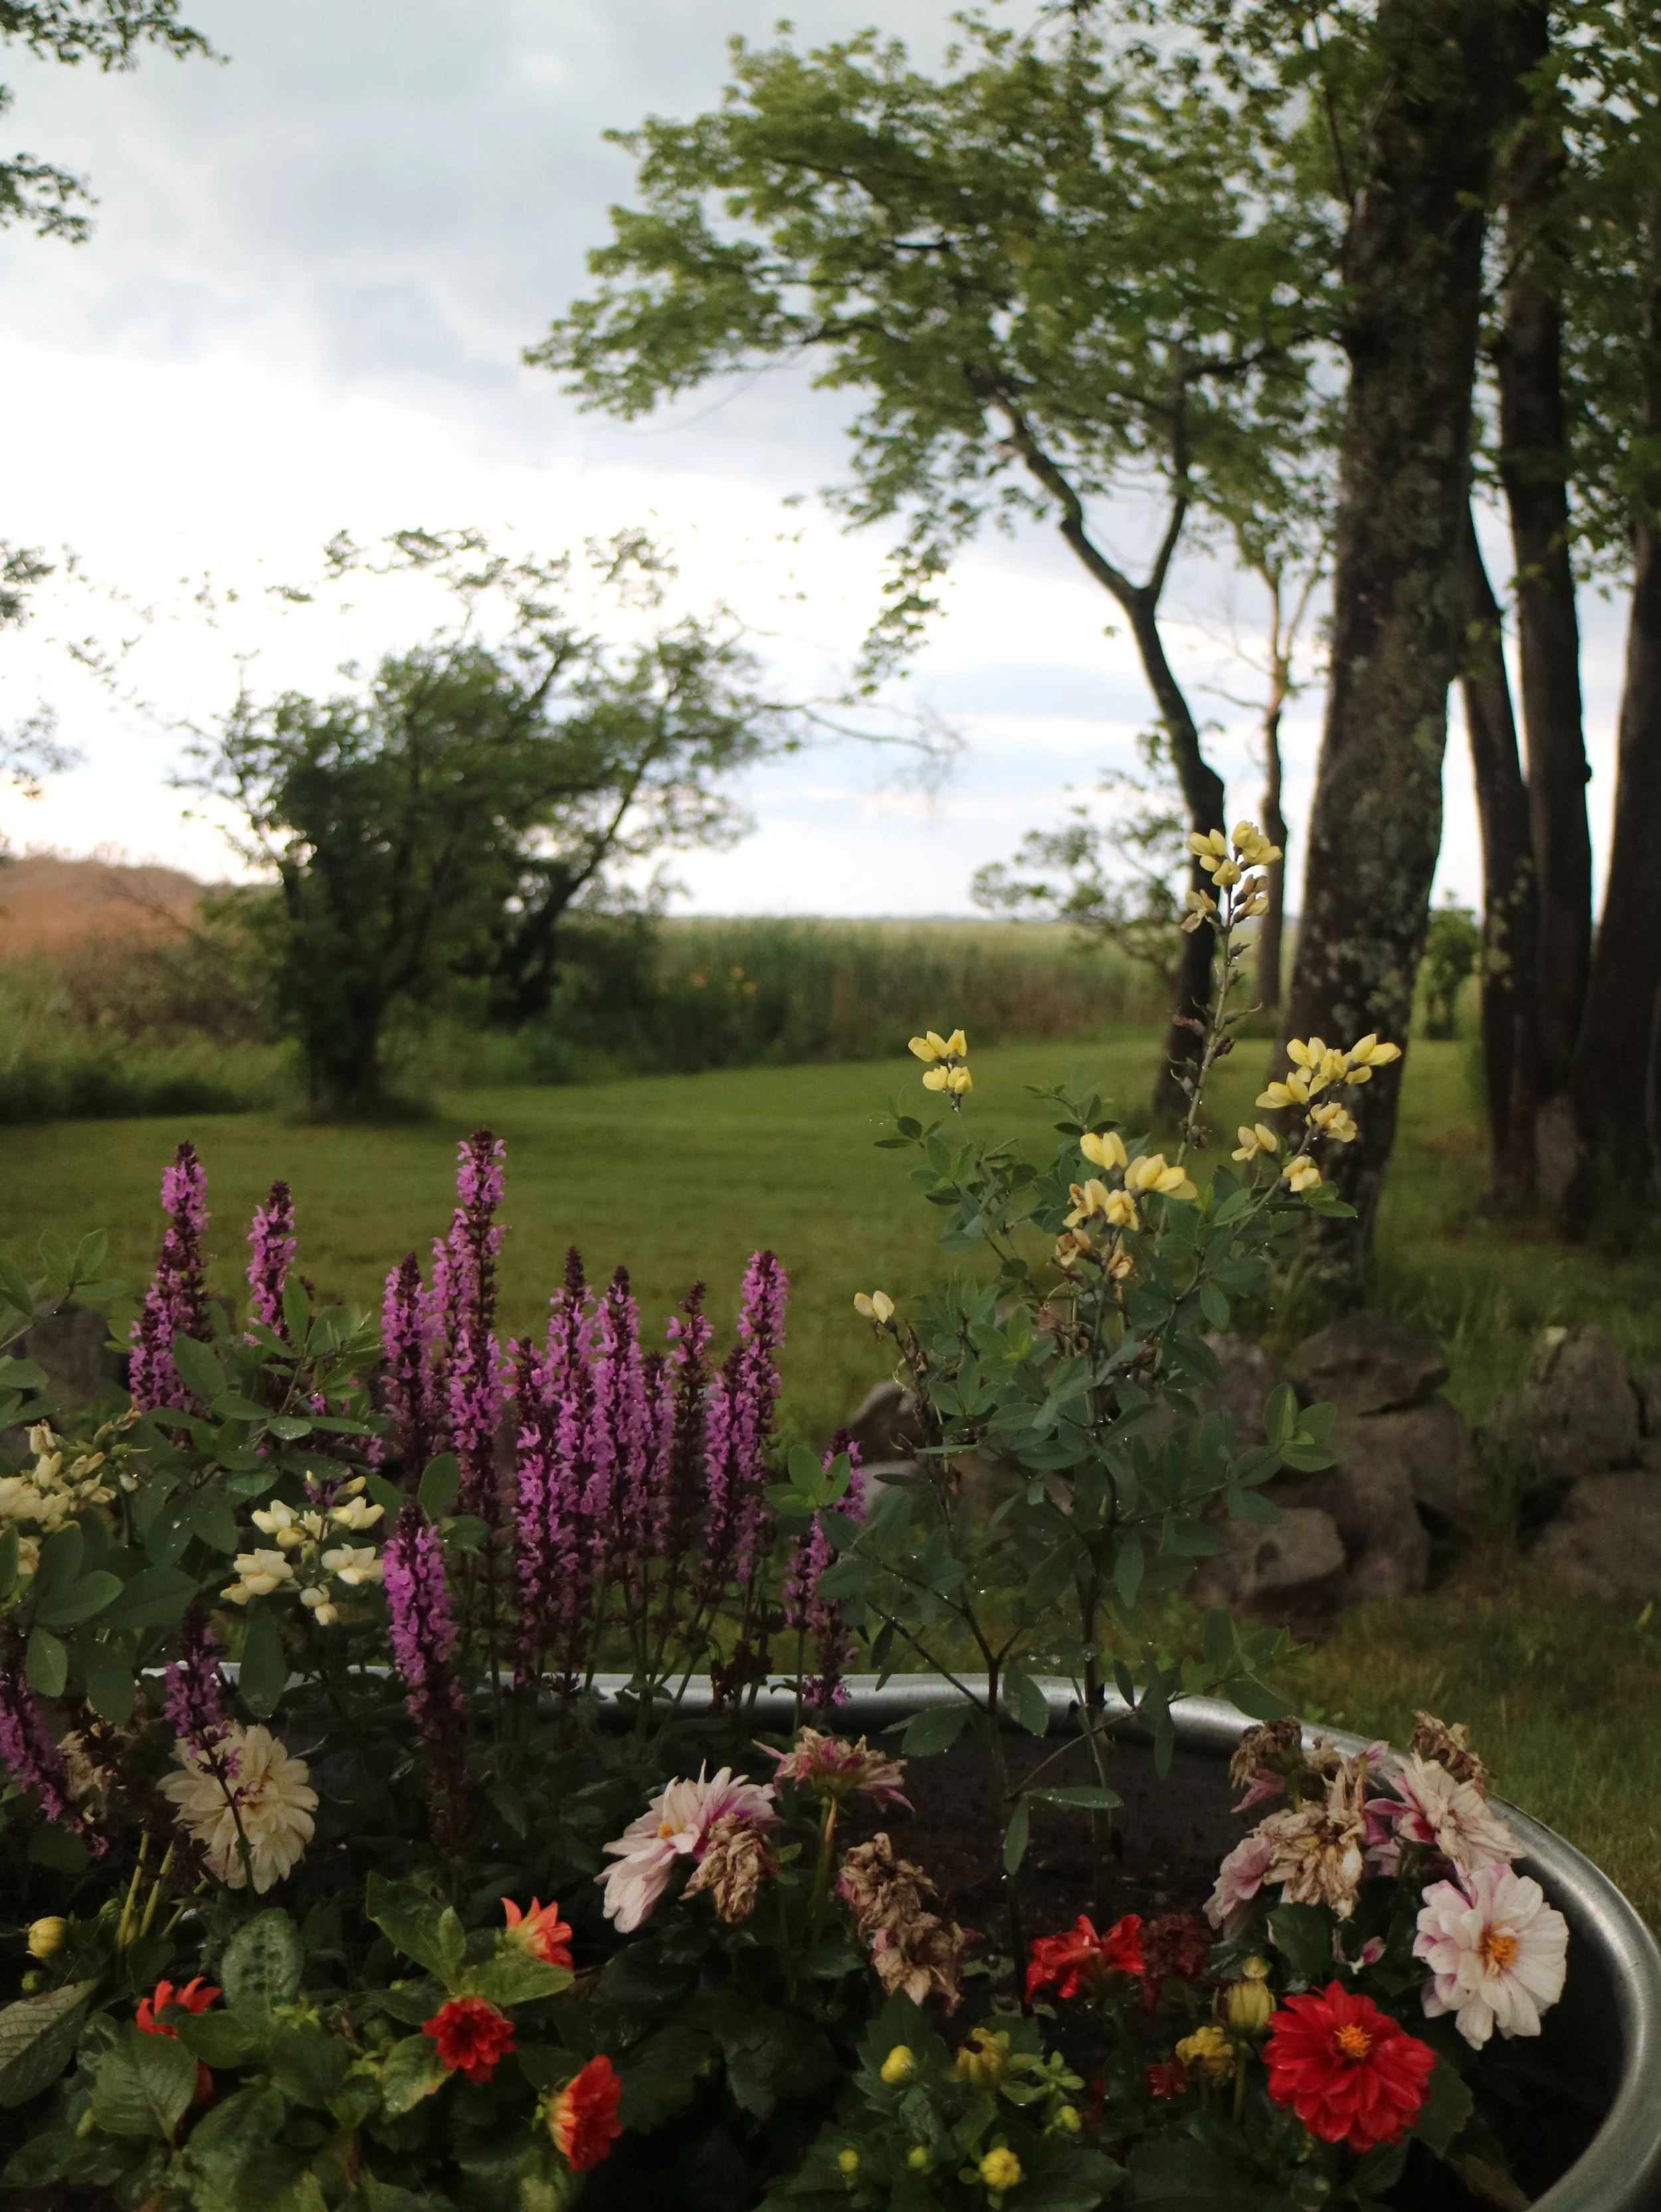
Should you have ample growing space, galvanized troughs or tubs are other options. You can find them at Tractor Supply Co. or Amazon, and both will ship directly to your door. In colder climates, the steel of the tub seems to warm the soil earlier in the spring and hold that temperature later into the fall, extending your growing season.
Discover the best tips for how to sell flowers at a farmers’ market.
Terra cotta pots are long-lasting and they have a beautiful old-world look.
Conversely, if you live in a warm climate, you may want to avoid galvanized tubs. Or at least resist planting so-called cool flowers, such as larkspur.
When using a galvanized tub, drill holes in the bottom to allow for drainage, and first put in rocks, sticks, or even cardboard, followed by soil. Filling up a good portion of the tub with something besides soil will save you money. Remember, most annuals only require about 6–8 inches of soil to form roots and grow.
Growing Cut Flowers in Containers: It All Starts with the Soil
The key to the soil in a container garden is good drainage. I prefer to use a locally sourced organic soil mix.
Your nursery will have various soil options, so be sure to select those designated for raised beds or pots. Mixing in some organic matter, such as compost, will create a happy growing environment for your flowers.
Angelica LaBoy, shop manager at Snug Harbor Farm, suggests adding a slow-release fertilizer, providing vital nutrients to your flowers all season long.
Love growing flowers? Check out our library of online cut flower growing classes—and start your growing journey on the right foot… no matter the size of your growing space!
Pick Your Flowers
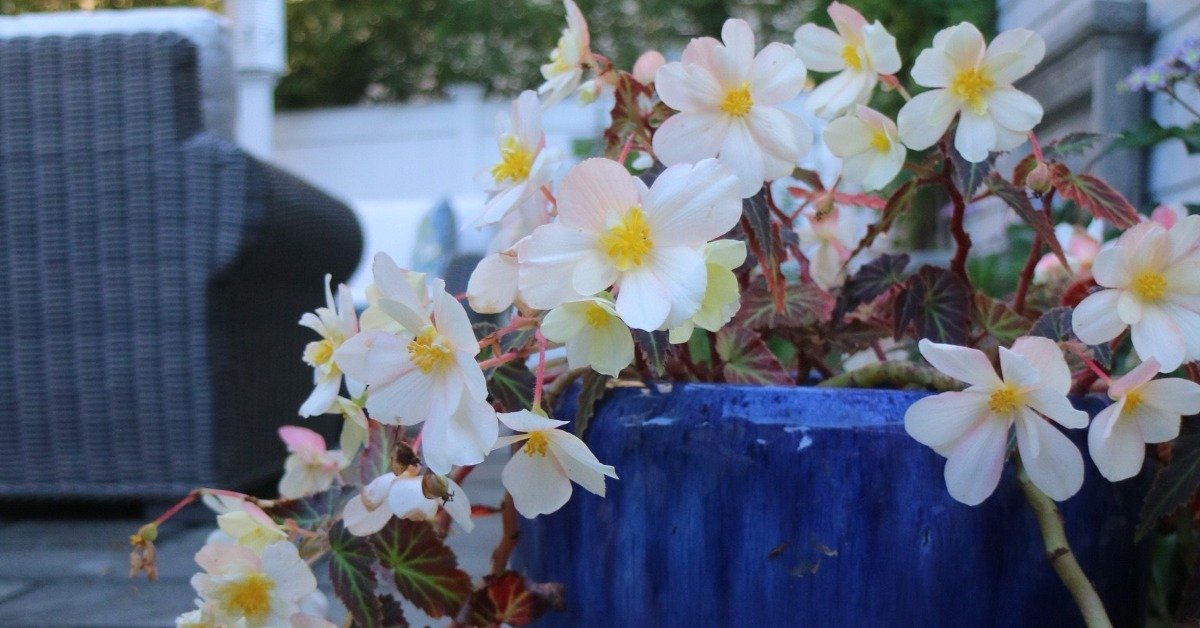
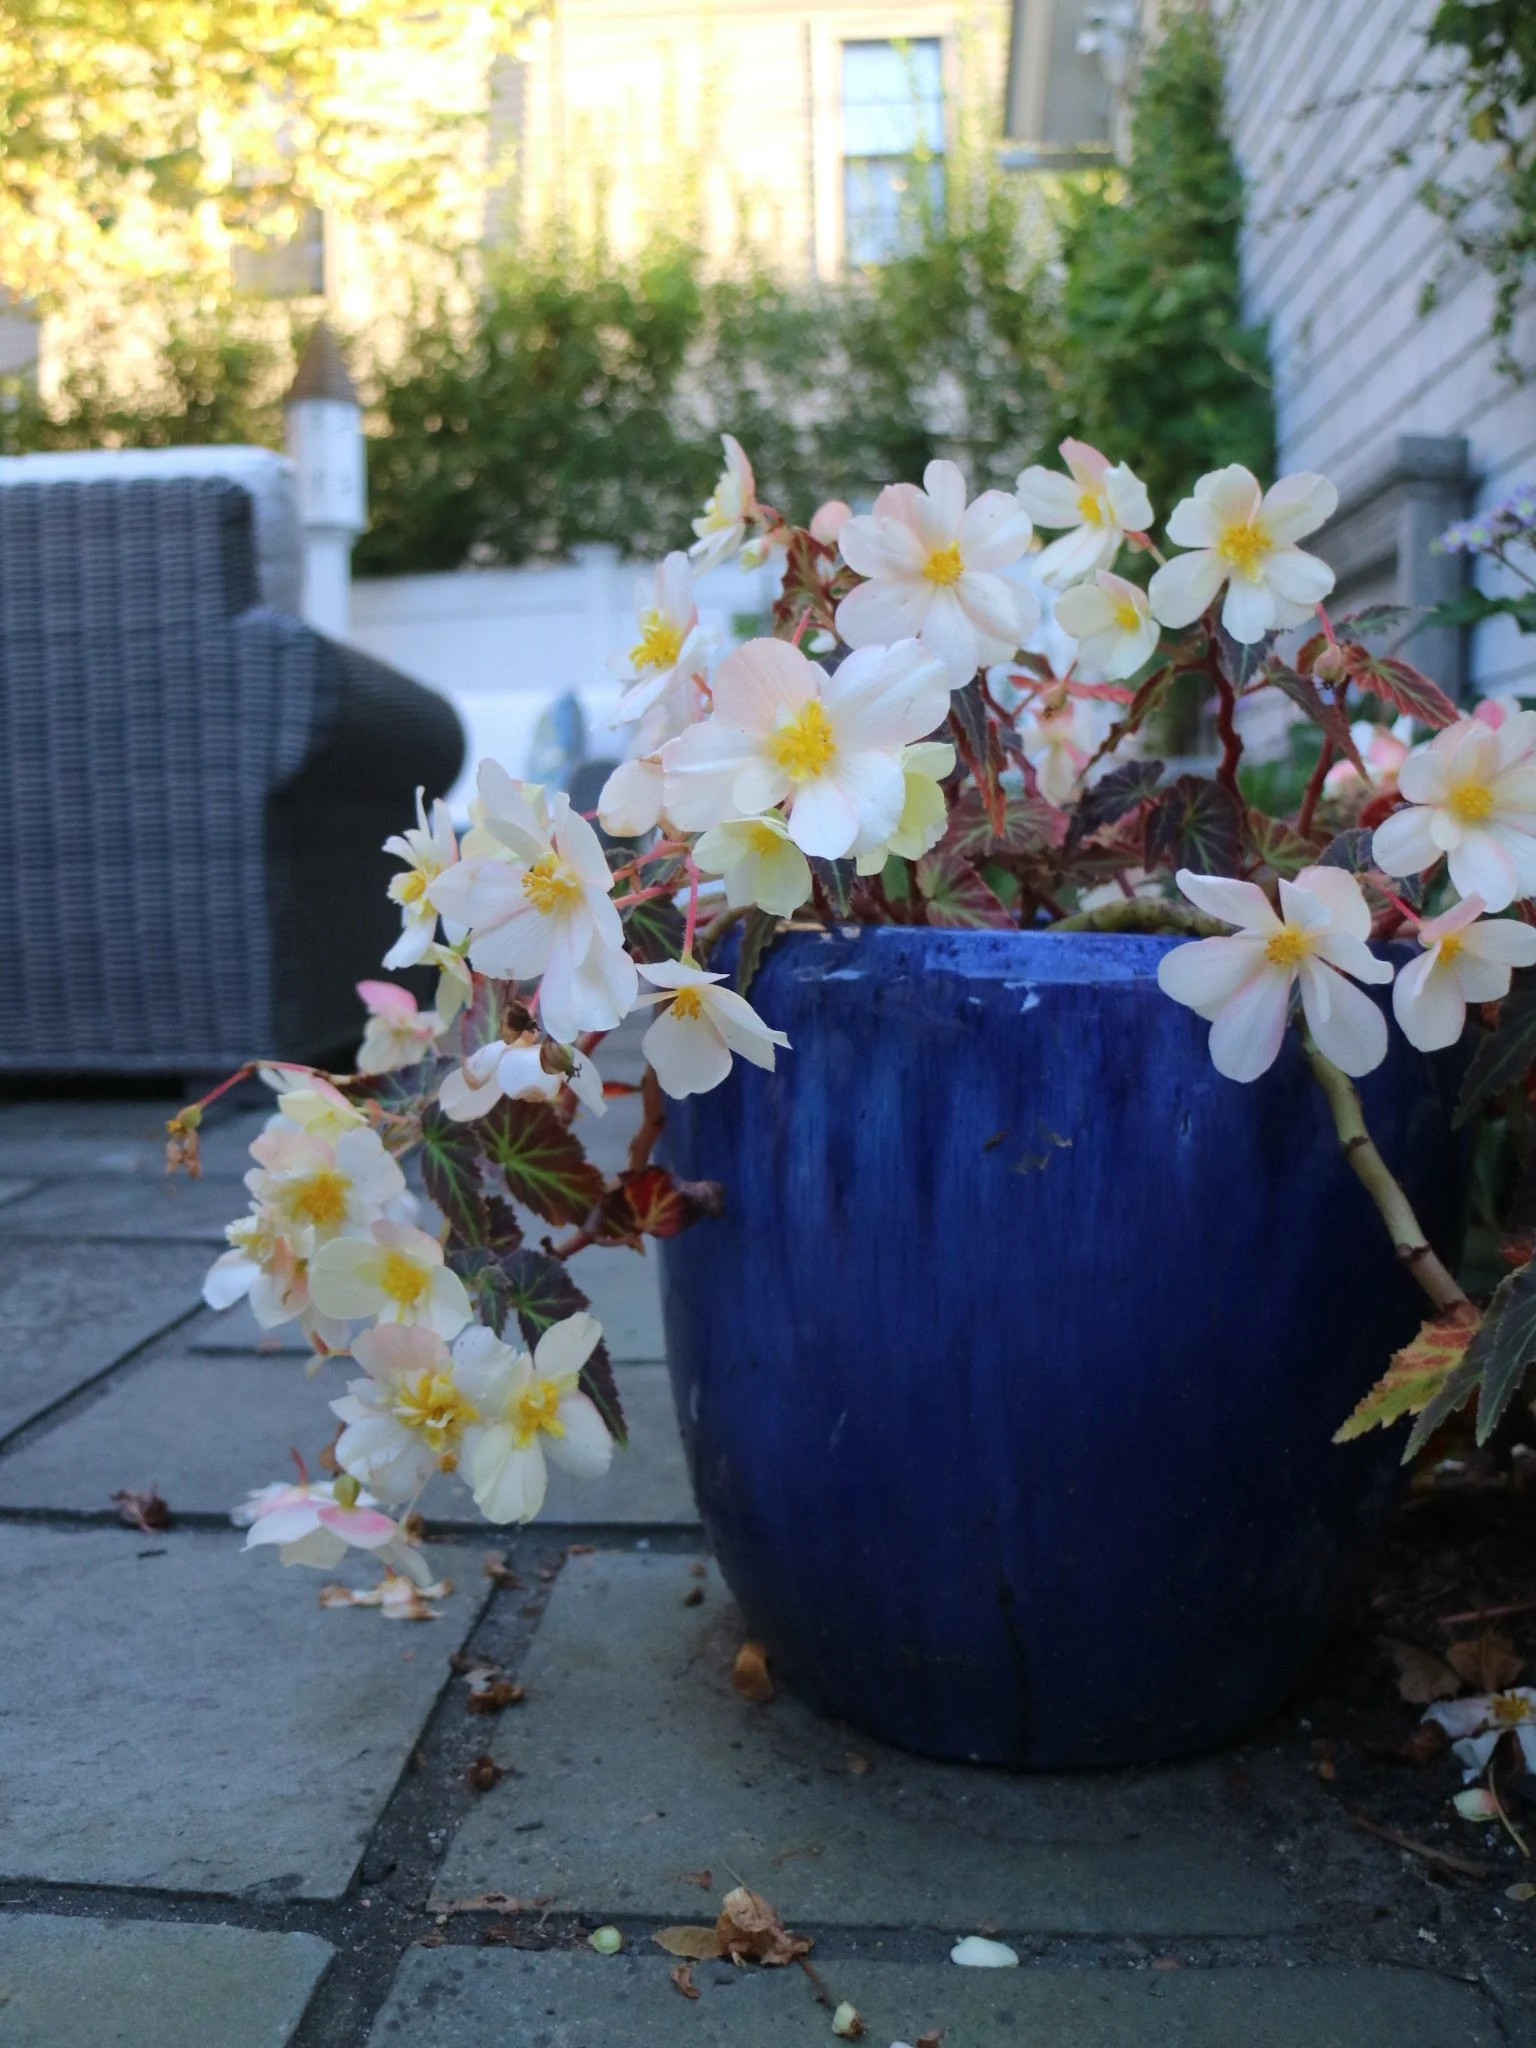
Trailing blooms are always a lovely option for pots.
Since you now know what containers you will be growing in and how much sun your area provides, it is time to select the flowers for your cut flower container garden! (This is the really fun part!)
“Cut and come again” flowers are just as they sound. If you cut them, they will continue to produce blooms. For full sun, zinnias are a must! They are prolific growers and work in just about any soil. And cosmos create a delicate, airy ephemeral vibe that grows to gorgeous height when cut back diligently.
Salvia, which blooms midsummer, would work well in a large pot as it grows to be quite tall. Marigolds have become a new favorite of mine. I used to consider them an old-fashioned flower, but the bold orange and yellow tones, plus their ability to grow well into fall, have won me over.
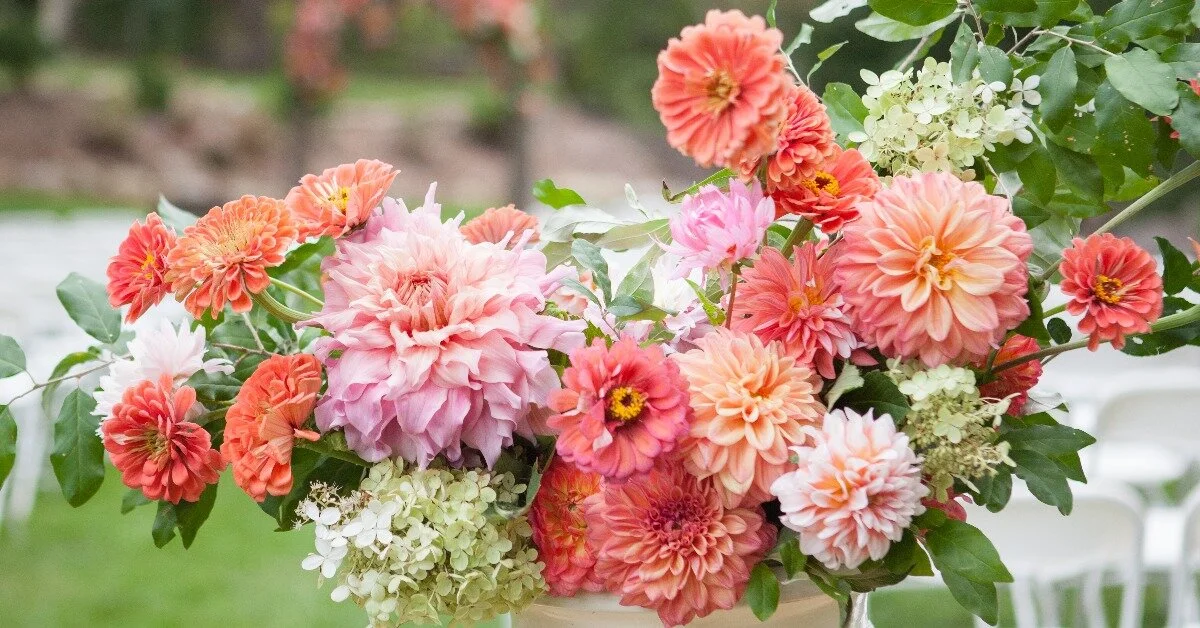
Snapdragons, such as a chantilly mix, look charming as a small hand-tied bouquet or alone in a bud vase. Dahlias are perfect for a cut flower garden and grow happily in a deep pot. Although it is sometimes difficult, cut your dahlias back 12–18 inches after they open, and you will have a kitchen table full of flowers from late summer through the first frost.
Should your growing space be mostly in the shade, consider astilbe, which offers a broad color palette and distinct feathery shape. Dalmatian peach foxglove can also tolerate shade, and unlike other foxglove varieties, it will bloom the first year you plant it from seed. And larkspur mesmerizes me when grown close in a cut flower container garden. It appears to be covered in small floral stars and can be dried and enjoyed in the winter. Finally, long-stemmed pansies offer a cheerful splash of color and can tolerate shade with an extended vase life.
And for bouquet purposes, we must not forget foliage! Herbs, such as lemon balm, lavender, and basil, look lovely in bouquets and in containers. Eucalyptus is another greenery favorite—just make sure it has plenty of sun. Ornamental grasses can be grown in pots and snipped here or there for bouquet arranging. A few of my favorites include purple fountain grass, miscanthus, and blue oat grass.
“Herbs, such as lemon balm, lavender, and basil, look lovely in bouquets and in containers.”
If you are lucky enough to have space for a hanging potted plant, consider nasturtium. I love the enormous leaves that look wonderful in a centerpiece, trailing delicately onto a tabletop even more than the flowers.
A final note on flower selection: It doesn't hurt to consider an overall color palette. Are you drawn to more neutral tones (white, peach, or cream) or perhaps more colorful (think jewel tones)?
Planning ahead by pouring over seed catalogues or creating a Pinterest board pays off when you are at the nursery selecting flowers. A nursery is a beautiful but sometimes an overwhelming place.
Arriving with a clear vision will prevent returning home with a mismatch of colors and textures that appear haphazard after planting. Don't forget, pots can hold lots of blooms! Don't be afraid to fill them. Nothing is sadder than a pot with visible soil, so maximize your growing space!
Don’t be afraid to cut your flowers!
What to Cut and What to Keep in Your Cut Flower Container Garden
If the intention of your small cut flower container garden is to grow flowers to arrange, don't hesitate to cut.
The general aesthetic of a container garden might not be there, but think of your pots or tubs as a little outdoor production site.
The more you cut, the more flowers you will be rewarded with! It is amazing how in high summer, with big bloom producers such as zinnias, you could cut one day and have more flowers by the weekend.
If you would like some pots or containers to function as a small outdoor garden, it might be useful to divide your containers into those meant for cutting, and those meant for permanent outdoor blooms.
One might plant the "to be cut flowers" in more decorative pots to add some degree of interest and color, especially when the pot appears empty just after a harvest.
Make Sure to Step Back and Reflect When Growing Cut Flowers in Containers
At the end of each growing season, when the weather turns and I'm feeling a bit low about the loss of flowers, I always take a moment to reflect upon the season passed.
In small spaces, it is imperative to be brutal about scrapping flowers for the next season that just didn't work. Perhaps it is purely an emotional reaction, and the flower brought you no joy. Or maybe it’s something more functional—your location has too much sun, and even with all your diligent watering, the cosmos burnt out.
Container gardening offers beautiful blooms, often with less effort than a traditional gardenings.
So much of gardening is trial and error. Any good scientist will tell you documentation is key to discovery.
While not as romantic as flowers, be sure to note what supplies and tools did or didn't work. It took me almost three years to find just the right size watering can. This might sound ridiculous, but if your watering can is too big or too small, it can interrupt the flow of your morning hydration route (which quite honestly is my favorite part of the day).
After you have settled on the things that did not work, you can start plotting for the next season.
Begin to look through seed catalogues, or follow Instagram garden accounts in your area for inspiration. Keep this information in one place so that you’re ready to go when it comes time to purchase plants next season!
And don't forget to plant bulbs in your pots if your climate allows. It is such a happy surprise to find tulips or daffodils ready to greet you in early Spring!
When planned and thought out, outdoor containers can produce beautiful blooms with far less effort than a traditional garden. You can begin today by evaluating your growing space and looking for inspiration at your local nursery.
Having fresh blooms on hand is not only rewarding but economical. Starting is simple; you’ll need a pot, some good soil, and a list of your favorite flowers. And that’s it!

