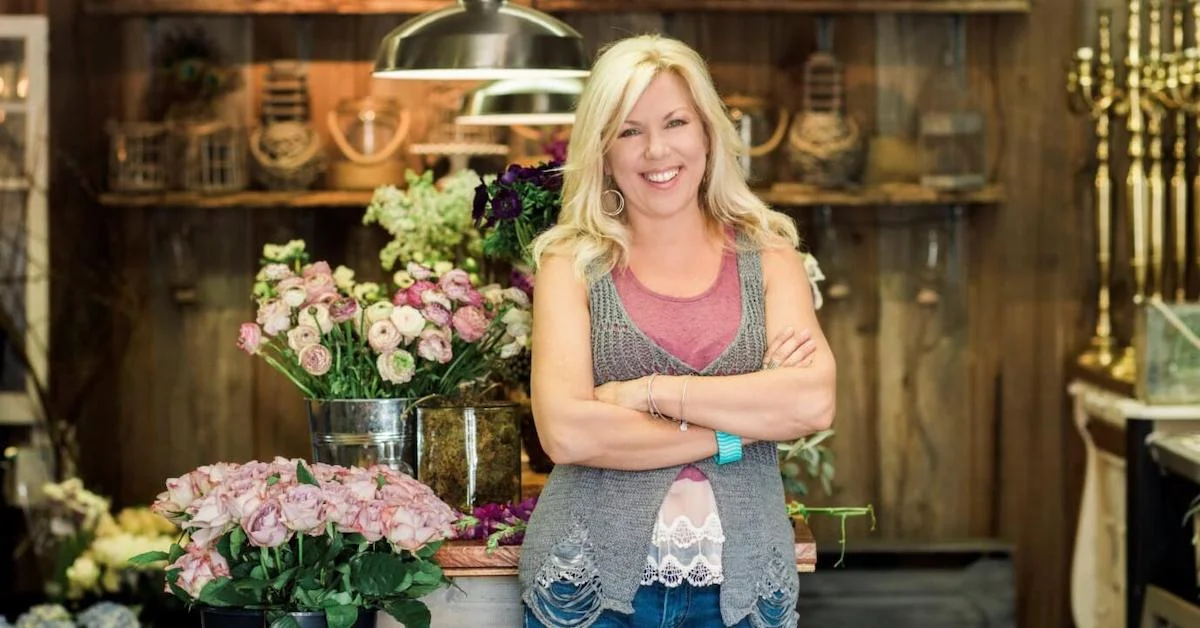
Setting the Table with Pumpkin Floral Centerpieces
It’s that time of year again. The time to gather at the table with family and friends, eat delicious food, and reflect on all we have to be thankful for.
It’s time for gratitude and turkey and pie and cozy sweaters and hellos after long stretches of distance between us—the time to remember old traditions and maybe to make new ones.
It’s time to set the table again.
This year, why not make the most out of your fall décor by creating a festive fall flower arrangement… in a pumpkin? Pumpkin floral centerpieces are a beautiful, festive addition to a holiday table. Learn how to make them in this guide!

Pumpkins come in a variety of colors, shapes, and sizes and can be paired with numerous types of flowers.

Pumpkin floral centerpieces are a unique and interesting arrangement.
Don’t throw out those beautiful pumpkins that have been sitting on your front porch all autumn long! Use them to bring some festive colors, textures, and resourcefulness to your Thanksgiving table.
It turns out carving pumpkins is not just for Halloween.
Have you already tossed out your pumpkins, or have they gone bad? Don’t fret! Garden centers all over are selling leftover pumpkins for next to nothing.
In this post, we’ll cover:
How to create a pumpkin centerpiece
How to use every bit of that pumpkin-y goodness
Creating Your Pumpkin floral Centerpiece

Scoop out those pumpkin guts, but don’t toss them! Keep reading to see why.
What you’ll need:
A pumpkin (or two or three or four!(
Sharp carving knife, spoon, and a container for the guts
Plastic grocery sacks
Flowers of choice
Moss and other fall accents
Pick a pumpkin, any pumpkin. You’ll be amazed by the brightness inside the seemingly endless varieties.
Start by carving your pumpkin. Cut a hole in the top according to the width you would like for your arrangement.
Scoop out all of the guts and seeds into a large lidded container. You can also store the circular cut-out along with the insides. Refrigerate until ready to use (see part II).
Line the inside of the cleaned-out pumpkin with a plastic grocery sack or two.
Fill with water.
Arrange away!
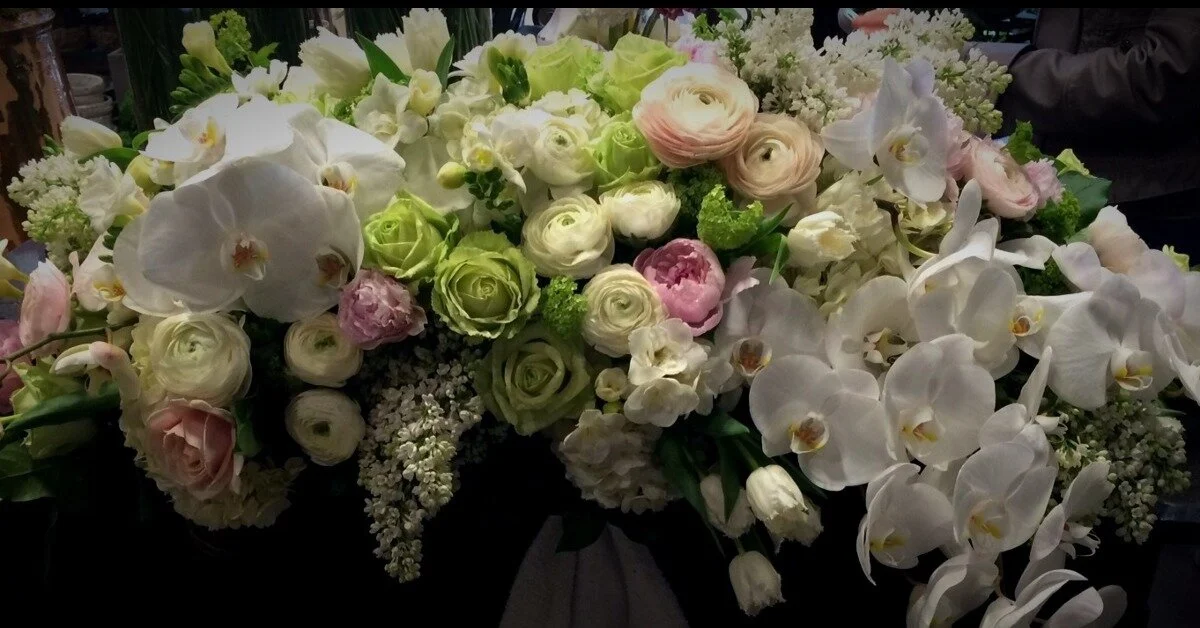
Pictured below is an arrangement made using the triangular placement pattern (taught by Kelly in this video). The ingredients used are snapdragon, hypericum berries, Queen Anne’s lace, roses, gold yarrow, and panicled aster in a jarrahdale pumpkin.
When choosing the flowers for your arrangement, go for colors that will complement the color of your pumpkin, as well as the rest of your table-setting. Play with bright fall colors, like the one pictured above, or go for a more muted, neutral look, like the flowers you’ll see below.

There are multiple ways you can design your pumpkin floral arrangement!

By choosing a bright color palette, you can compliment the color of your pumpkin.
Waste-Not, Want-Not
Once your centerpiece is complete, you can put the rest of that pumpkin to good use. In this section, we’ll talk about how to get resourceful. Waste-not, want-not, right?
While there are numerous creative ways to use every part of the pumpkin, here are a handful to get you started. Depending on how much time you have, you could choose to try one, two, or all three of these ideas or experiment on your own!
Using the PUMPKIN Seeds for Roasting

Oven roasted pumpkin seeds are a delicious snack!
What you’ll need:
Stored contents from your hollowed-out pumpkin
Colander
Baking sheet lined with a dish towel
Olive oil and assorted spices
When ready, preheat the oven to 350 F.
Remove the stored pumpkin contents from the refrigerator and separate the parts. Set aside the larger cut-out pieces, then put the seeds and guts into a colander. Prepare to get messy.
As thoroughly as possible, sort out the slimy guts from the seeds. Leave seeds in the colander and place the guts in a bowl until ready to use. Rinse the seeds, remove any leftover slime, and then put on the towel-lined baking sheet. Dry as much as possible.
Remove the towel, leaving dried pumpkin seeds on the baking sheet. Drizzle with olive oil and season generously. My combo of choice was pink sea salt, fresh pepper, paprika, garlic powder, and a dash of cinnamon.
Stir to combine and then roast for 14–18 minutes, tossing a few times throughout to ensure the seeds are evenly toasty. Once they are golden, remove them from the oven, add more salt to taste if needed, allow them to cool, and enjoy!
Did you know pumpkins are a superfood? They’re high in vitamin C and magnesium and are a great source of fiber.
Using the Guts for Vegetable Stock
What you’ll need:
Pumpkin guts
Medium onion, chopped
Stockpot
Olive oil
Water
Assorted spices
Strainer
All of those slimy guts? They are extremely rich in nutrients and pumpkin-y flavor, so don’t let them go to waste. Heat a bit of olive oil in a stockpot over medium heat. Add the onion and sauté until tender. Add the pumpkin guts and some salt and continue to cook until incorporated and fragrant.
Next, fill up the stockpot with water and season with assorted spices. I used a healthy amount of salt, pepper, paprika, garlic powder, cumin, and star anise. Bring to a boil and then simmer on medium-low for 30 to 60 minutes. Strain out the solids, reserving the stock to use in soup, or just drink it plain! Those pumpkin guts are great for your gut.
Using the Flesh for Purée
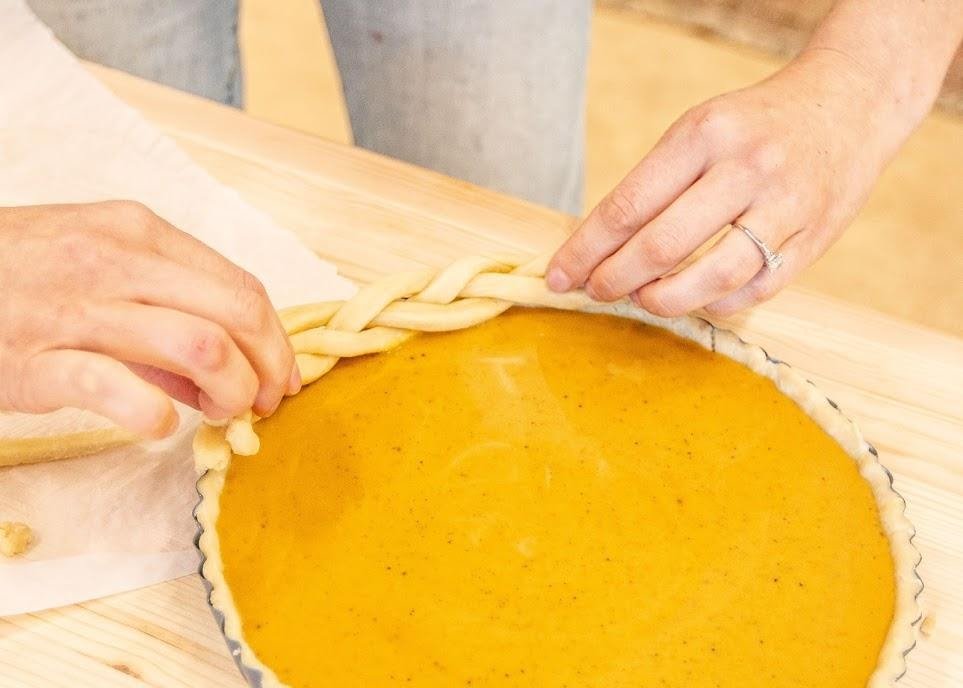
What better dessert is better in the fall than pumpkin pie?!
If you’re making multiple pumpkin centerpieces, you’ll have multiple cut-out circular lids to use. You can roast them and then use the flesh in all sorts of dishes.
What you’ll need:
Cut-out pumpkin lids
Baking sheet lined with tin foil
Olive oil
Salt
Preheat your oven to 400 F.
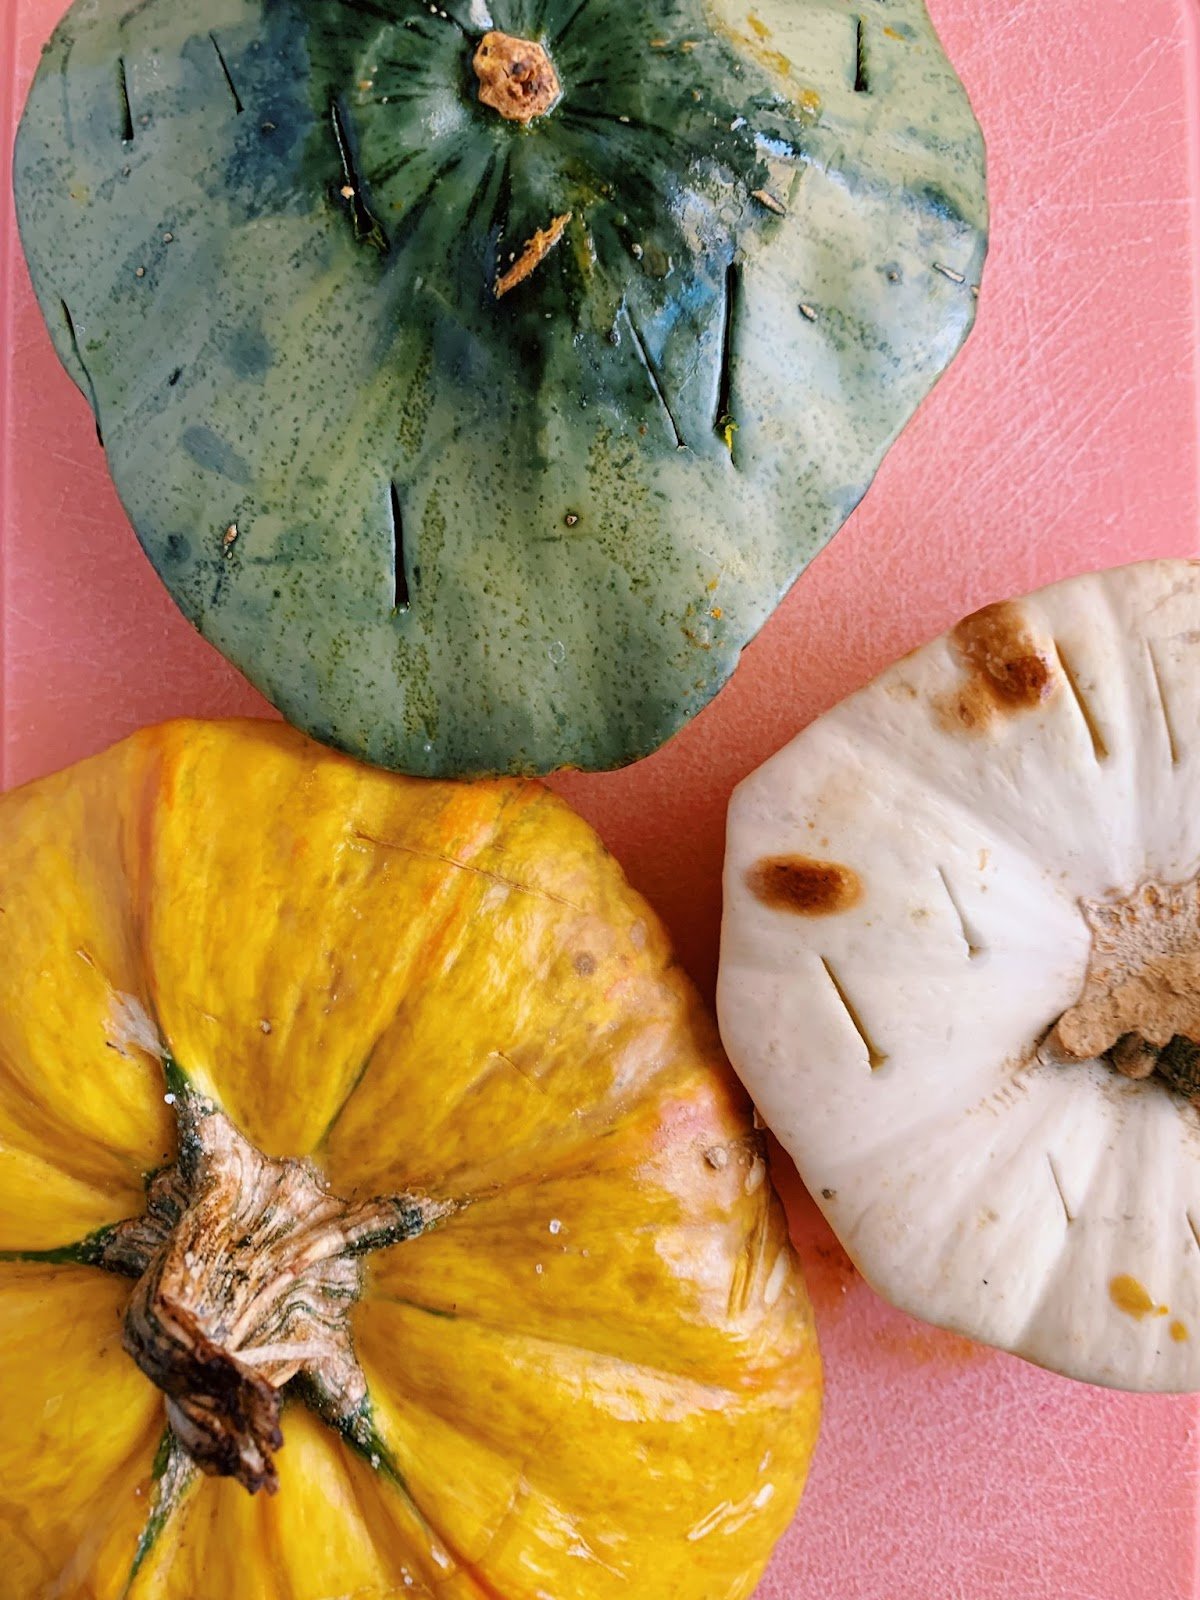
Rinse the pumpkin lid and remove any remaining guts from the flesh. Pat dry. Drizzle a baking sheet with olive oil and sprinkle with salt. Poke several slits into the skin of the pumpkin using a fork or a sharp knife. Place pumpkin on the prepared baking sheet and roast for 30-40 minutes, or until soft all the way through.
Cut away skin and cube roasted pumpkin. Use as a side dish or on a salad, or purée to store for later use in soup or pumpkin pie.
Speaking of pumpkin pie, here’s a delicious recipe with a chai twist to bring to your Thanksgiving table this year.

Happy holidays to you and yours! And happy pumpkin arranging!
All photos by Rachel Moore.