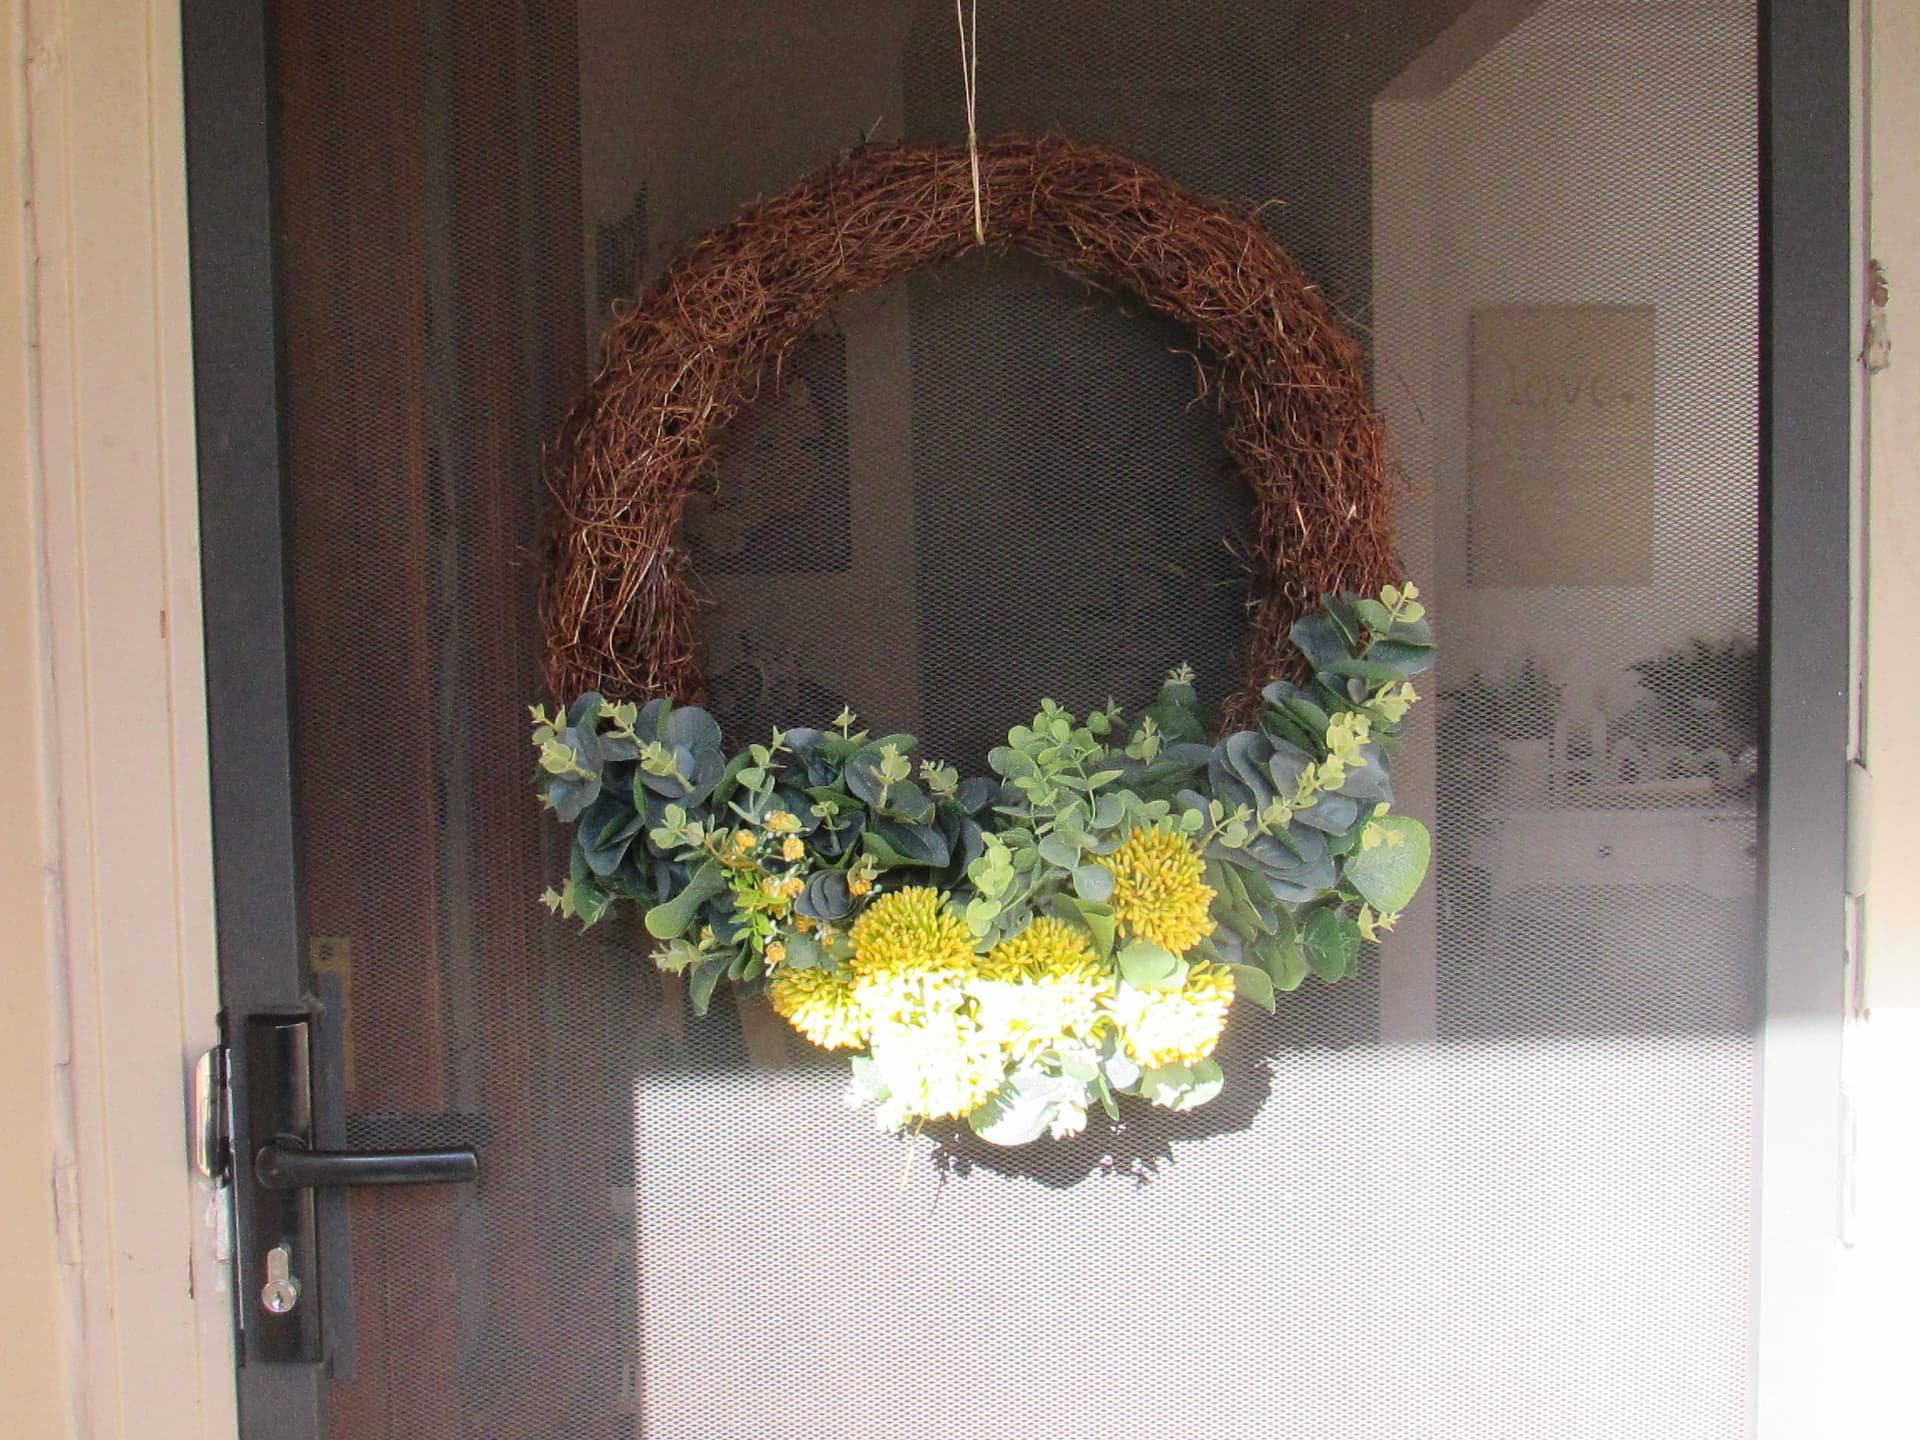
Seven Steps to Create an Everlasting Australiana Wreath
It can be so amazing having fresh flowers throughout your home, but making that everlasting arrangement that can last years makes decorating a little bit easier! This article will teach us how to create an Everlasting Australiana wreath for your front door. This wreath uses gold and green from the iconic Australian palette and a natural wreath to accent colours.
Tools You Will Need
All of these tools can be purchased from koch.com.au
Wire cutters/Pliers
Floral Tape
Paddling Wire
Craft Scissors
Floral Scissors
Jute String
Floral Cold Glue
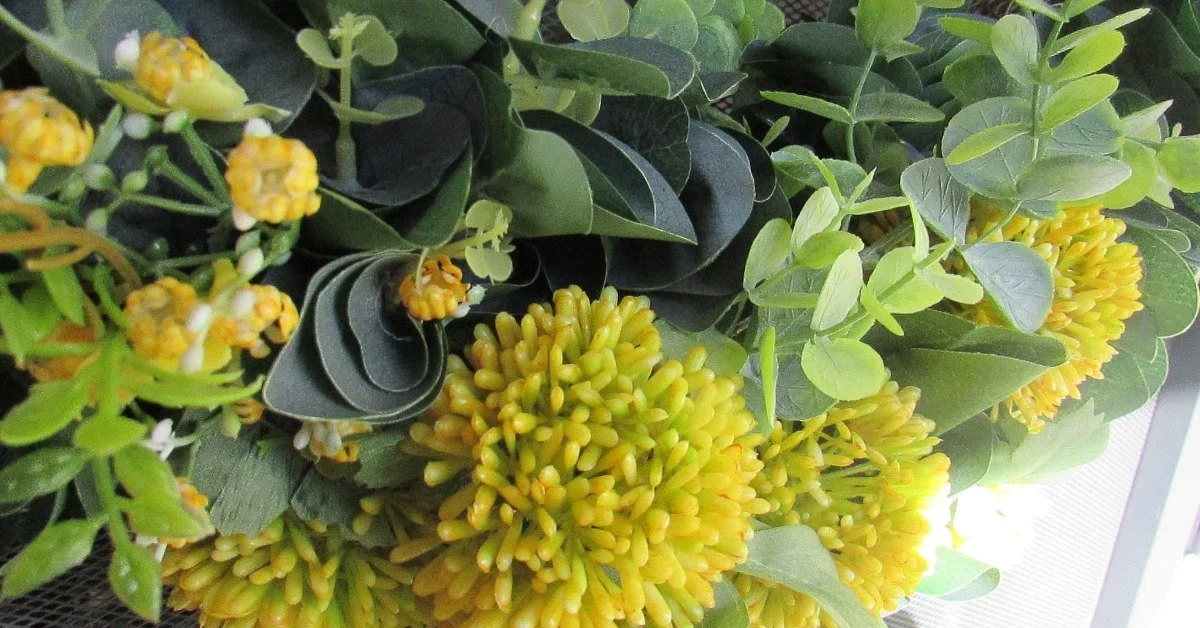
Flowers & Base: Choose flowers that are artificial Australian natives, such as Eucalyptus Wild Flowers or Simple Eucalyptus Leaf posy. The ones in this tutorial are here and here. The wreath base is Grapevine and Twig at 40 cm in diameter.
Step One
Gather all of your tools and flowers! Find flowers that fit your Australiana aesthetic and use tools that you are comfortable with.
Step Two
Begin preparing your flowers.
In this step, you can begin dividing up your foliage and flowers to create smaller bunches to work with. This allows you to see what you have and divide into groups for taping.
Step Three
This is when we create small bunches that will be our wreaths!
Once you have divided your bunches and stems into small groups, you can start your pattern for taping. Don’t think you need to have flowers in every bunch. Make it your own! Add three stems of eucalyptus with one large wildflower, or use two bits of eucalyptus and dollar gum. This wreath is yours! Make it so!
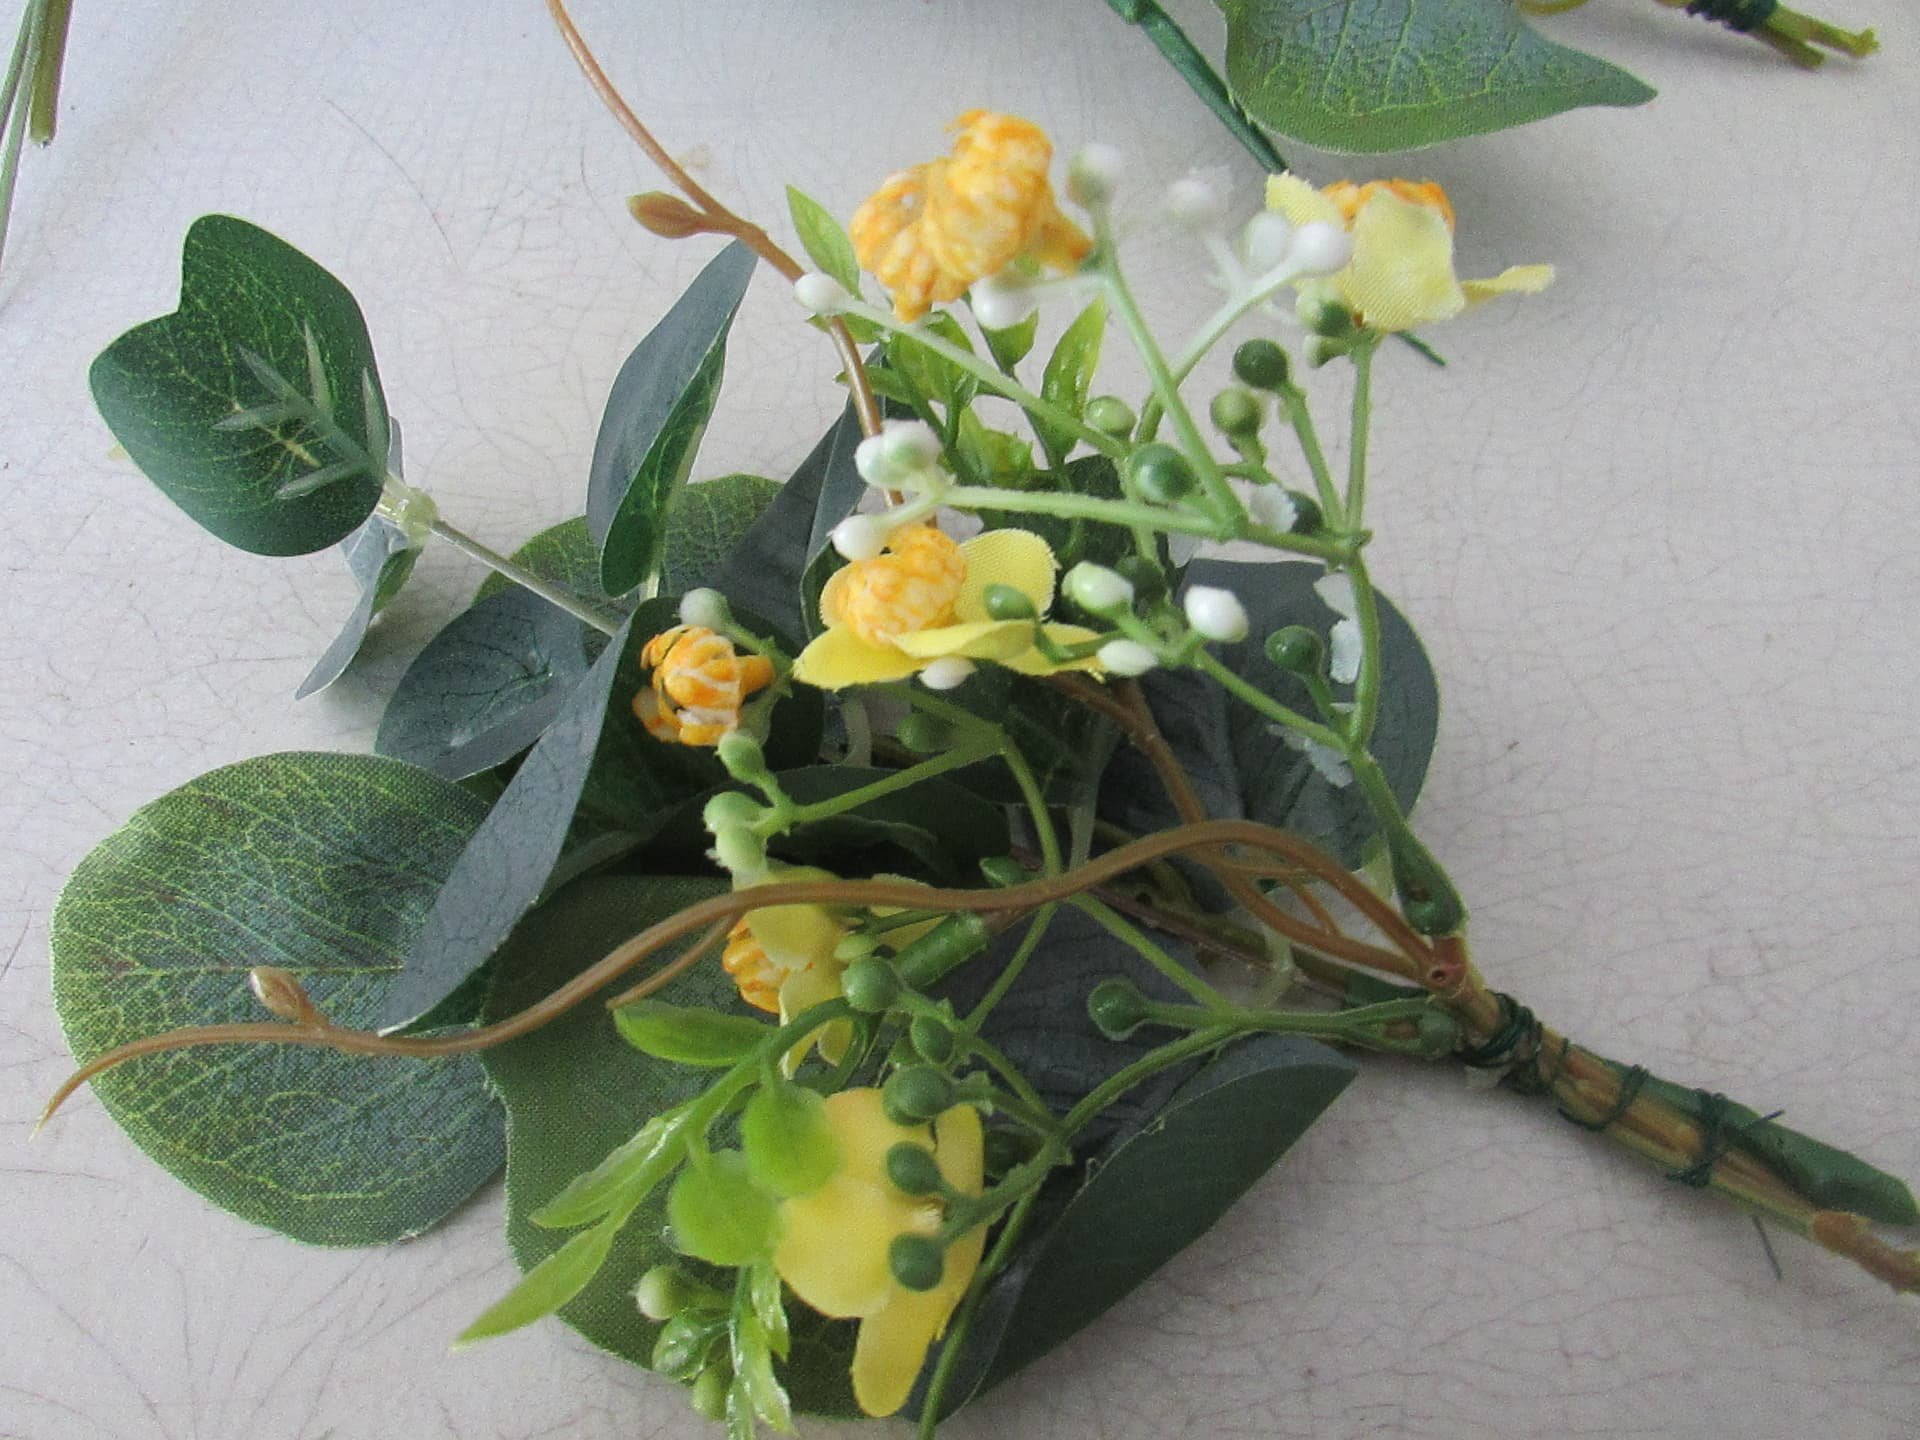
Gathering flowers in small bunches makes them easier to work with.
Step Four
Now is the time to start taping.
Once you have your small bunches, cut enough paddling wire to wrap around the bunch minimum of three times. This will form the stem for your taping. Once the wire is wrapped, use your floral tape to begin wrapping the bunch. This will create a single stem, cover the wire, and be easier to work with when applied to the wreath base.
Using floral tape covers your mechanics and creates a uniform look.
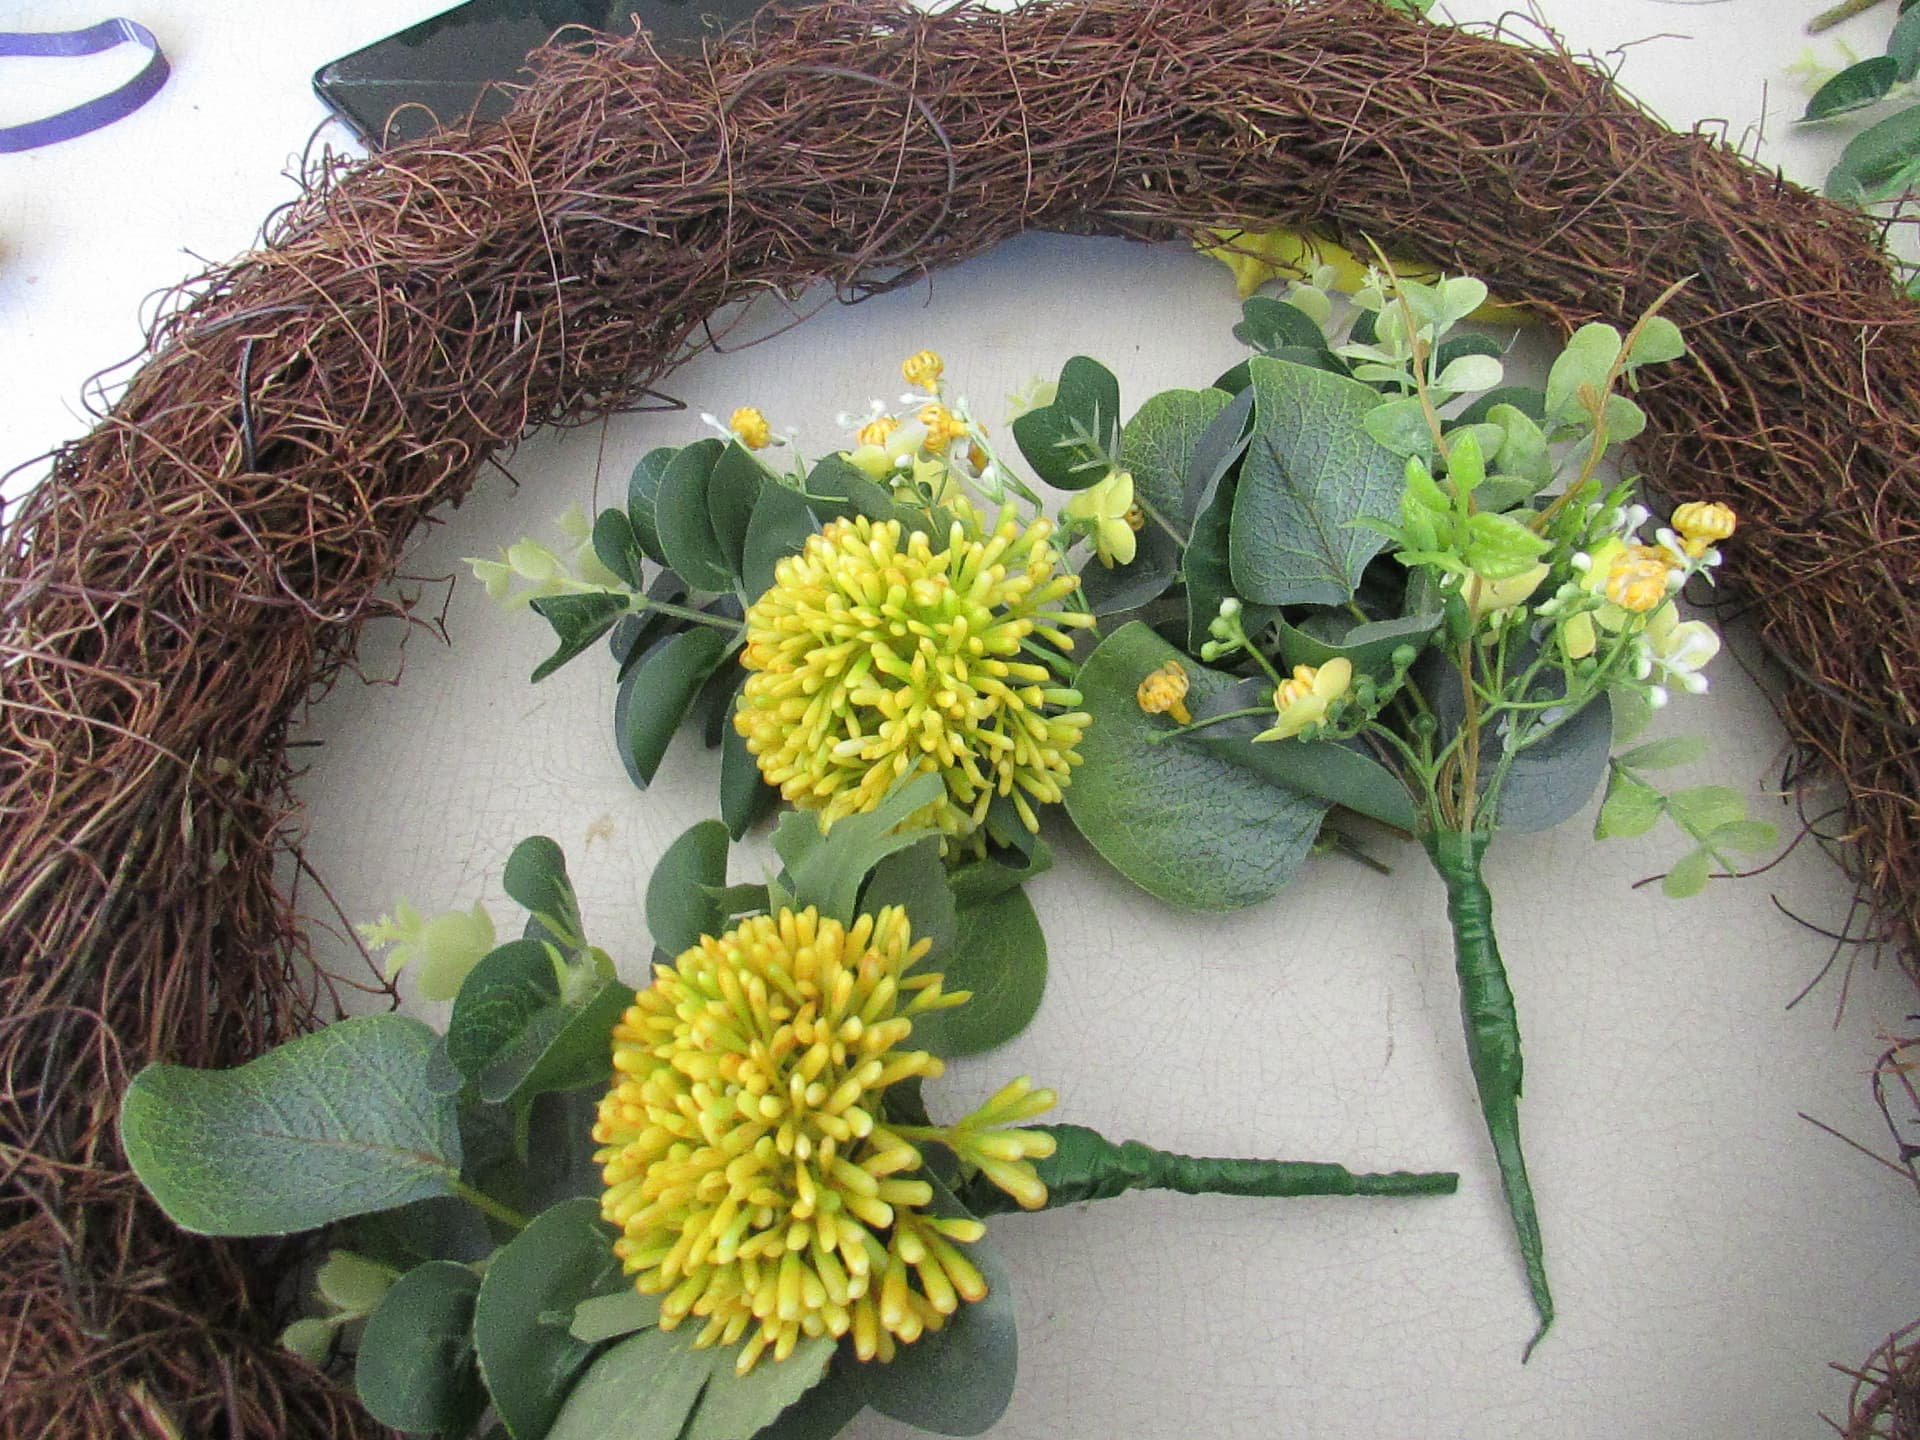
Step Five
Now is the time to start creating your wreath! This tutorial is for an accent wreath, which is not entirely covered in flowers and foliage. If you would like the entire wreath covered, apply this step to the entirety of your wreath base.
Once your flowers are taped and ready to go, it is time to add them to your base. First, arrange the flowers on your wreath to ensure you like the placement and look. This will be harder to do when they are wired in!
Once you are happy with the placement, it will be time to finalise! Place your first bunch onto the wreath, grab your paddling wire and wrap a piece around the wreath and bunch a minimum of four times. Make sure you are pulling the wire tight enough that the bunch will not move. Tie off the wire piece and move on to the next segment, ensuring the next bunch overlaps the first slightly.
If you are creating a full wreath, continue this step until your wreath is completely covered.

You must wrap the bunches of blooms tightly with wire so that they don’t move.
Step Six
Once you have placed at least six or seven bunches and you like the fullness or look of the accent, it is now time to finish off. The last bunch needs to go the opposite way so you can hide the stems and create a more central design. To do this, just place the stems underneath the foliage of the previous bunch and wire it in.

Placing your final bunch in the opposite direction of the others ensures you can hide your mechanics.
Step Seven
The best thing about the wreath material is that you can poke flowers into it! This is where your cold glue comes in (you can also use hot glue with everlasting flowers).
If there are gaps, or you want to add some more accent flowers or embellishments, simply place a dot of glue along the stem or back of the object, allowing it to get tacky and poke into the wreath base! Then add a piece of jute string to the top for hanging!!
Your wreath is finished! Hang it up on your door, wall, or front window, and enjoy its everlasting nature! All you need to do every few months is give it a dust if needed.
I hope you enjoy your Everlasting Australiana Wreath! I look forward to seeing them and creating more with you!