How to Make a Wreath (It’s Easier Than You Think)
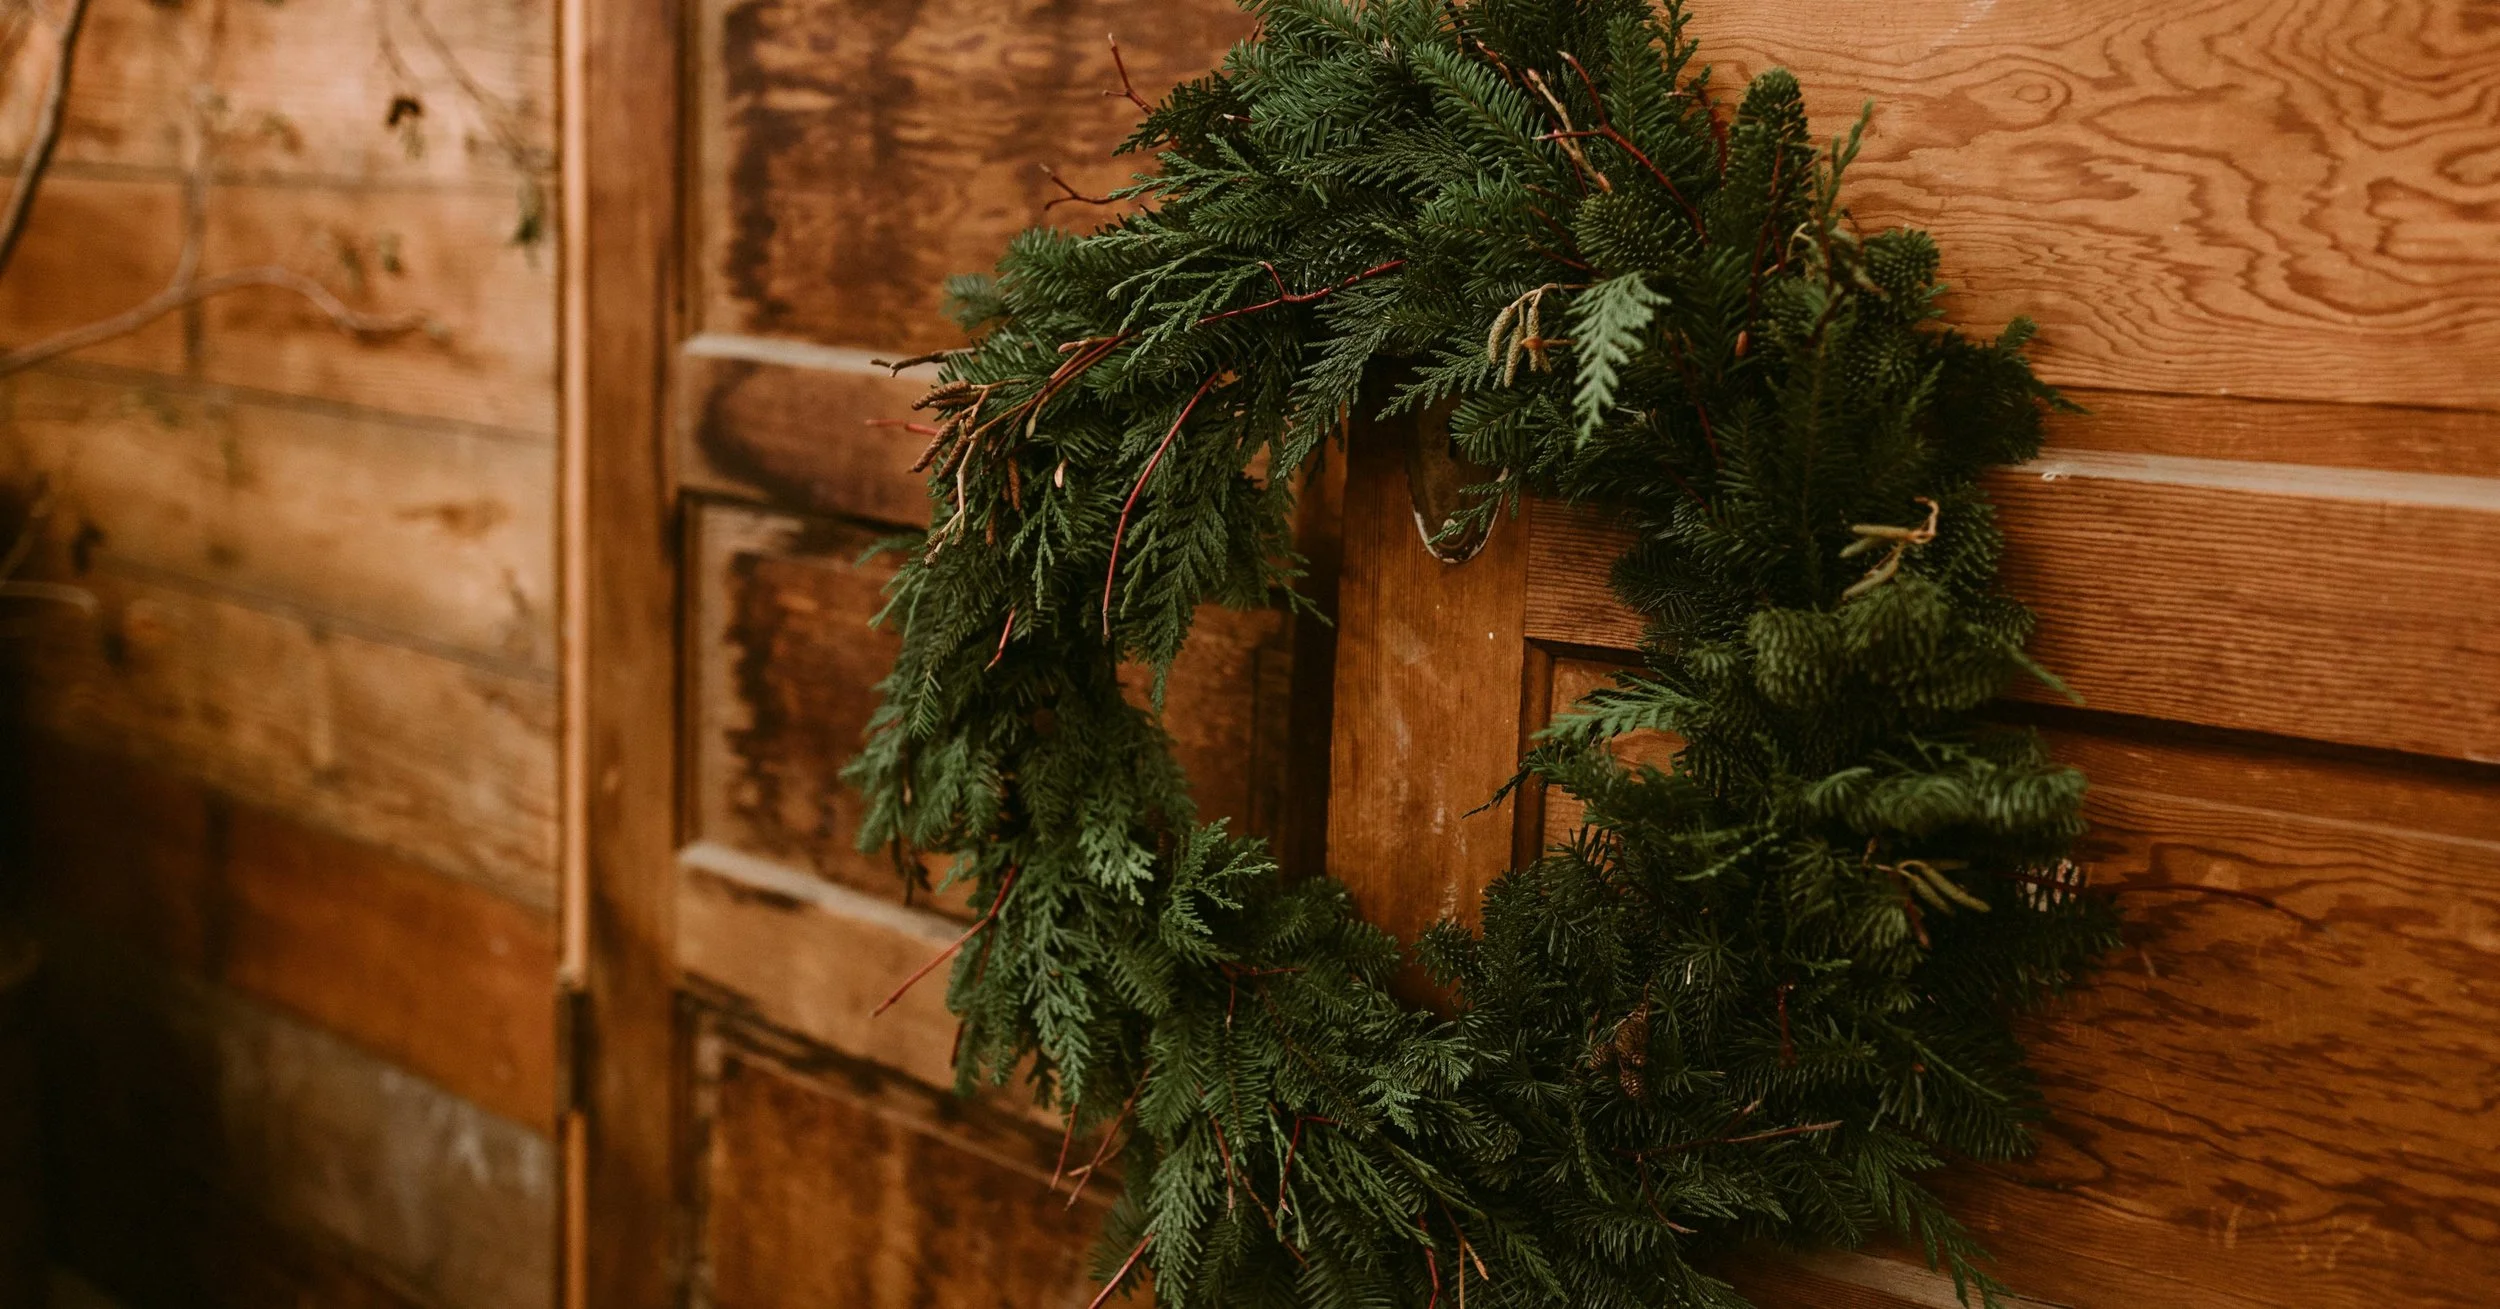
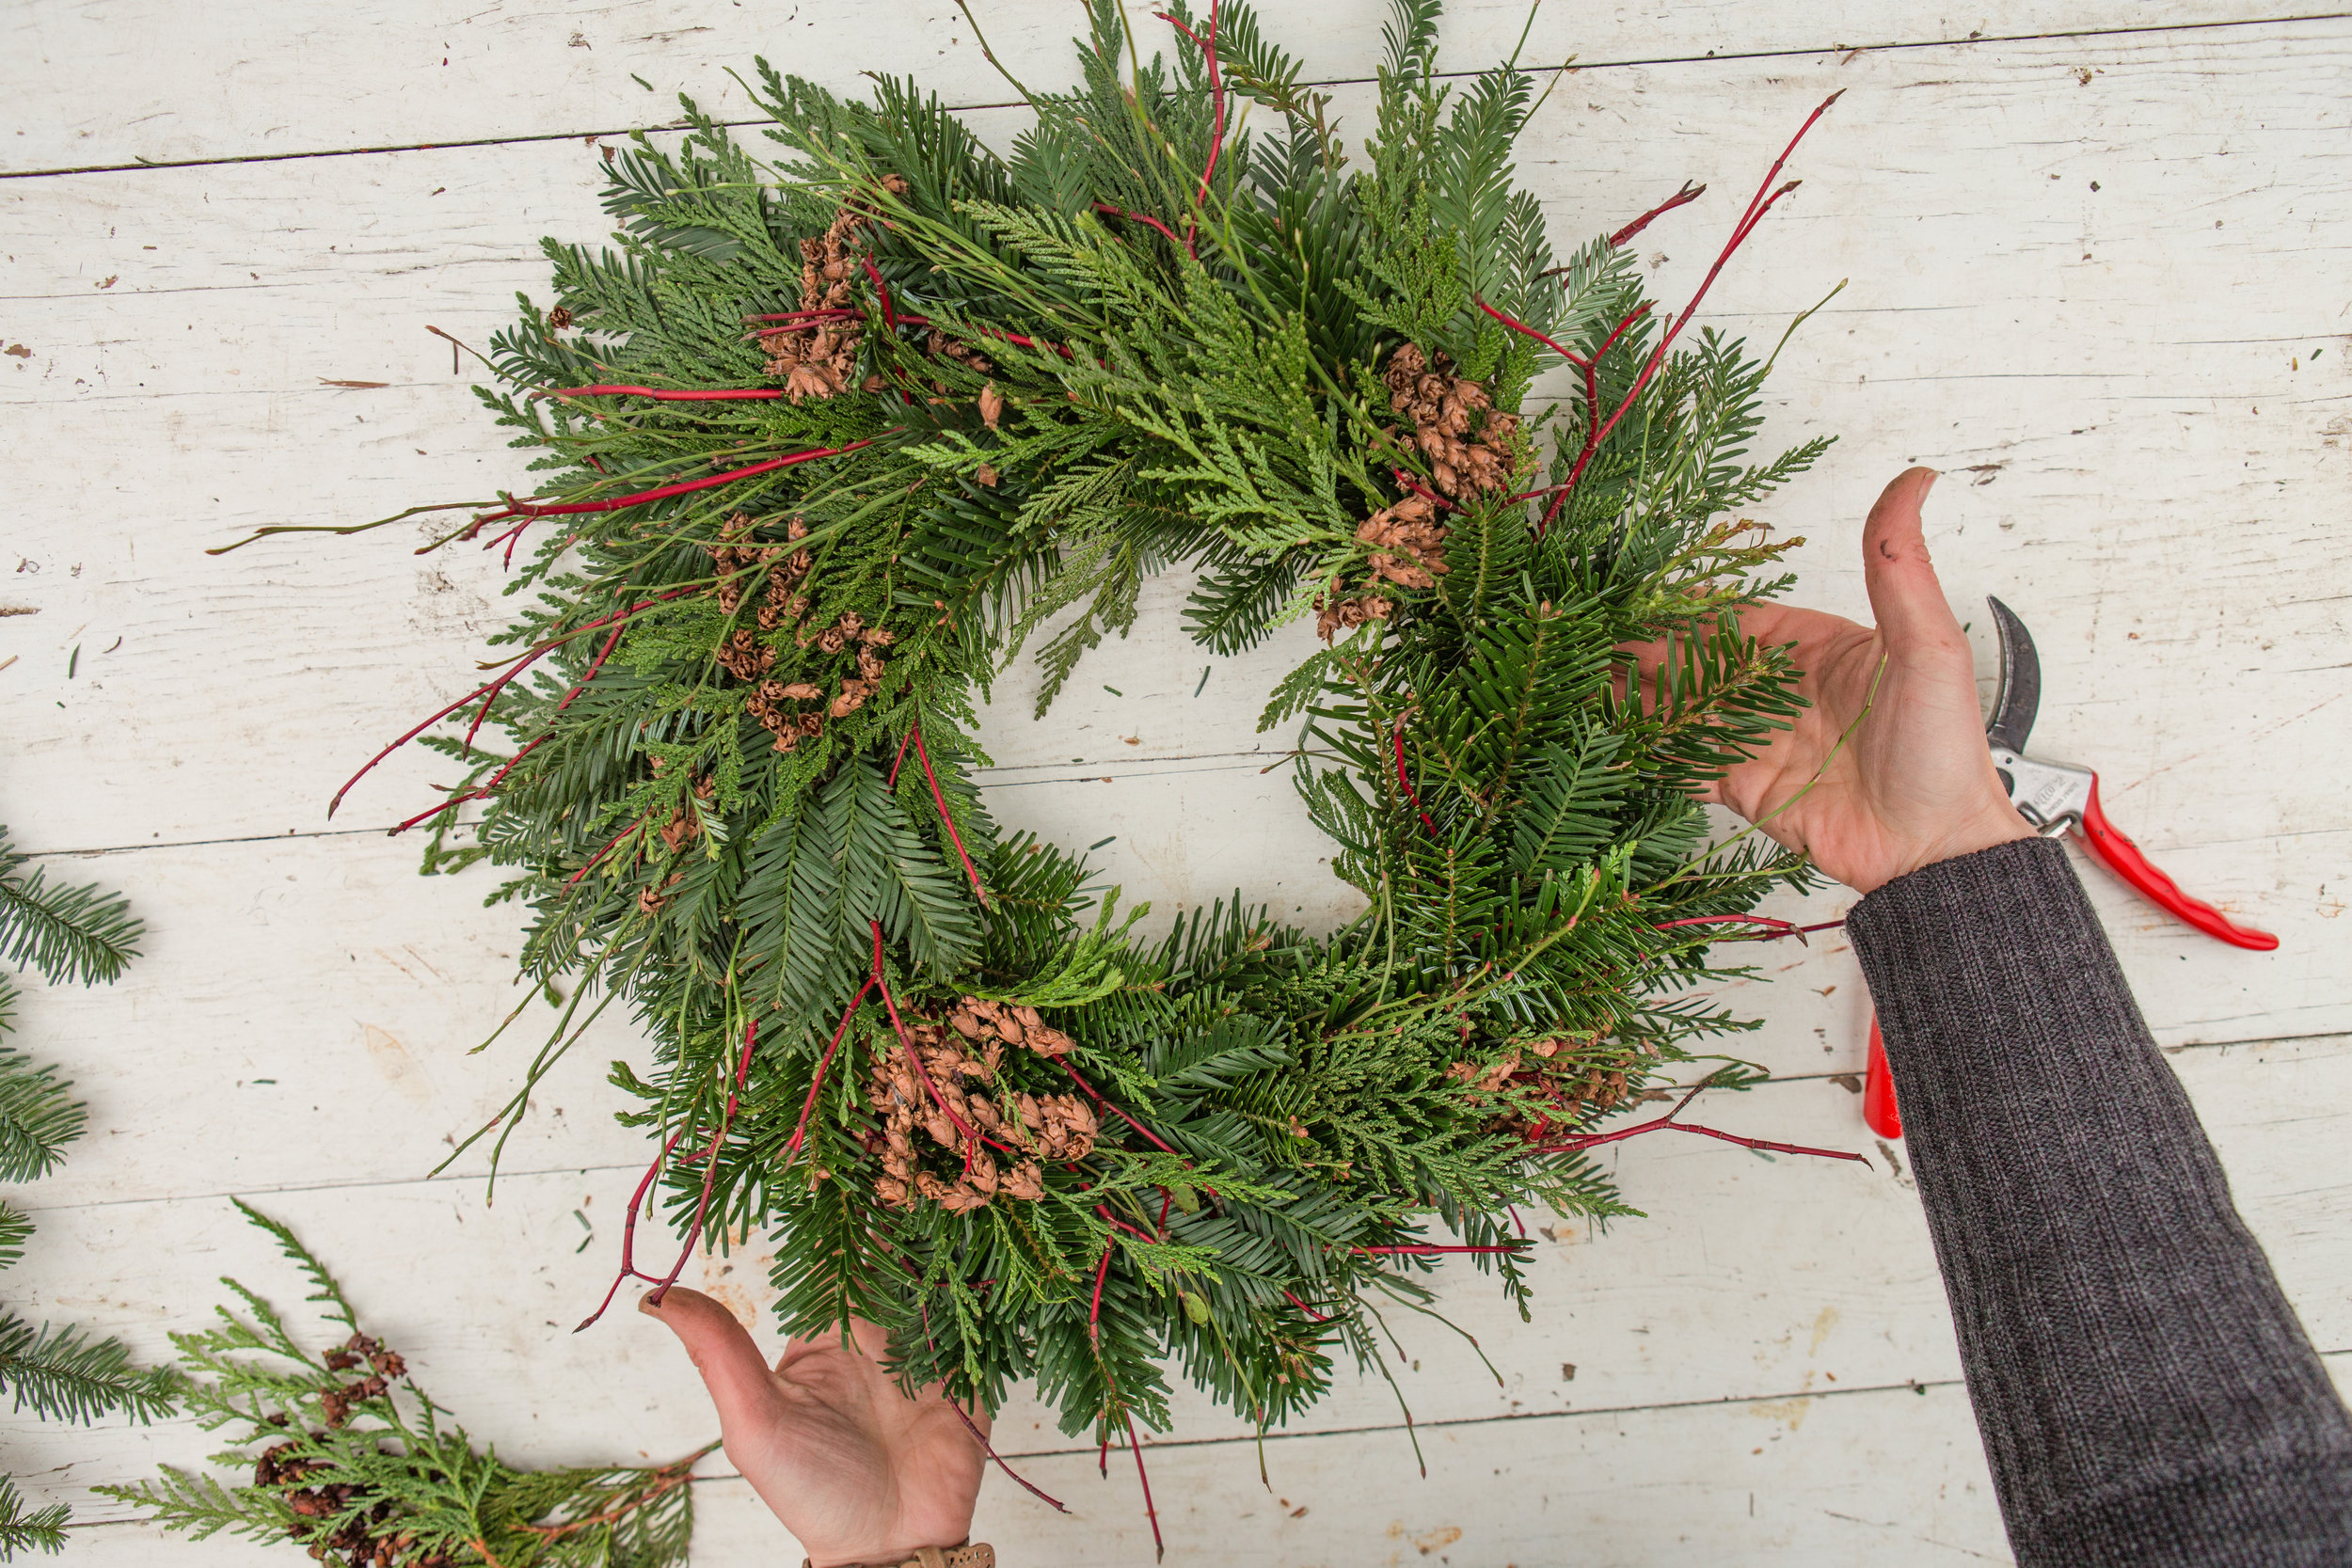
Completed greenery wreath
There’s nothing quite like the sight of a DIY wreath hanging on your front door or the scent of freshly clipped evergreens to signal the beginning of the holiday season!
If you’ve been wondering how to make a wreath step by step, look no further. A greenery wreath is far simpler than you can imagine—and it only takes a little creativity to stretch a basic wreath into a masterpiece. The method detailed below works anytime of year—it’s easy to adjust your ingredients for spring, summer, or autumn.
So today, you can finally stop asking yourself, How do you make a wreath? It’s easier than you think! All you’ll need are a few basic materials and a flat working surface.
Looking for a pre-made natural wreath? Or a fun wreath-making class? Check out our online directory of floral professionals near you!
Wreath-making truly is the quintessential holiday craft to add to your repertoire (especially as a floral designer or flower farmer!). The materials are simple and readily available locally, the steps are straightforward, and it’s the perfect project to complete with a group of friends.
To top it off, the accessibility and ease of this project also helps make it a fun family craft too. And honestly, nothing beats the smell of all of those freshly snipped boughs!

Supplies needed to make a wreath
Materials You’ll Need to Make a Wire Wreath
Bypass pruners (or other sturdy hand shears)
Roll of paddle wire (I suggest 22 gauge)
Wire snips
Wire wreath frame
Your favorite greens and foliage
Before you set out to make your wreath, ensure you have a good pair of bypass pruners or other sturdy hand shears, a roll of paddle wire (I prefer 22 gauge), wire snips (if your pruners or shears are unable to cut wire), and a wire wreath frame.
Although 16 or 18 inches is my favorite wire wreath frame size for a front door, the wreath in this article uses a 12-inch frame. If you don’t have access to a floral supply shop, you can still easily find all of these materials in the floral section of your local craft store.
Get top-quality flower how-tos and DIYs (like this one!) sent to you via our newsletter. Over 30K floral pros and fans worldwide have joined! Sign up today.
To fill your wreath, you’ll need an armful of boughs or branches. Whether you use just one type of foliage or a plethora of greens, branches, and berries, you can’t go wrong.
The amount of greens you’ll need varies greatly depending on the size of the materials you choose. For example, a few boughs of sturdy noble fir will easily fill a wire wreath frame, while you’ll need an armload of finer greens like rosemary or eucalyptus.

ingredients for a greenery wreath
One of the best parts of crafting a winter wreath especially is that you likely have a number of ingredients waiting for you just outside your door. If you’re able, try foraging materials.
However, before you forage supplies for your greenery wreath, keep in mind these three things:
Always have permission to clip from wherever you choose to forage.
Use sustainable pruning methods. Trim lower limbs and small sections of boughs. Do not trim entire saplings or the tops of trees.
Be aware of noxious plants. For example, holly is considered an invasive species here in the Pacific Northwest. Be sure not to compost any cuttings that are considered noxious weeds.
And if you’re not in an area where you can forage, you can source any of these materials through your local wholesale supplier. If you don’t have access to floral wholesale, try your local tree farm or nursery.

ingredients for a greenery wreath
Favorite Ingredients for Making a Wreath Include:
Fir (Noble or Silver especially!)
Pine
Cedar
Juniper
Boxwood
Laurel
Dusty Miller
Eucalyptus and Seeded Eucalyptus
Bay
Sage
Rosemary
Rose Hips
Holly
Ilex
Beauty Berry
Hawthorn
Red or Yellow Twig Dogwood
Moss- or Lichen-covered Branches
Huckleberry or Blueberry Branches
Seed Pods and Cones
Pine Cones
Start Making Your Wreath: Step by Step Instructions to Follow
Once you’ve collected your greens and supplies, you’re ready to begin! Let’s look at how to make a wreath step by step.
If you’re ready to teach others how to make a wreath in a class setting, check out our article Your Comprehensive Guide to Hosting a Wreath-Making Workshop.
Step 1: Prepare Your Wreath Materials
First, you’ll start by cutting all of your materials into segments.
If you want a structured, symmetrical wreath, aim to clip your branches into 4- to 6-inch segments. If you’d like a wilder, more “natural looking” wreath, cut your branches into a variety of pieces ranging from 4 to 8 inches. Keeping your pieces sorted in piles by type will help you stay organized once you begin assembling.

Trim greenery pieces for wreath
Now you’re ready to assemble your DIY wreath! Before diving into the second step and adding greens, take a moment to wrap your paddle wire around your wreath form several times to secure it. Keep the wire attached to the paddle and set it to the outside of the wreath form.
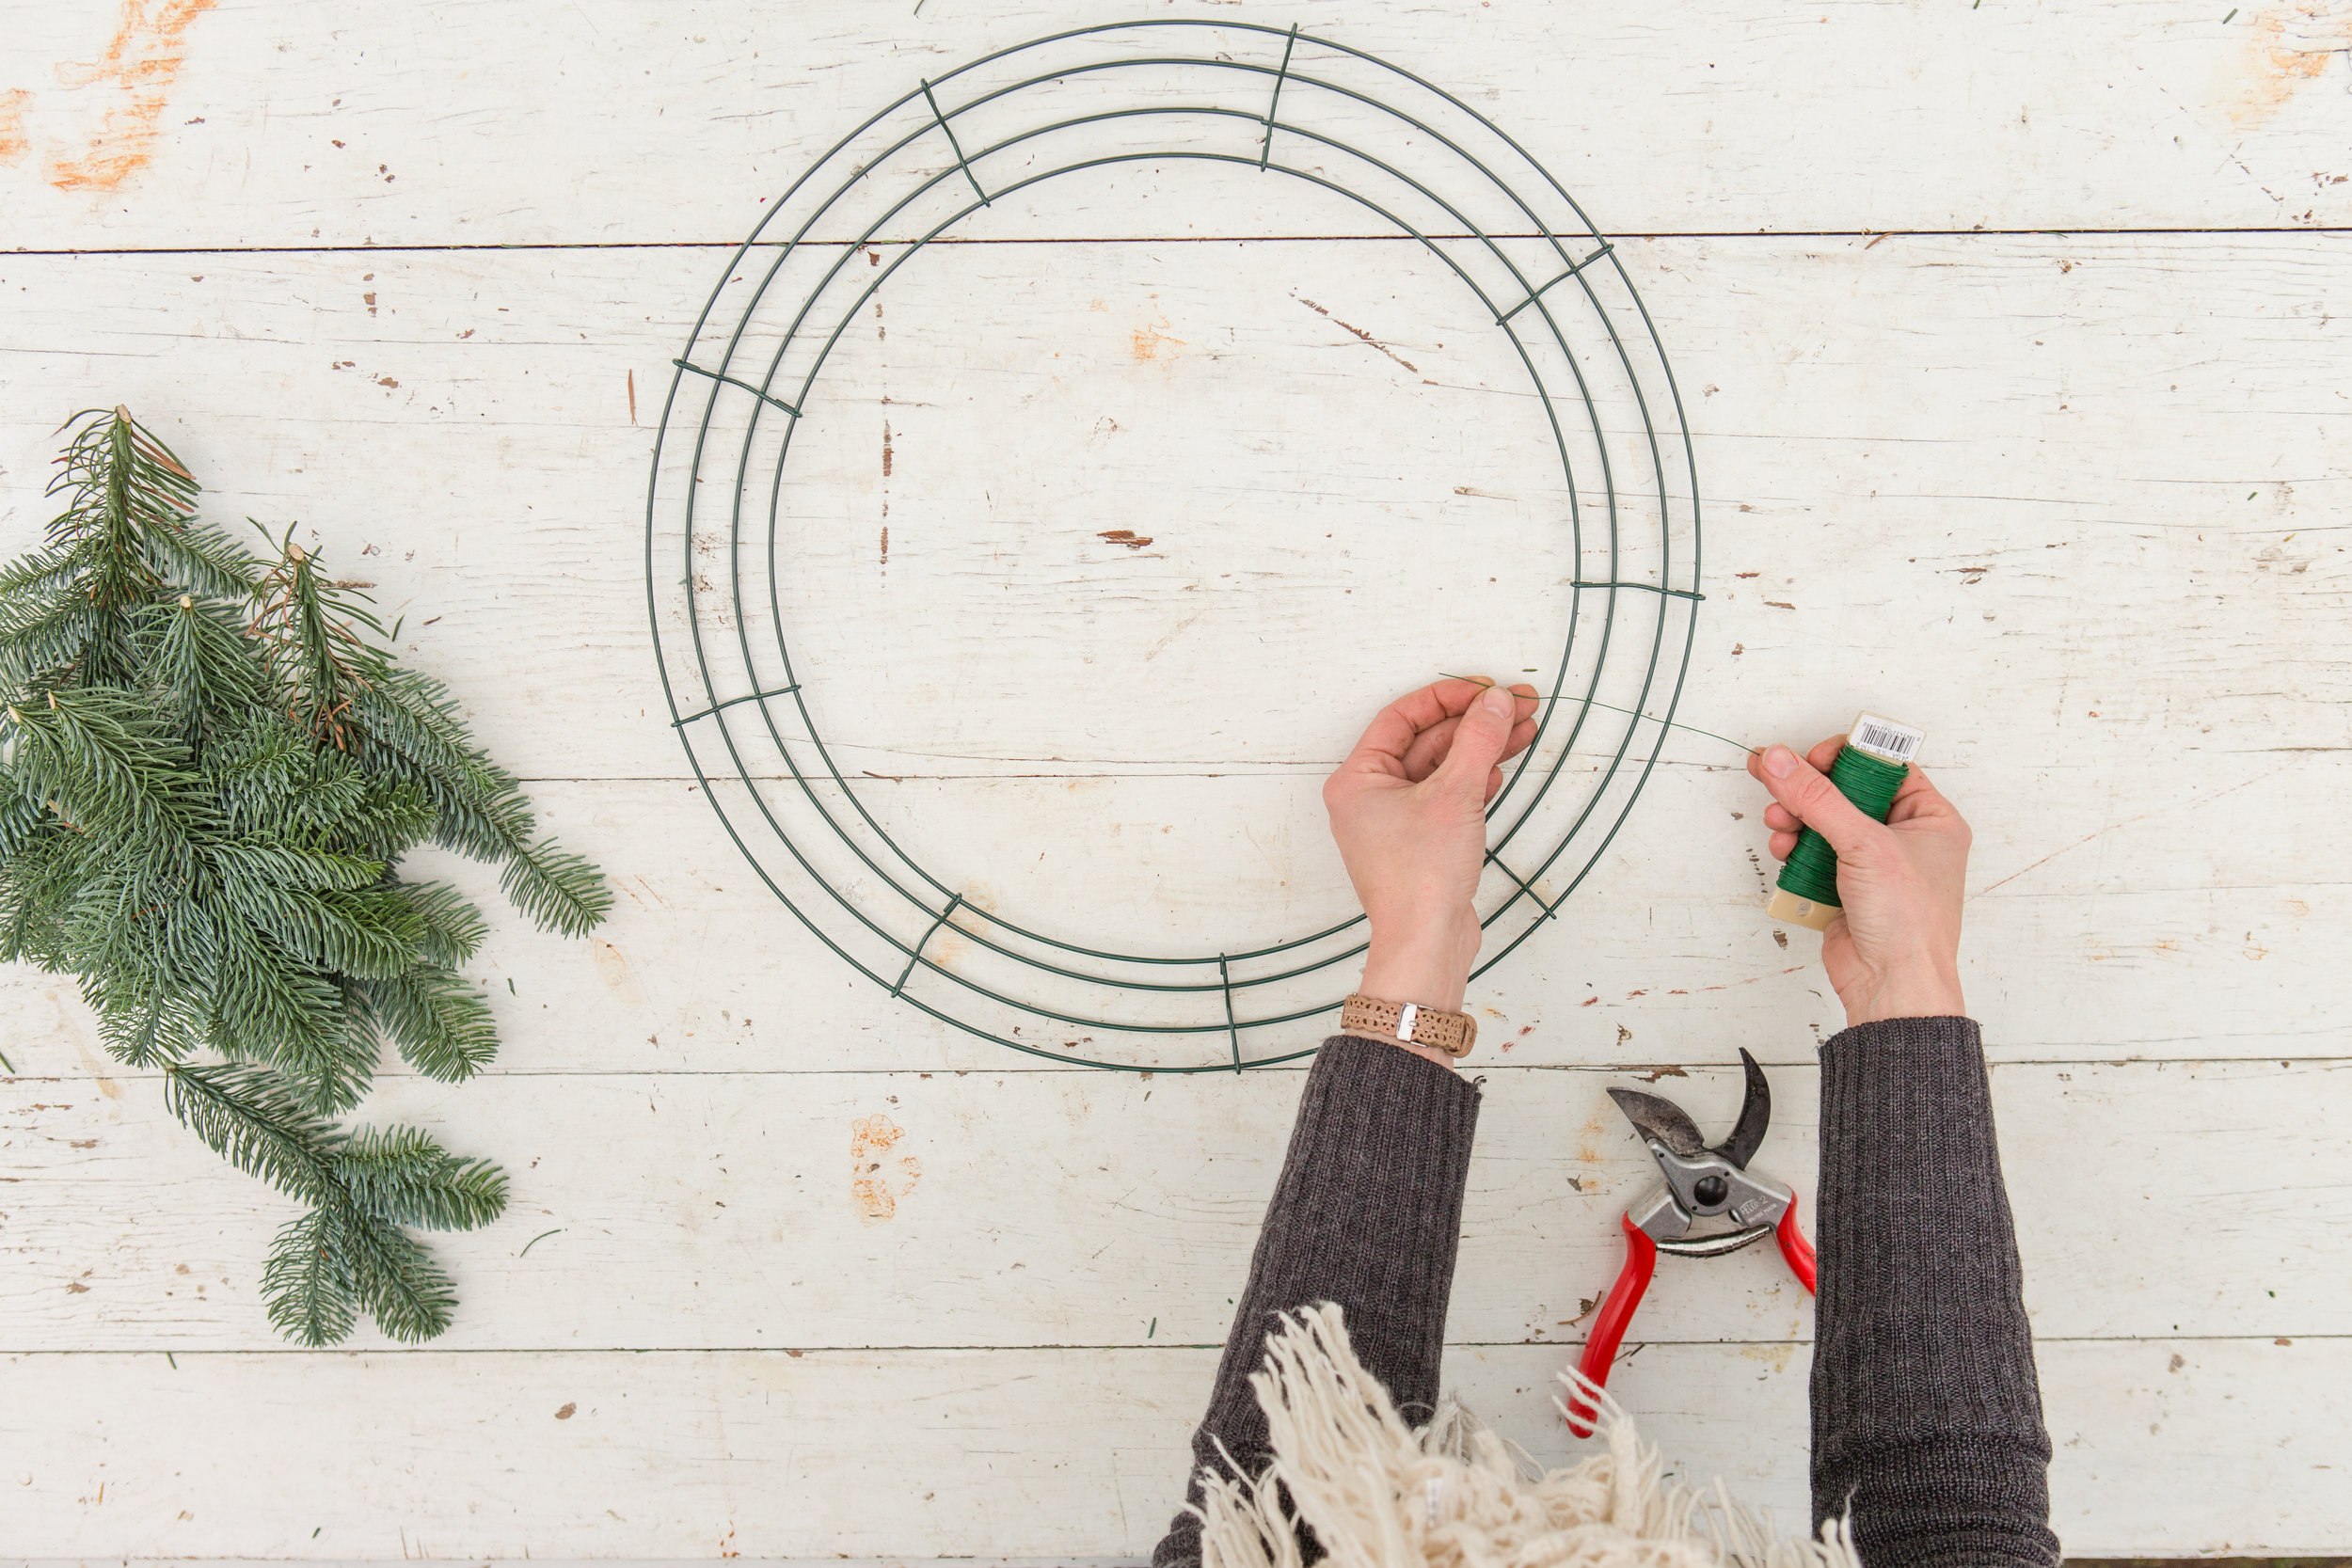
Secure paddle wire to your wreath form
Step 2: Add Materials to Your Wire Wreath Frame
Next, you’re ready to add the greens! Start by picking up a branch of each of your ingredients and making a small “bouquet” in your hand.

Create a bundle of greens for your homemade wreath
Lay your “bouquet” on the wire frame, then wrap the paddle wire around the bunch three to five times. Each time you wrap the wire, be sure to give it a substantial pull. This tension is what holds your wreath together. Keep in mind, the greens and branches will dry and shrink during the weeks your wreath hangs on your door or wall, so don’t be afraid to give that wire a good, tight pull!
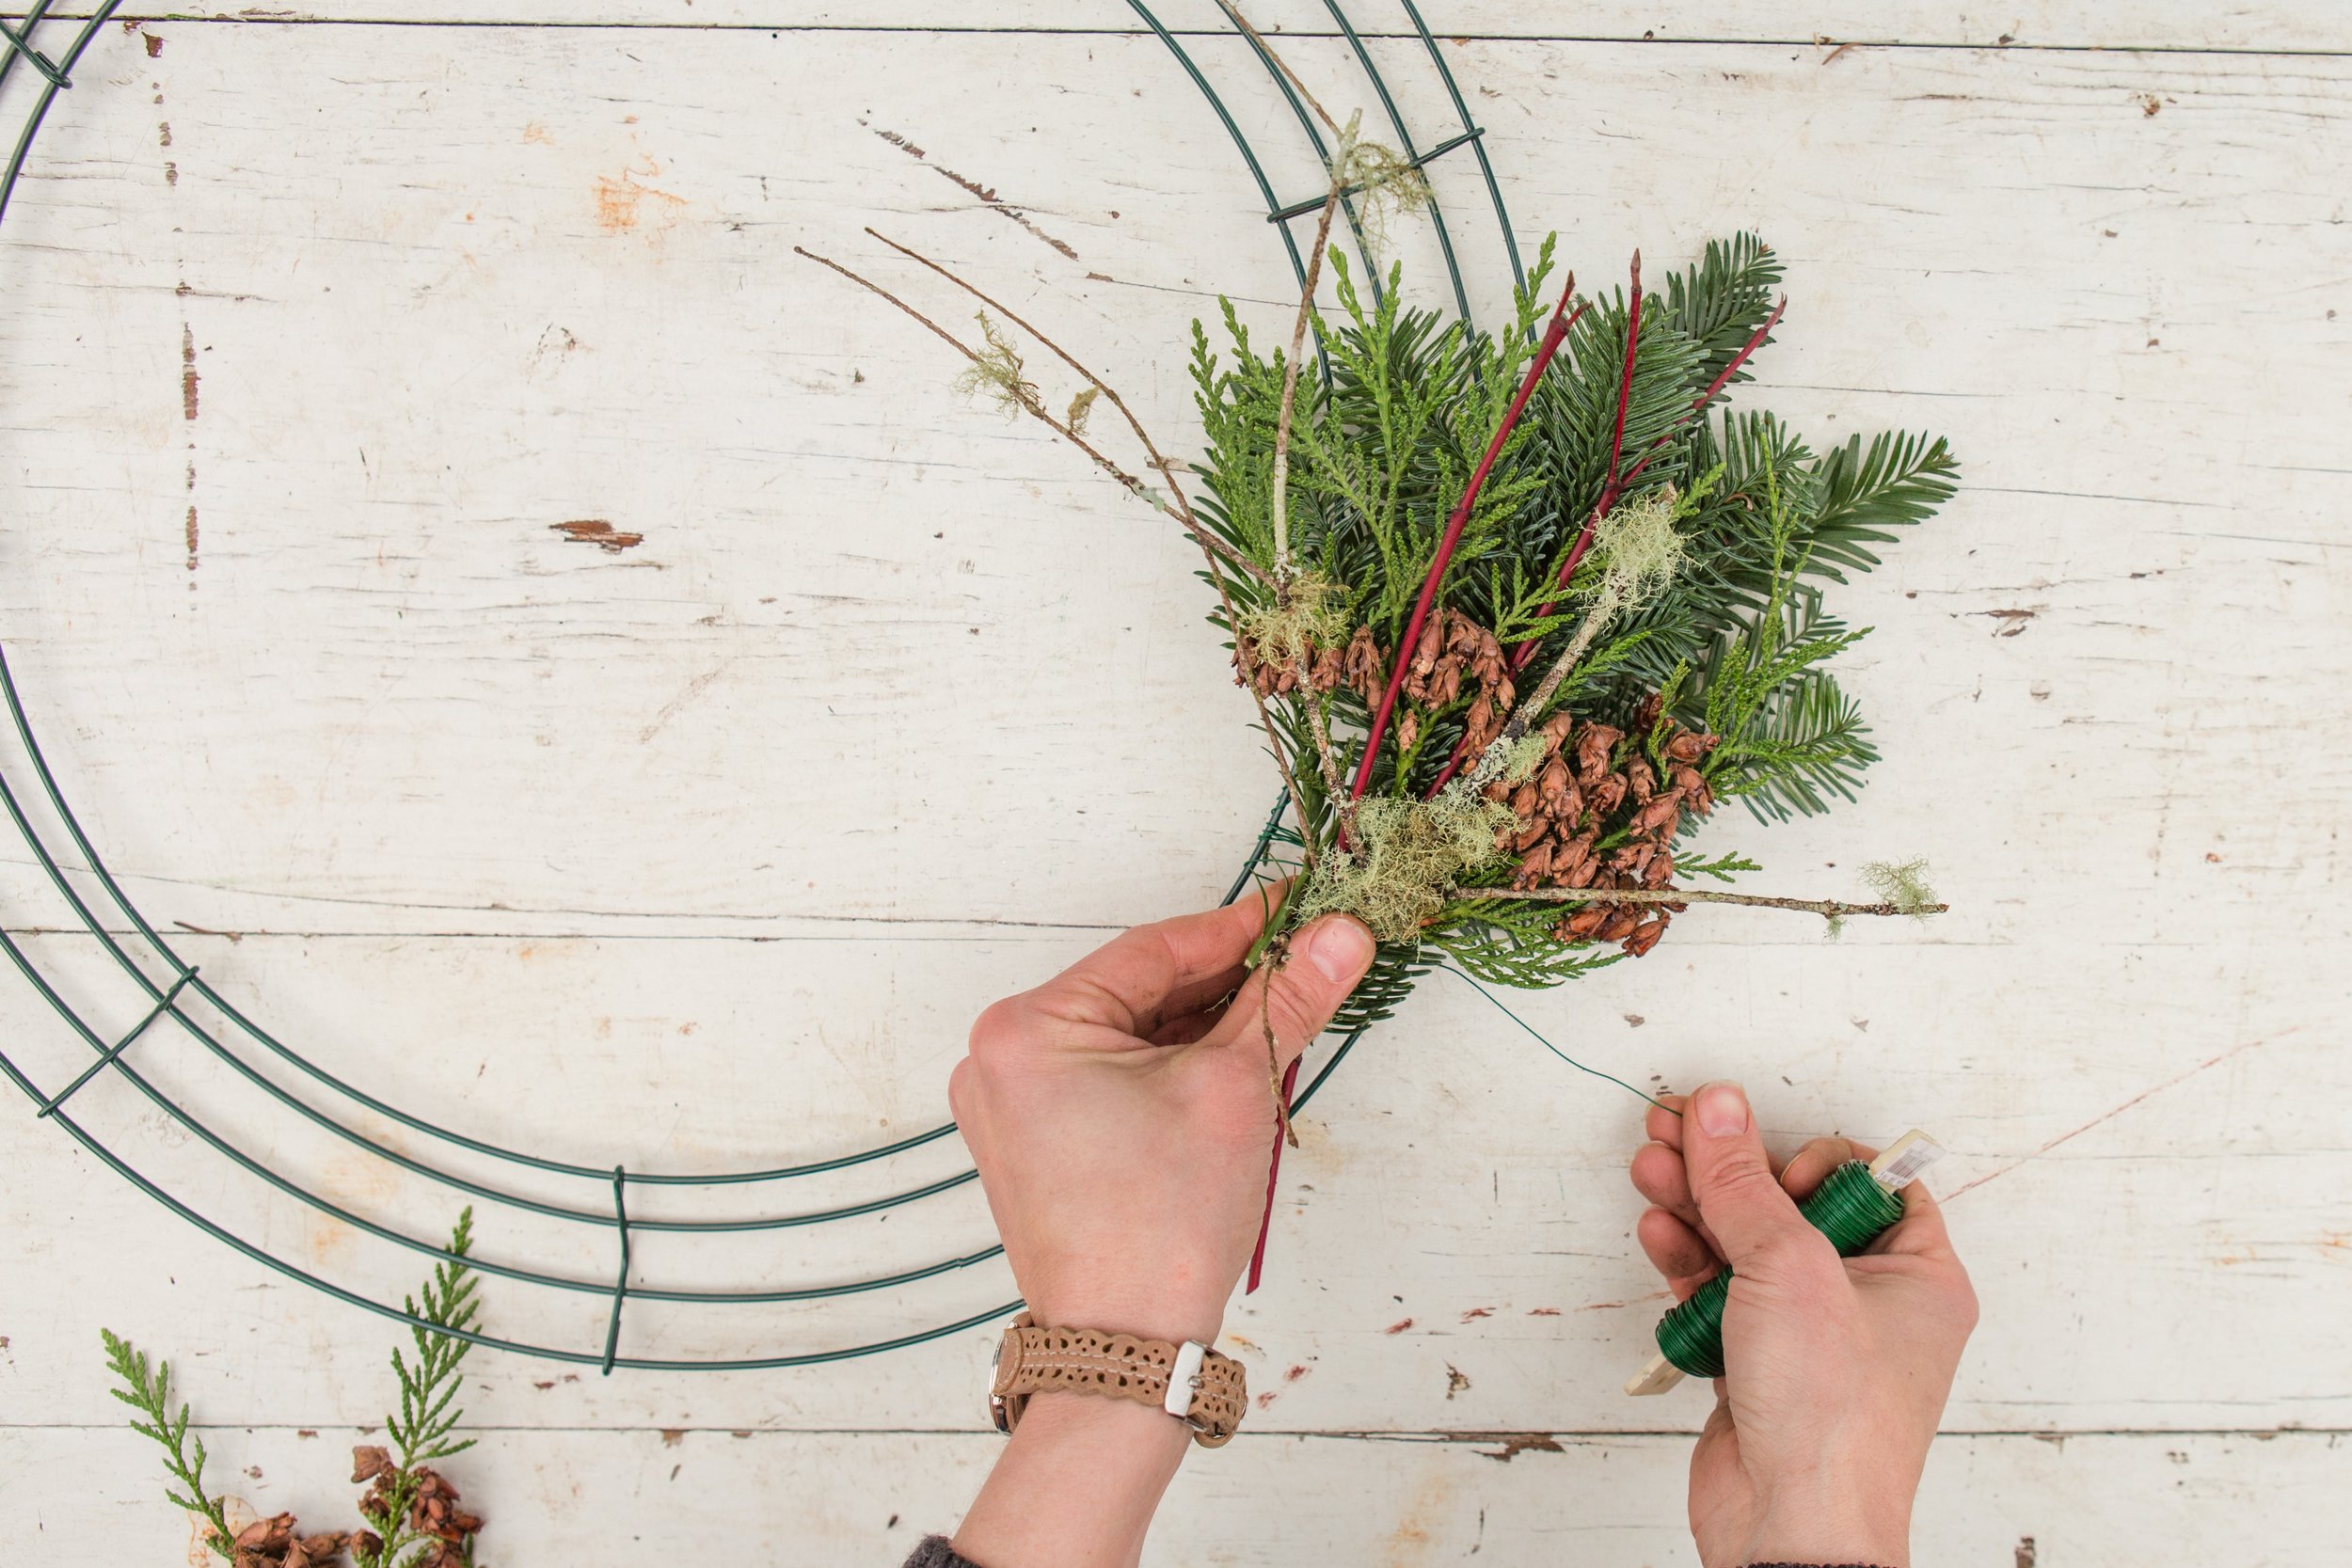
Attach greens to wreath form
Build another small bouquet and set it on the frame, barely overlapping your first bunch.

Overlap greenery bundles, one by one
Continue adding bunches and wrapping in this manner as you go. Every once in a while, step back and hold up your wreath to see if it looks full and balanced.
It’s easy to get hyper-focused on tiny details and miss the big picture sometimes. You can always add materials in by sliding them tightly under a loop of wire, or you can easily snip out branches and leaves to refine and balance your wreath.
When you get to the last bunch, simply lift the first bunch back, tucking the ends of your last bunch underneath. Continue wrapping as before. When the wire is secure, step back and examine your wreath. If needed, tuck in a few more branches before the last step.

Tie off your wreath to finish the process
Step 3: Complete Your Wreath By Tying It Off
The final step in making your wreath is to tie it off. To tie off your wreath, wrap your wire an additional two to three times. Clip the wire using wire cutters (or your pruners if they have a notch for the wire.)
Next, turn your wreath over and “thread” the end of the wire through the wreath frame, wrapping the slack around one metal piece of the frame. Secure the wire by tucking the end toward the greens so it won’t scratch your door or wall.
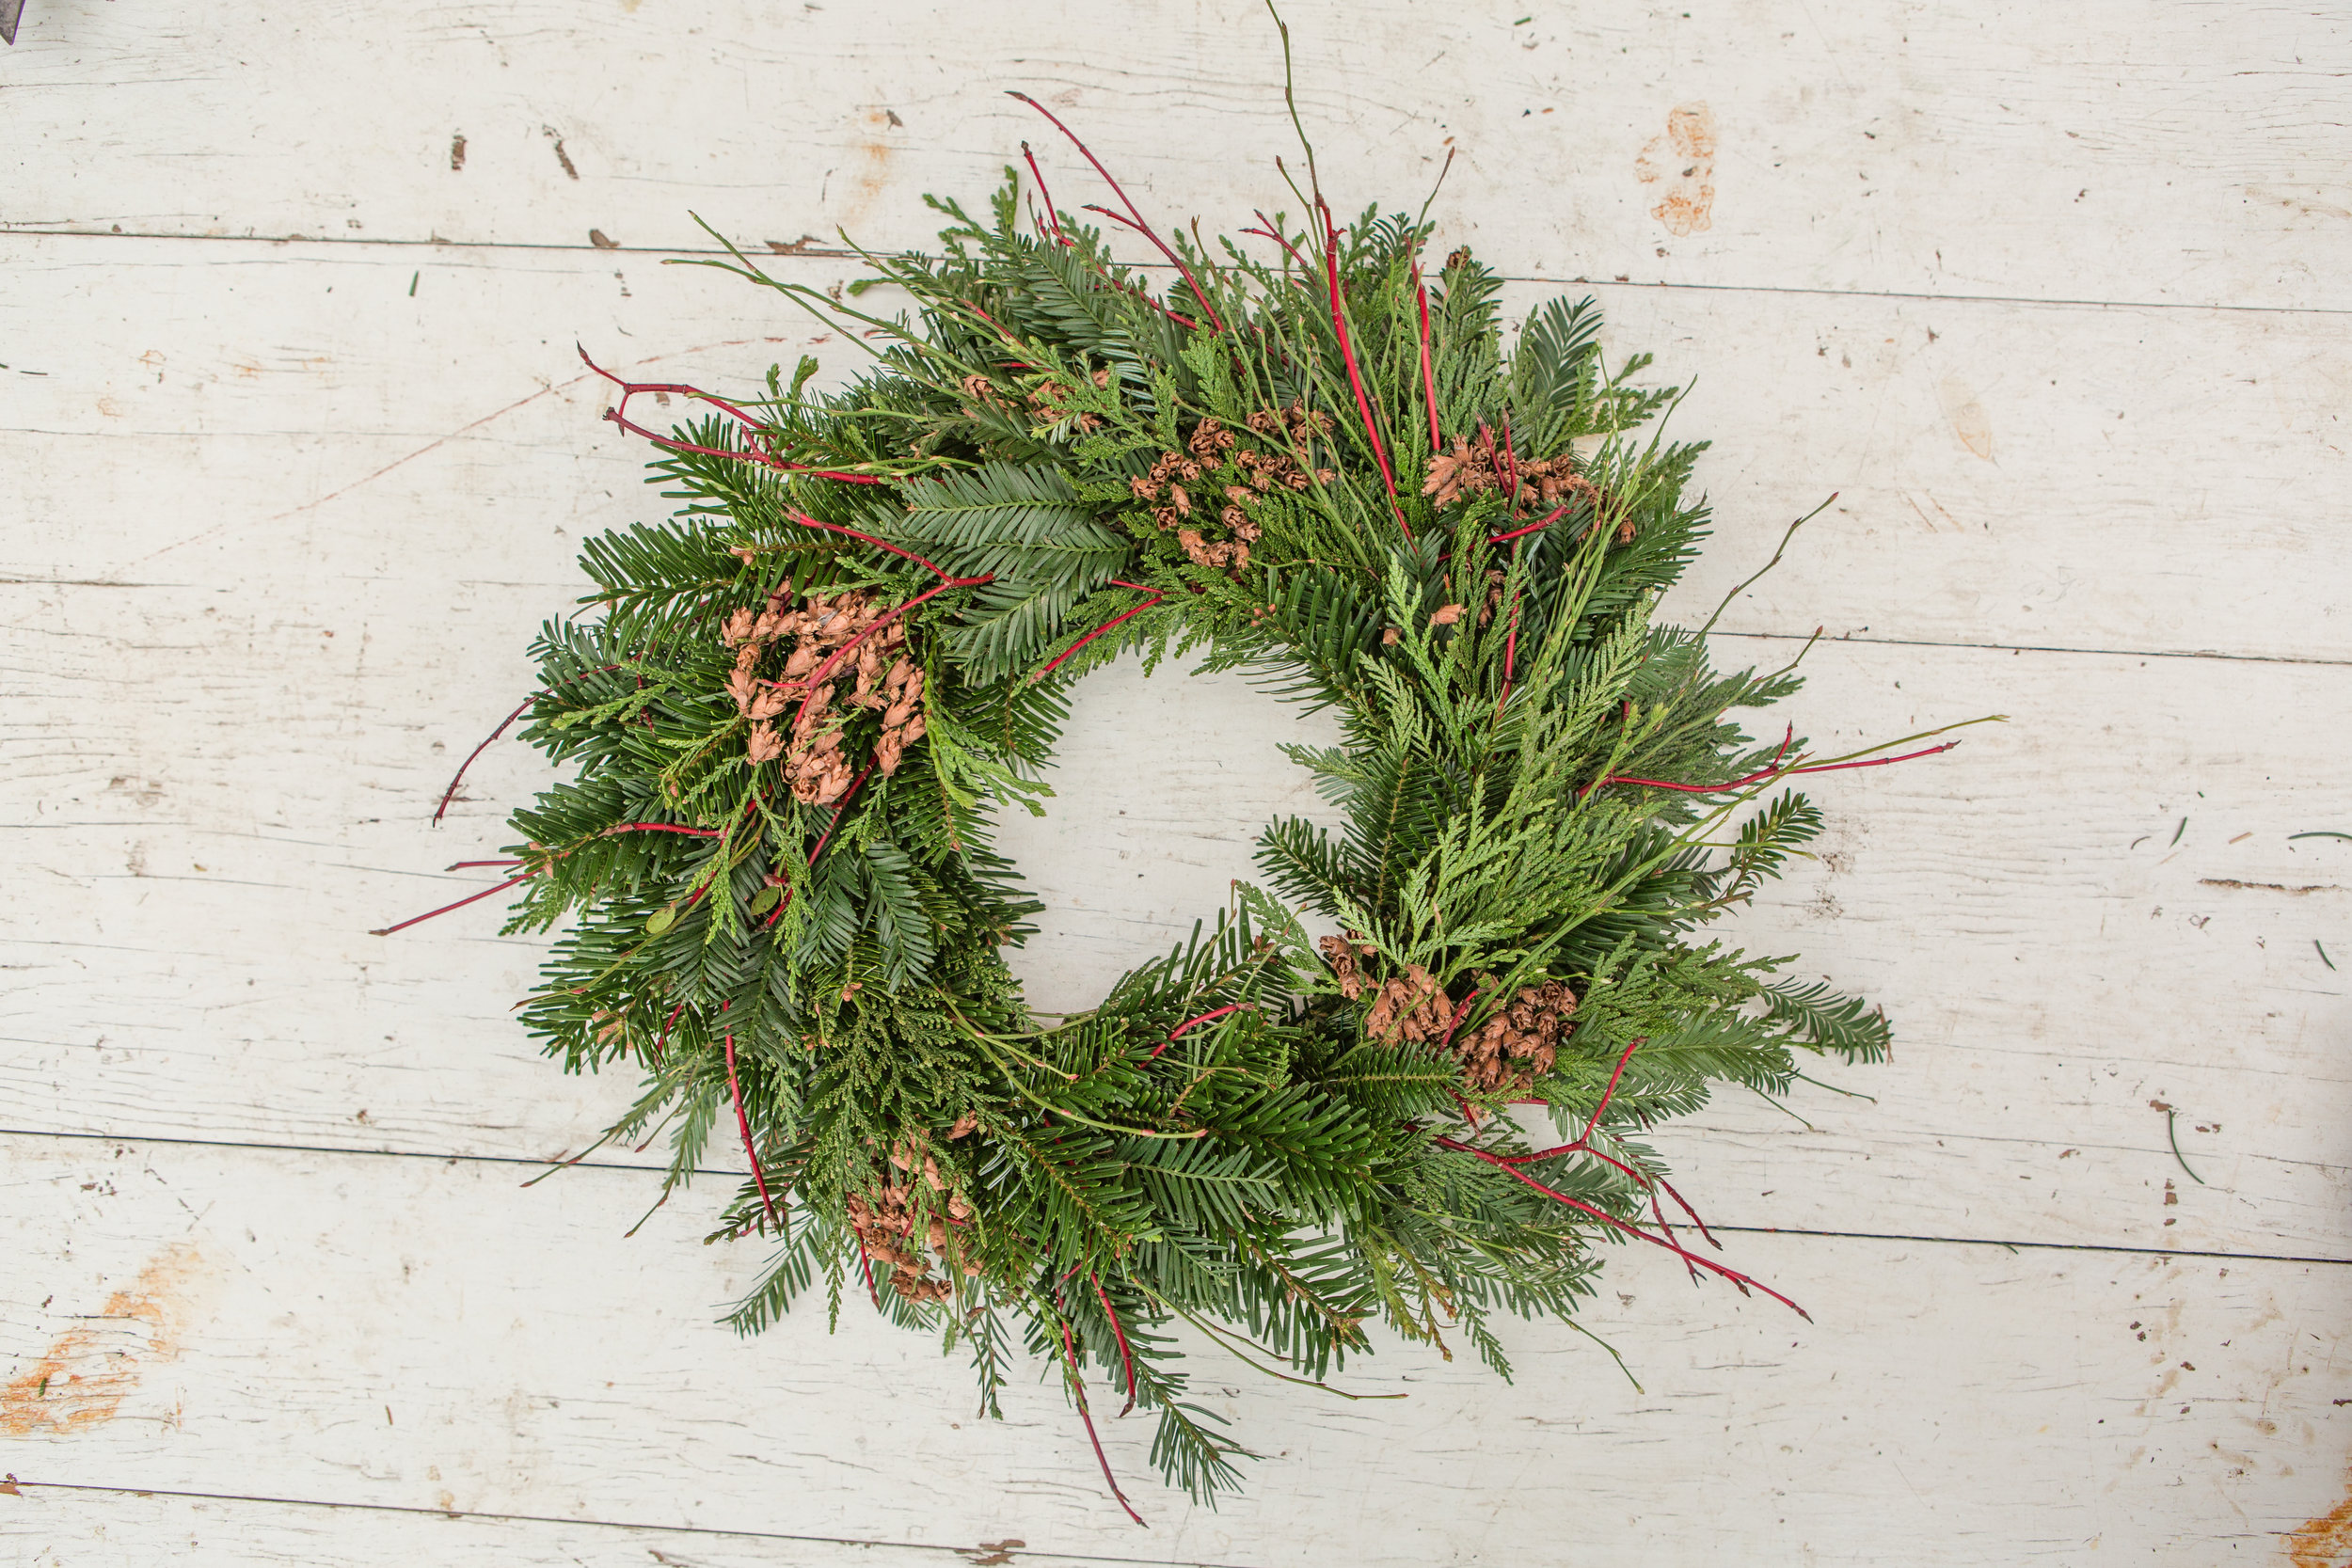
Take a step back and admire your creativity! If you want, you can “fluff” your wreath by gently pulling the branches. You can also take a moment to refine your wreath here, too, by clipping out any pieces that are too long or too full.
Can you believe how easy the process is to make your own wreath?
Completed DIY wreath
Step 4: Add Final Touches to Your DIY Wreath
Although I personally lean toward natural-looking wreaths that let the pure beauty of the greens shine, if you like, you can add pine cones, a bow, dried flowers, or even ornaments to capture the look you’re going for.
To attach a cone, you’ll first need to wrap the cone snuggly and securely with a piece of paddle wire.
rim a 12-inch piece of wire from your paddle. Centering the cone, work the wire into the edges. While holding the wire, you’ll want to twist the cone several times until it feels tight and secure on the wire.

Wiring on additional DIY wreath elements
To attach your pine cones, lay them on the wreath and work each piece of wire through the greenery to the back of the wreath. Tightly twist the wires together, tucking the ends so they won’t scratch your door or wall.
Repeat the steps, wiring on cones (or any adornment!) until you get the look you like. Design tip: Cones look great grouped together or spread throughout the wreath. Either way, because you’re working with a circle, you may want to work in odd numbers. Think one, three, or five pine cones.
Learn superior wiring techniques for flower arranging in our Advanced Wiring Techniques online class.

Add in additional decor elements
To add a bow, dried flowers, or ornaments, simply repeat the process used for wiring pine cones.
Your fresh wreath will last well beyond the holidays. If you bring your wreath indoors, you’ll want to lightly mist it every few days to prevent it from over-drying.
Once you’ve learned how to make your own wreath and experienced just how easy the whole process is, this project is sure to become a beloved holiday tradition!
All photos by Mistry and Scott Photography.