Your Comprehensive Guide to Hosting a Wreath-Making Workshop
If you’re thinking about adding floral workshops or classes to your repertoire—whether you’re a farmer, event designer, or own a flower shop—I can’t encourage you enough to go for it!
Have you been wondering how to host a wreath-making workshop? Holiday floral workshops are a chance to fill in that tricky off-season gap. Beyond that, I’ve found teaching floral design is an incredible way to connect with your community. Teaching provides you the chance to network in new ways, bringing attention to that thing you already do so well—whether it’s growing incredible organic flowers or designing in a unique style.
Looking for wreath making workshops near you instead? Check out our directory to find fun classes taught by kindhearted and talented floral pros in your area.
Ready to host your first wreath-making workshop? In this comprehensive guide, I’ll address:
How to host a workshop
Important things to consider before the event
Key elements to attend to on the day of the event
Floral workshop teaching tips
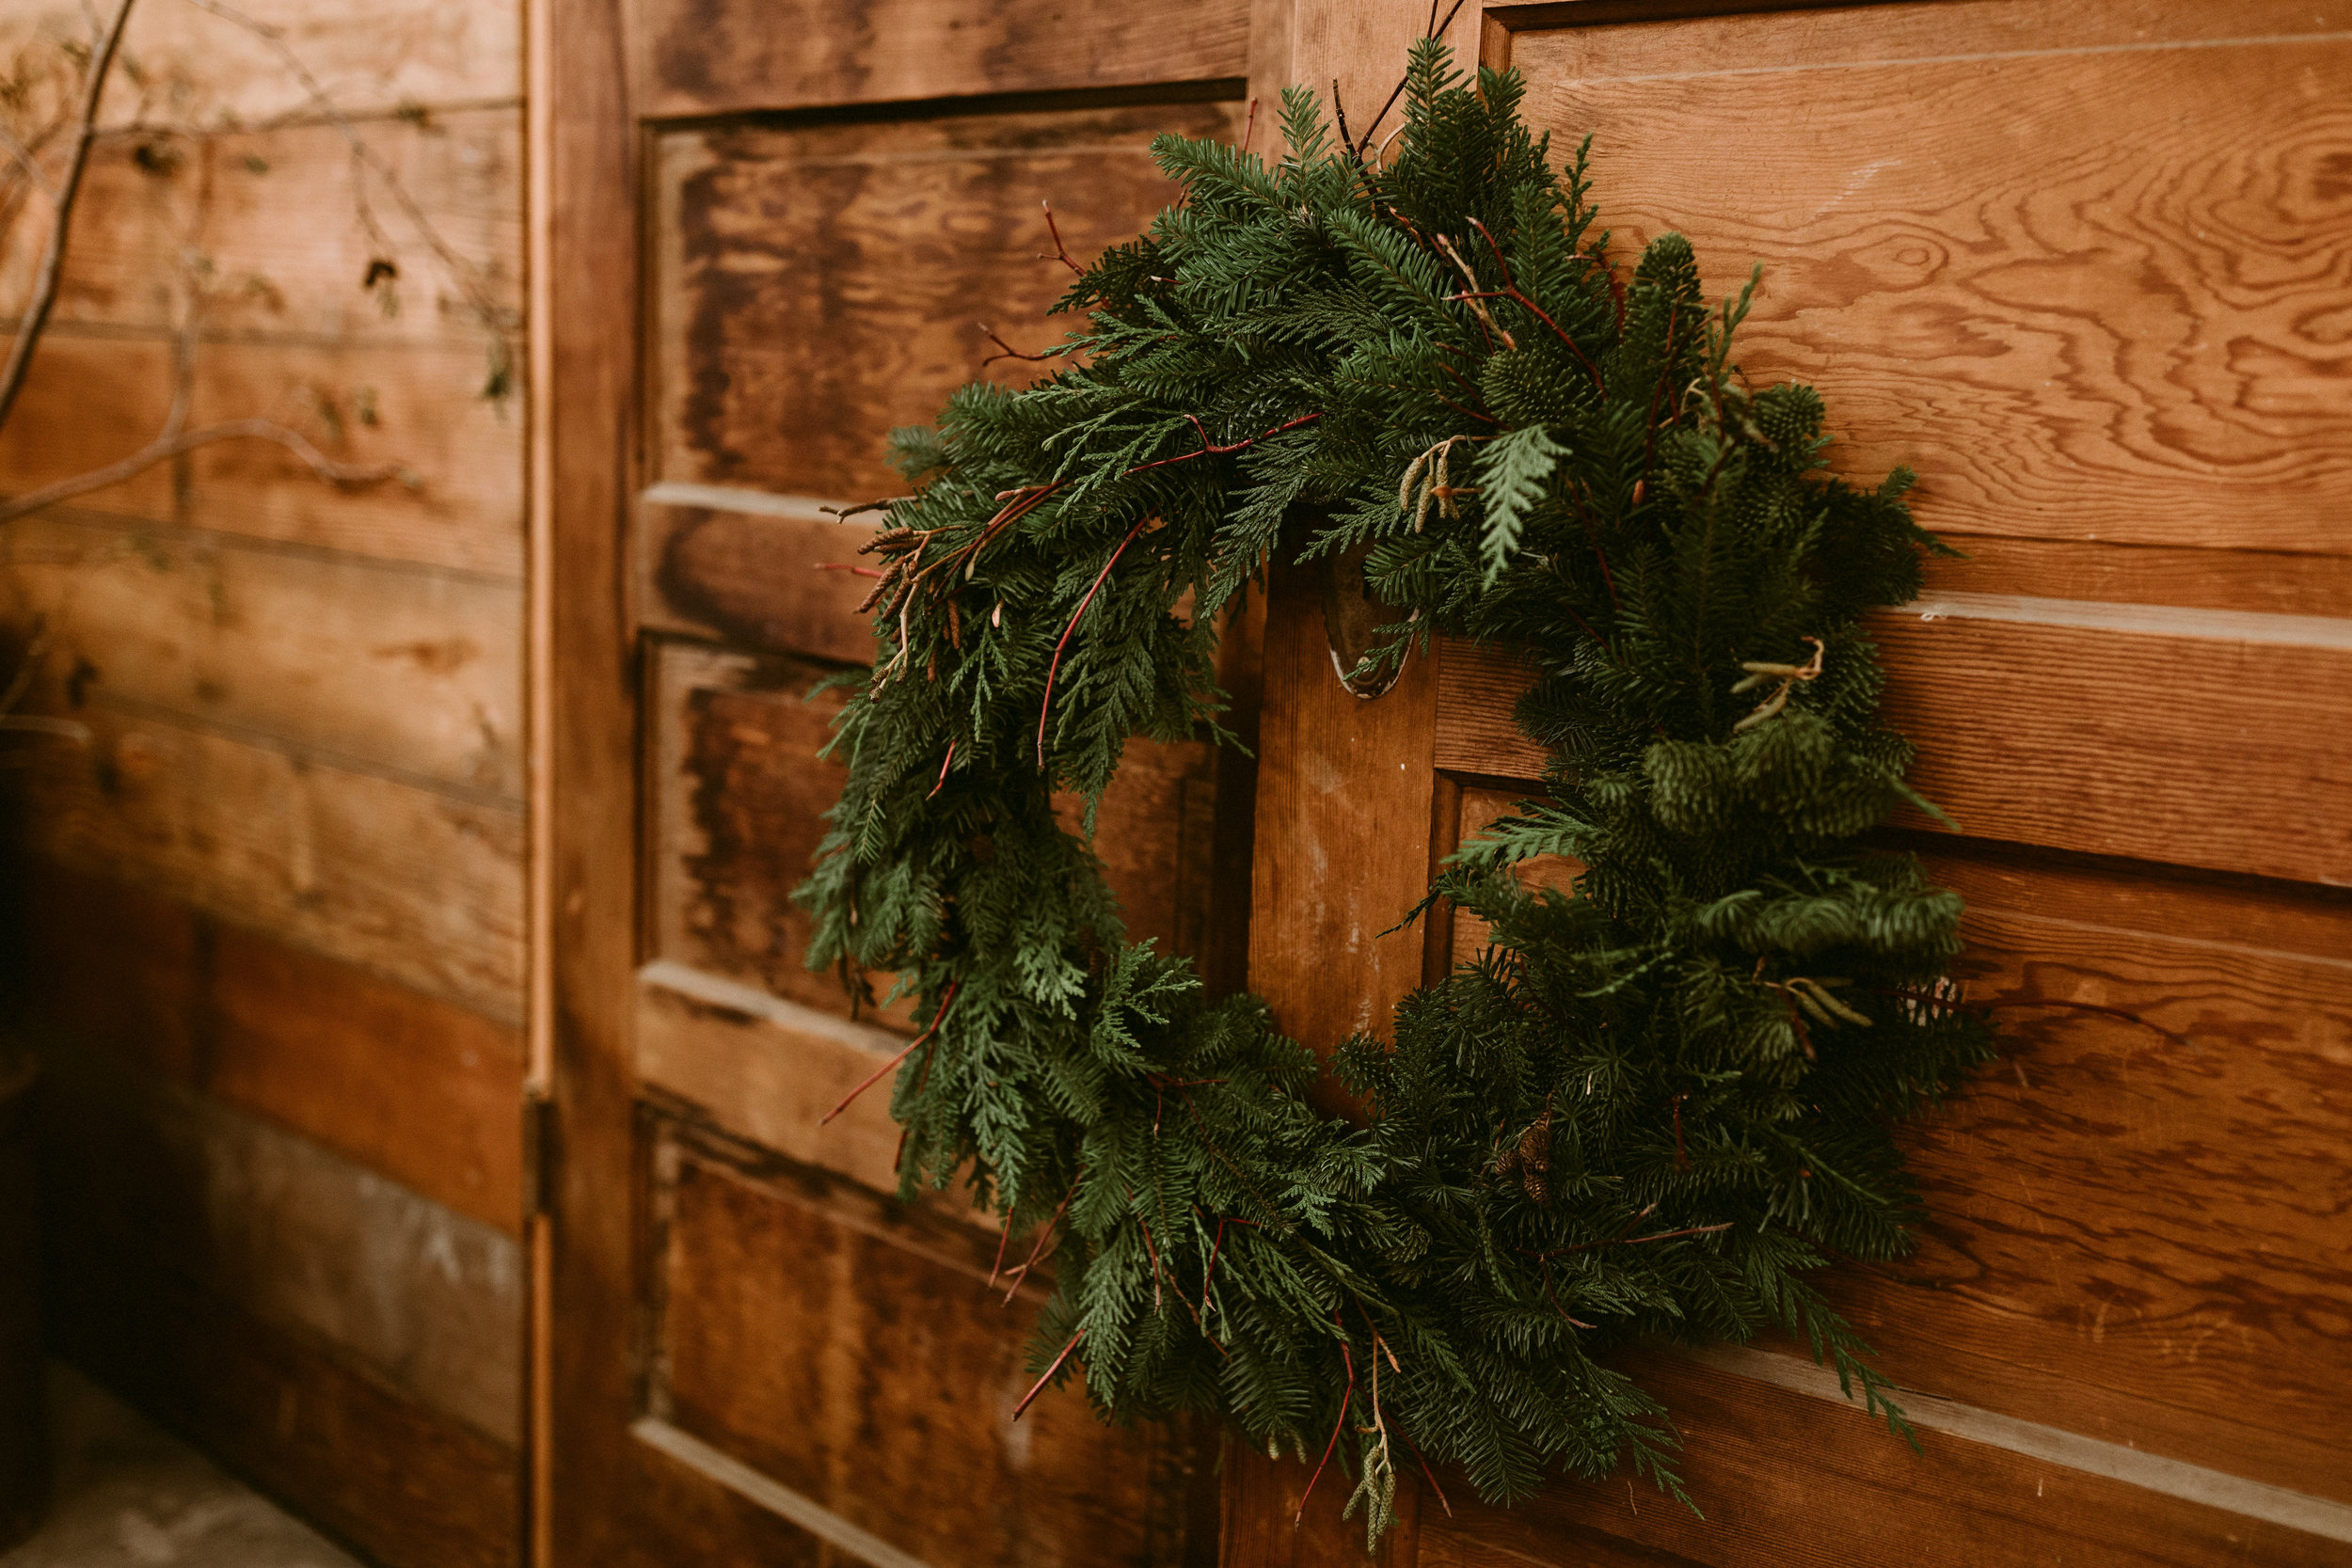
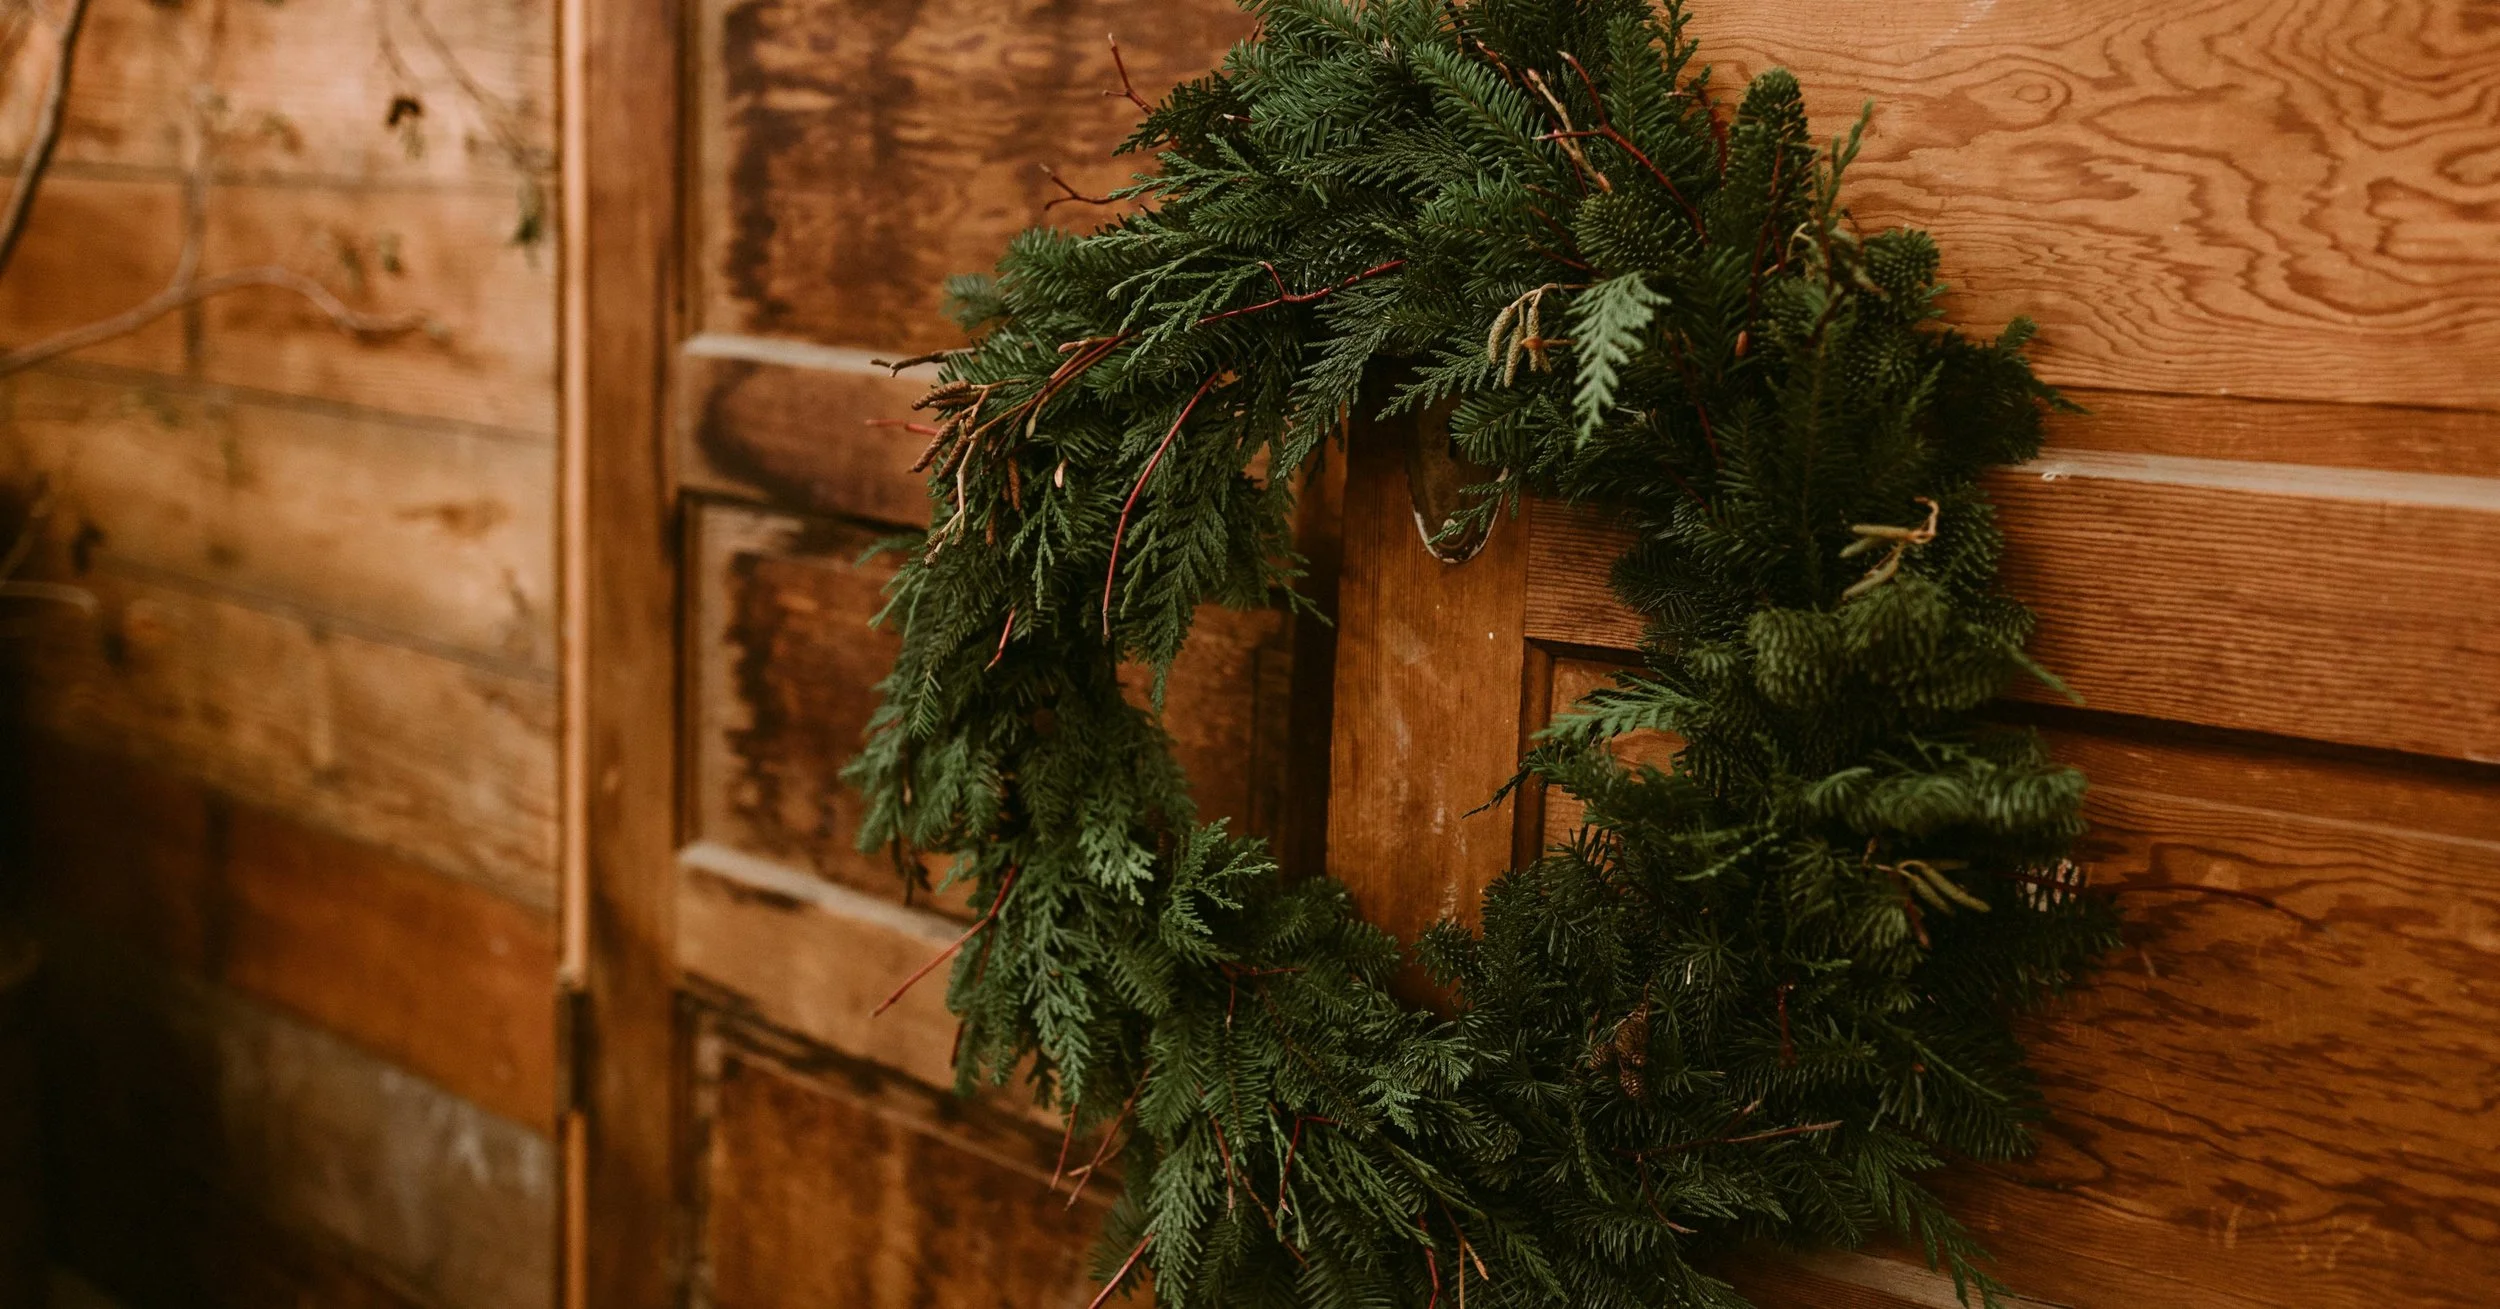
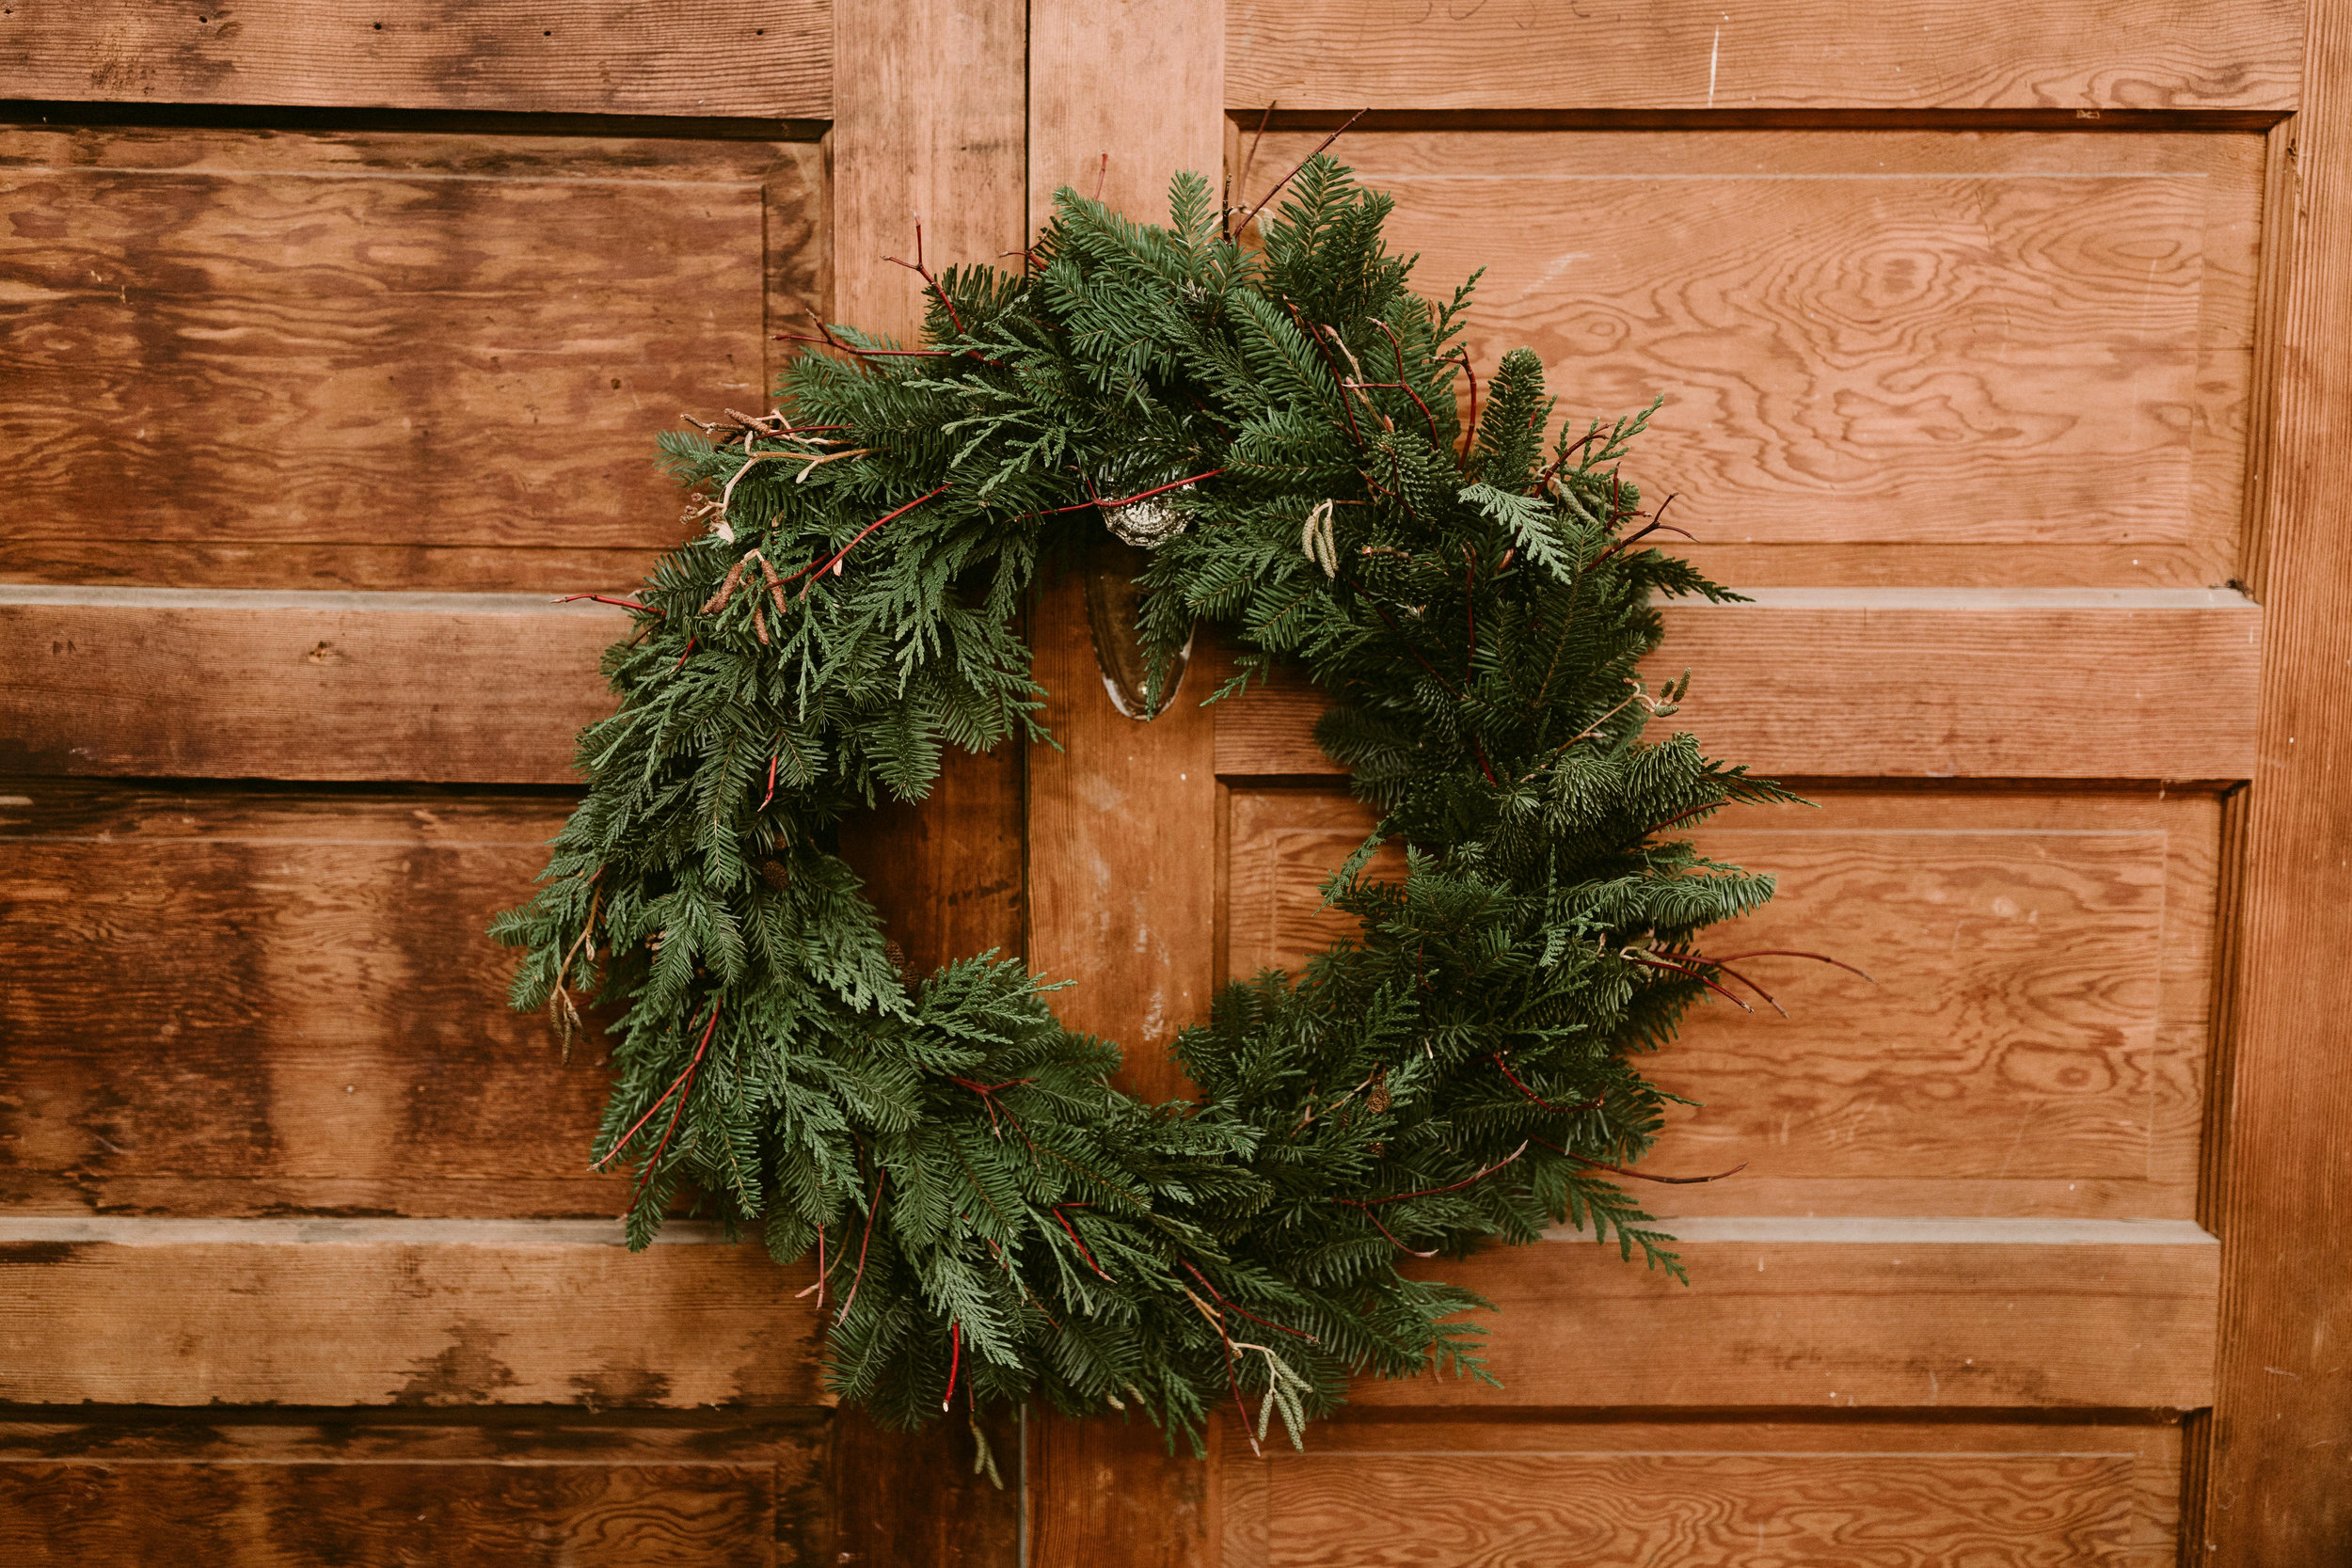
completed greenery wreath
How to Host a Wreath-Making Workshop
Wreath-making classes are hands-down my most popular class offering and typically sell out within hours. And really, it’s easy to see why people love them so much: These workshops arrive at a time of year when people are actively seeking out ways to connect, create, and find that extra dose of holiday cheer.
We typically host 15 to 20 attendees per class. I always staff at least one assistant to help with set-up and guest support during the course. In addition, I always schedule my classes on consecutive days, often setting up for two classes each day, which minimizes set-up and tear-down.
Get instant access to our step-by-step video tutorials, how-to articles (like this one!), and more. We’ve got you covered with floral design tips, growing tricks, and business tactics you can implement today.
Guests who attend wreath-making classes typically have no prior floral design experience unless they’ve participated in a workshop with us in the past. And attendees often return the next year (and bring guests!), so the biggest challenge has been offering enough classes to keep up with the demand!
There are three major components you need to consider for your workshop preparation, and then three key elements to attend to for your guest experience. First, let’s talk about workshop preparation!
3 Major Areas to Consider for Your Workshop Preparation:
Your venue
The supplies you’ll need to provide
Foliages available for the wreaths
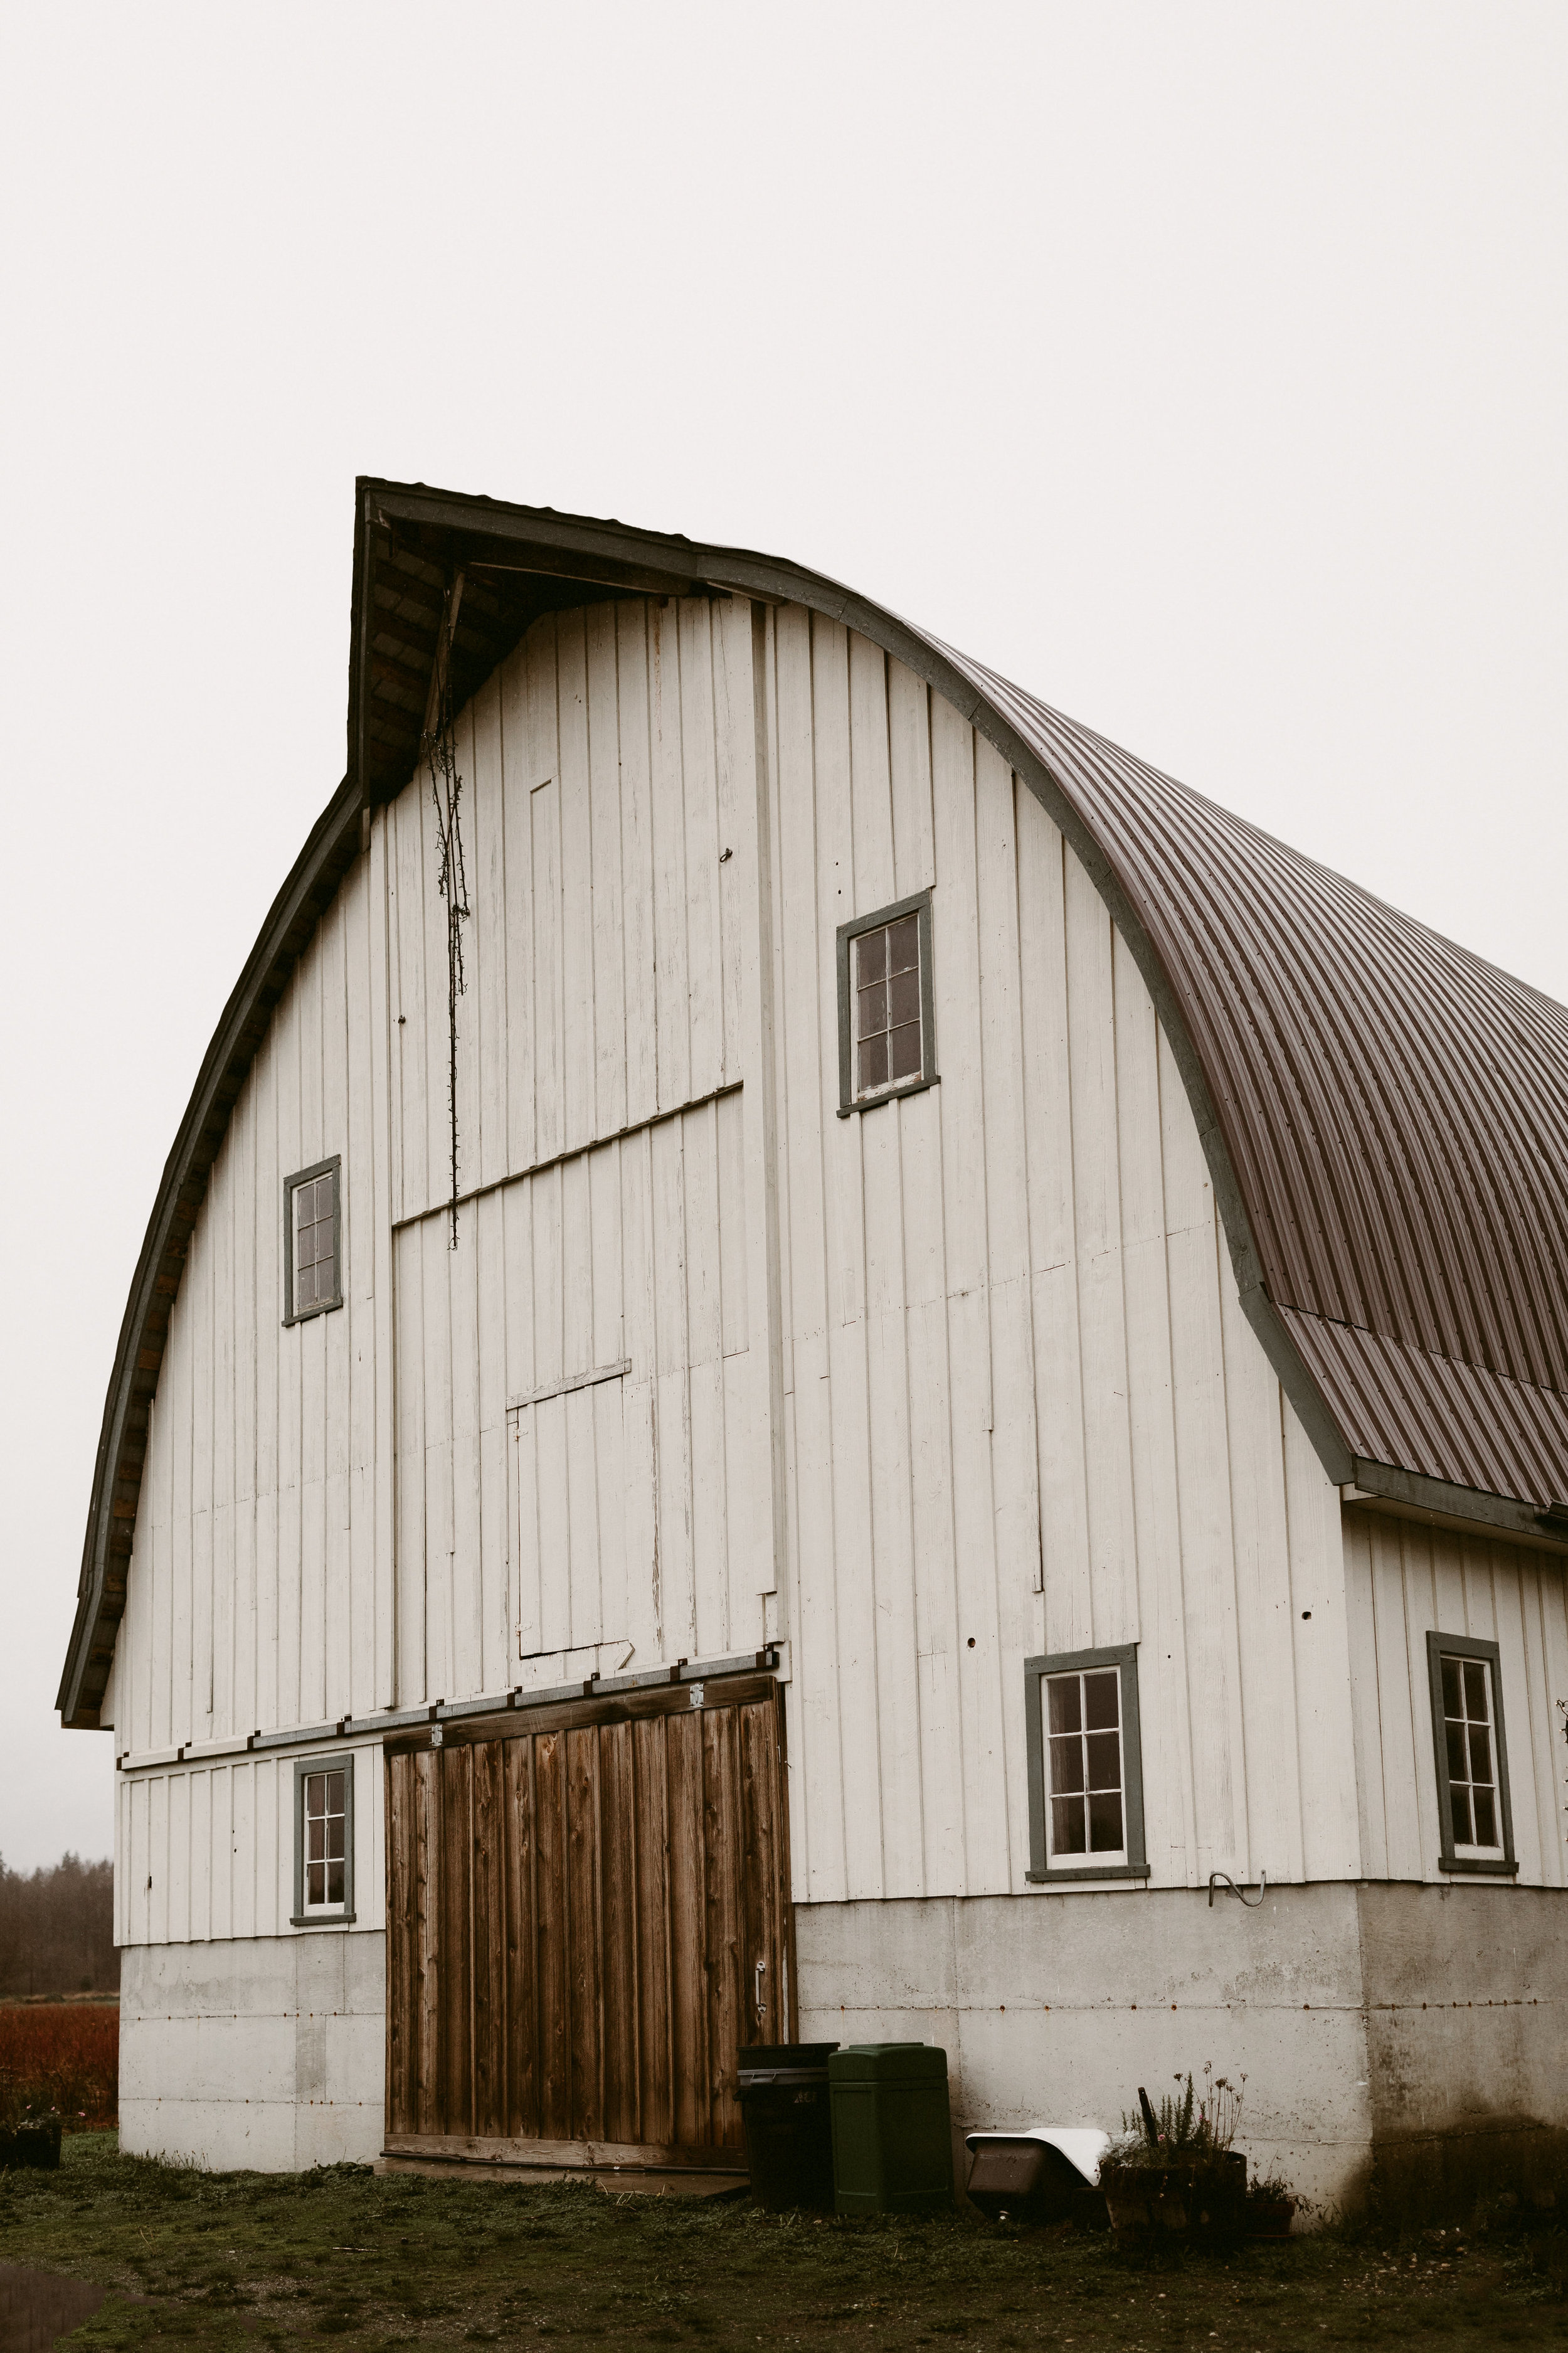
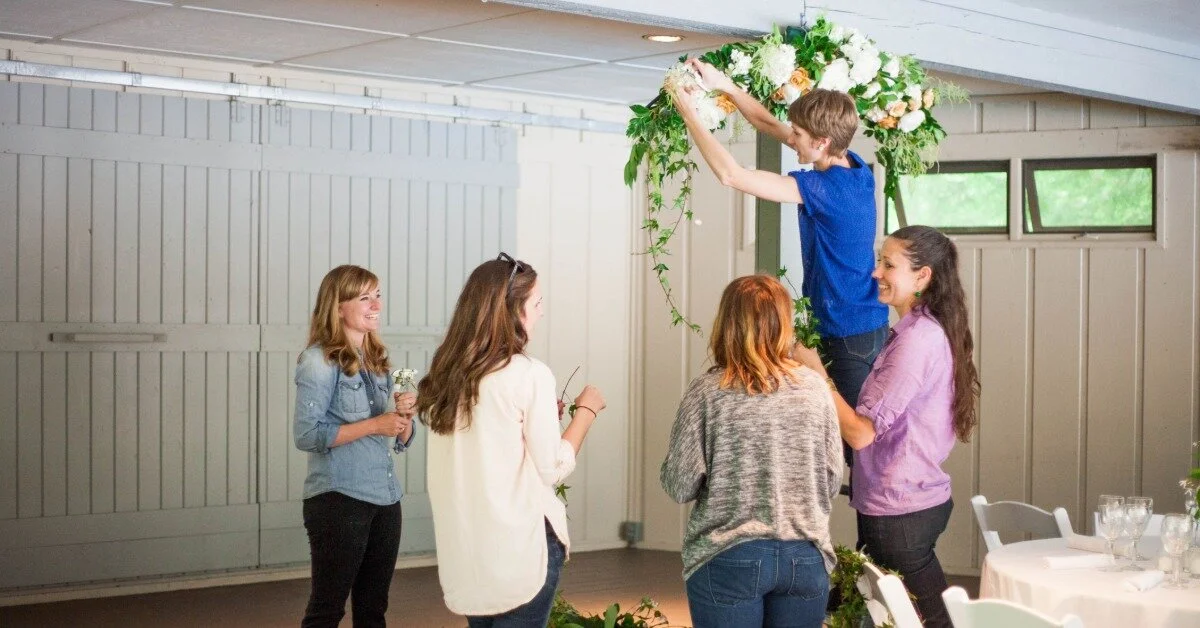
Select Your Venue: A Barn Can Be a Lovely Setting
CHOOSING A VENUE FOR YOUR WORKSHOP
Your venue is the first area you’ll need to tackle (and schedule!) before moving on to other workshop prep. Don’t be afraid to think outside the box here.
We’ve even hosted floral workshops our tiny barn, simply adding space heaters and bistro lights. (Trust me when I say this: What looks like run-down farm to you looks like a rustic, chippy, bucolic dream to those who never get to experience the country lifestyle.)
You can also collaborate with other local farms with bigger, equally rustic barns (we have!). Consider wedding venues that offer off-season pricing, a winery or cidery, local art studios with teaching space, or even local cafes or restaurants.
You’ll be surprised at how many venues would be happy to host your event. The only requirement you must have is a site that can provide a minimum of 2 feet of table space for each of your guests—though 3 feet is better! And remember to follow your local health and safety guidelines during Covid as needed.
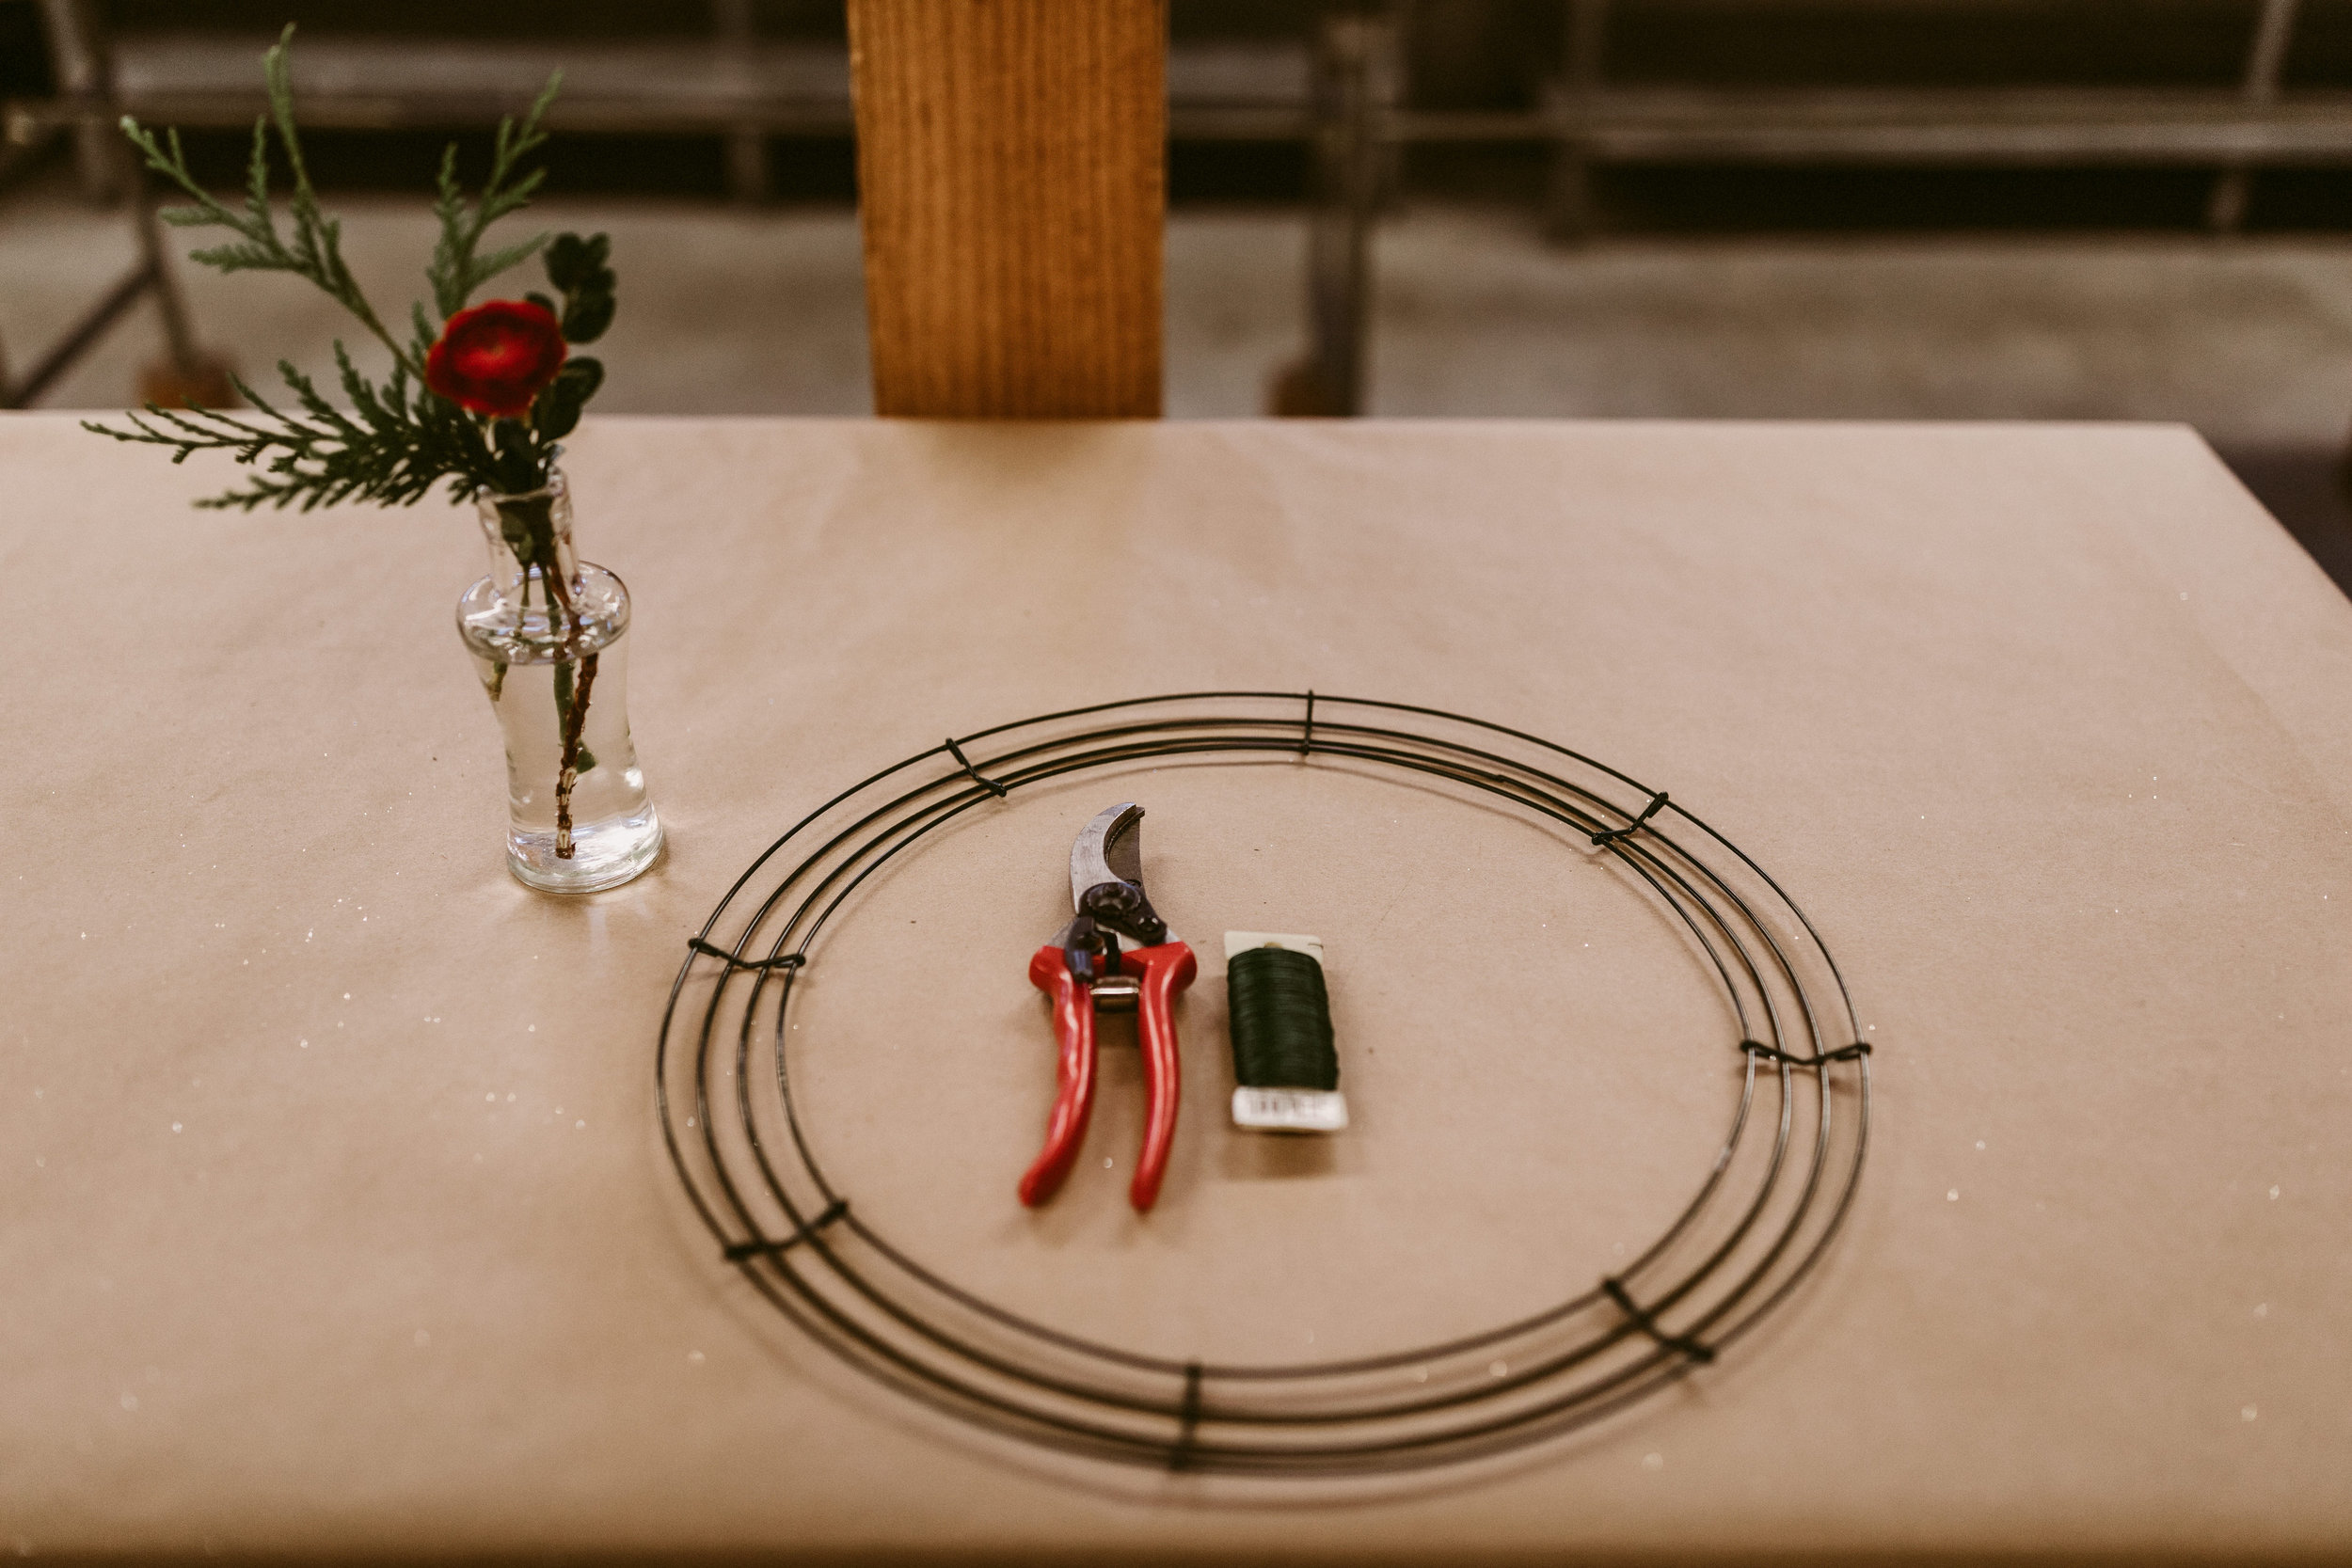
Wreath-Making Supplies
One of the biggest reasons I love hosting wreath-making workshops is that you only need three basic, affordable tools. As for materials, you can fill a wreath with one single type of foraged foliage or a veritable smorgasbord, including every wintery element possible.
Supplies Needed:
Wreath form or base
Paddle Wire
Clippers or pruners
Foliages

Add Seasonal ornaments such as pinecones, dried flowers, and more
Wreath Form or Base:
There are several different directions that you can take the overall style and vibe of your workshop. First, be sure to pick out a wreath base that’s true to your style and your market. Consider wire hoops, grapevine wreaths, or simple wire forms as your base.
In our market, classic evergreen wreaths are really popular, so we use 18-inch Panacea wire wreath forms. So far, I’ve found it easiest to source these from Joann or Hobby Lobby. By watching their generous coupon offers, I can often snag them at prices similar to bulk pricing through a wholesale supplier. If you’re looking for a wholesale wire supplier, Oregon Wire offers a wide selection of wire forms.
“Be sure to pick out a wreath base that’s true to your style and your market. Consider wire hoops, grapevine wreaths, or simple wire forms as your base. ”
Paddle Wire:
We use 22-gauge paddle wire, and we always provide every attendee with their own paddle. There’s enough wire on each paddle to make several wreaths, so if you’re planning consecutive classes, you won’t need additional paddles. (Paddle wire is available wholesale through Oregon Wire, your local wholesale floral supplier, or through retailers like Joann or Hobby Lobby.)
Clippers or Pruners:
Provide each guest with their own set of sturdy clippers or bypass pruners. We use a lot of heavier-stemmed materials and find that all guests easily handle bypass pruners. We inventory our pruners several weeks before classes and always reorder from Terrebonne, who has a fantastic supply of affordable, durable clippers. (They’re not a sponsor of ours—we just really love them!)

foliage is thoughtfully displayed
FOLIAGES FOR WREATHS
This is the last component to consider for your workshop prep, and the sky’s the limit here!
Always start locally: What materials can you easily forage? If you live in an area where you can harvest your own greens and branches, be sure you give the greenery a few days to sit inside your workshop to dry from snow or rain.
Additionally, plan ahead to allow for time to trim large branches down into small, usable segments. If foraging isn’t an option, check in with flower farmers in your area; many have extensive fresh sheets filled with loads of winter goodies.
And if you’re not so lucky as to be able to forage or source locally, consider ordering 25-pound mixed greens boxes or straight 2- to10- pound bunches or 25-pound boxes from your local wholesale supplier.
As far as foliage is concerned, we typically offer our attendees three to four “base” materials to fill their wreath, then five to eight “filler” materials to accent their greens.
Consider the following greens to add substance to the wreaths:
Noble Fir
Cedar
Princess or Shore Pine
Redwood
Boxwood
Salal
Dusty Miller
Bay Leaves
Some accent options might include foliages such as:
Incense Cedar
Juniper
Eucalyptus
Lichen-Covered Branches
Rosemary
Sage
Acacia
Red Dogwood Branches
Rose Hips
Holly
Depending on your style and your market, you may also choose to include add-ons such as pine cones, glass ornaments, or ribbon for hanging loops or bows.
Quantities depend entirely on the type of wreath you’re creating as well as the kind of ingredients you offer. For a full, classic evergreen holiday wreath, we plan for each guest to use five noble boughs to fill the wreath and at least four branches or stems of accent materials. That said, be sure to mock up possible designs to have an accurate picture of what you’ll need.

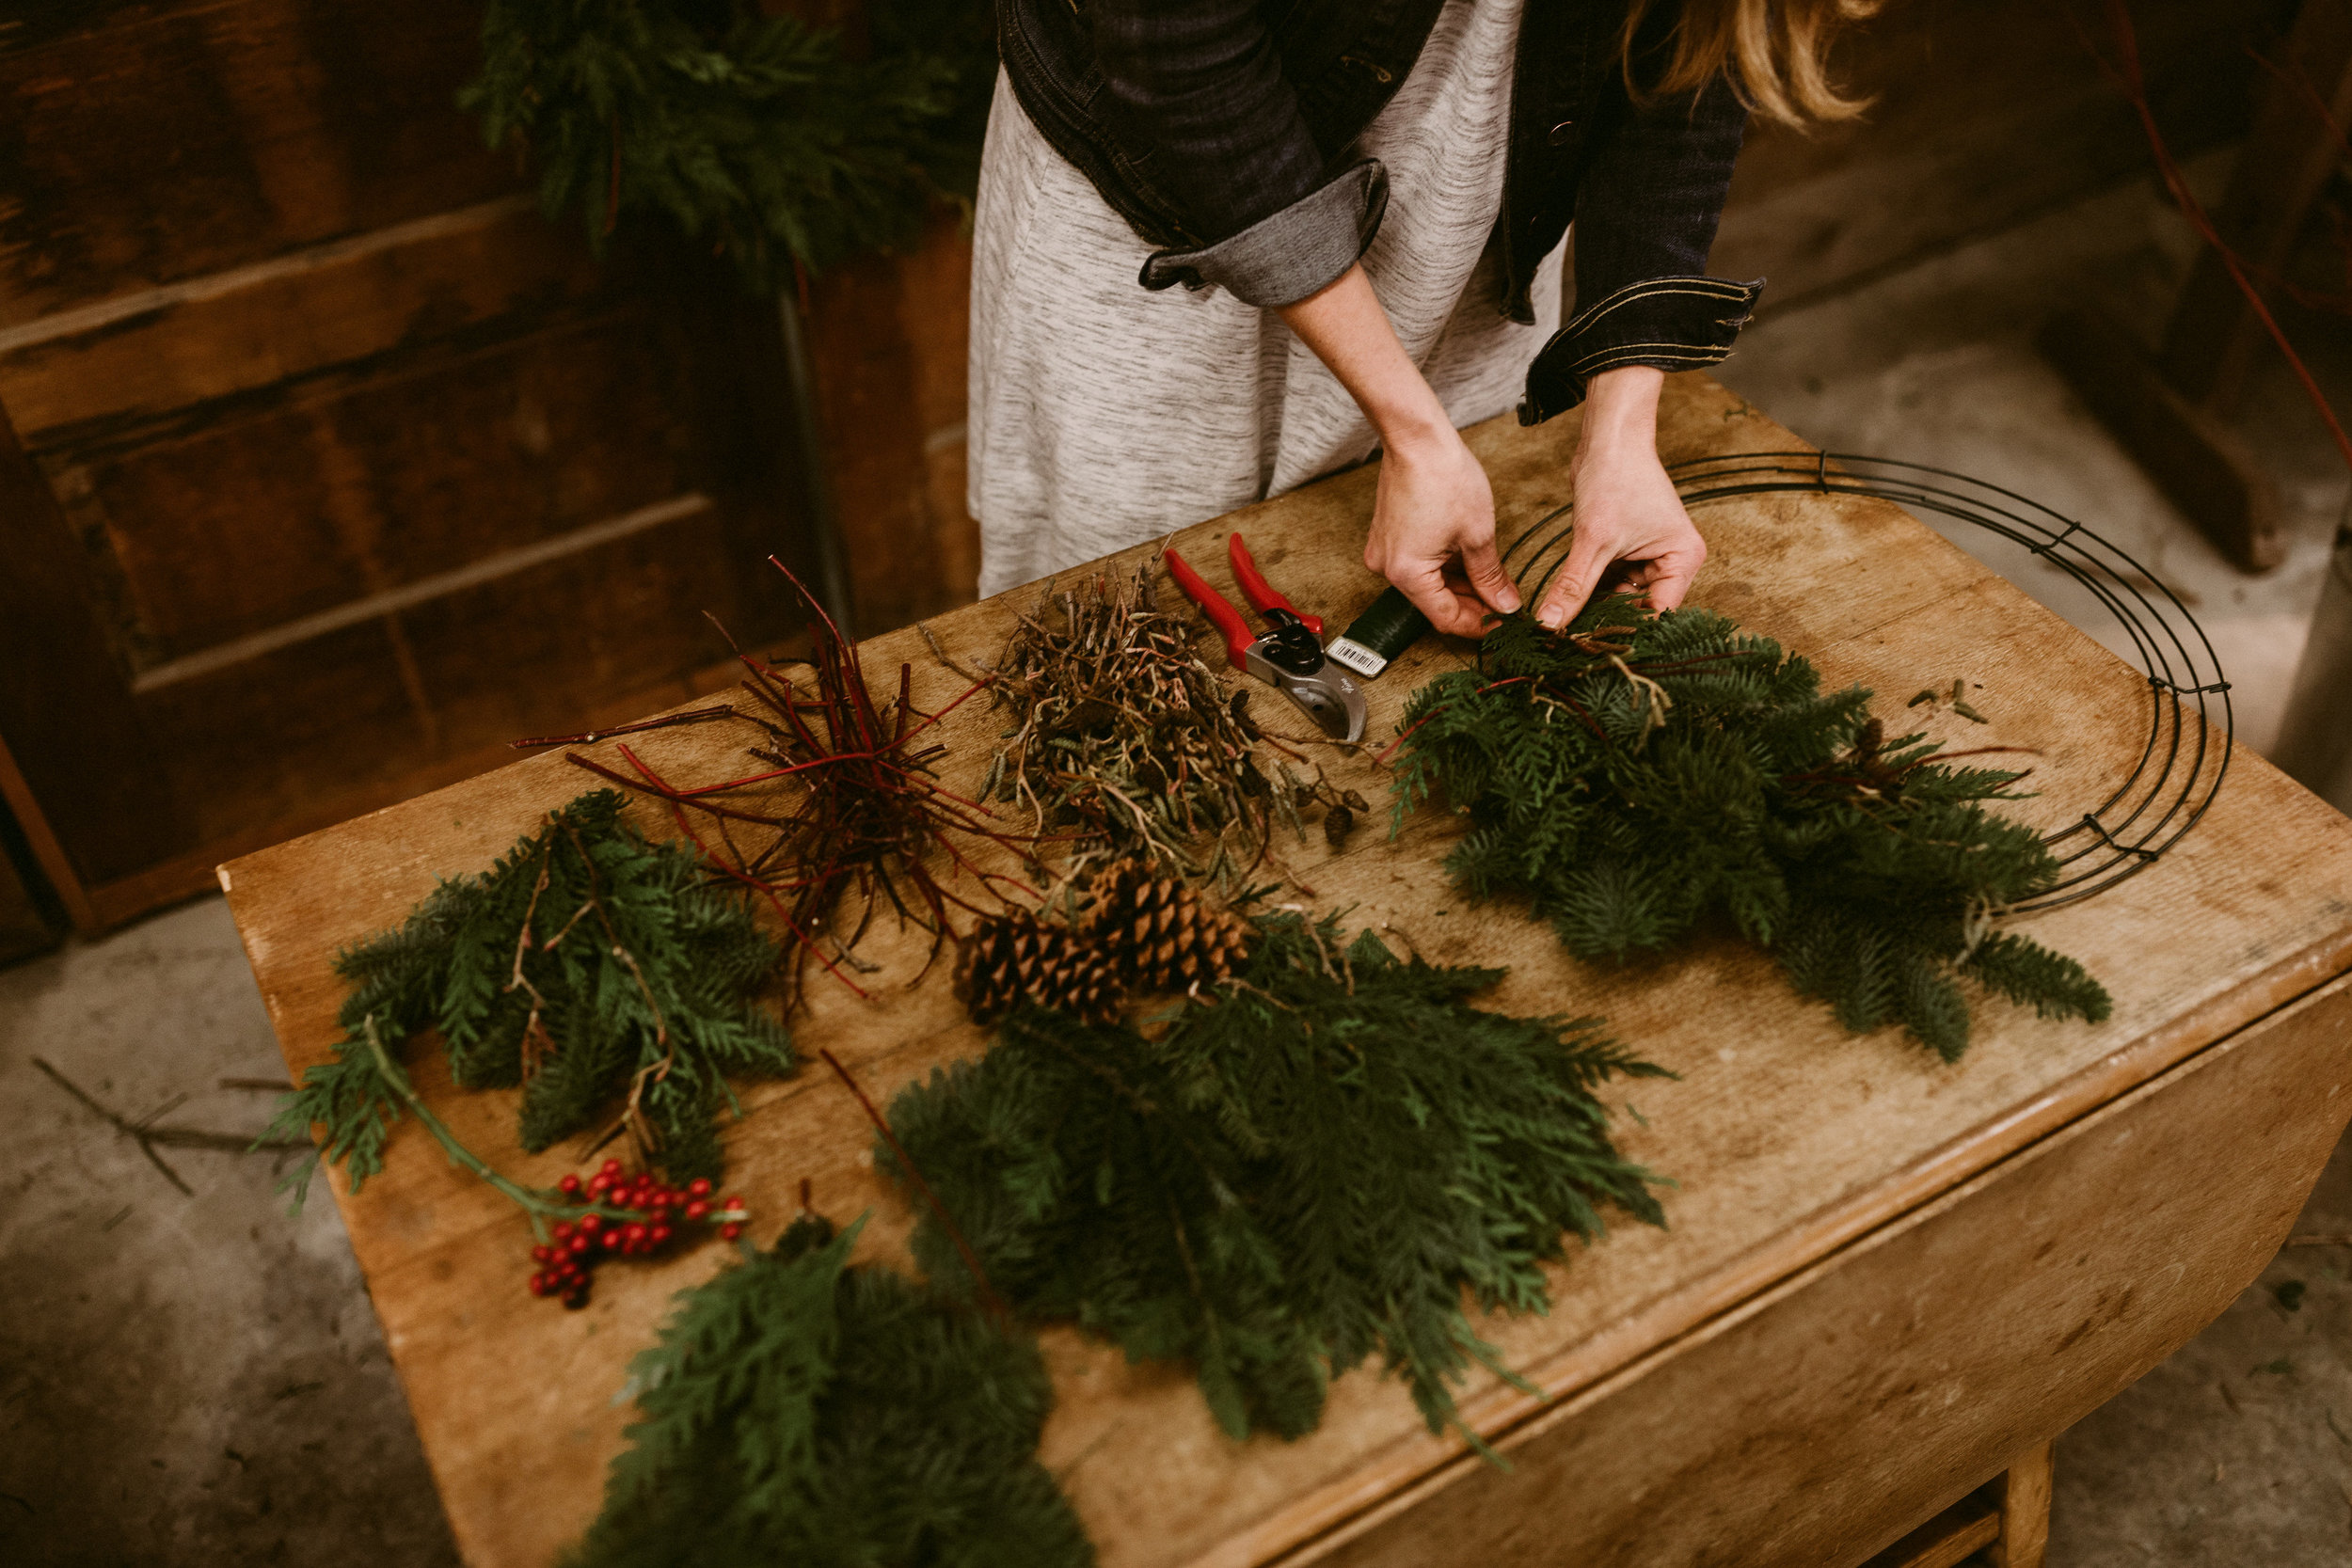
greenery elements for wreath-making workshop
Finally Hosting Your Wreath-Making Class
The week of your workshop is here! Are you excited yet? But before your workshop, create at least one sample wreath.
Mocking up gives you a chance to practice the steps you’ll be teaching, an accurate estimate of the time attendees will need to create their version, and a clear picture of the quantity of materials required per wreath. Be sure to bring at least one completed wreath to the workshop so you can use it to demonstrate the process of tying off and finishing.
Now that you’ve conquered your preparation for your wreath-making workshop, there are still three key elements to attend to, heightening the experience of your guests:
Setting up your venue
Providing refreshments for guests
Creating a festive, memorable ambiance
WREATH WORKSHOP SETUP
On the day of the wreath-making class, I plan for at least two hours for setup, depending on the location. It’s important that guests walk in and are inspired by the details created for them, whether the workshop is in a barn or beautiful studio space.
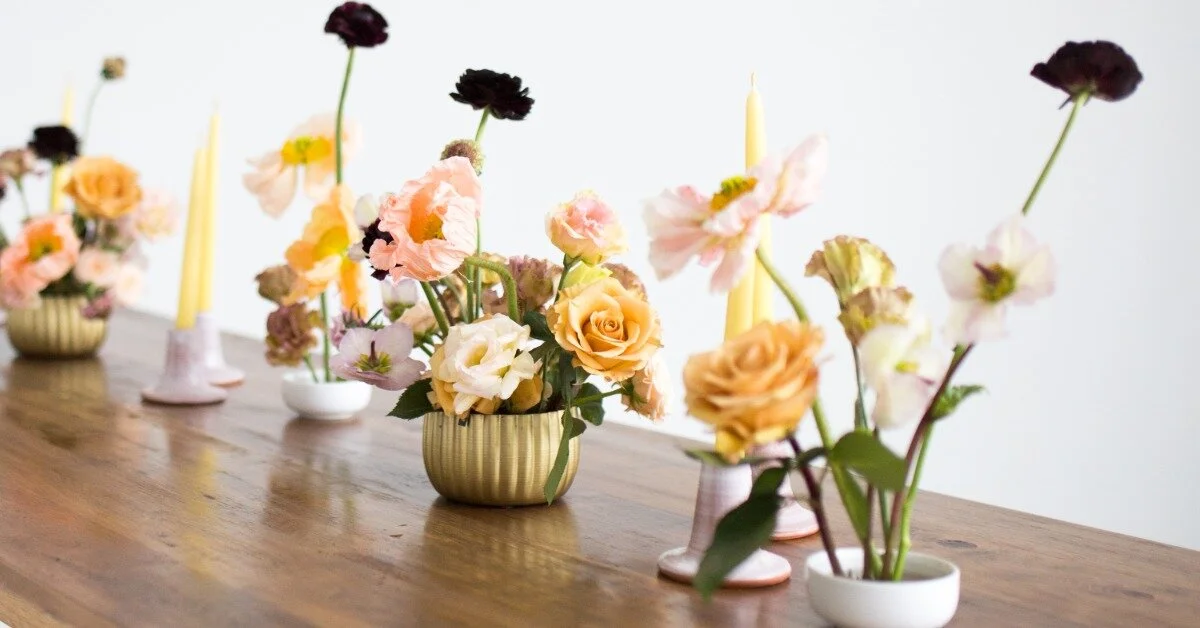
To begin, create a display of the ingredients that the group will use. This does double duty not only by providing a beautiful backdrop, but also by organizing the elements in a way that makes it easy for guests to select their materials.
“It’s important that guests walk in and are inspired by the details created for them.”
Since the vibe of most of our events is rustic, we use a collection of galvanized pails to display each material. If you’re going for a more refined look, merely swap metal for more polished vessels such as silver, gold, or glass.
Supplies needed for wreath-making workshop
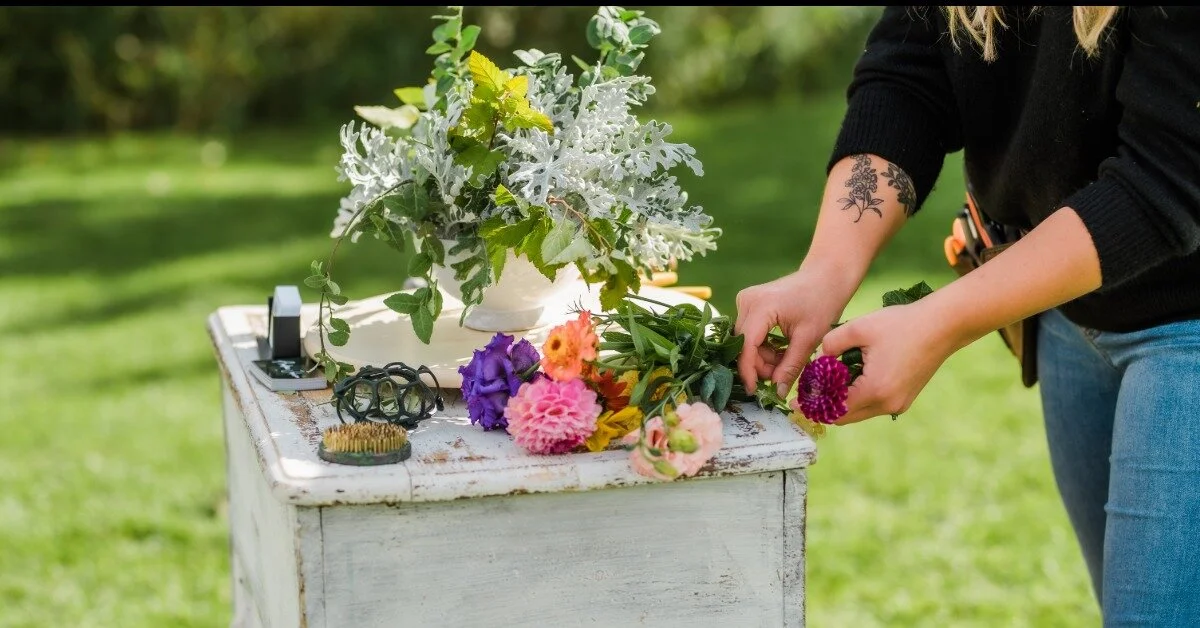
Before the class starts, we also set up a workspace for each attendee, including all the tools they’ll need. And last but not least, set up space where you’ll be demonstrating your wreath. Collect all the tools and materials you’ll need so you’re ready to teach.
instructor preps supplies for wreath-making demo
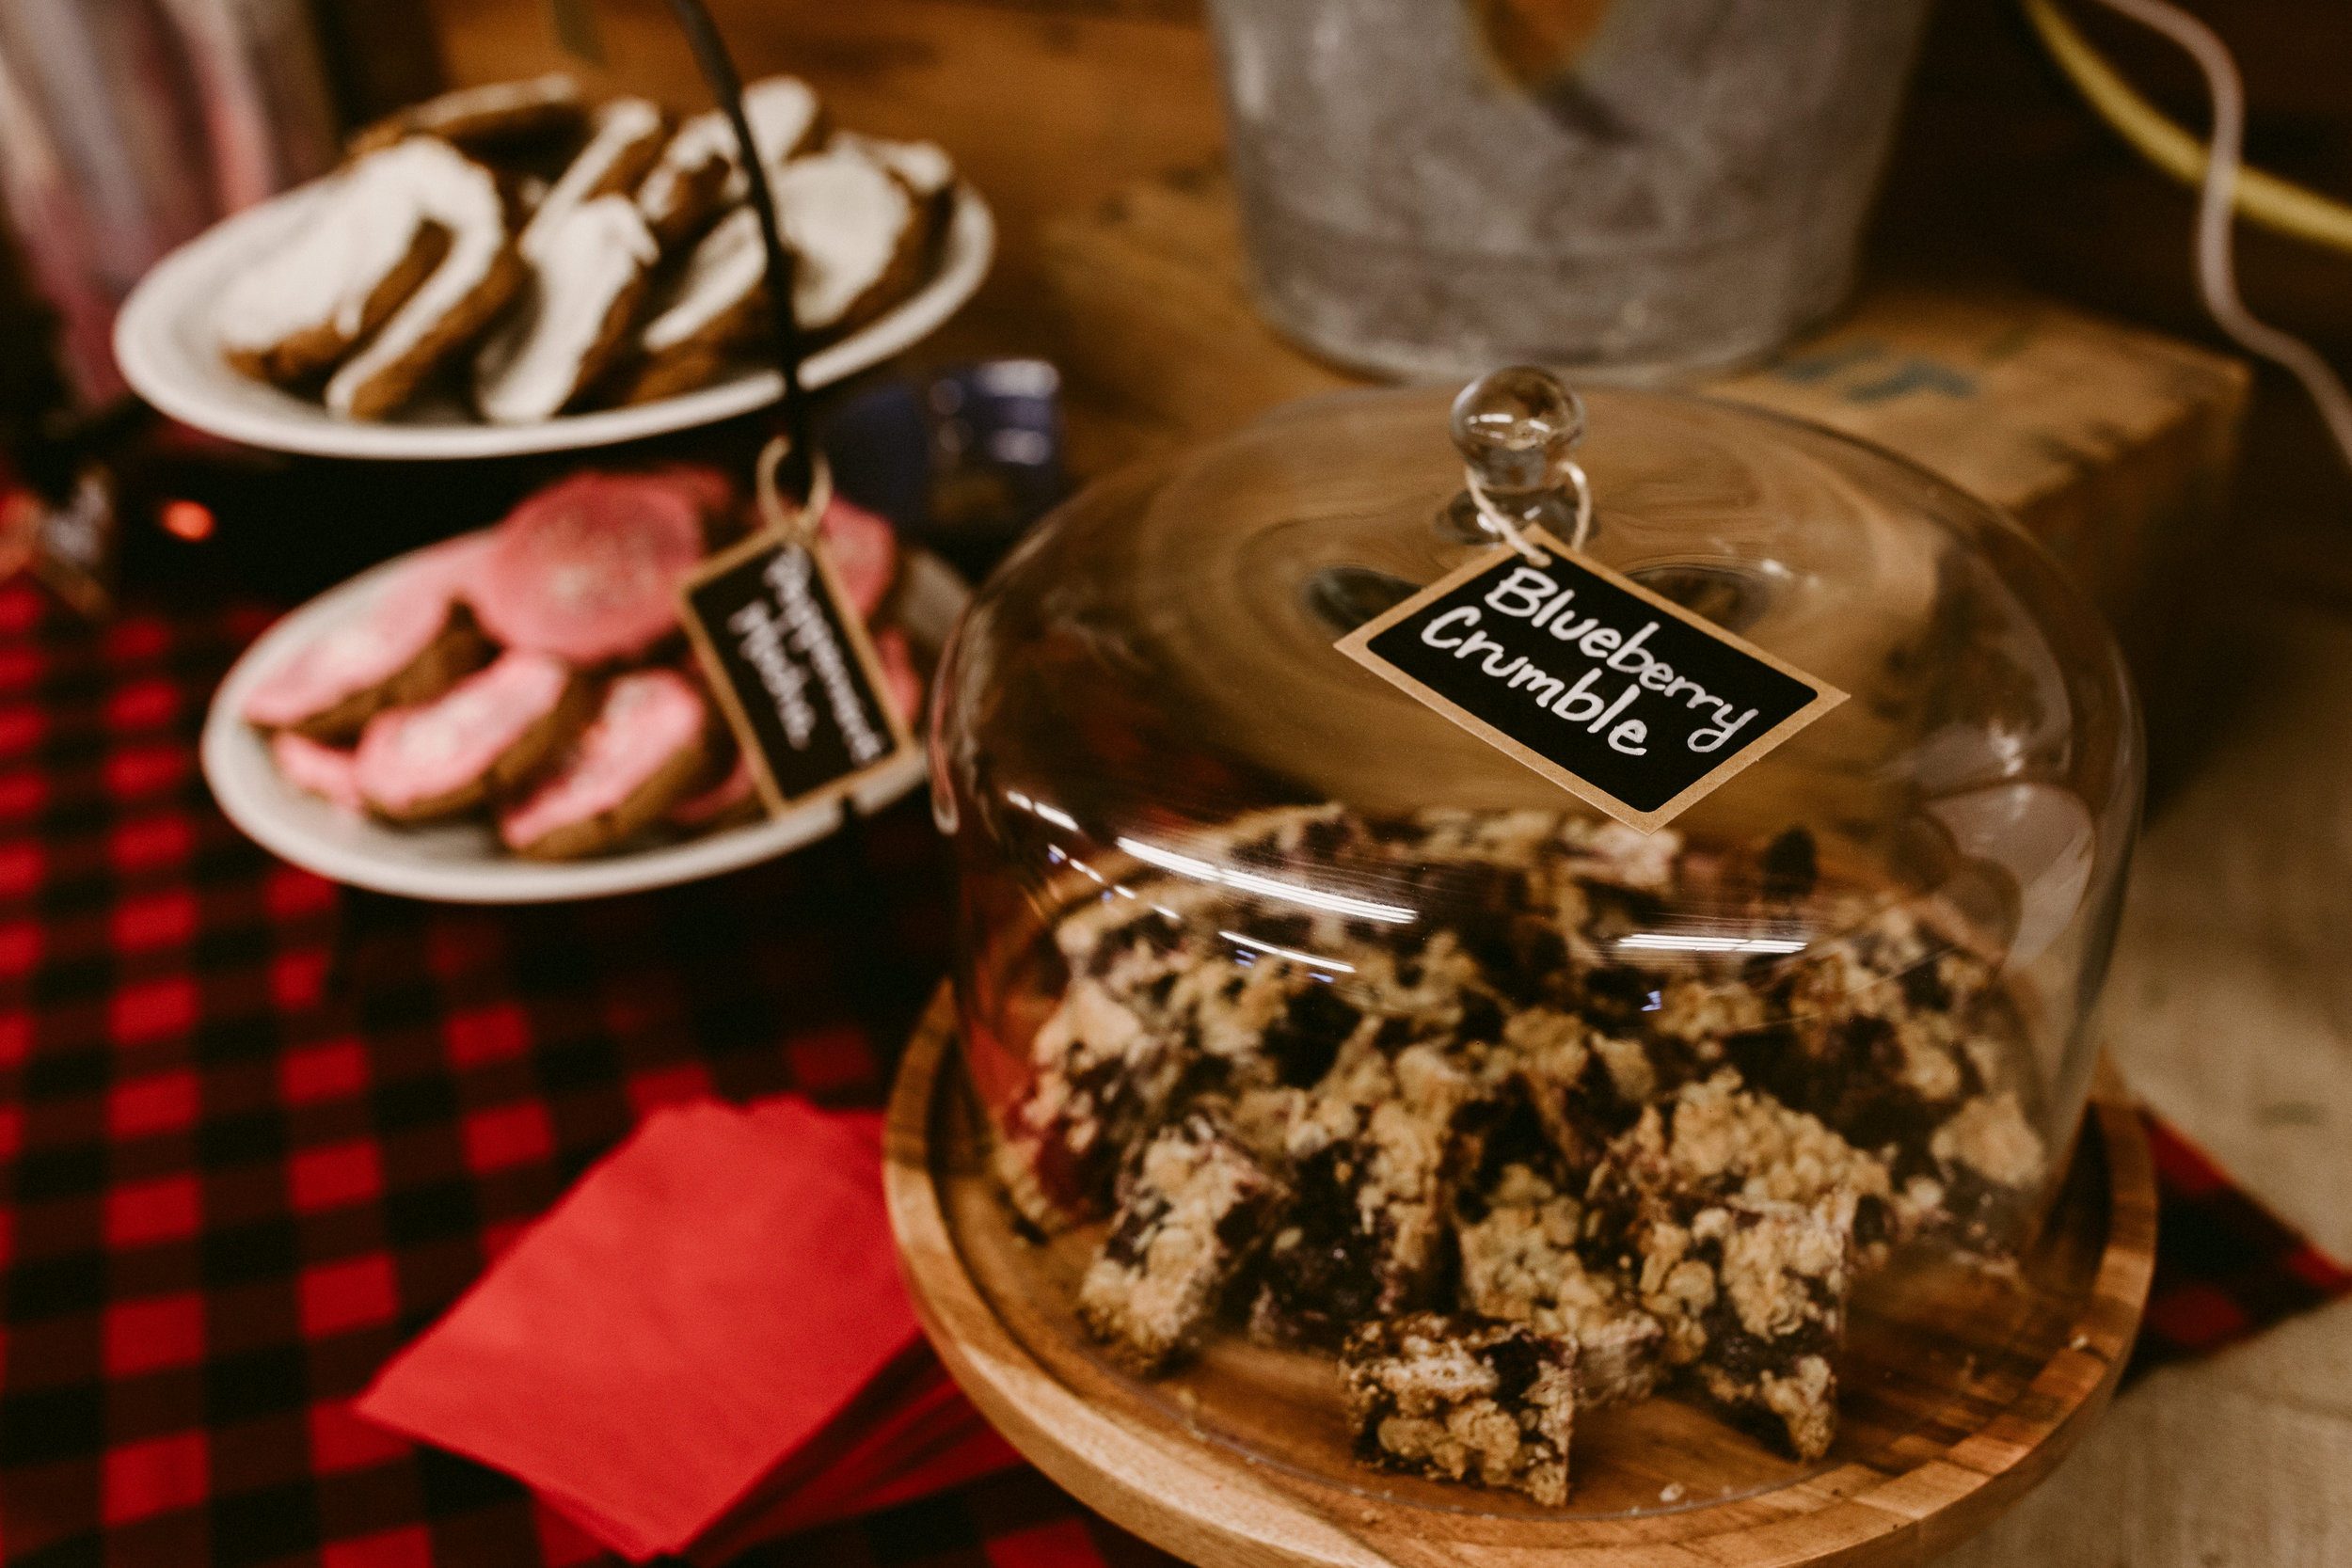
a table of treats provides extra cheer
Providing Food for Your Class
You may want to consider providing refreshments for your guests. To keep it festive (and to give guests something to do as they arrive), we always offer a few bites and beverages at our wreath-making classes.
I like to keep the food simple and seasonal, typically providing a small selection of holiday sweets as well as coffee and cider. It doesn’t take much to make guests feel special, so a little attention toward details such as serving trays and linens goes a long way!
Including Festive Background Music
Lastly, create a festive, memorable ambiance for your class attendees. And this is simple to do for a wreath-making class with a little Christmas music! If you’re hosting a spring or autumn wreath-making workshop, choose music accordingly.
Not only does music add loads of holiday cheer, but it also helps negate that possible awkward silence that can occur if many of your guests are attending solo or it’s just a quiet bunch. Simply turn off the music when you teach, then turn it up as guests work on their wreaths.
For more ideas for floral design revenue streams, sign up for our weekly newsletter today.

leading a wreath-making workshop
Teaching a Wreath Making Workshop
Now we’ve come to the really fun part—teaching at the event!
There are three critical parts for you to play during the event:
Host: You’ll be welcoming your guests as they arrive
Instructor: You’ll be demonstrating the wreath-making process
Coach: You’ll walk around the room to help provide guidance to your guests
HOST: WELCOME YOUR GUESTS
Although it seems like a no-brainer, do be sure to have a guest list and check it off as your attendees arrive. (This way you’re not waiting around wondering if everyone is there and if you should start the class or not. Ask me how I know.)
If you’re providing refreshments, invite them to partake in treats and beverages as you’re waiting for the whole group to arrive.
Once all your guests arrive and are settled, invite them to gather wherever you’ll be demonstrating. I like to set up a table toward the front and ask guests to sit or stand. Guests typically don’t mind standing if space is limited, but be sure to have seating options for those who may not be able to stand for the demonstration.
Start with a little introduction about yourself and your business, introduce any assistants, and provide a quick outline for the class. Now you’re ready to launch into demonstration!
INSTRUCTOR: DEMONSTRATE THE PROCESS
Here, you’ll get to demonstrate how to make a wreath from scratch. It’s not too often we get to design with a full audience! Here are a couple of things I’ve learned about demonstrating:
Have every single thing prepared and ready, or you can lose a lot of time (and your guests’ attention). You know how chefs on cooking shows always have all the ingredients pre-measured in cute little matching cups? And how they put the cake in the oven and magically pull a finished one out from under the counter ten minutes later? You’ll want to prep like that.
Think through each step of your demonstration and prepare as much as possible. That way, this portion will be so much more enjoyable for you and your guests!
Narrate well. Don’t assume that everyone can see everything you’re doing—especially since wiring a wreath is detailed work. Explain what you’re doing as you’re doing it, inviting guests to ask questions throughout your demo.
Be sure to cover mechanics and repeat important steps several times. I’ve found that it is vital to teach wrapping the wire tightly as well as how to overlap bunches and cut consistent length on bundles to make a uniform wreath.
Just remember that most of your guests haven’t designed before, so they’ll appreciate specific instruction on mechanics.Entertain! Even with all the directions and repeating key elements, you’ll find there are quiet lulls—fill them up!
Tell about how you came to floral design, the funny story about that time you lost your wedding ring harvesting greens, your passion for local flowers, or why you love Christmas (if hosting a Christmas wreath workshop).
Just keep talking; be you, and your guests will love you.Don’t finish your demonstration wreath. I NEVER actually complete an entire wreath—it takes too much time, and really, your attendees will be more than ready to jump in and get started.
When you’re demonstrating a classic evergreen wreath, the steps are merely repeated. Once you’ve shown how to begin and tied on three to four bundles, set aside your demo wreath and pick up your finished wreath and demonstrate the final step: tying off.
Need a refresher on designing a wreath? Check out this article on how to make a wreath step by step.
COACH: HELP PROVIDE GUIDANCE TO YOUR GUESTS
After completing the demonstration, it’s time to move about the room and coach. Give a few guidelines and examples on how to select materials, including what colors and textures pair well together. (Hint: Do you have a lot of one type of material that you need everyone to use a lot of? That’s one to highlight!)
This is also a great time to point out which materials can be used for bulk and which are accents. You will get the one guest who will want to take the whole bucket of seeded eucalyptus for their entire wreath. (True story.)
“Make sure to point out which materials can be used for bulk and which are accents.”
Before guests begin “shopping” for their ingredients, I jokingly refer to the selection as being like a salad bar and point out how to the noble/pine/boxwood, etc. are like the greens in a salad bar and the eucalyptus/holly/incense cedar are like the bacon bits and salad dressing; they’re to compliment the greens. Keep it light and funny, and your guests will laugh with you and get the idea that they don’t want to be the one who hogs all the good stuff.
Invite your guests to “go shopping” for materials and get started. It will be easy to see who would like more coaching or support. Having an assistant also helps ensure each guest receives enough guidance, whether it's support with choosing materials or assistance with wiring.
During this portion of the workshop, I usually meander around and offer support and provide specific, encouraging feedback to each attendee. This is truly my favorite part of teaching any floral class or workshop; it’s inspiring to see a person’s face light up when they realize they’re creative and can both have fun and create something they love.
completed evergreen holiday wreath
Wrapping Up Your Wreath-Making Class
Everyone finishes at different stages, but 15 to 20 minutes before the end of the class, I always invite attendees to stay and join us for a group picture. At this time, I give some brief directions for finishing up, ask guests to return clippers to the designated area as they finish, and I volunteer to snap pictures of any friends that want a group shot.
This helps you to see who still may need extra support while cueing guests that the class is nearing completion. If you decide to host back-to-back classes, wrapping up on time is critical. If not, this is the point where you get to sit back and enjoy; you brought together a whole group of people, taught them a new skill, and spent a beautiful evening inspiring and creating. Go you!
I’d love to hear all about how your wreath making workshop goes! And if you’re already teaching holiday workshops or classes, I’d love for you to share your sage advice in the Team Flower Community.