Floral Design Tips for Beginners
When you’re just starting in floral design—whether you’ve discovered a new hobby or you’re hoping to start your own floral business—knowing how to approach an arrangement or a bouquet (or even a boutonnière!) can be overwhelming.
But focusing on a few design basics—playing with shape and balance, incorporating different textures and colors, and creating depth and movement in your piece—can help your designs start to feel more cohesive.
The Basics of Creating a Floral Arrangement
In general, the design process happens in four steps:
Conceptualizing the design.
Choosing your ingredients.
Determining your color palette.
Placing the greenery and florals in the design.
Below is a breakdown of each of these steps and some tips to get you started!
Conceptualizing the Design
This is where you’ll start to envision the final floral design you have in mind and determine the general components and characteristics of the arrangement.
Think about what overall style and shape you want to create. Are you going for something light, airy, and whimsical? Or do you want to make a full, lush, garden-style bouquet? Is it a smaller compote arrangement for a bar table or a larger entry arrangement?
Narrowing down what you want the final piece to look like will guide you through the rest of the design process.
Expand your design skills with one of our online floral design classes.
Choosing Ingredients for a Flower Arrangement
Once you’ve come up with a vision for the piece, you’ll choose your ingredients. Flowers and greenery tend to play different roles in design. Some designs will use all of these components, while others may only use two or three.
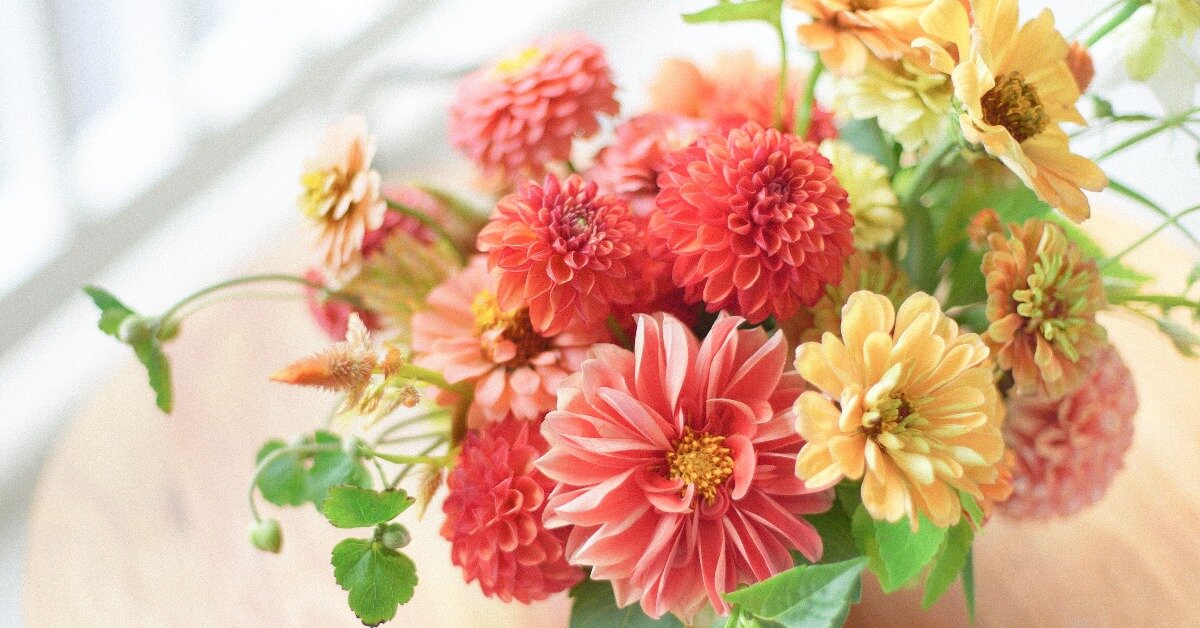
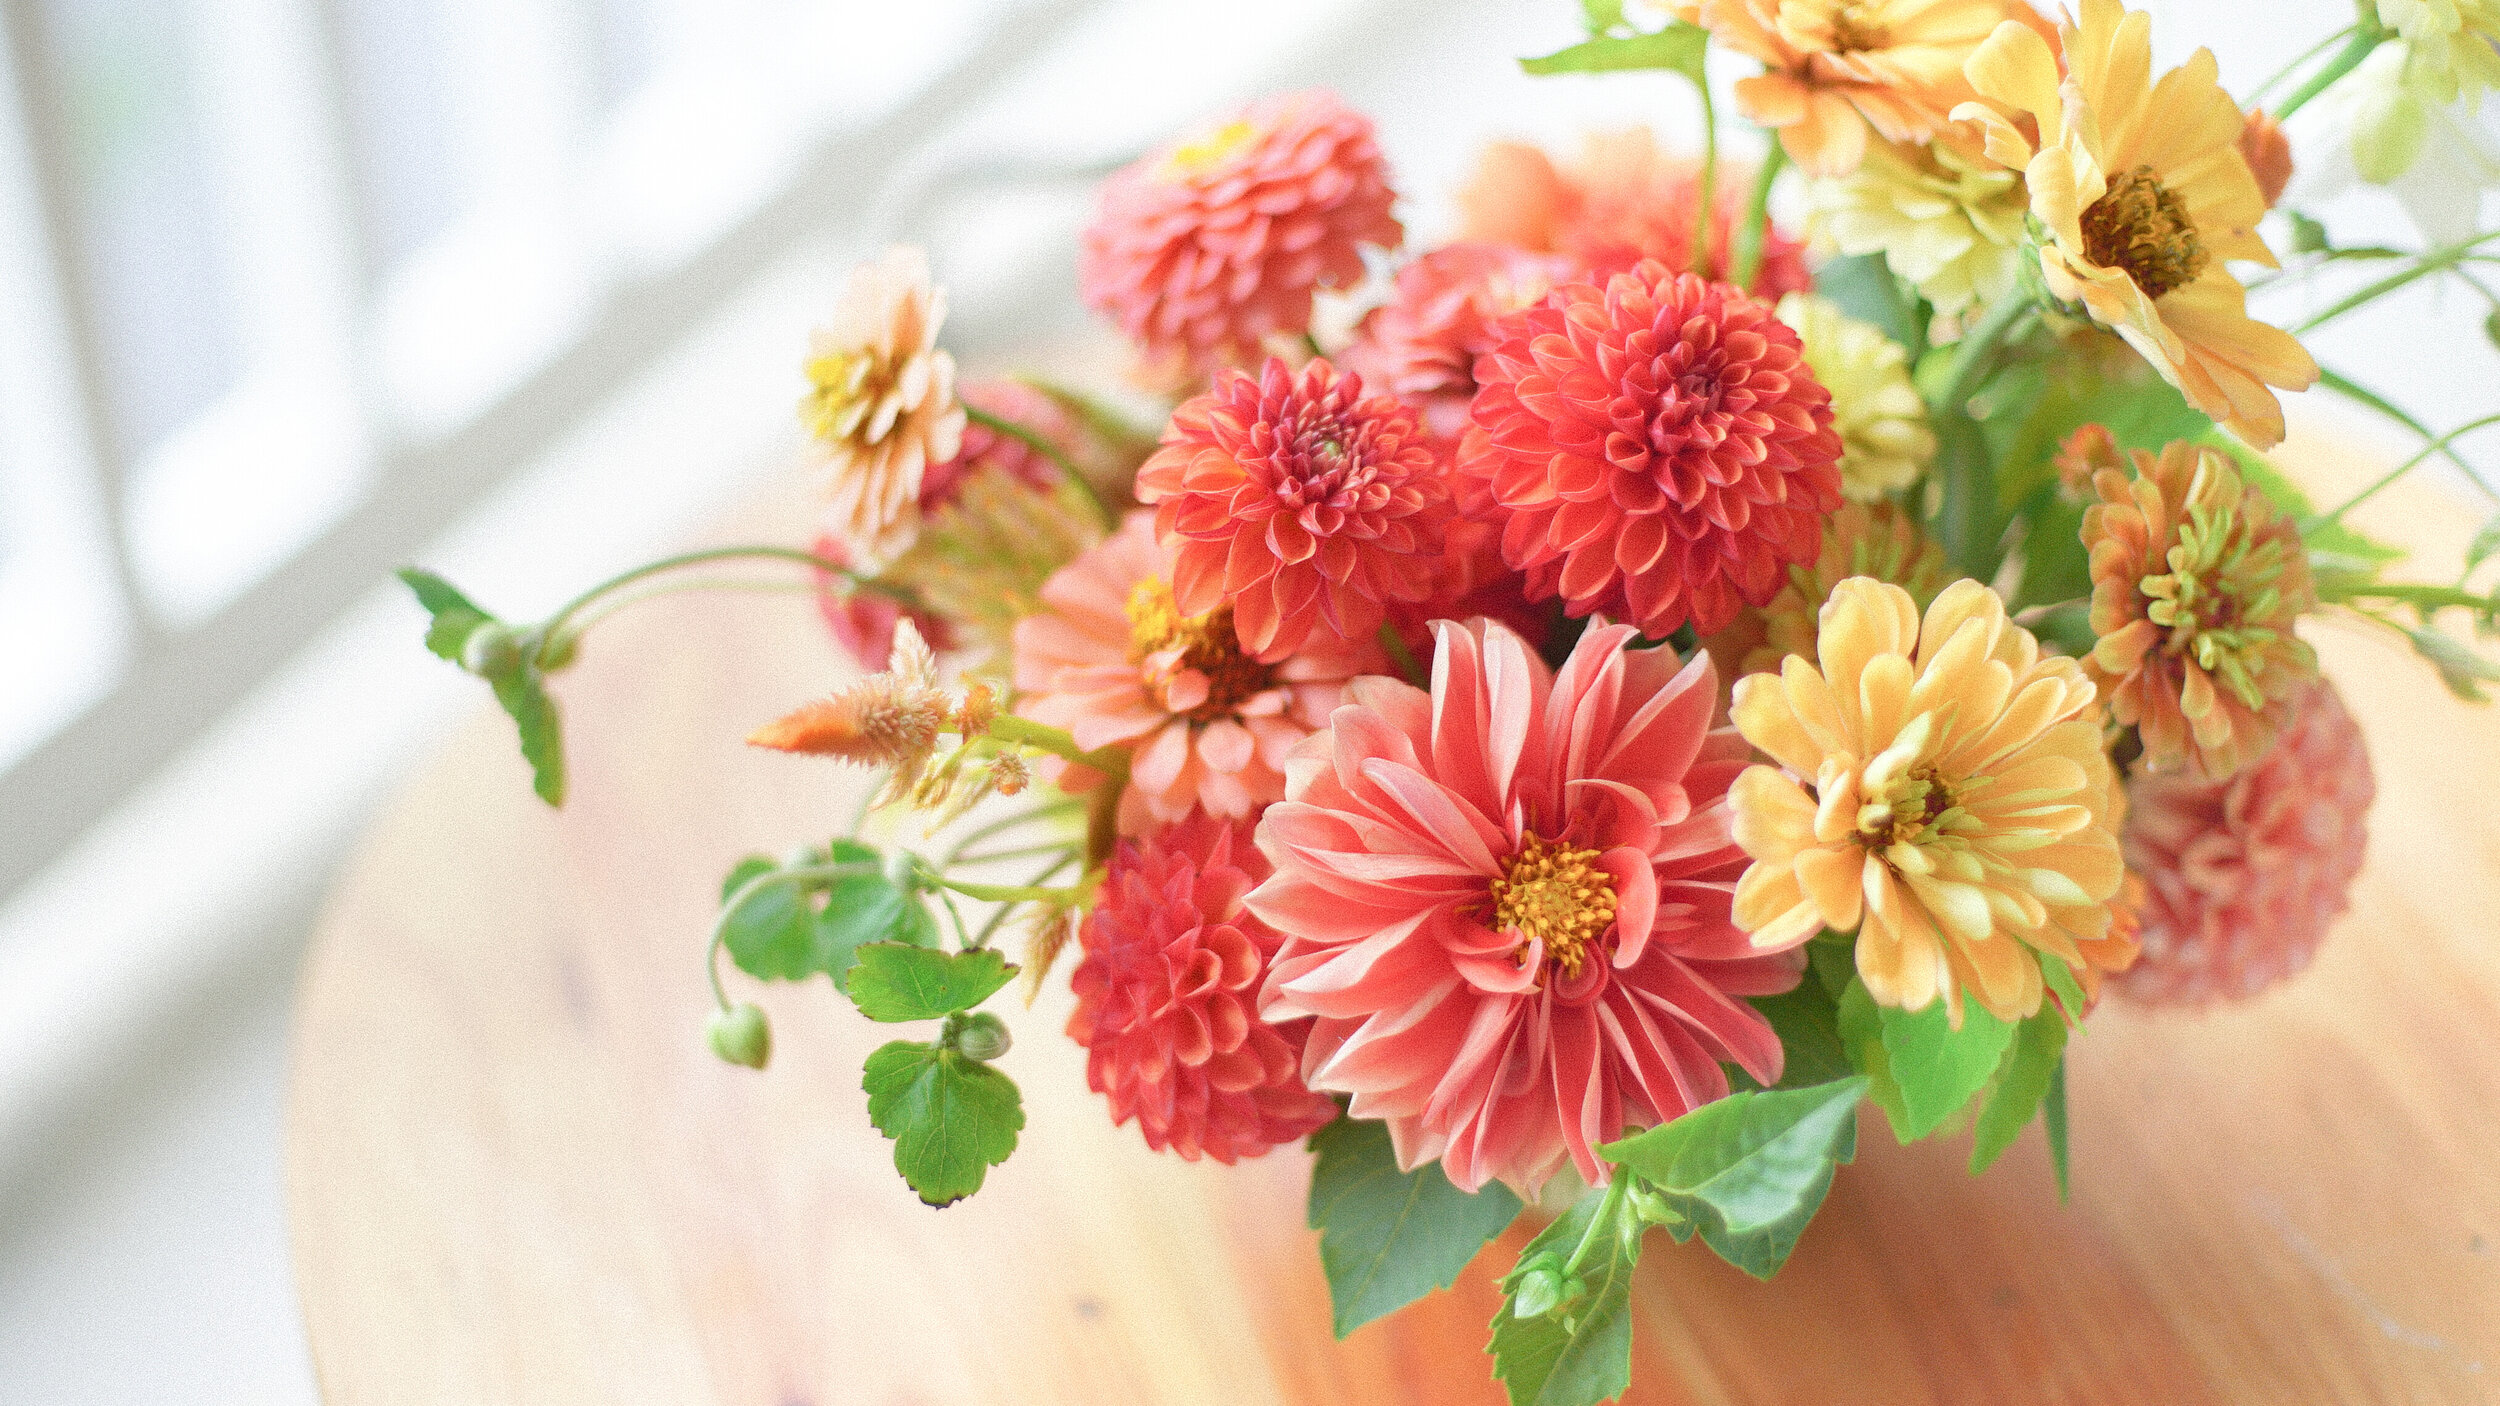
Focal flowers: Larger blooms, usually round in shape, that carry more visual weight (for example: garden roses, peonies, dahlias, etc.). Focal flowers are the anchor of the design and create moments of rest for the eye.
Line flowers: Taller flowers with blooms forming along the stems (examples include foxglove, delphinium, snapdragons, etc.). These are used along with greenery to create your overall shape, establish the dimensions of your piece, and carry color to the edges of the arrangement.
Filler flowers: Smaller blooms that support the focal flowers and add texture, depth, and color to the arrangement. These can be anything from small flowers like spray roses and carnations to berries like hypericum or privet.
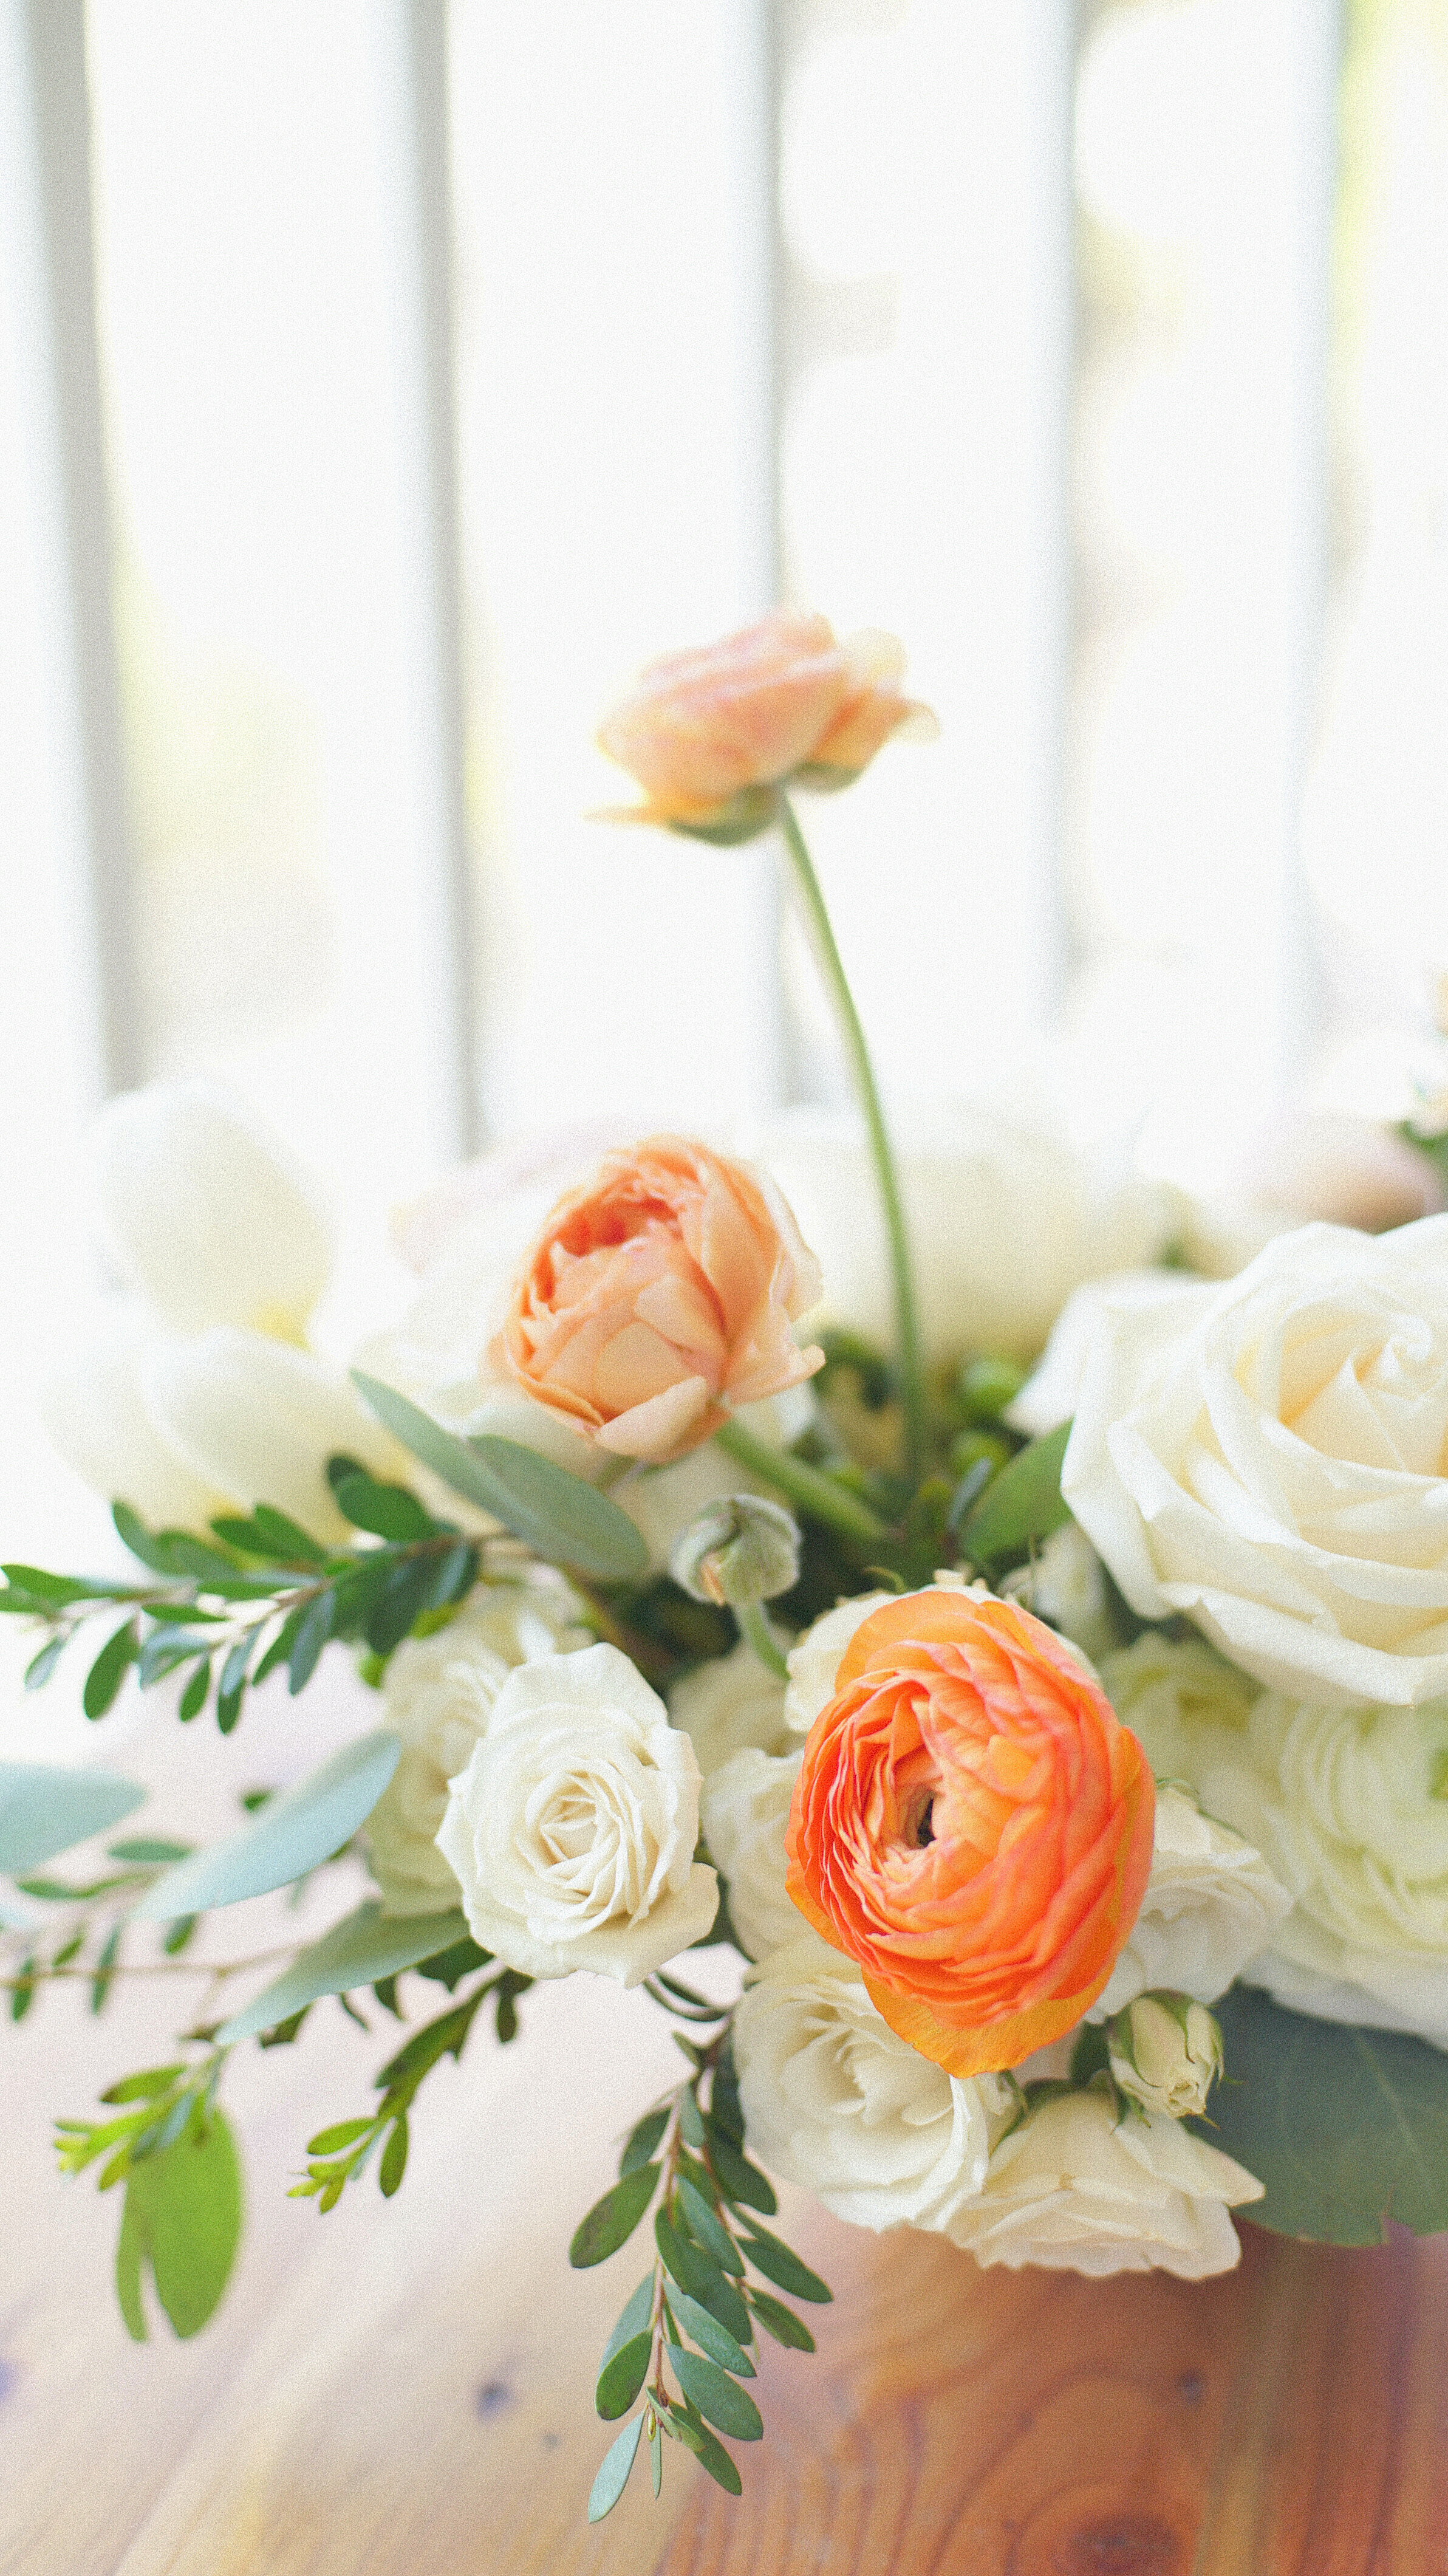
Detail flowers: Often lighter, more delicate blooms that add airiness and movement to an arrangement (sweet peas, butterfly ranunculus, cosmos). Usually added toward the end because of their fragile stems, these blooms float above the arrangement and add texture and elegance to a piece.
Greenery: Greenery helps to create your overall shape, setting up a base for you to build the rest of the arrangement. Greenery comes in many different shades, textures, and shapes, so the type of greenery you choose will depend on your design direction.
Look for a variety of bloom sizes and shapes, and reference your original vision to determine what kinds of flowers and greenery to choose. For a romantic, garden-style design, choose larger focal flowers, filler flowers, and greenery that will create a more lush, full look.
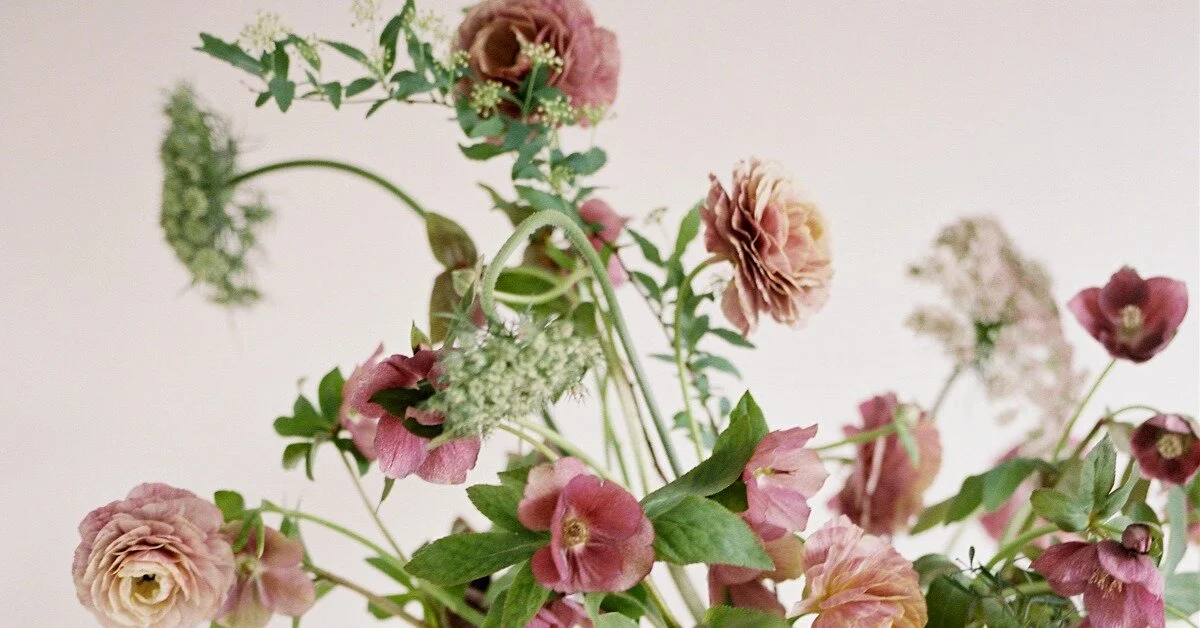
On the other hand, if you’re designing something light and whimsical, focus more on delicate filler and detail flowers, using the smaller blooms and greenery to mimic a field of wildflowers.
Determining Your Color Palette
The ingredient stage is also when you’ll create your color palette, choosing colors that will work together to feel balanced and cohesive. You can create color balance in different ways:
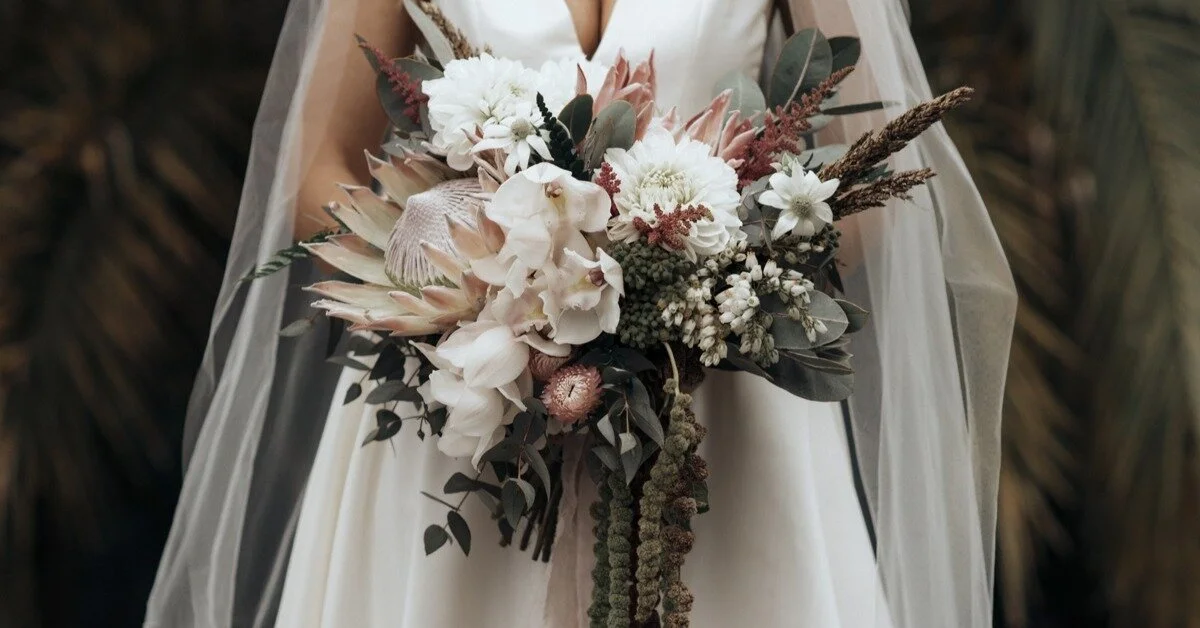
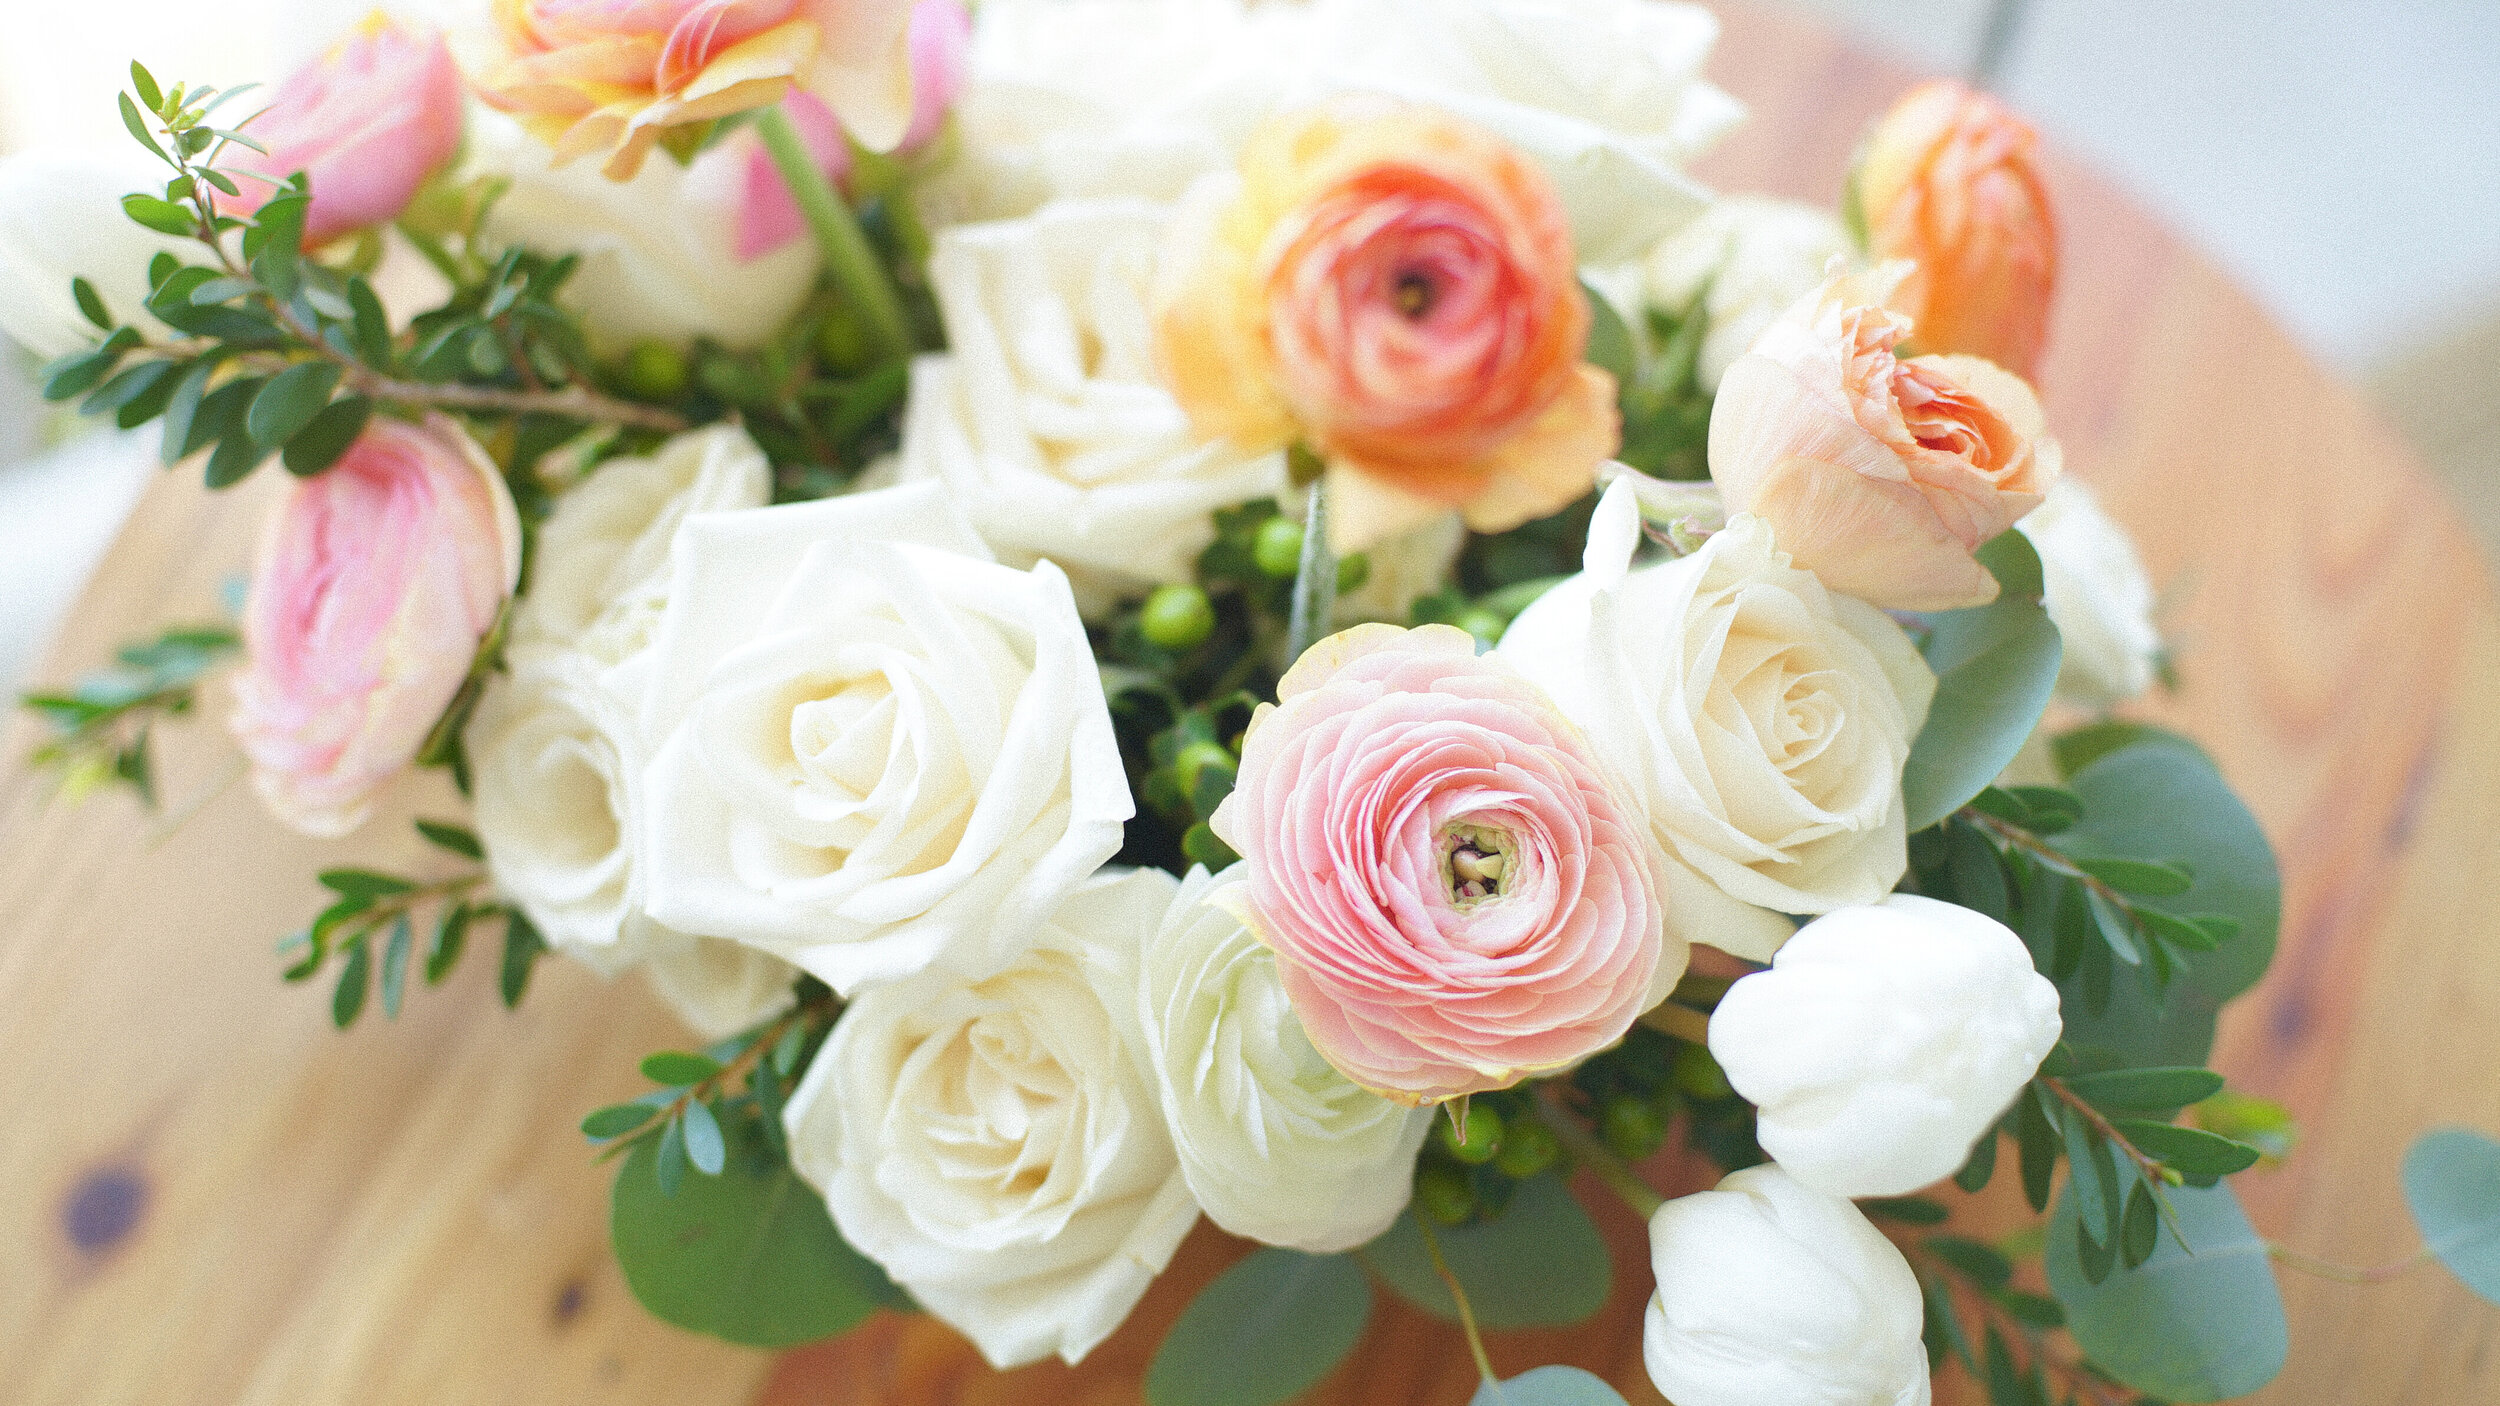
Monochromatic colors: Shades and tones of the same hue. Working with a monochromatic color palette allows you to create intrigue by playing with different flower shapes, textures, and shades. Create a stunning all-white bouquet by incorporating blooms of different sizes and textures or an elegant blush centerpiece with accents of mauve and deep burgundy.
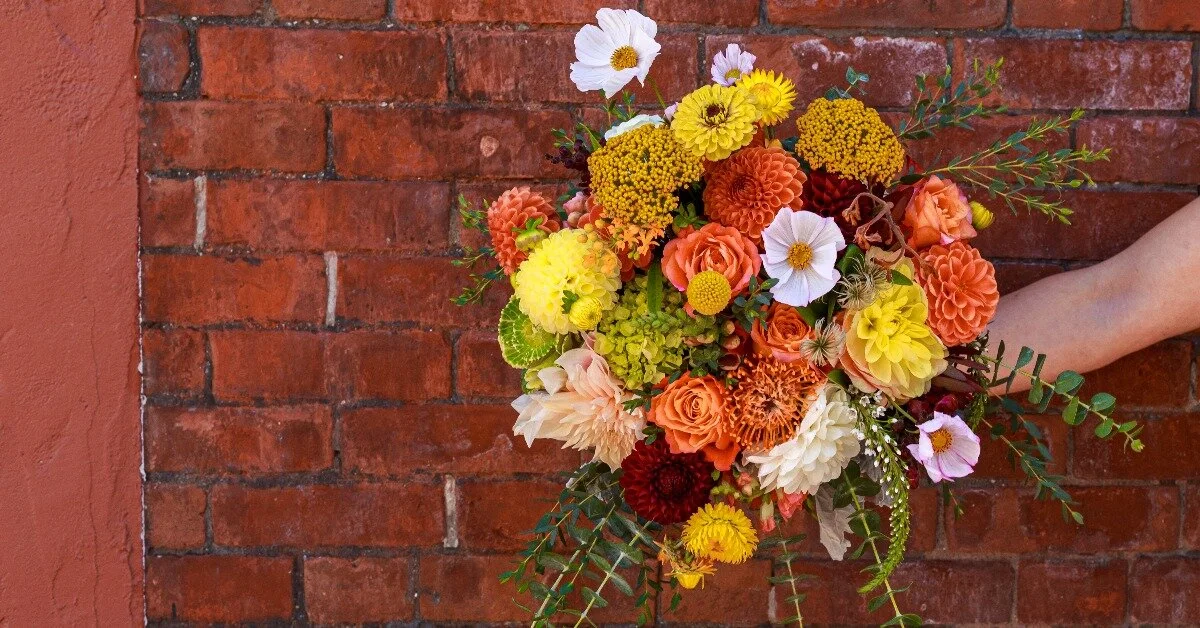
Analogous colors: Colors that are next to one another on the color wheel. These colors naturally work well together and create a sense of harmony that is pleasing to the eye. When working with colors that aren’t directly next to one another on the color wheel, find flowers that act as a bridge; for example, using a flower that is peach or coral can help carry the eye between yellow and pink blooms.
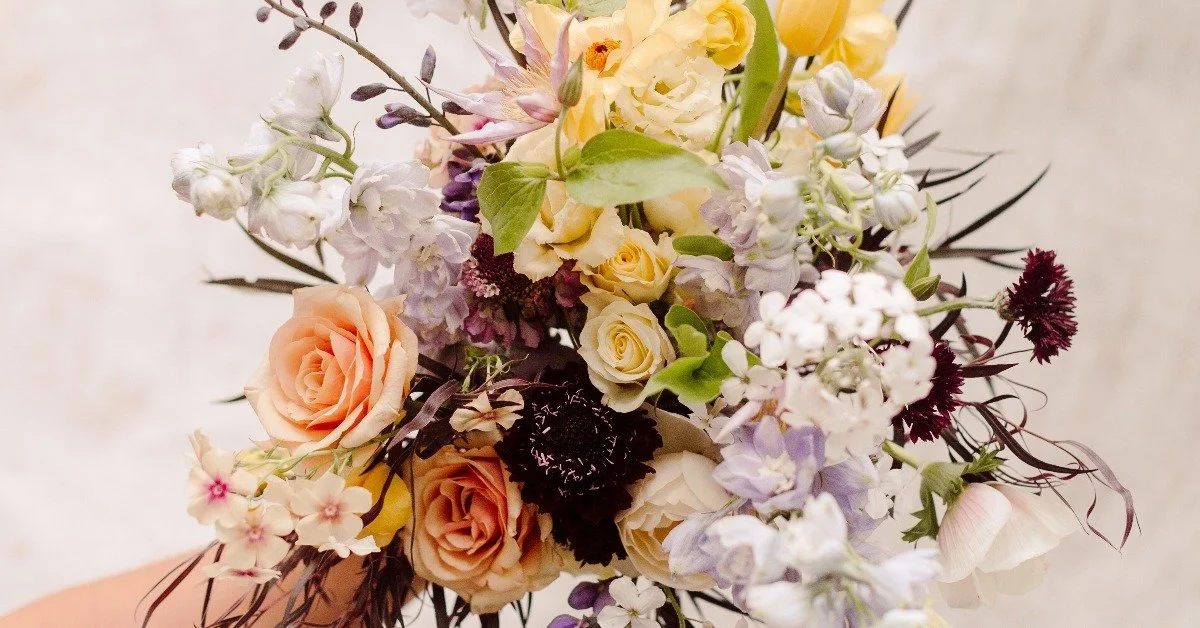
Complementary and near-complementary colors: Colors opposite from one another (or almost opposite from one another) on a color wheel. When used together in design these colors create a sense of balance and can make a color palette more interesting by adding a bit of contrast. Elevate a soft pink and peach bouquet with a touch of pale blue or lilac, or use pale lime green foliage to balance out muddy purples and reds.
Color saturation: Different colors with the same color intensity—soft pastels, deep jewel tones, muted, or muddy colors. Working within a particular level of color saturation creates balance and allows for a broader range of colors to be used in the same design.
Confidently learn how to compose and place blooms with the Principles of Design online floral design class.
Placement of Blooms
Once you’ve chosen your blooms and greenery, it’s time to create your design!
In general, start by creating your base and then work with the rest of the flowers to fill out the piece.
Greenery: Start with greenery to create the overall shape, set the dimensions, and guide you through the rest of the piece. For arrangements, this is where you can also start to hide your mechanics.
Line flowers: If you’re using line flowers, layer them in after the greenery to emphasize the shape you’ve created and to carry the color to the edges of the arrangements.
Big to small: Once you have the base and shape, incorporate the rest of the flowers. Start with the larger blooms (focal flowers) to create moments of rest for the eye and make sure they have their moment in the piece. Build around the focal blooms and create depth by layering in filler flowers. Finally, finish up with the more delicate detail flowers and floaters to add texture and movement. Assess the piece and fill in any gaps in the design with more greenery or filler flowers.
As you place the flowers, keep These Tips in Mind:
Layer flowers on different planes. Tuck some flowers low into the arrangement, at the base of the bouquet or vessel, and build up and out with the others to create height. Layering like this creates depth and mimics how flowers appear in nature, adding dimension and intrigue to your design.
Use color to carry the eye throughout the piece. Color can be used in a number of ways. If you create an ombré design, the eye will naturally move from one side of the piece to the other, following the shift in color or shade. Color blocking (clustering like colors together) will create moments throughout for the eyes to rest. Paying attention to how your own eyes are taking in the design and where you find your attention landing can help you make decisions about where you want to place the next stem.
Work with the shapes of the stems. Each stem will have its own natural movement and shape. Some tend to bend one way or another; others stand straight up or bend in the neck, giving them a distinct character. Rather than fighting against that, lean into it, placing flowers in locations in your arrangement that allow them to express their natural shape and movement.
Use a mirror or take photos. As you place the flowers, it can be helpful to stand in front of a mirror or step back every now and then and take a photo. Designs will look different up close than they do from farther away; seeing the piece from a different angle can help you find moments you want to emphasize or spaces you want to fill that you may not have noticed otherwise.
And practice! The more you work with flowers, even if you only have 3 or 4 ingredients, the more comfortable you’ll become with these design basics—and the more you’ll start to develop your own design style.