Create 10 Pieces of Instagram Content You Love for Under $75

Hey, fellow floral pros! When you are craving new, fresh and fun content for your social media pages—but don’t have any weddings, events, or everyday orders to help create that content—what do you do?
Answer: You can make that content for yourself with a minimal investment in flowers and using supplies you already have.
It is easy to create many floral pieces with $75 or less in flowers from your local wholesaler or grocery store.
Foraging flowers is another great way to stretch the possibilities of what you can make.
Here’s How to Make Instagram Content for Your Floral Business for $75 or Less
For this exercise, I created ten total pieces with $60 of flowers from the local wholesaler and $15 in flowers from a local Trader Joe's grocery store, which allowed me to get various smaller bunches. The key to this exercise is reusing your flowers and proper care for the flowers, especially if you span this process over several days.
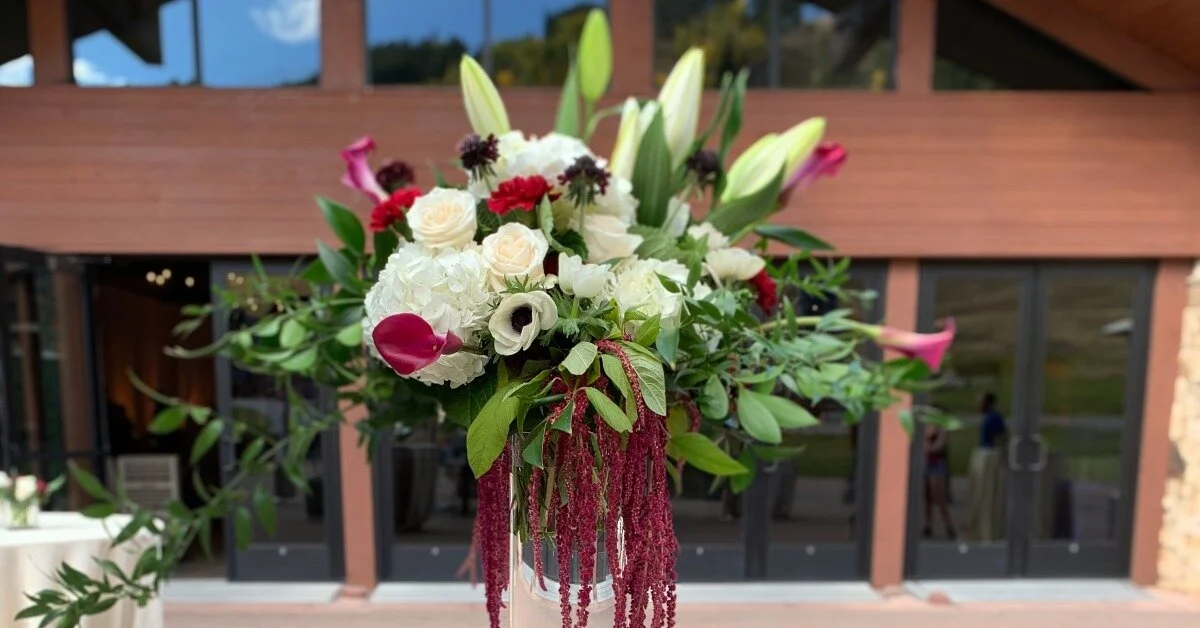
First, Start With Your Largest Floral Arrangement
Starting with a palette of colors and flowers that inspire you will help make pieces you are passionate about creating—and that will shine through in your photos.
While choosing flowers, keep in mind their versatility, as they’ll be used in the majority of your creations. When you begin creating, you want to make the design that needs the longest stems first, since you’ll be reusing flowers.
Starting with a hand-tied bridal bouquet or taller statement piece will help you stretch your stem usage as the stems get a fresh cut during each piece. Complete your first design and stage photos to highlight your work. You do not need a fancy camera.
Learn to take gorgeous, marketable photos with what you have on hand in our How to Photograph Flowers online class!
I used an iPhone for my photos and edited in Adobe photoshop express, a great photo editor available in the App Store for a small monthly charge. This app allows you to adjust lighting, create blurry backgrounds, and even enables you to erase out an imperfection if need be.
You could also collaborate with photographers who might be looking for fresh content for their social media feeds if you don’t want to get behind the camera yourself.
To stage my background, I have a variety of fabrics from a local fabric store as well as a sheet of plywood I applied a texture to and painted a bright white to help illuminate objects placed in front of it.

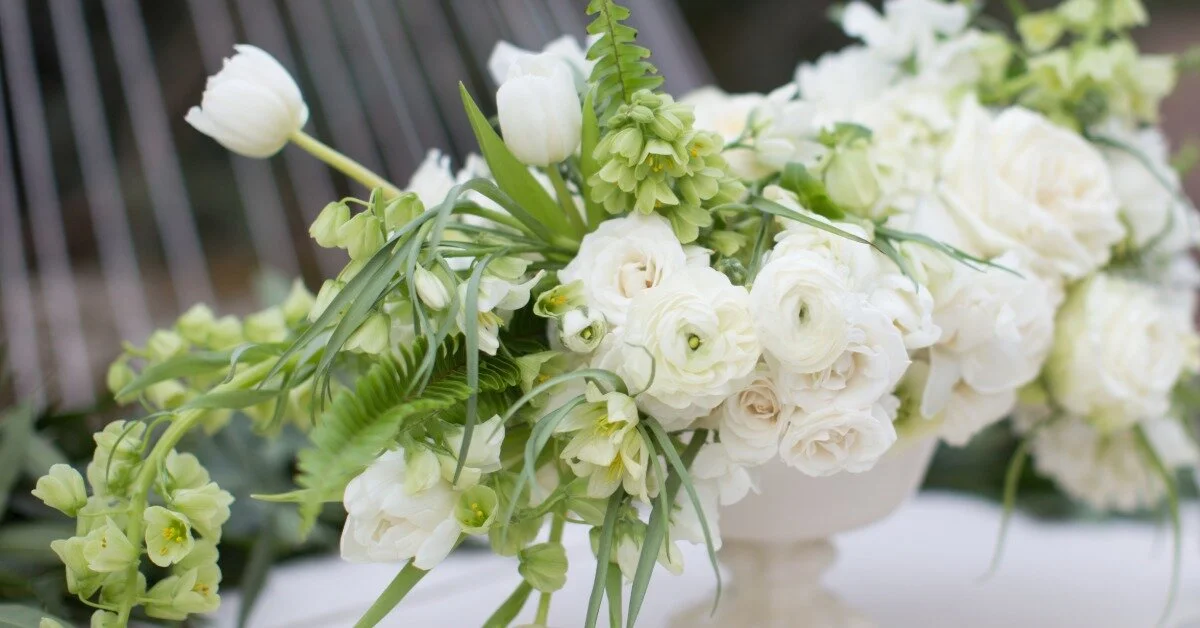
Next, Design Medium-Sized Floral Arrangements
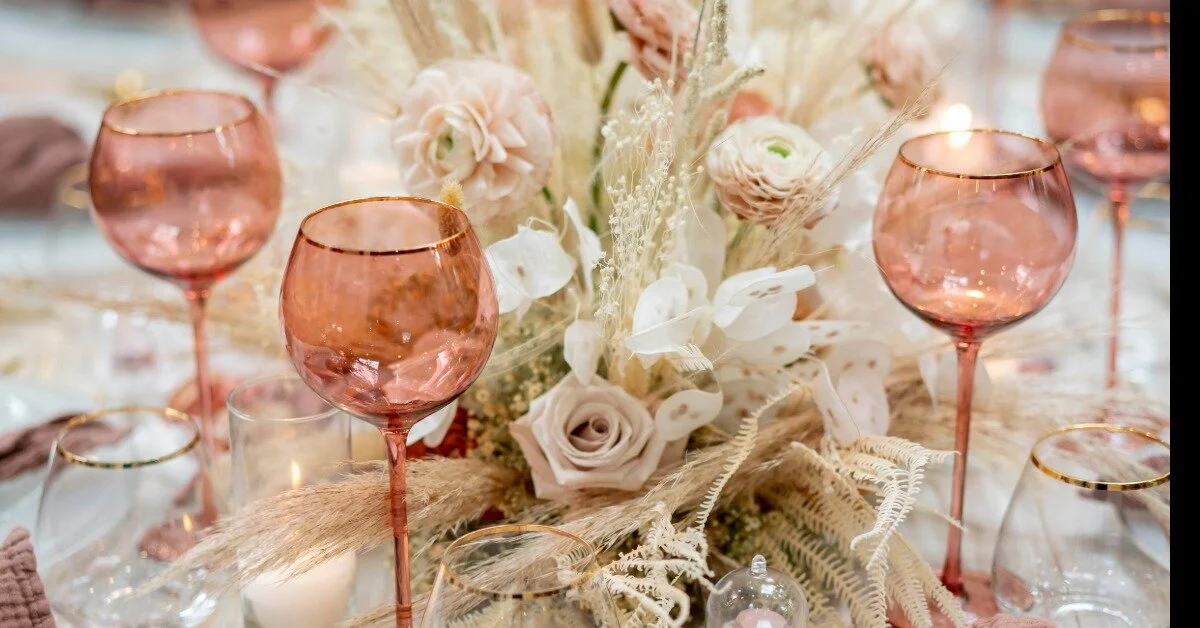
For the second design, I recommend creating a centerpiece, bud vase arrangement, or an arrangement utilizing another interesting container you may have—these designs often require a longer stem than most of the other pieces you will be making.
I like to collect individual vessel pieces that inspire me and are easy to design in with foam-free techniques, such as pin frogs or chicken wire, because stems are easier to reuse if they are not placed in floral foam.
After completing the second piece, stage again for pictures. If you have created a centerpiece, you can also include votive or taper candles and even other props such as cheesecloth, fruit, or objects that enhance your photo.
Try to take your photos from various angles. This helps create a different look and feel through your social media feed and shows your designs have many different looks.
Confidently create beautiful photos of flowers to highlight your floral work—including how to use different angles and light to your advantage—with How to Photograph Flowers.
Longer Stemmed Floral Creation Ideas:
Bouquets: bride or bridesmaid
Statement pieces, including taller floral arrangements
Altar flowers
Hanging installations
Chicken wire installations
Centerpieces
Bud vase arrangements
Head table arrangements

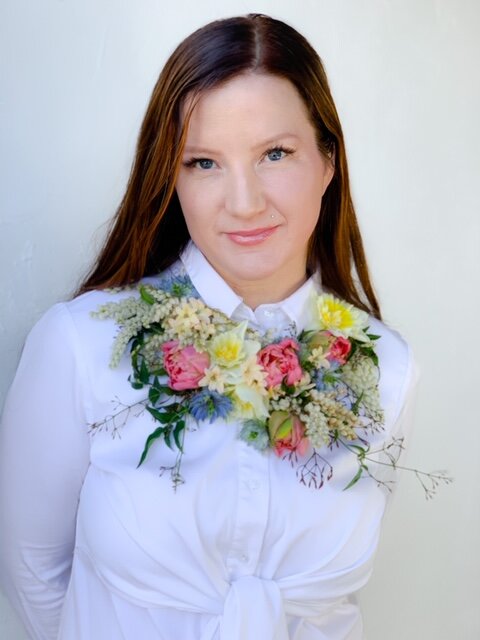
Now Let’s Tackle Wearable Florals
From this point, you can start to create various smaller or lower pieces such as wearable flowers, petite vase arrangements, or long and low type arrangements.
Make sure to place the stems and/or arrangement in the cooler after creating and photographing to keep the stems fresh for as long as possible.
I stored all my wearable creations in a Tupperware hydration chamber overnight if I was planning on repurposing some of the blooms the next day.
How to Make a Hydration Chamber
To hydrate your flowers in a hydration chamber, grab a Tupperware-type container (or even a plastic bag as a backup option) and place a paper towel on the bottom and mist the towel with water.
Place your wearable flower piece on top of the bottom paper towel and mist again. A final layer of well-misted paper towel is then placed on top of your piece and the container or bag should be sealed and placed in the cooler.
This system hydrates the blooms through the petals and leaves and often plumps your buds even though their stems are not directly in water. It’s incredible to see how this also preserves a wearable flower piece. With proper checking and re-misting every day, I’ve had items still look great after a week in the hydration chamber.
Once your flower stems are shorter, you can make a ton of various personal flowers and even practice some fun floral jewelry trends by watching video tutorials from different floral artists.
It is great for someone to visualize wearing the item by modeling it yourself and having someone photograph you or finding a friend or loved one to model the item for you.
If showing your face frequently isn't your favorite idea, you could trickle out these creations between other posts to spread out your exposure. Often infusing yourself into photos is an easy way for customers and fellow vendors to get familiar with your face, and it makes them feel like they are getting to know you.
Wearable Floral Items You Can Create:
Boutonnières
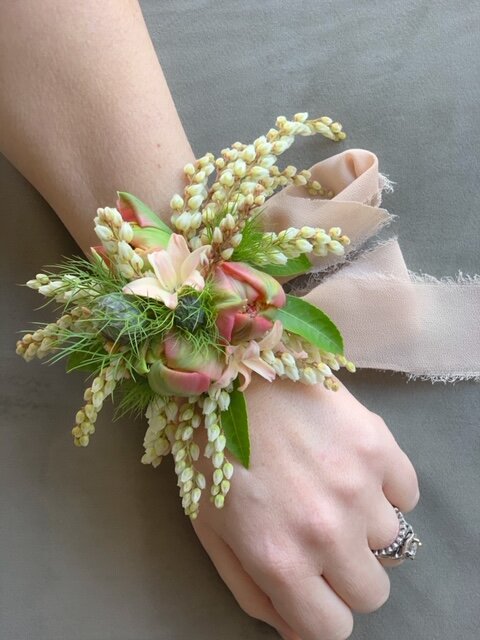
Corsages—both pin-on or wrist
Floral necklaces
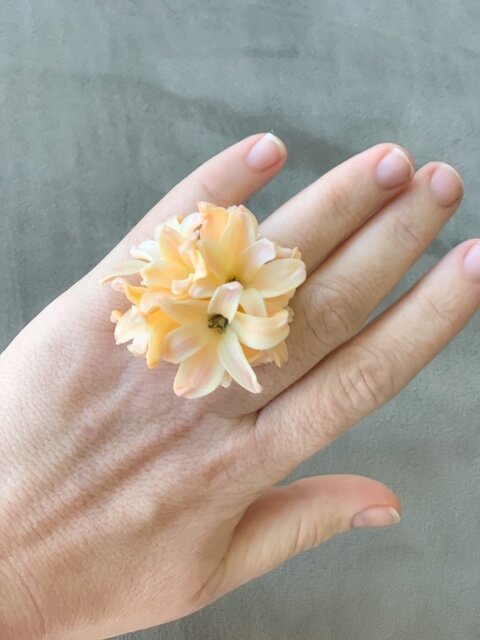
Flower rings
Flower earrings
Flower tattoos
Flower headpieces
Floral combs
Flower crowns
Floral bangle bracelets
Floral cuffs
Dog flowers (if you have a pooch to model)
Hat flowers
Flower girl wands
Flower girl bouquets
Floral bracelets
Other Short Stem Creations:
Floral flat lays
Chair flowers
Cake or desert flowers
Flower confetti
Flower bath with candles
You can easily reuse flowers for these items as long as you stick to using the stems in the order of longest stemmed first, then progress down to glued or wired flowers.
To reuse glued flowers, you can often easily peel the flower off of the glue and reuse it on another creation. If the bloom falls apart in the process, you should still have enough flowers to stretch through a long list of items.
Try and mix up photo backgrounds or outfits you are photographing items in so it looks like a fresh, unique flower arrangement.
Engaging Your Audience with New Social Content
To engage your audience in this exercise, you could share a 10-day creativity challenge where you showcase a new creation daily in your Instagram stories or social media feed.
This challenge gives active followers something to look forward to and shows them your versatility. Your followers don't need to know you created these pieces in a span of a few days, they are just excited to see new and different ideas—and you then have great fresh content to use!
Before you begin this process, spend time looking at other floral artists' creations, art, or whatever inspires you in the world. Look at color palettes you are drawn to and see what pieces (container, backdrop, and wardrobe) in your inventory compliment that palette.
Build a plan of what items and what order you would like to create your items in. Having a plan will maximize the amount of arrangements you can create by making as many items as possible while the flowers are freshest.
Also, plan out your supplies to make sure you are prepared for the bases of your creations. Jan's jewelry supplies a variety of jewelry bases/blanks that you can create a piece and then remove the flowers to use later.
Do an inventory of your basic floral supplies as well—wire, ribbon, cold glue, and floral tape may be required to create some of your pieces, so having everything available will help you be able to make more creations faster.

Example Order of Arrangements
Here’s an example list of the arrangements I created and in what order.
Bridal bouquet
Centerpiece
Floral headpiece
Flower necklace
Floral bangle
Flower tattoo
Floral earrings
Wrist corsage
Flower ring
Boutonniere
Part of this process should be expanding your design skills and exploring new areas of floral mechanics that can help get your creative juices flowing.
You might even stumble upon something you would like to start offering clients as part of your proposal process. Enjoy creating!