DIY Floral Chandelier
In this tutorial, we kept it simple with some Kimberly ferns, wreath hangers and gold wire from the holidays. I could see this or something like it hung at a wedding for a couple who loves minimalism. Also, how sweet would it be on a patio where little treasures from the garden could live for a day or two? Be sure to go easy on the water and keep your ingredients light. This thing is HEAVY!


All photography by Heather Payne Photography
Materials:
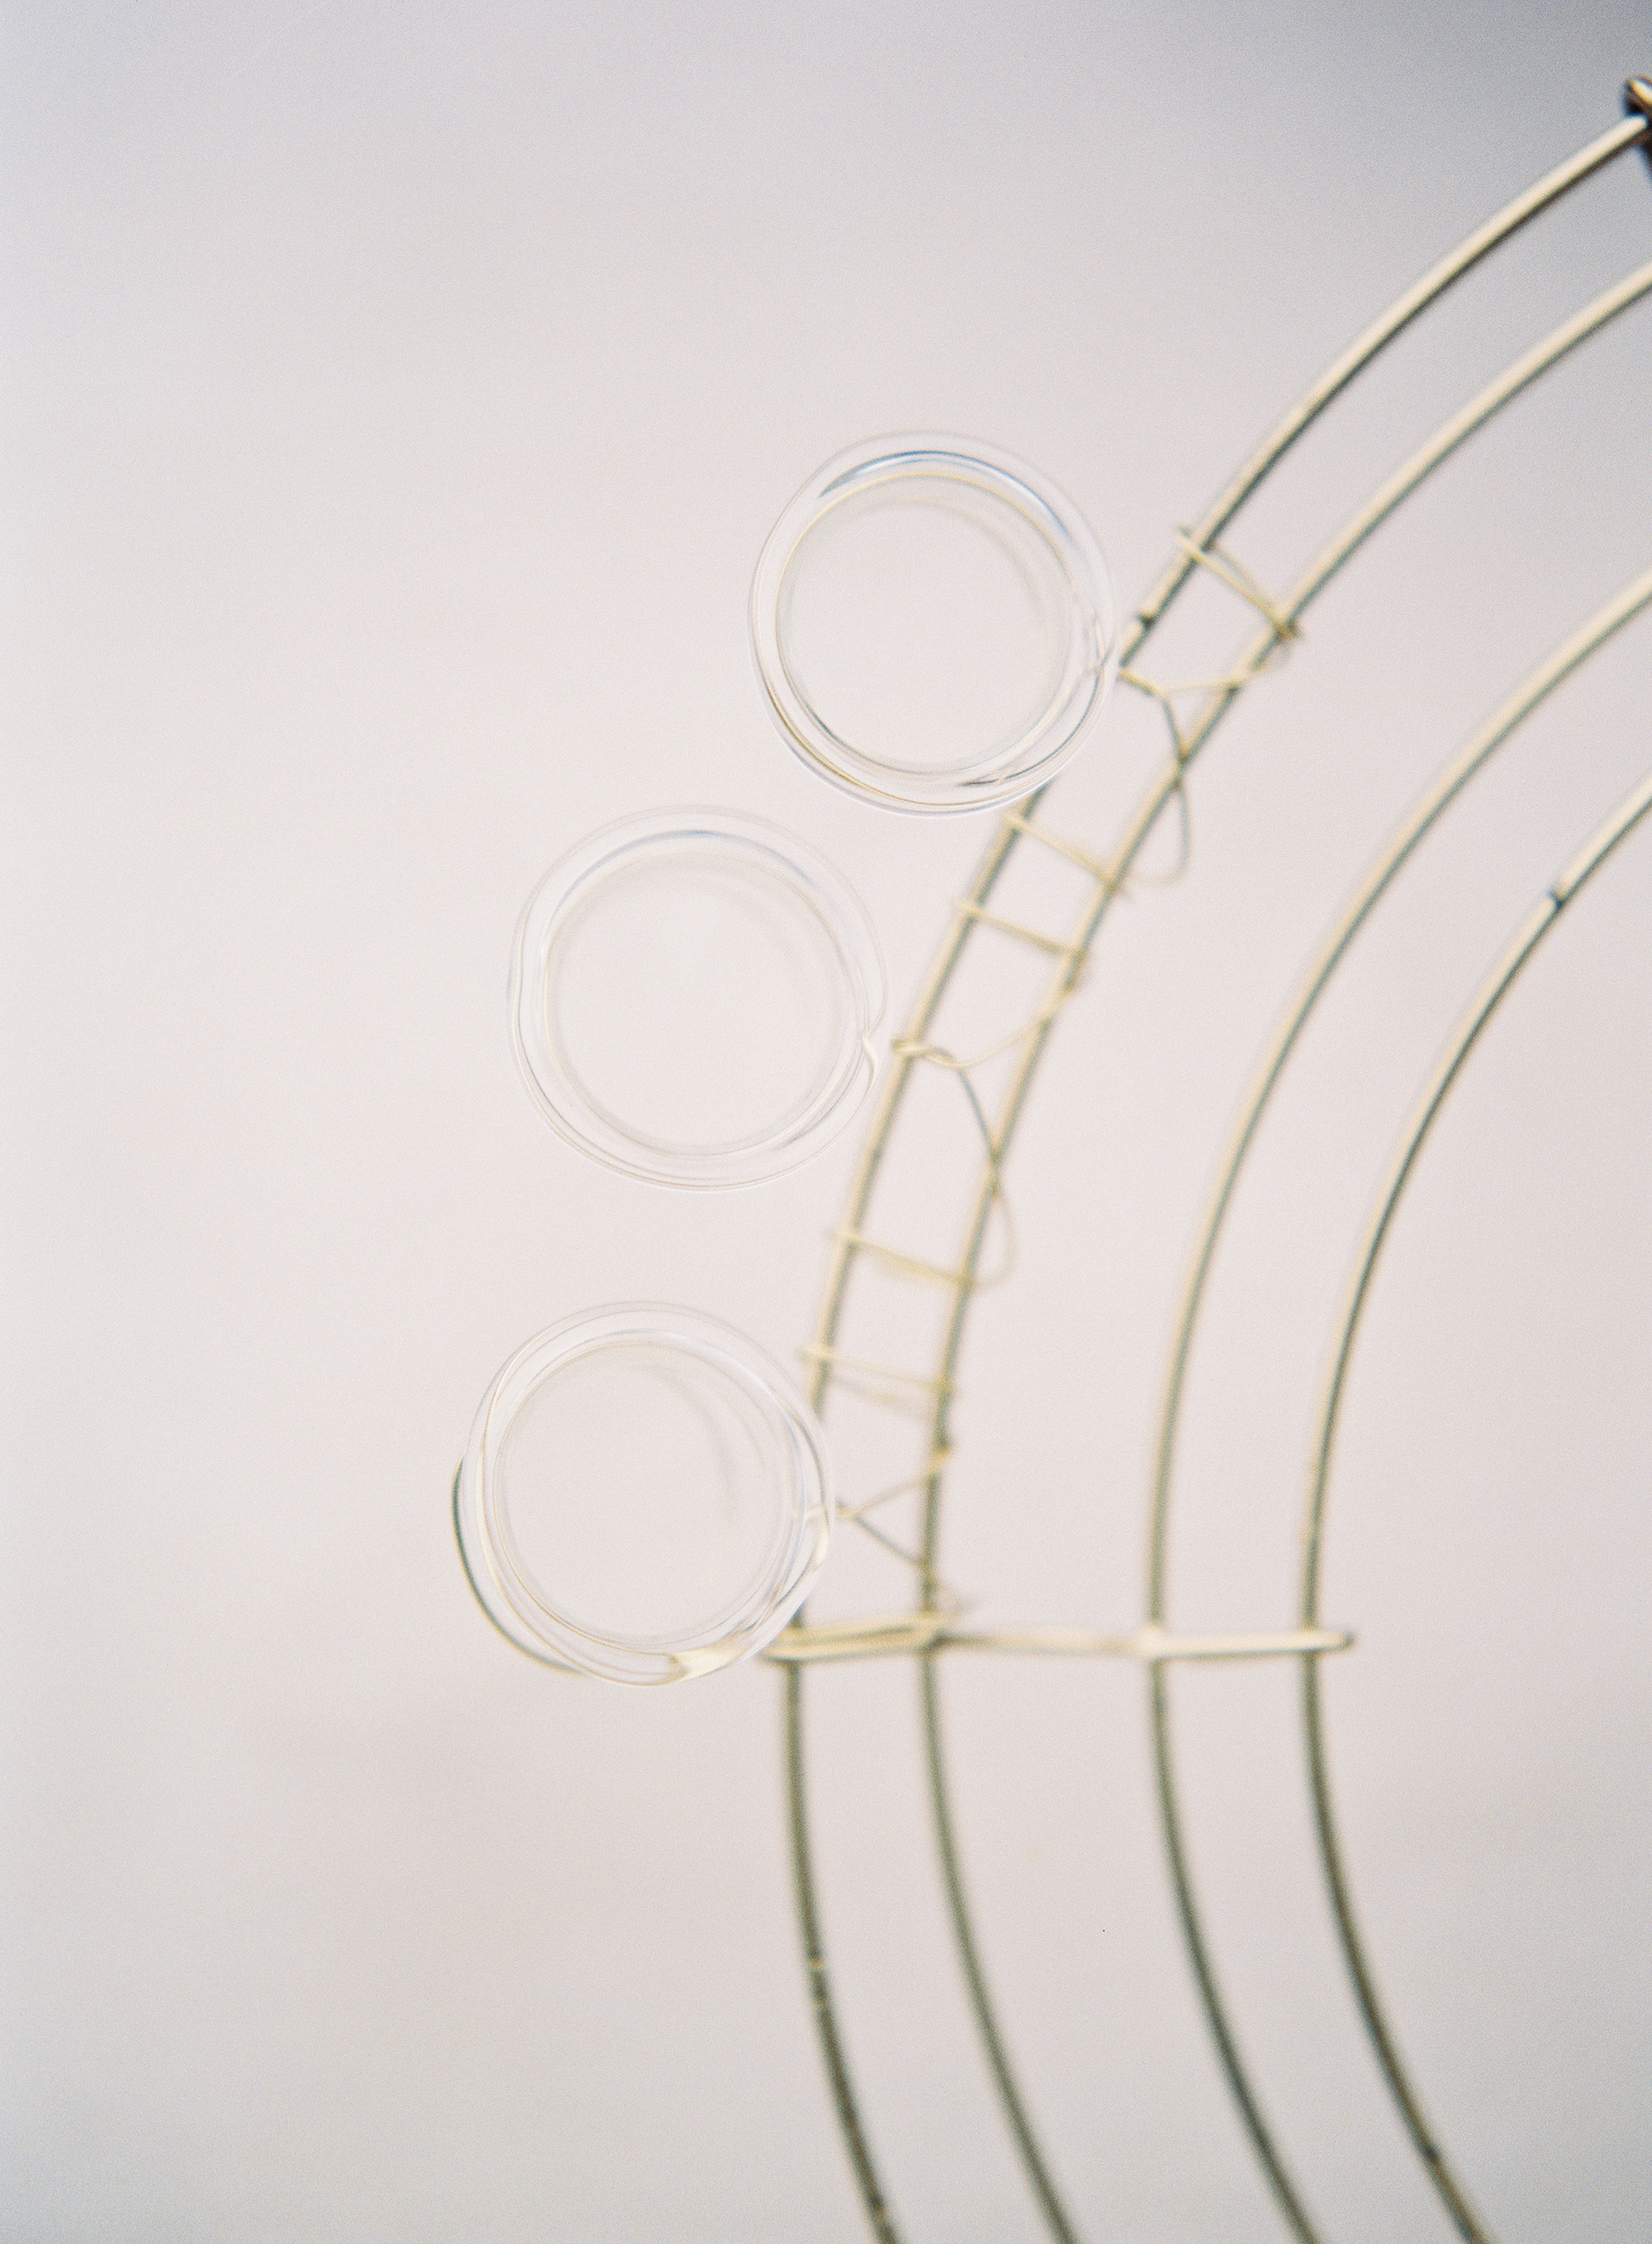
- 65 Test Tubes (25 for bottom, 40 for top)
- Gold Wire (heavier gauge is preferable)
- Wire Cutters
- Gold Spray Paint
- 12” and 18” Wreath Form
Instructions:
- Spray paint wreath forms gold and put aside to dry
- Cut gold wire as follows: Seventy 10” pieces, three 15” pieces and four 25” pieces
- Take 10” piece of wire and wrap around test tube in an “X” shape, twisting the ends together to form a tight cage for the test tube to rest inside
- Attach wire to wreath form in a “W” shape
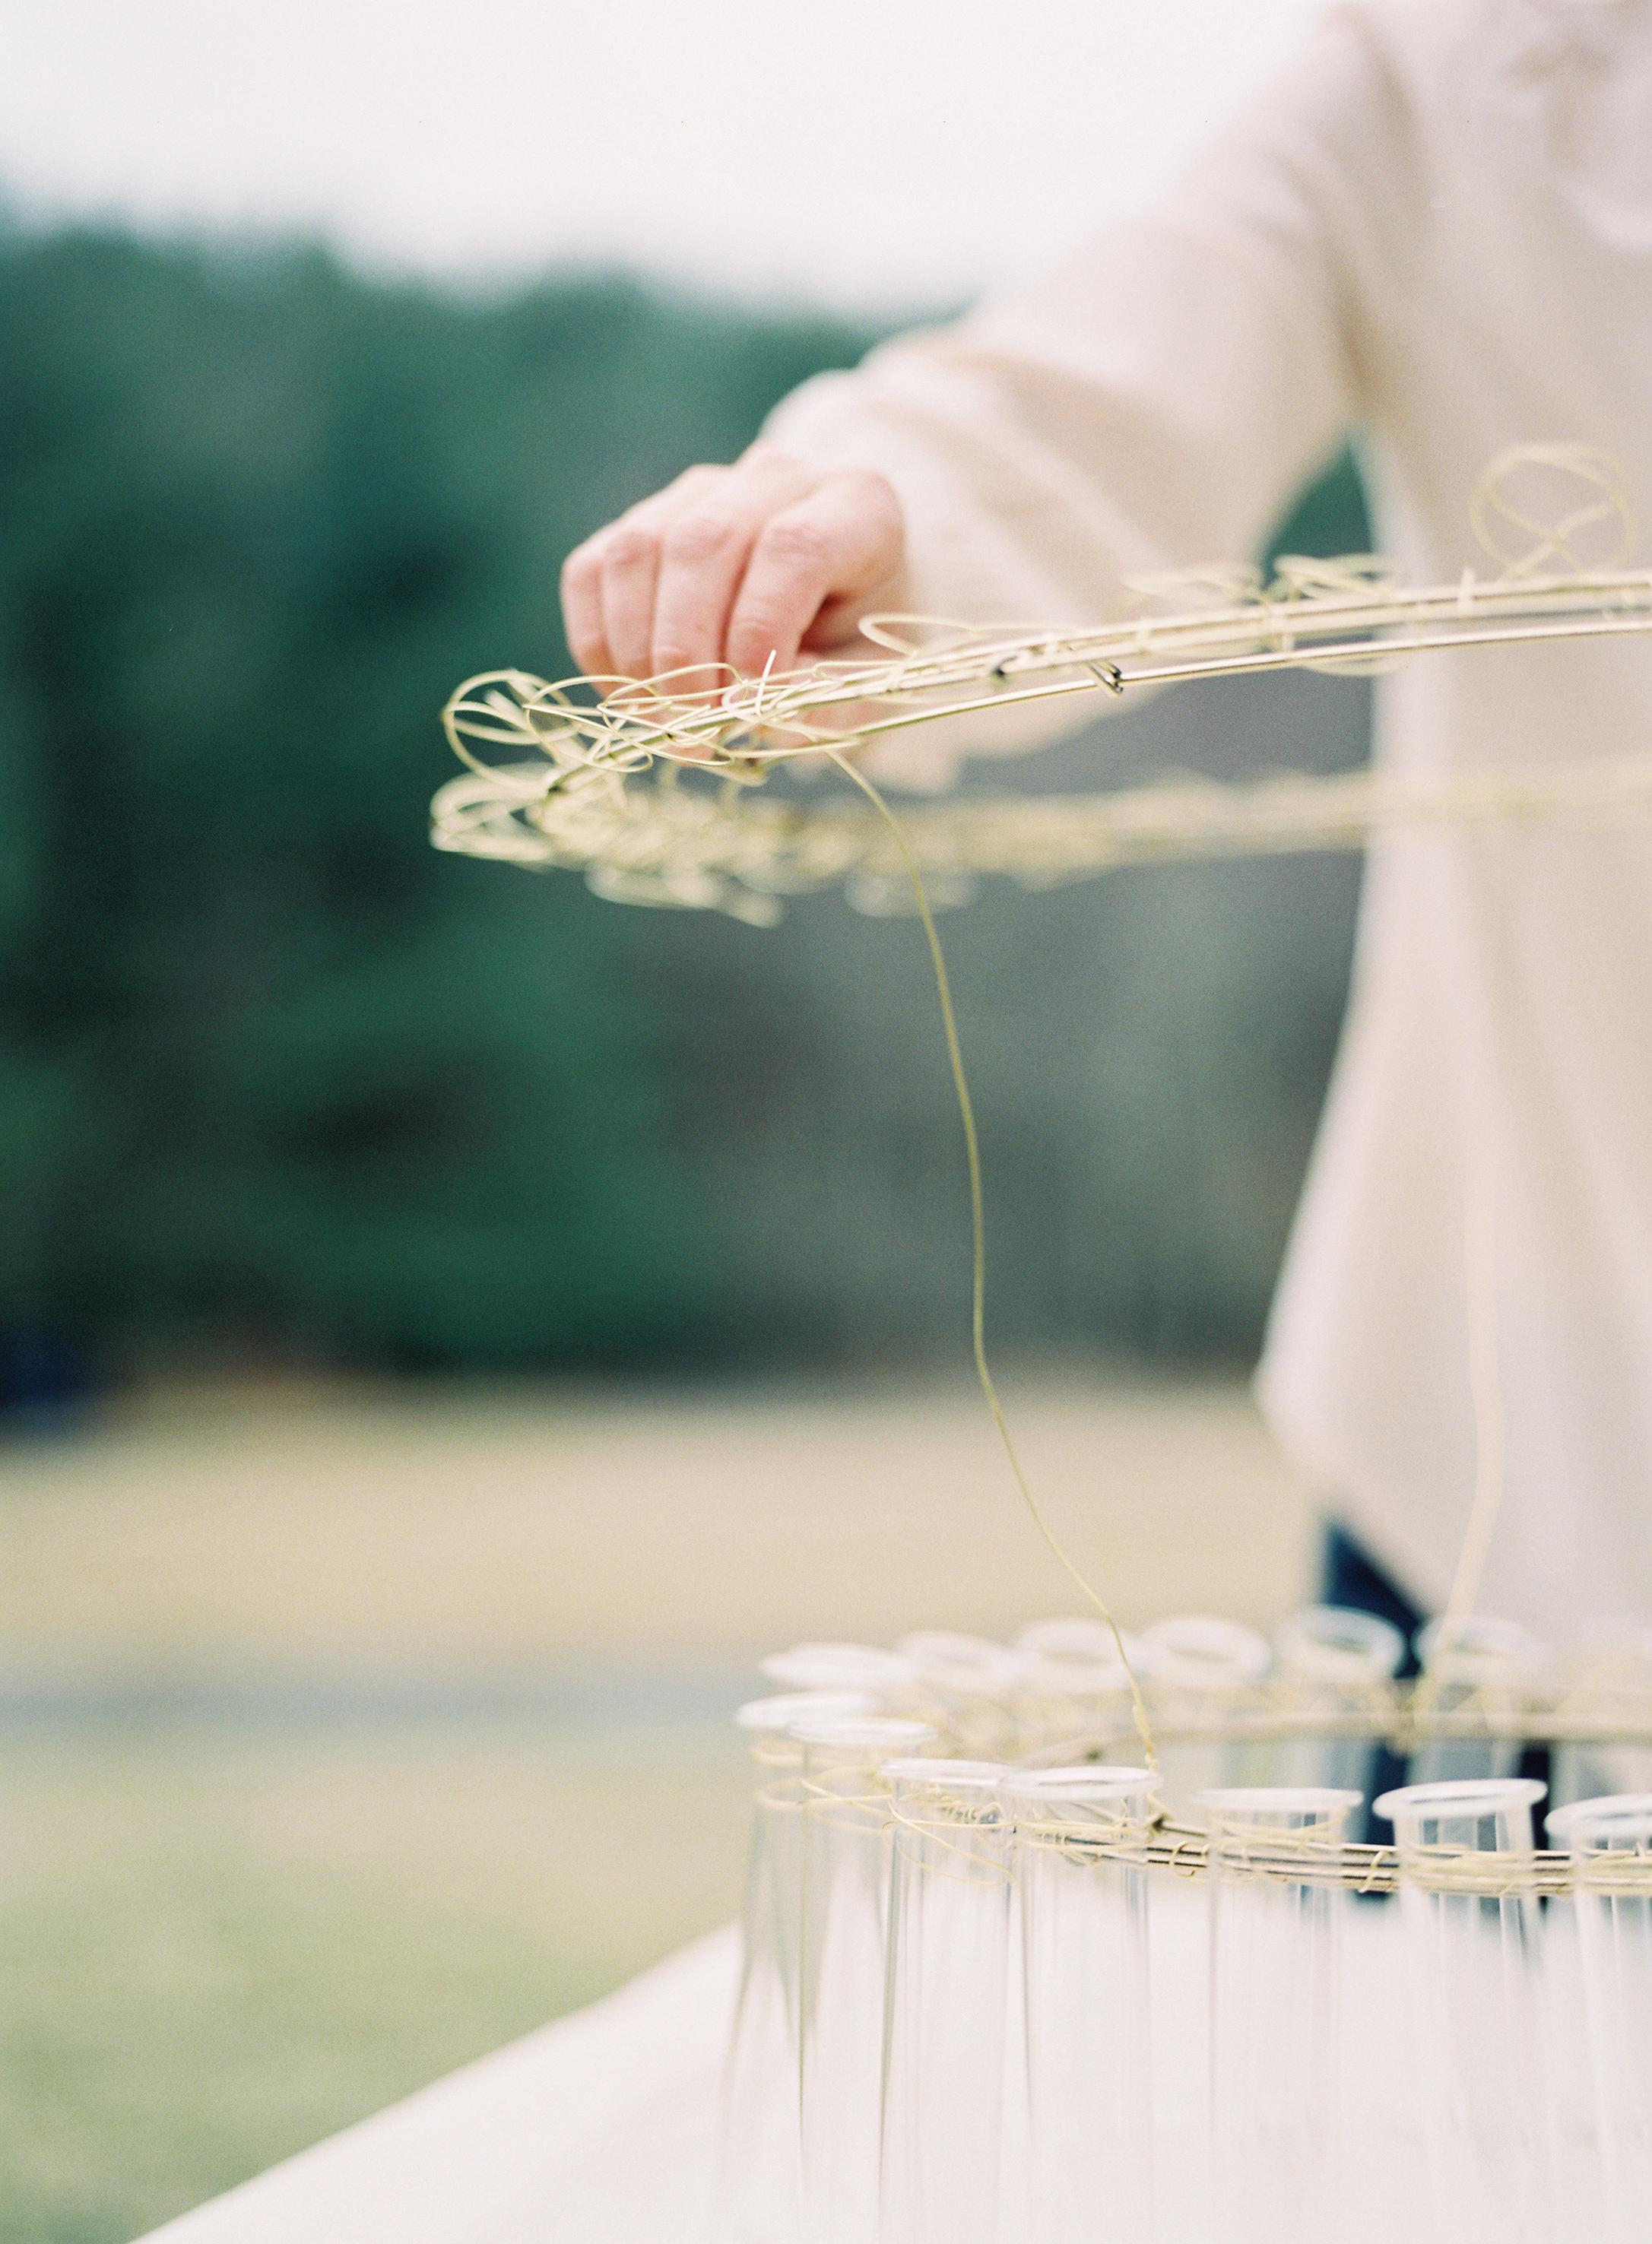
- Repeat with all test tubes
- Using the 15” pieces, and with the help of a friend, attach the upper and lower forms together. Be mindful of wrapping and overlapping to create a sturdy tie
- Attach the 25″ pieces to the largest piece and anchor on four corners, bringing each wire to center and twisting them around one another to form a cord of wire. Depending on where the piece will be hung, you may wrap the excess wire into the shape of a circle so it can be hung on a hook