How to Make a Large Paper Flower

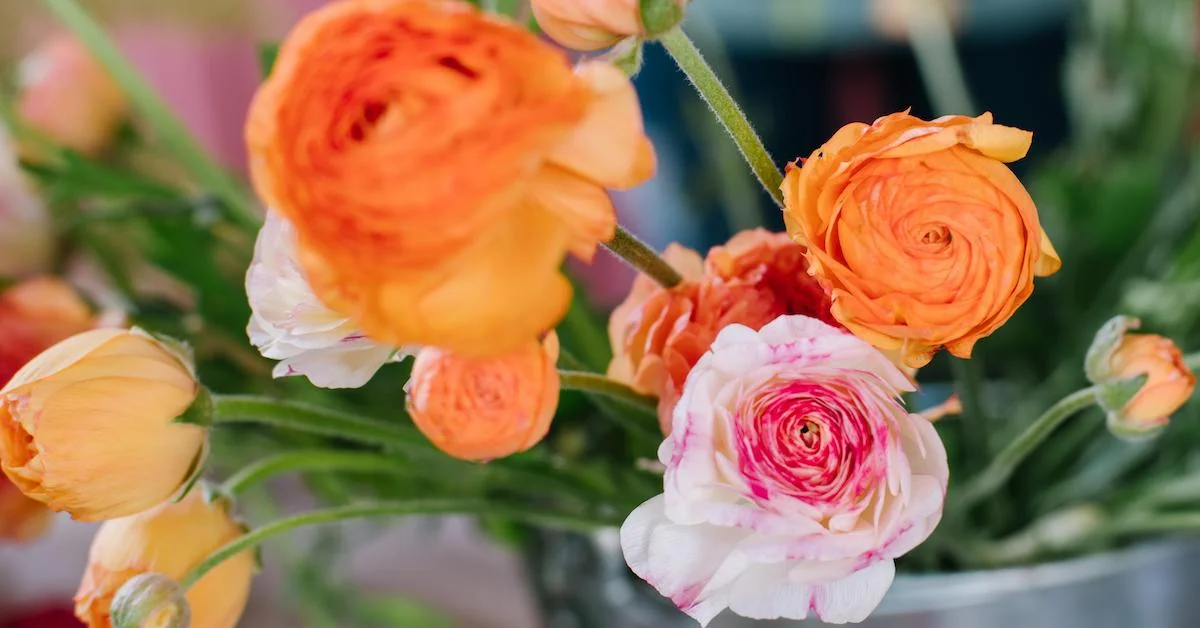
Paper flowers are making a statement in the floral industry. Not only do they never wilt, but they can also be made to look like a real bloom! Perhaps you’re hesitant to use paper flowers because it’s unfamiliar territory. Maybe you could try making one yourself! Here are a few simple instructions on how you can make a large paper flower for your next event.
Materials YOU’ll NEED:
Pieces of cardboard paper
1 roll of Italian Crepe paper (50 cm wide, 2.5 m)
Scissors
Hot gun and extra glue (7 mm or 11 mm depending on your glue gun)
Ruler
A small silk wisteria bloom or any other flower
Ribbon (optional)
Screwdriver
Instructions:
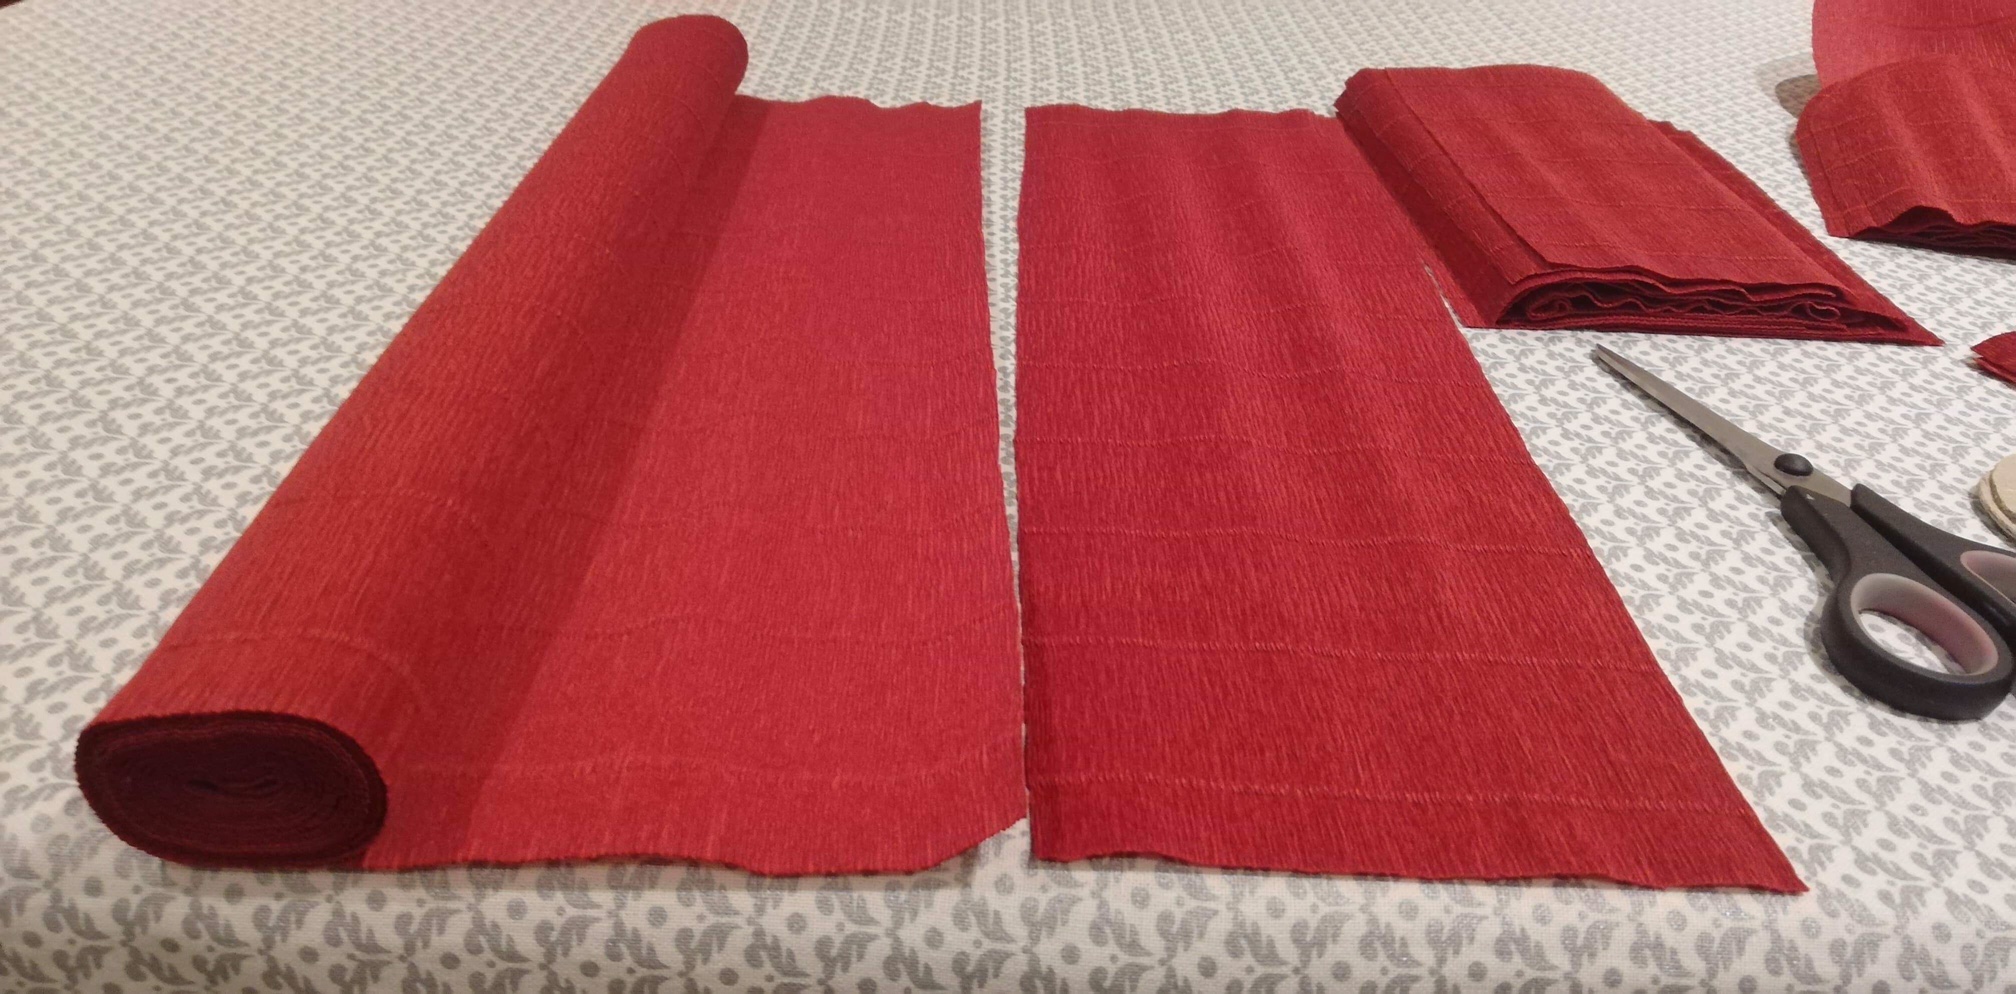
Cut nine pieces of the crepe paper into 10x12 cm pieces.
Fold and cut them down the middle to get about 18 pieces. You will use 17 of them for the flower, and the spare one you can use to create smaller leaves.
Next, cut two of the halves into smaller pieces (about 5–7 cm each) and fold them in three parts. This will give you about six smaller drafts for smaller petals.
Place 12 of the large pieces in one row, 10 in another row, and six smaller ones in another row as seen in the picture.
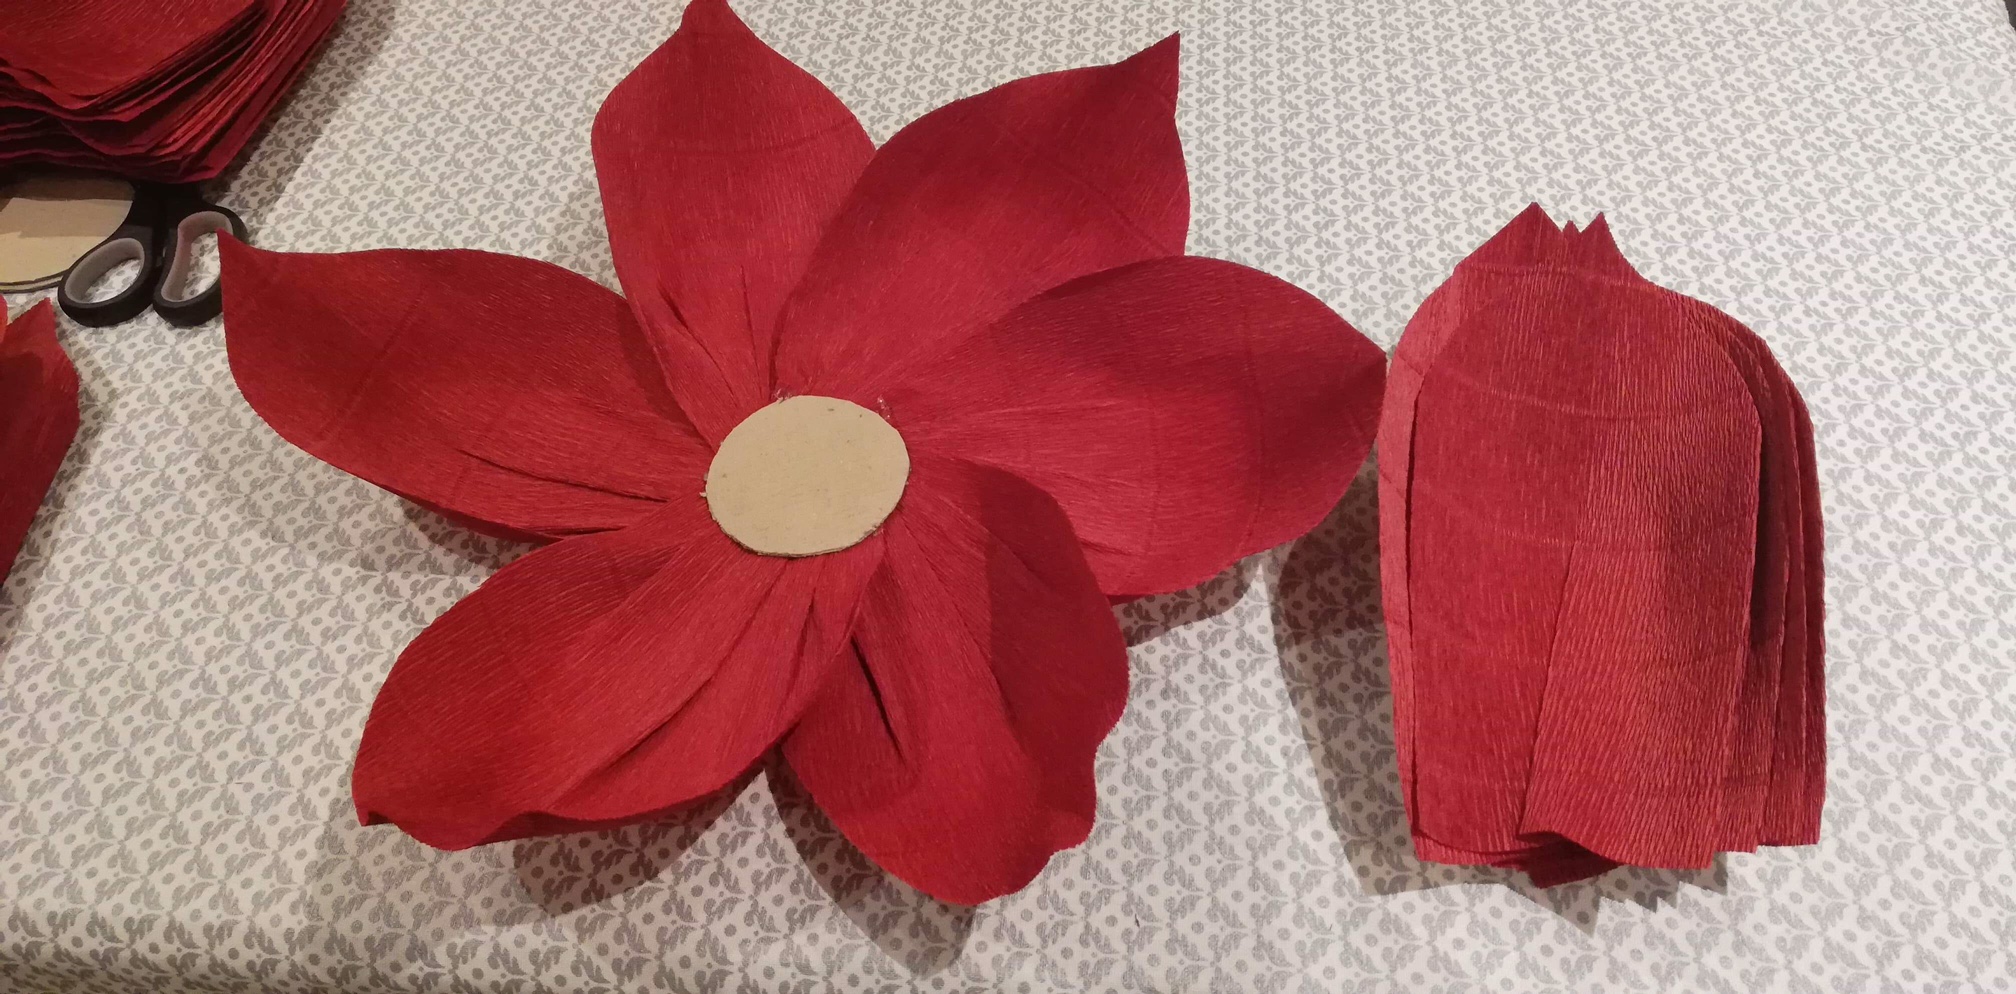
Now it’s time to cut the shape of the petal. Take one or two pieces of the first large petals and fold them in the middle. Only cut the top corners as shown in the photo. Do the same with all large and small petals.
Grab the cardboard paper and cut out a circle to be used as a middle and base for the flower. The circle should be about 10 cm in diameter.
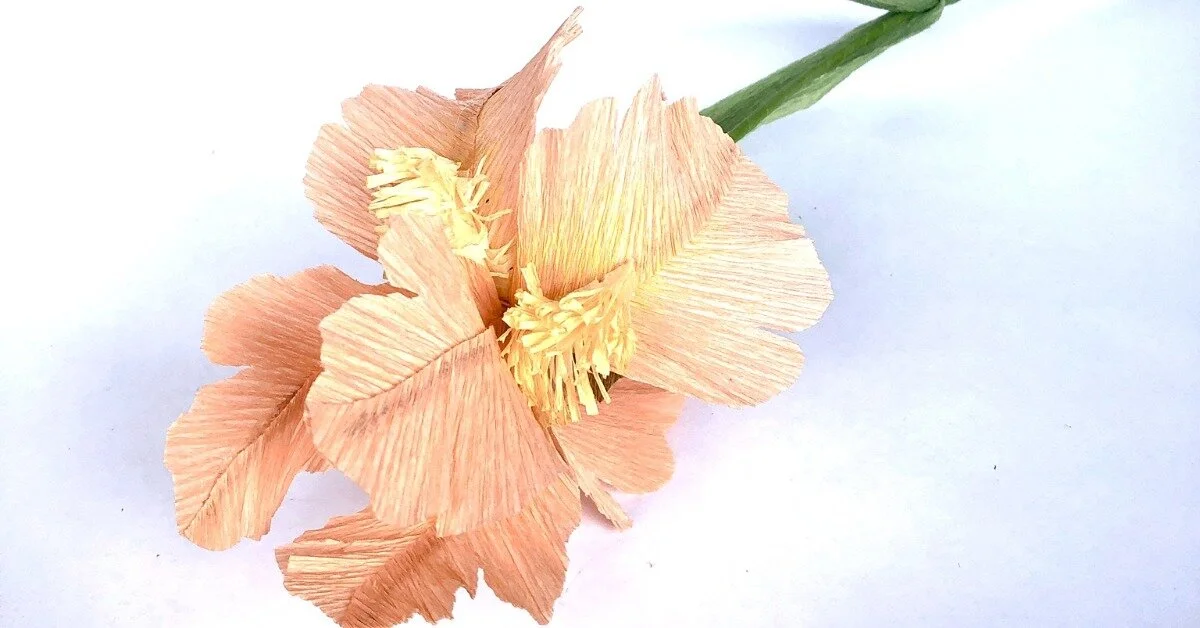
After all work pieces are done, you’ll begin to shape the petals. Start with the spare piece from Step 2 above so you can get the hang of it. Very carefully stretch and curl the paper, but make sure you don’t overdo it—too much stretching can ruin the petal.
After you’ve familiarized yourself with how it works, you can start shaping the petals. See picture for visual instructions.
Once all the petals are made, begin gluing the first petals to the cardboard circle that you’ll use as a base. Start with gluing six petals around the cardboard circle, making sure you glue the bottom of the petal to the center circle. Then glue six more in between the bottom petals from the top of the petal. See the photo for an example.
Next, attach another five petals a bit tighter together in order to give the flower a bit of volume (see photo). Do this twice, using a total of 10 petals.
Glue the final smaller six petals (three and three) in the same manner.
Once the glue is dry, play around with the petals, curving and moving them to give the flower more shape and character.
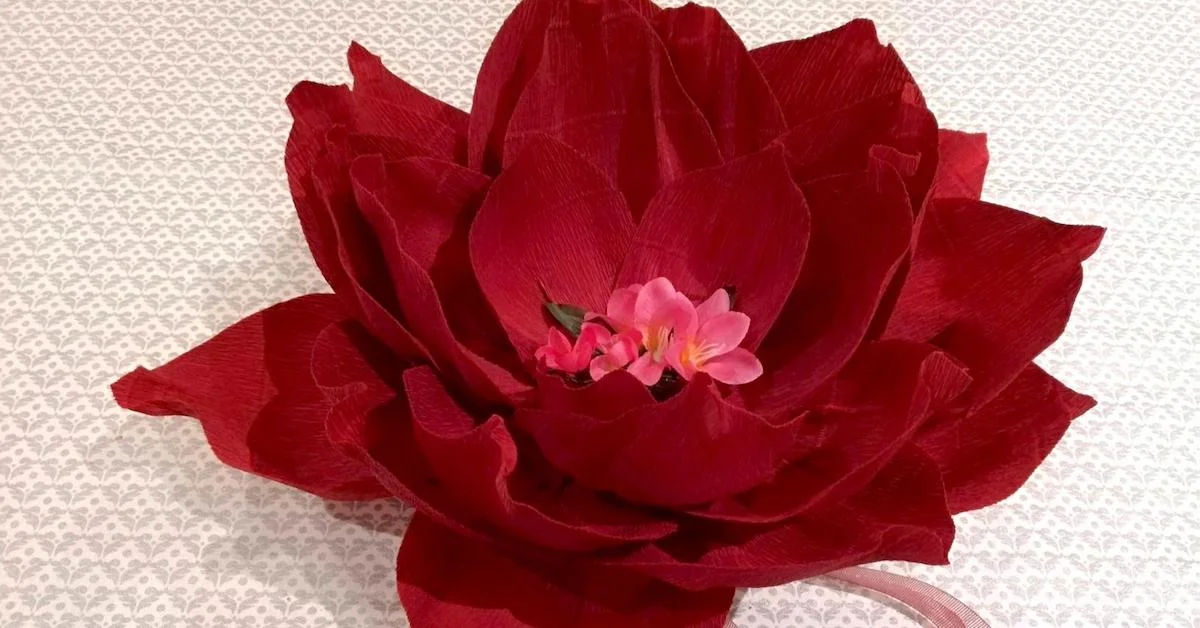
To make sure the flower center looks nice at the end, glue in the silk wisteria (or any other bloom) to complete the look.
Step 1

Step 4

Step 5

Step 7

Step 9

Step 10
Step 9

Step 13
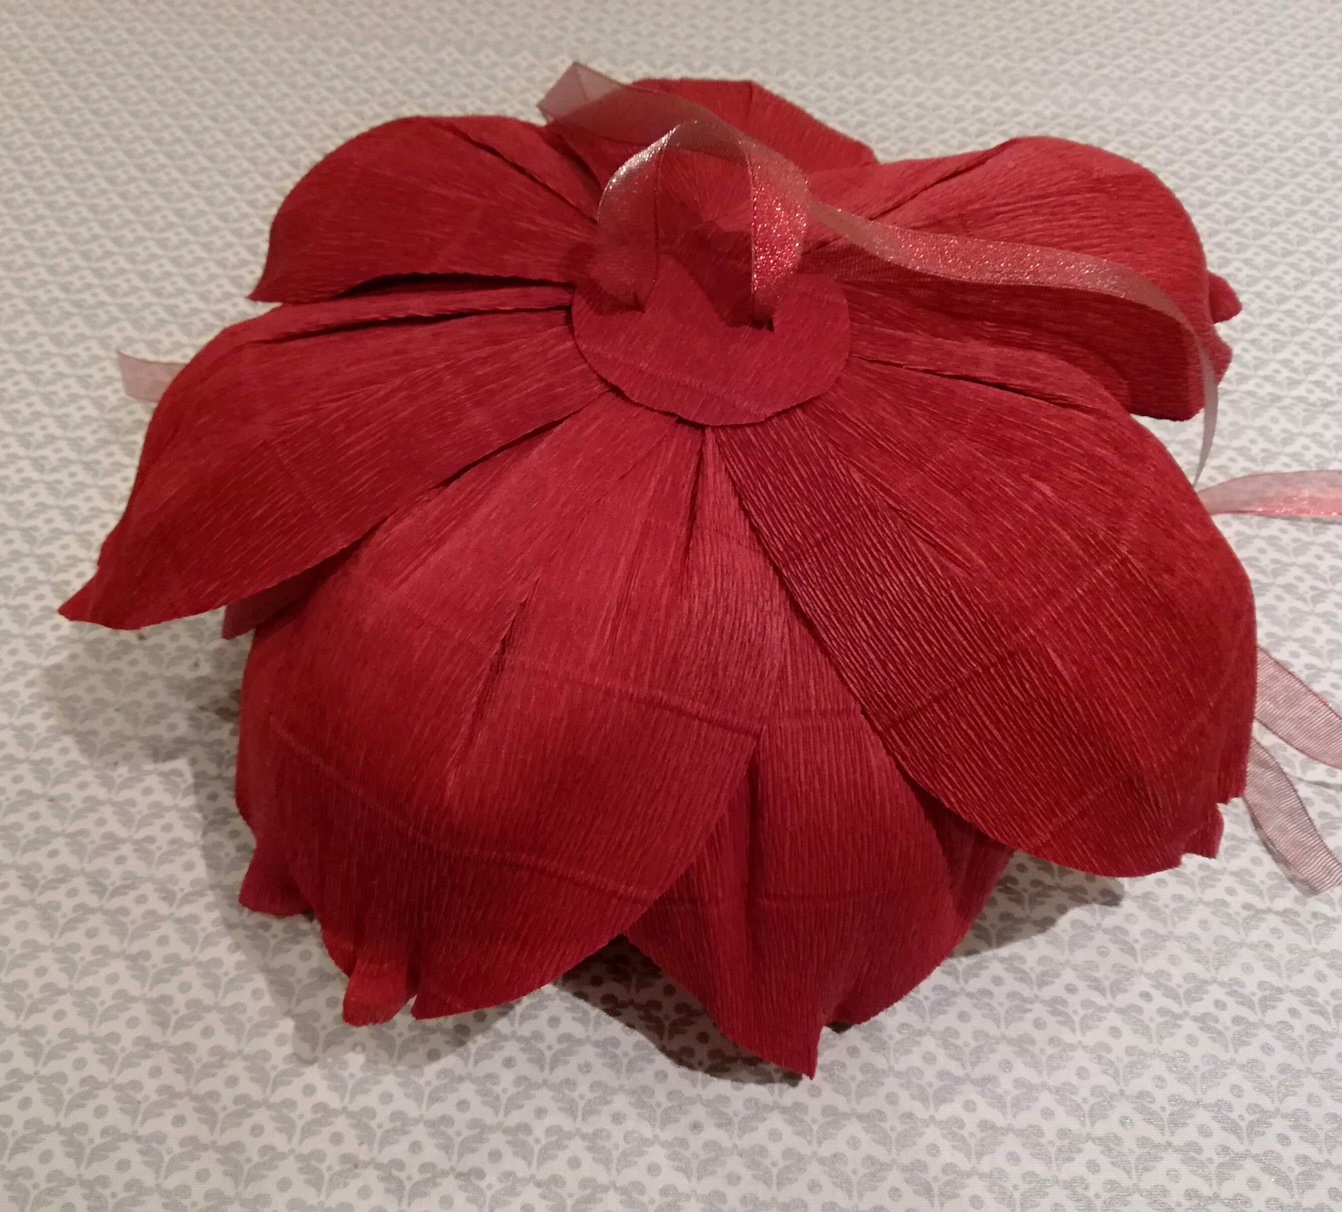
This large flower is perfect for being attached to a bride and groom chair. To do so, all you need is about 1.5 to 2 m ribbon and a screwdriver. Using the screwdriver, very carefully make two holes in the center cardboard base. Thread the ribbon through the holes and voila! It’s ready to be tied on!
Happy flower-making!