How to Make Large, Tall Floral Arrangements
Marlayna Photography
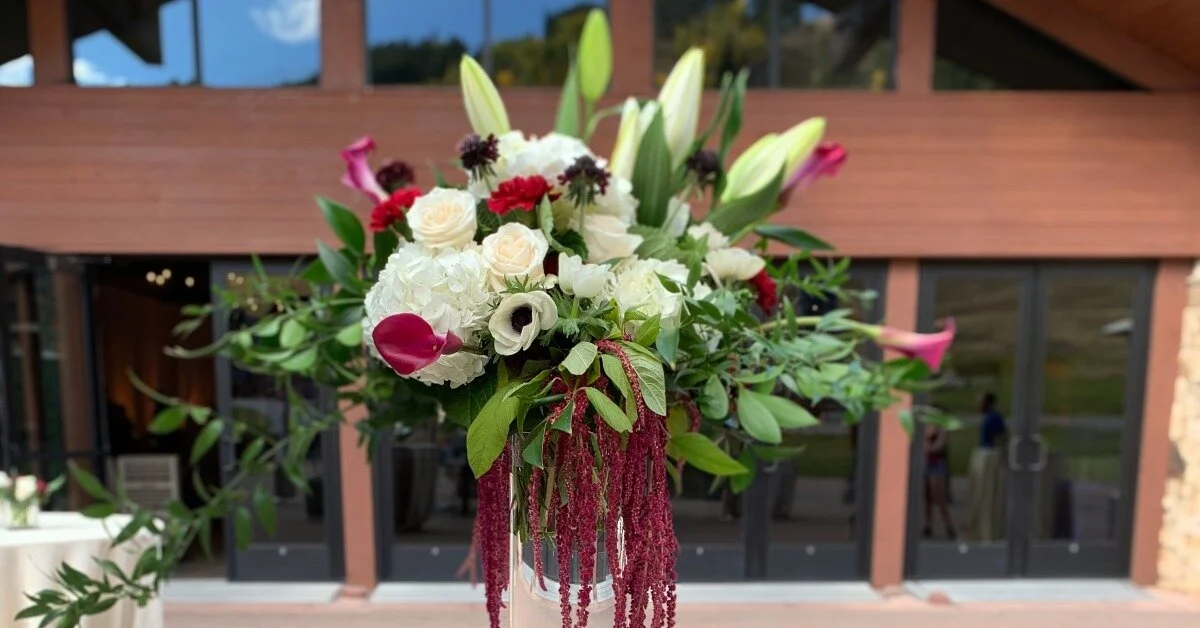
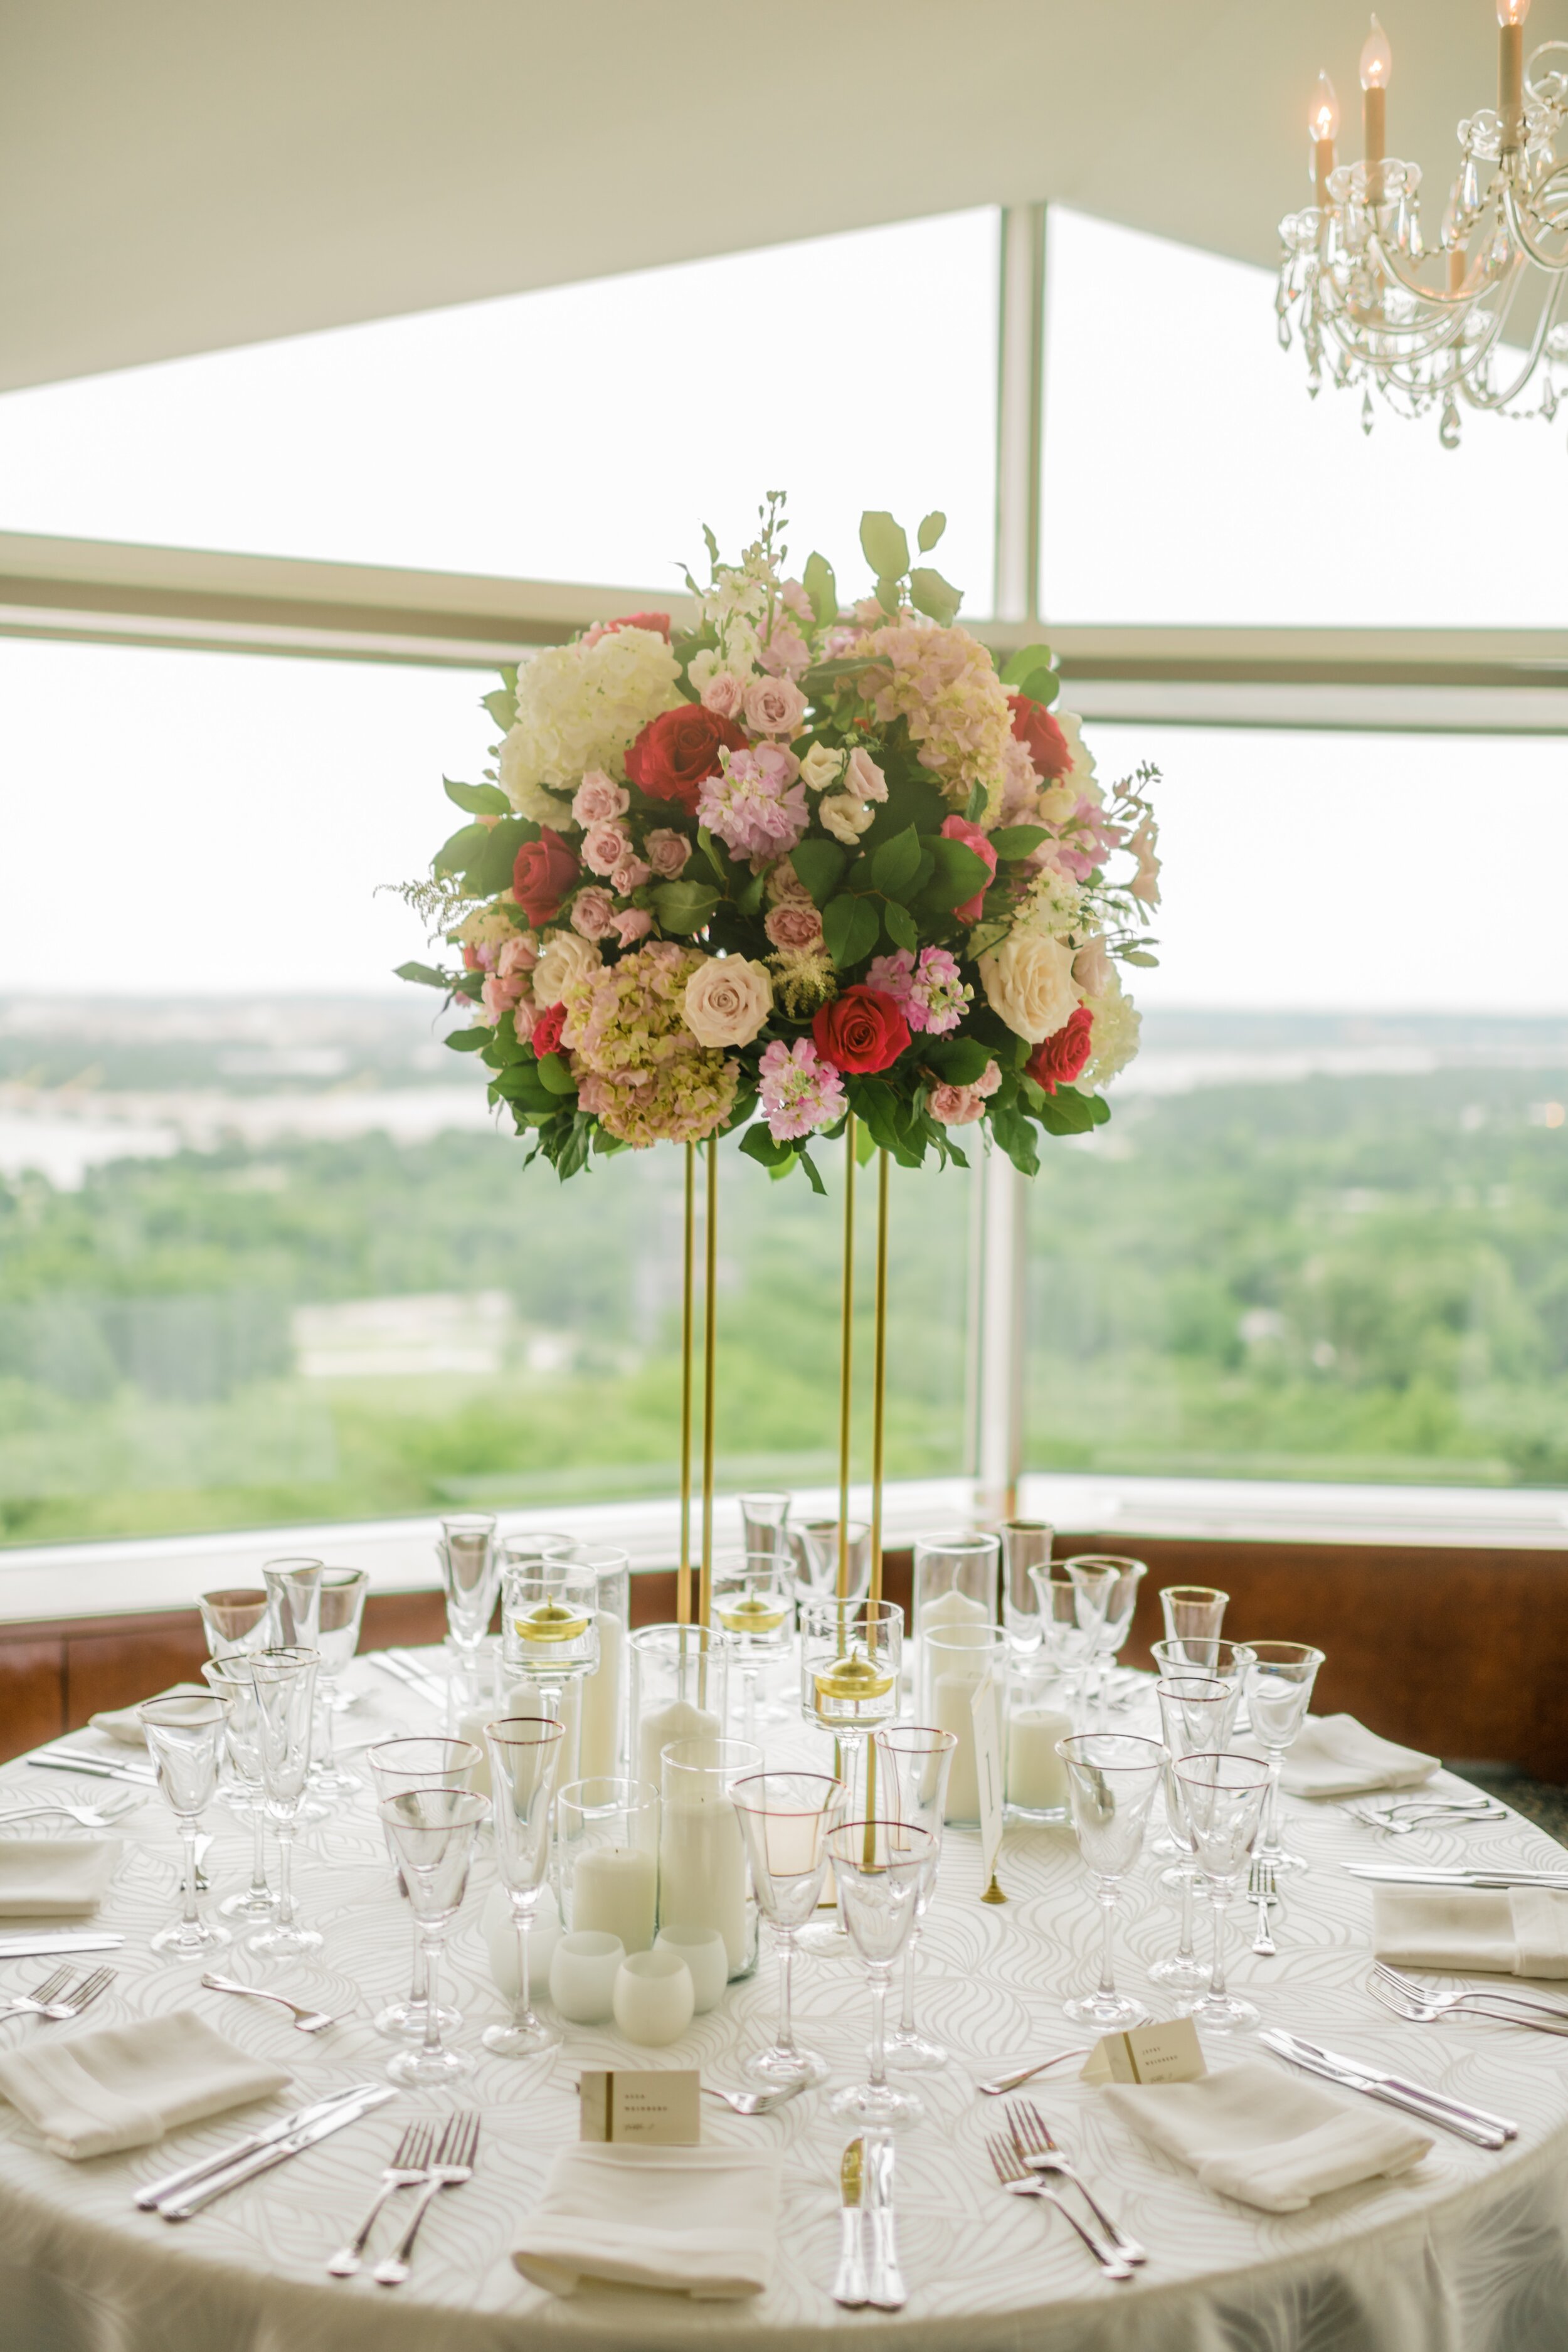
They’re the floral arrangement in every luxe wedding photo. Classic wedding reception dreams are made of them. You know the ones: The large, round, tall floral arrangements. They make dramatic, impactful tall centerpieces at weddings and other luxurious events.
I will never forget the first time I made a tall centerpiece early in my floral career. I was a bit puzzled. There were some deep breaths. How would I make this? And more importantly, how would I transport it without it falling apart?
Things to Think Through When Designing a Tall Floral Arrangement
While they were tricky for me at first, over time, tall floral arrangements like these have become quite the mainstay in my business—and no longer do we have heart palpitations or beginner’s anxiety when we think of them (and my team and I got a lot faster at making them!). Here are a few tips to help as you incorporate these lovely arrangements in your portfolio.
Sizing a Tall Floral Arrangement
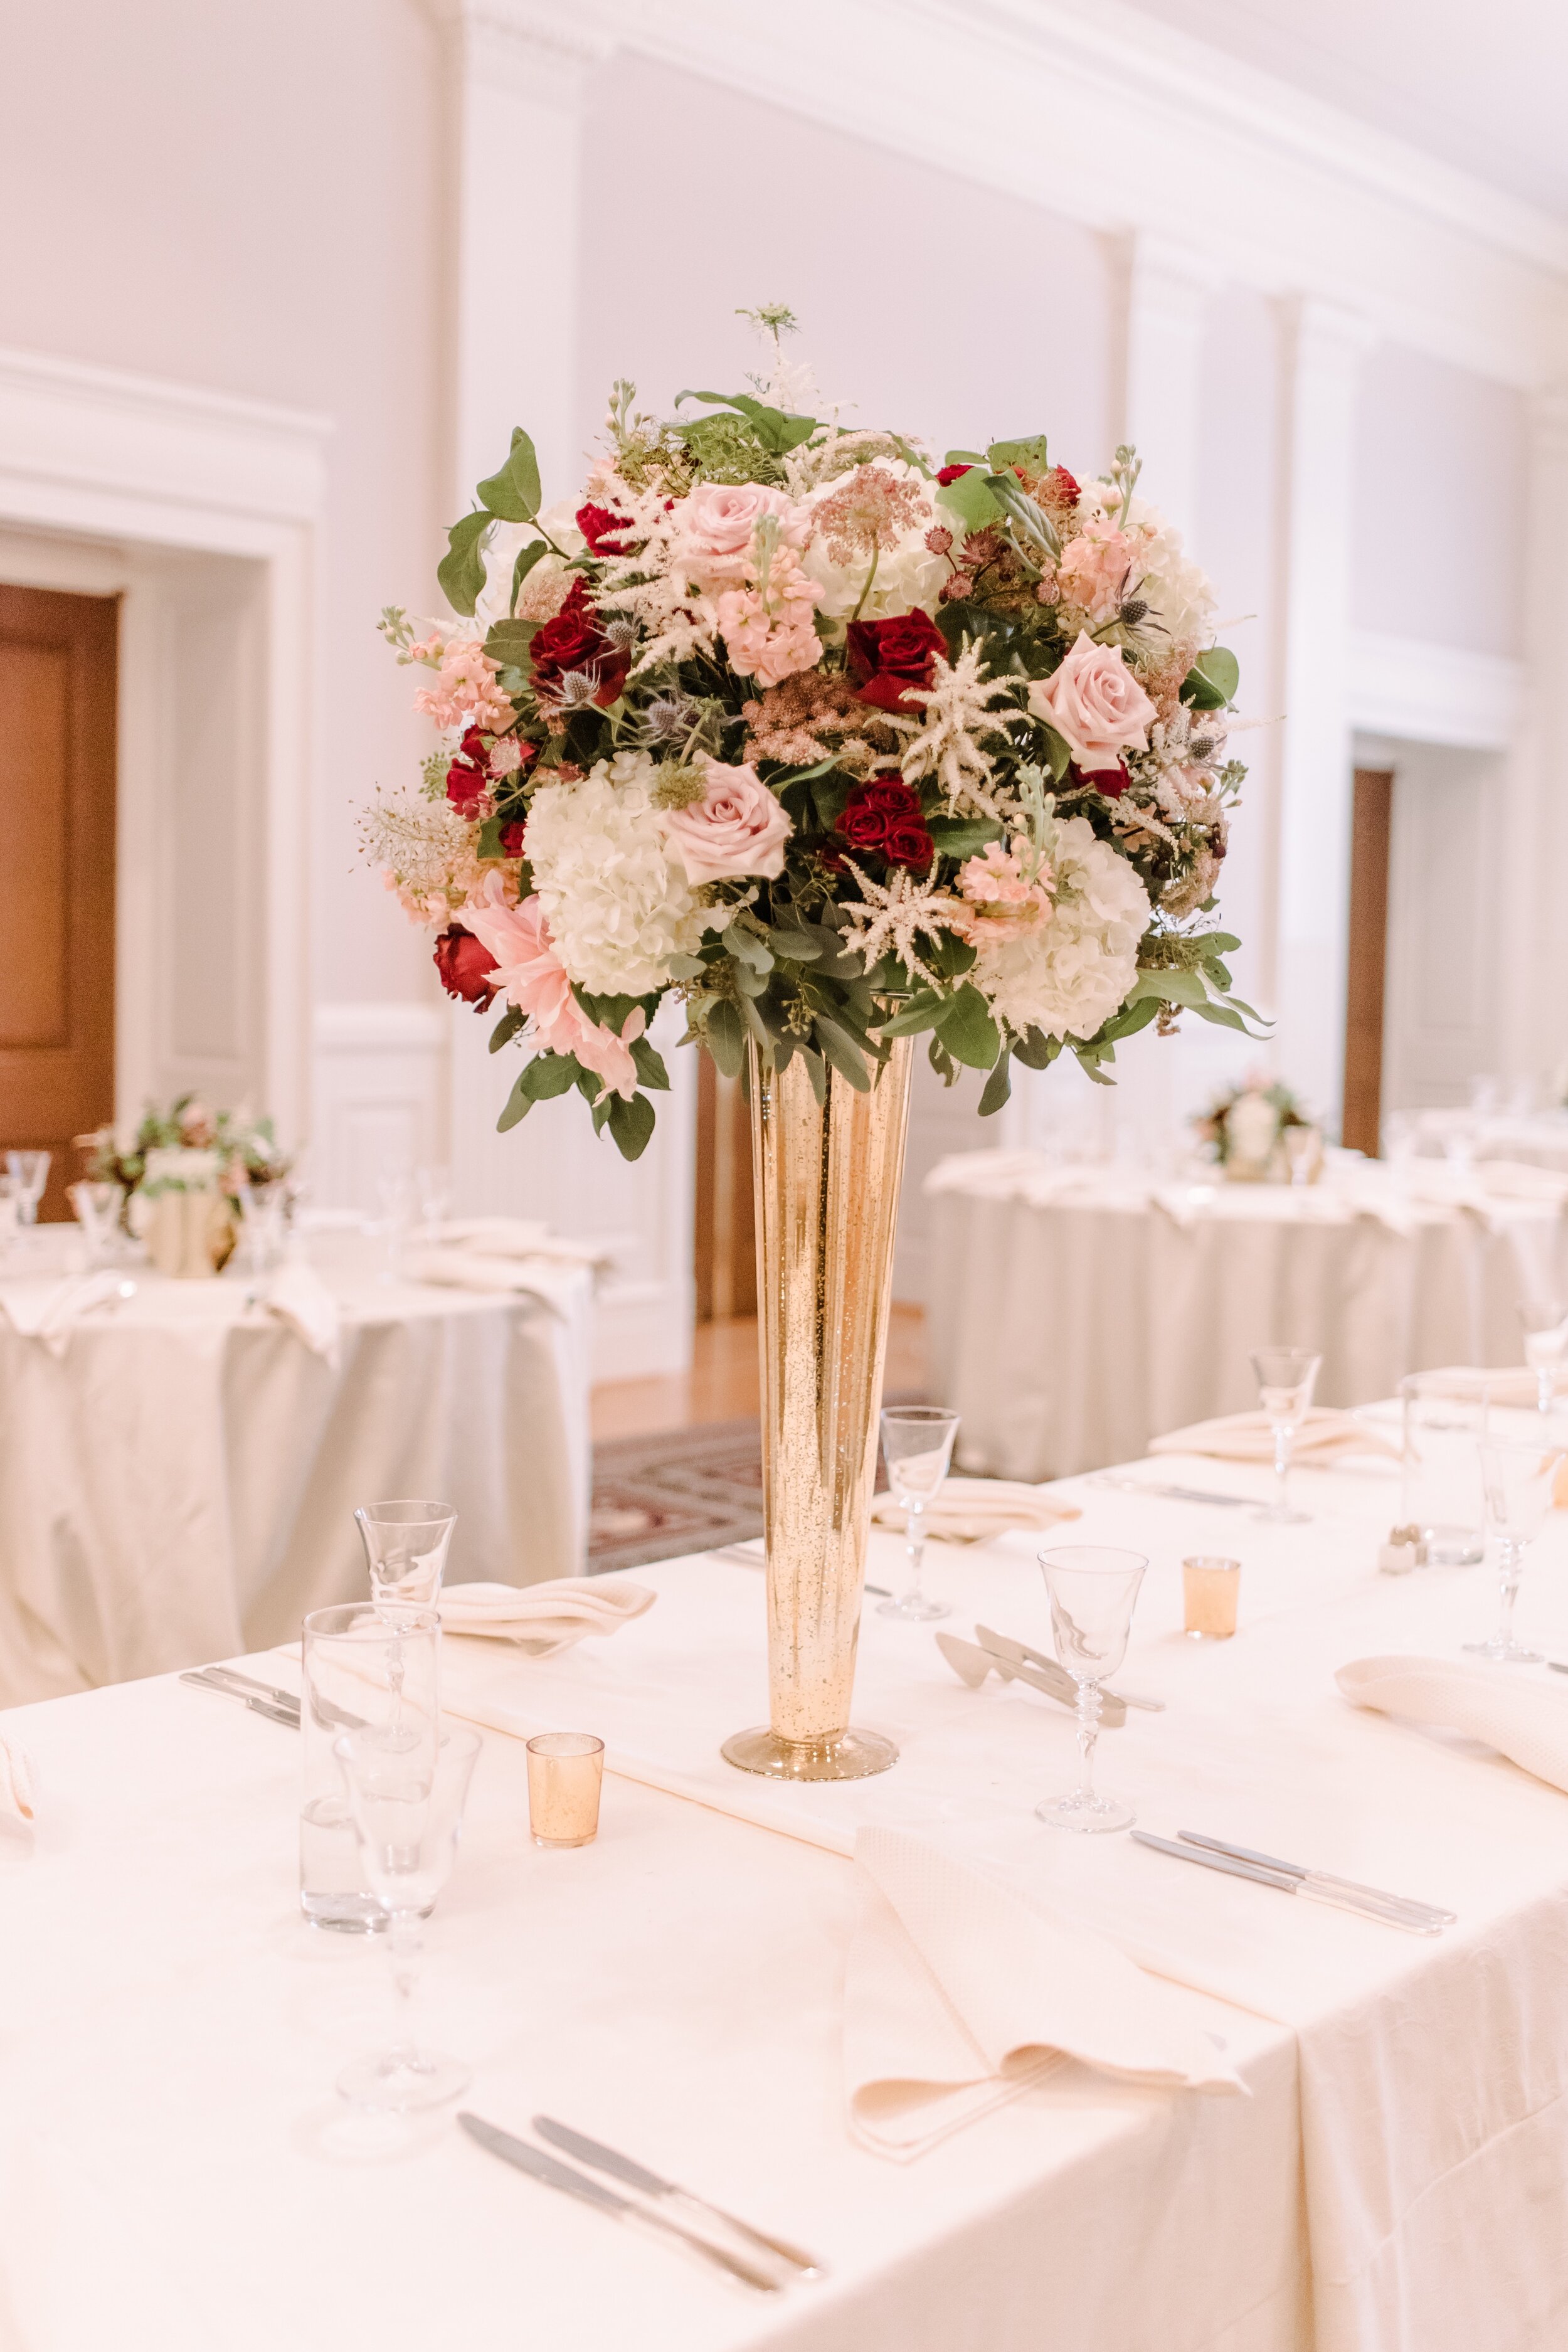
Traditionally, these tall floral arrangements are pretty huge. It will depend on how large an arrangement you are making, but our standard is about the width of a door frame. It’s something that fits comfortably and proportionally atop a 24” pilsner vase. You may want to go bigger if you are using a larger vessel.
Consider the Time It Takes to Arrange a Tall Centerpiece
We find that these large tall floral arrangements typically take 45 minutes each to make, or 30 minutes if you have set the flowers for each arrangement aside ahead of time. And when you’ve reached the expert level, you can get these down to 20–25 minutes.
Generally speaking, it’s best not to make these earlier than the day before the event. Ideally, they should go into a cooler, but we have successfully had them sit out overnight. Do be careful with water evaporation if placed next to an air conditioner, and water them again the next day if they have not gone into a cooler. You may want to have a couple of emergency replacement flowers on hand if the arrangement doesn’t go into a cooler.
Materials You’ll Need for Your Tall Vase Flower Arrangement
9” straight-sided designer dish
1 and 2/3 blocks instant deluxe Oasis floral foam
¼” Oasis waterproof tape
Floral lock
Emily Clack Photography
Sample Recipe
I’ve included a typical recipe we use for a large tall floral arrangement below. While your floral design could include any number and variety of flowers, we typically find our arrangements use a recipe such as the following:
8 stems hydrangea
10 stems stock
10 stems spray roses
10 stems lisianthus
15–20 roses
1/2 to a whole bunch of salal
Set Up
Using a 9” straight-sided designer dish, place one full block of Oasis foam in the center of the dish. Sandwich smaller pieces on each side, approximately 1/3 of a block of foam on each side. (Instant deluxe Oasis foam is preferred for this design vs. lesser grades of floral foam.) Keep the foam very tight. Using green ¼” Oasis waterproof tape, strap the foam in across the full block and the two smaller shim pieces and the block in the center (kind of an X of tape going around the Oasis.) The reason for the tape is that in the event the arrangement gets dropped, the oasis won’t fly out of the dish. It’s also great if the weight of the flowers starts pulling the blocks out.
Important note here: If you are making a larger arrangement, you can stack blocks of Oasis, but that’s not always necessary when using instant deluxe. If you are creating a larger design, it may be wiser to switch to a designer block.
It’s useful to elevate the dish when you start working, whether on an overturned bucket or a tall glass vase. This will help you see the arrangement as it might look on the vase.
Fill the dish with water. Though there will be some water displacement as you add flower stems to the foam, it’s best to keep the foam as hydrated as possible.
Arranging a Tall Centerpiece, Step by Step
Okay, so you’ve thought through your process, set up, and recipe. Let’s dive in to the steps involved when creating a gorgeously tall floral arrangement.
Step 1: Framing
Start with ½ bunch of salal (or whatever greenery you’re using) and create an “armature” or frame for the height and width of the arrangement. As much as you feel necessary, use smaller pieces of greenery to “collar” and disguise the design.
Elaine Studley Photography
Step 2: Flowering a Tall Floral Arrangement
Hydrangea is the most useful first flower to start with when creating this type of design, and it truly lends to that big classic design impact. Once placed, it will immediately give you a sense of how full your arrangement will be.
In terms of placement, we place four on the bottom level and four towards the top, so they zigzag around the design, rather than sit atop each other. While the tendency is to put the upper ones further out, you can risk making a more trapezoidal rather than round design when you do it—so watch your placement!
It’s a matter of personal preference, but we find it useful for the flowers to be added in the following order:
Hydrangea
Stock
Spray roses
Roses
Lisianthus
Strip any greenery from the roses and spray roses, but lisianthus greens can be useful filler.
For the hydrangea, the stems must sink deep into the floral foam. If any of it feels less secure, you can use Flora Lock to “lock” the stem into place. Simply stick the nozzle into any gap in the hole and spray. For the other flowers, sinking them in 1” – 1½” is usually adequate, as you have to be careful not to “Swiss cheese” the foam.
Step 3: Filling in Your Tall Centerpiece Design
As a final step, look at any holes or visible mechanics you might have remaining in your tall floral arrangement, and use any remaining salal to complete the piece.
Final Thoughts
The better you visualize your design, the better you’ll be at making this style of arrangement—whether you adapt this style to be tighter without greens, looser with additional greenery, or larger or smaller. You can create this large centerpiece design with so many different combinations of flowers! No matter what you choose, you’ll be left with an impressive statement piece that any client will be happy to receive.
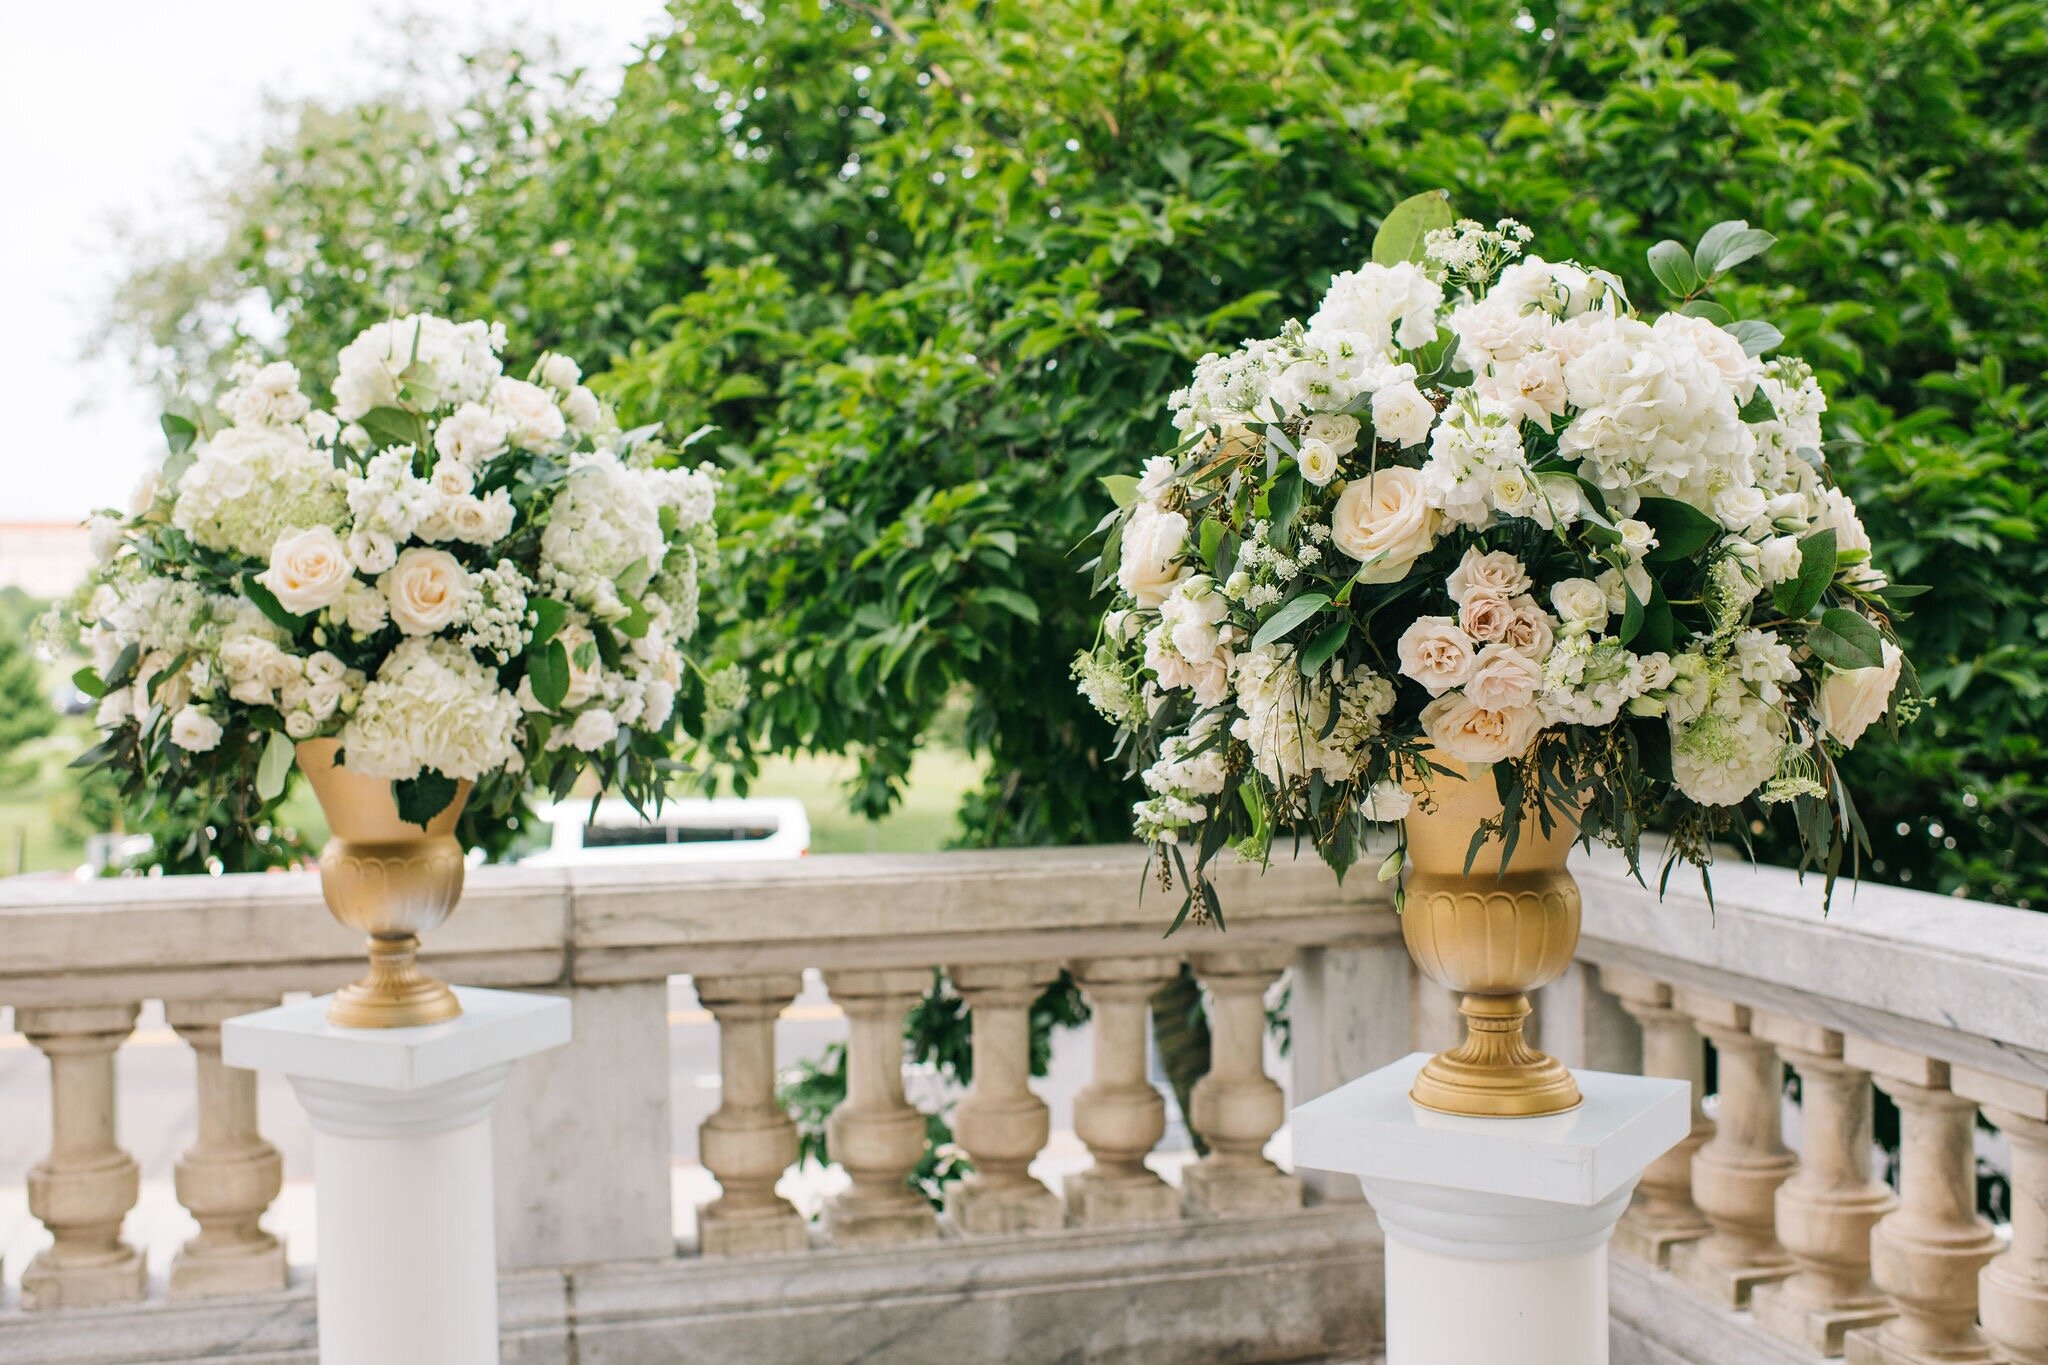
Postscript: Making a Big Floral Arrangement Without Foam
It is possible to make a big arrangement without floral foam, and there are many ways of going about this.
It’s best if you are using a wide-mouthed or trumpet-styled vase, as the wider opening will give you more maneuverability. The easiest method to a foam-free design is to utilize hydrangea as the base of the design and thread the remaining flowers through it. Chicken wire can also be helpful for stability.
The main drawback to this approach is if you have a client who doesn’t want to see flower stems. If you plan on using this technique, be sure you communicate well with your client.