Your Quick Guide to Creating Floral Ceiling Installations
Who doesn’t love that dreamy look of hanging event and wedding flowers from the ceiling? I love creating floral arrangements for the ceiling. They’re so beautiful and can completely transform a space. They also tend to be creatively challenging! In this article, I’ll cover tips and steps to creating simple and elegant (and reusable!) floral ceiling installations.
a sturdy start
Every ceiling installation requires anchor points to either be in place or installed. Anchor points will dictate what you can and cannot do in a space. As such, that’s always where I begin.
Once your anchor points are sorted out, the next step is to decide what sort of equipment you’ll use to access them. Can you access the anchor points safely with a ladder or do you need a lift or some scaffolding?
Now that you know how you’ll access and anchor to the ceiling, it’s time to determine what sort of hanging piece you’ll create. You can use a variety of tools for hanging florals depending on the style of installation—all of which you can easily create.
creating your frame
Some frames you’ll want to build as custom pieces to create the size and shape you’re looking for. We have large 4’ x 8’ frames constructed out of 1” x 2” lumber and chicken wire which we can fill with greenery and florals. These are hung flat over a dance floor or an aisle.
Large hoops can be used to create round hanging pieces. You can purchase these from most floral supply shops (like this one at Accent Decor).
You can use aluminum pipe or wood dowels for long, straight arrangements. I prefer the pipe for longer pieces as it stays straighter than the wood dowels do. The wood tends to warp and bow over time.
When it comes to securing your pieces to the ceiling’s anchor point, there are a number of options. You can use steel wire, cable ties, and rope, but my favorite thing to use is chains. Chains are easy to connect and easy to adjust once we have the piece in place.
build your floral design
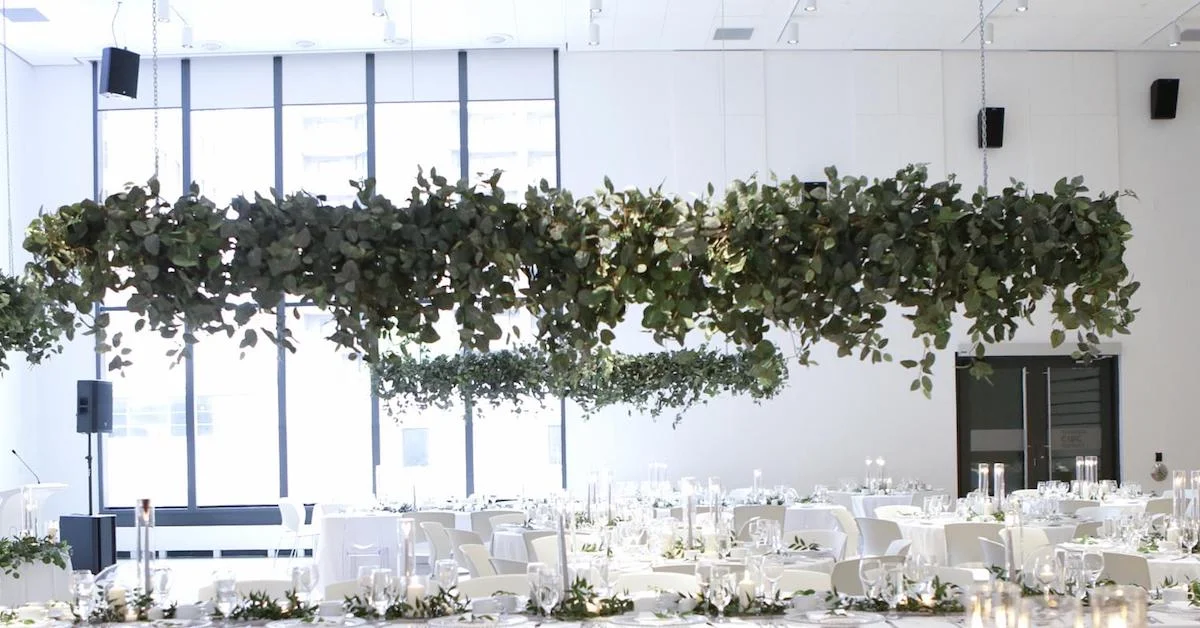
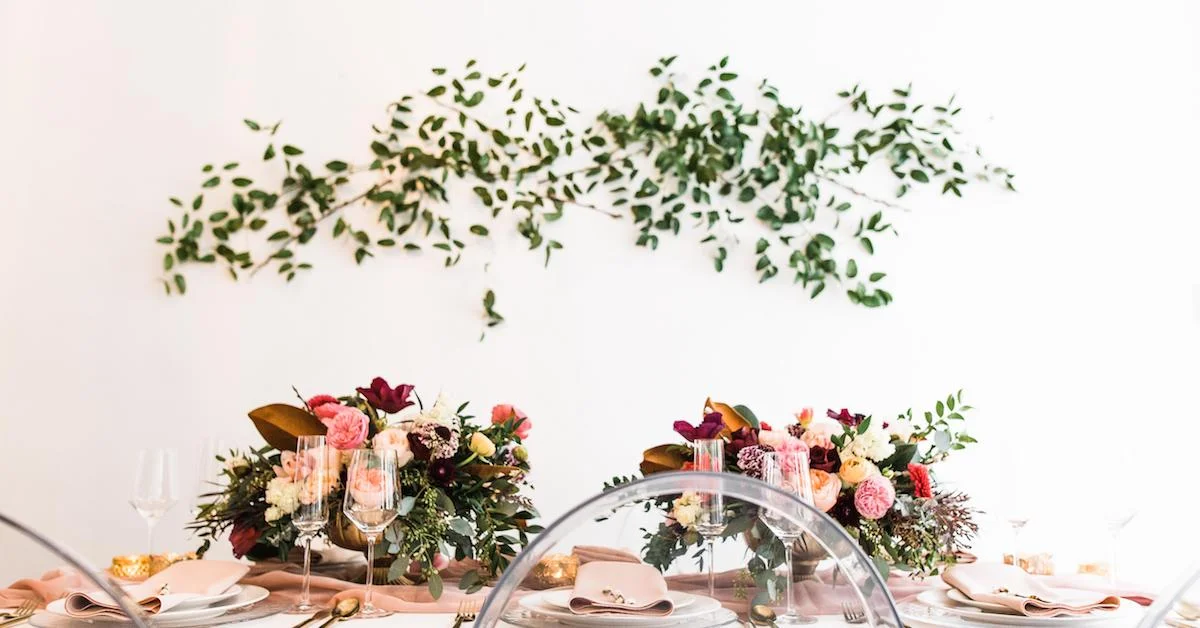
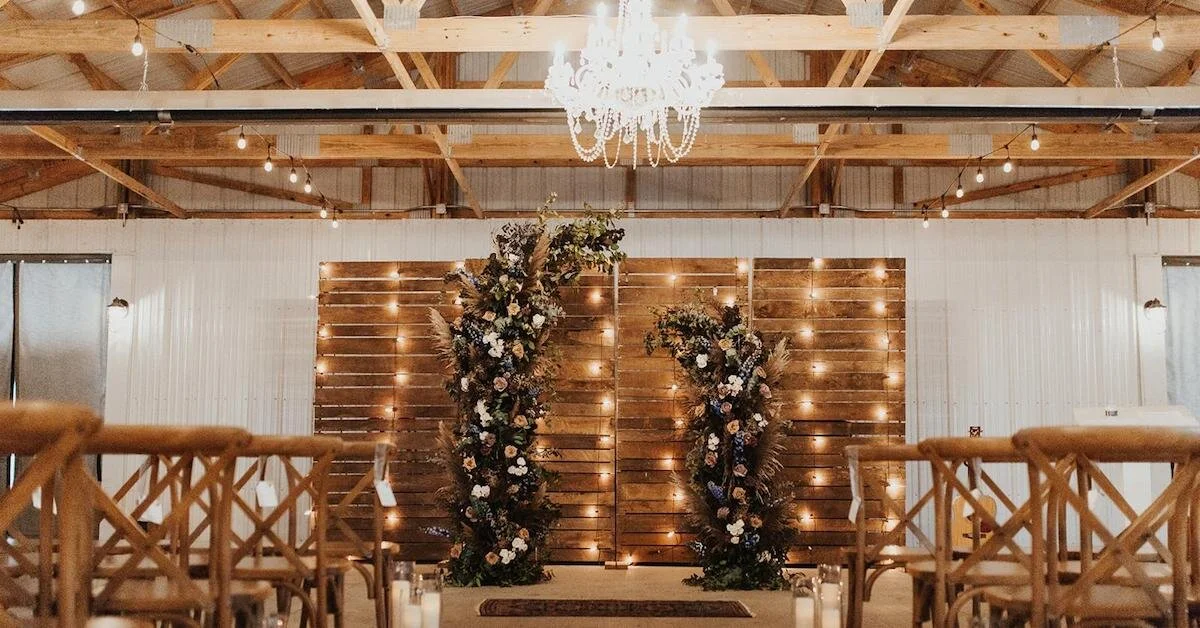
Now it’s time for the product! I’m about to tell you something a little taboo: I nearly always use artificial product for my hanging arrangements. There! I’ve said it. All of the pieces in the photos above are artificial.
High-quality artificial greens are pretty, lightweight, fill in a lot of space quickly, AND (best of all) they are reusable. You can add fresh greens and florals into an artificial piece once the base is set, but it can be so pretty on its own that you really don’t have to.
This particular installation above was stunning and impactful—and best of all, it was a breeze to install. Below are the six steps to take to create an installation like it!
Pre-assemble all of the artificial greens onto an aluminum pipe.
Take your lift up to the connection points and hang the chains.
Place your arrangement flat along the length of the lift. This holds it in place and ensures that the piece is completely level.
Connect the chain to the pipe so that it hangs exactly where you have it sitting on the lift.
Next, hold the arrangement out of the way and drive off with the lift.
Finally, add some fresh greens to the arrangement. Et voila!
This was an enjoyable piece to create, and I’d love to see photos if you decide to create your own version.
If you have questions about ceiling installations feel free to reach out to me at [email protected]!


