How to Make Hand Dyed Silk Ribbon
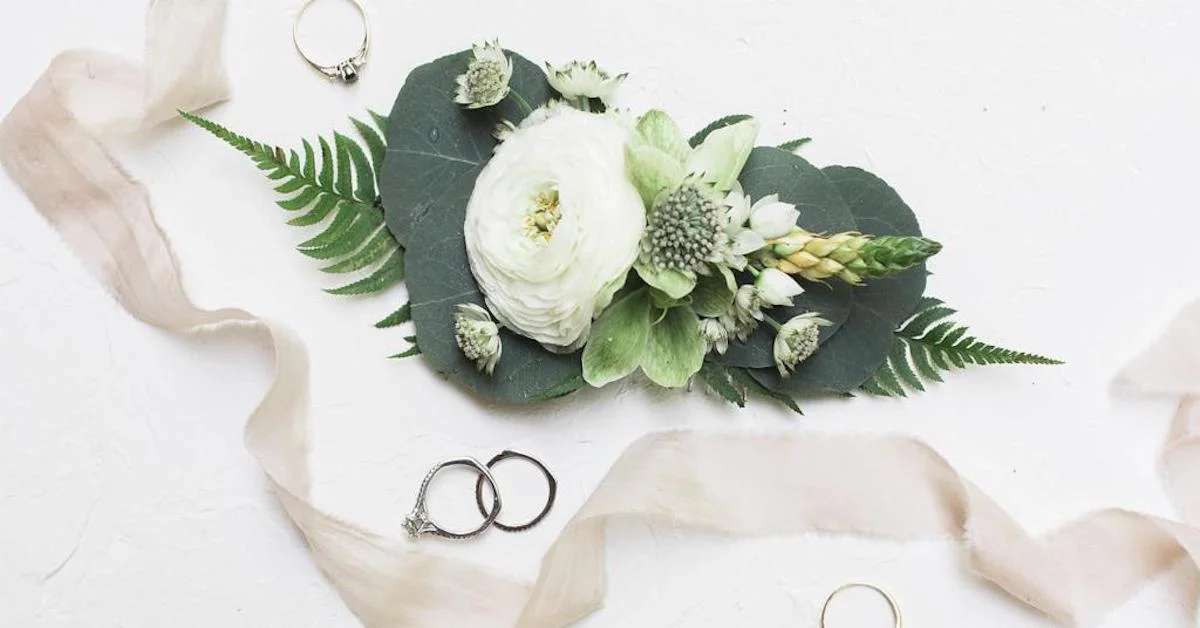
I absolutely love the look of the hand-dyed silk ribbons out there. They add such a unique touch to garden-style floral design that so many brides love. However, as a new floral designer, my clients are often more budget-focused—and when those ribbons can cost upwards of $30 or $40 for one bouquet with streamers, there often isn’t room in the budget for the hand-dyed silk ribbons that dominate Pinterest feeds.
But don’t fret: DIY silk ribbon is cost-effective and can add atmosphere to the wedding photos by elevating the bouquets.
Want 5 of our best floral design resources? Sign up for the Team Flower Pen Pal Club today!
If you’re wondering how to make silk ribbon, it’s simpler than you think! The rough-edge look in dyed silk ribbon is from just ripping the fabric. And before you think you don’t have the time, just know I did all of this during the commercial breaks while watching my beloved Pittsburgh Steelers—all with one hand devoted to capturing the photos. So please don’t feel like this is an impossible and time-consuming task.
Hand-Dyed Silk Ribbons
Step 1: Order Fabrics for Your DIY Silk Ribbon
First, choose and order your fabrics. For this test, I did a quick internet search to find where I could buy yardage of silk velvet and chiffon. Since I wasn’t exactly sure this would work, I just found fabric for about $10 a yard. Good news: it worked! However, if you were making a large amount of ribbon, I would suggest buying a higher quality to make the process easier and have less fraying to combat in the end. I also had some May Arts white silk ribbon I used as a higher quality fabric ribbon for control.
Choose your fabrics for your silk ribbon project
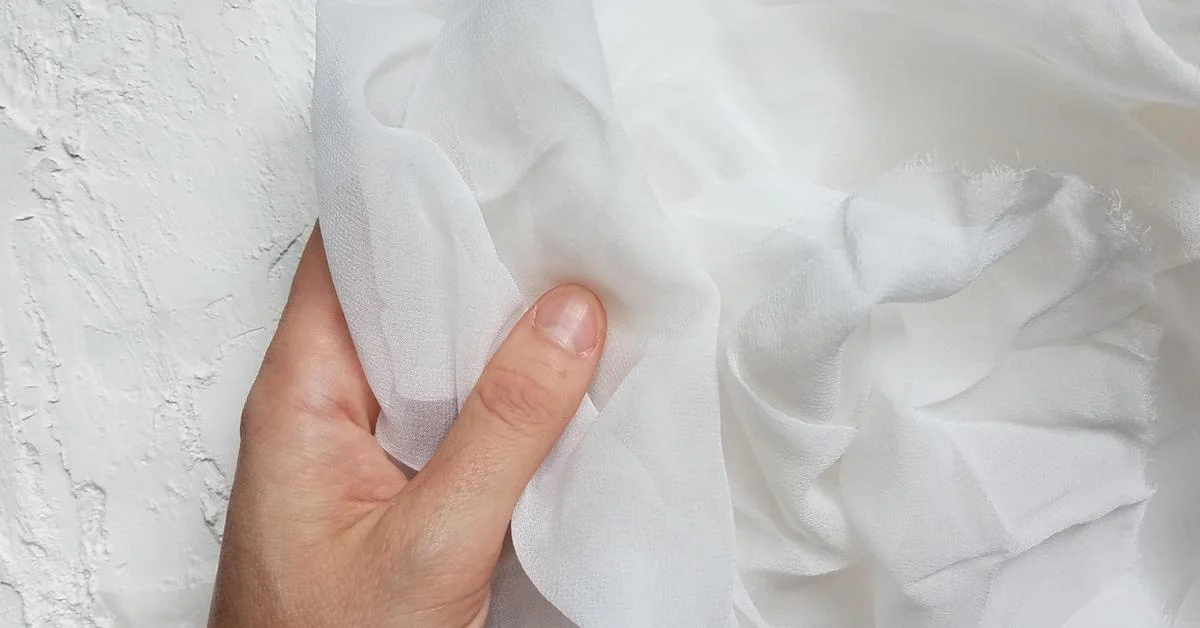
Step 2: Rip the Silk Fabric
Make a cut in the desired width of your ribbon. I prefer wide ribbons, so I chose to do 2.5" ribbon stripes. I measured 2.5" then made a small incision at the edge of the fabric.
Next, take the fabric in both hands on either side of the small incision and give a forceful rip. As long as the material is of reasonable quality, it will rip along the cut you made in a straight line.

Create a small cut in the silk

Rip to create strips for Making fabric ribbon
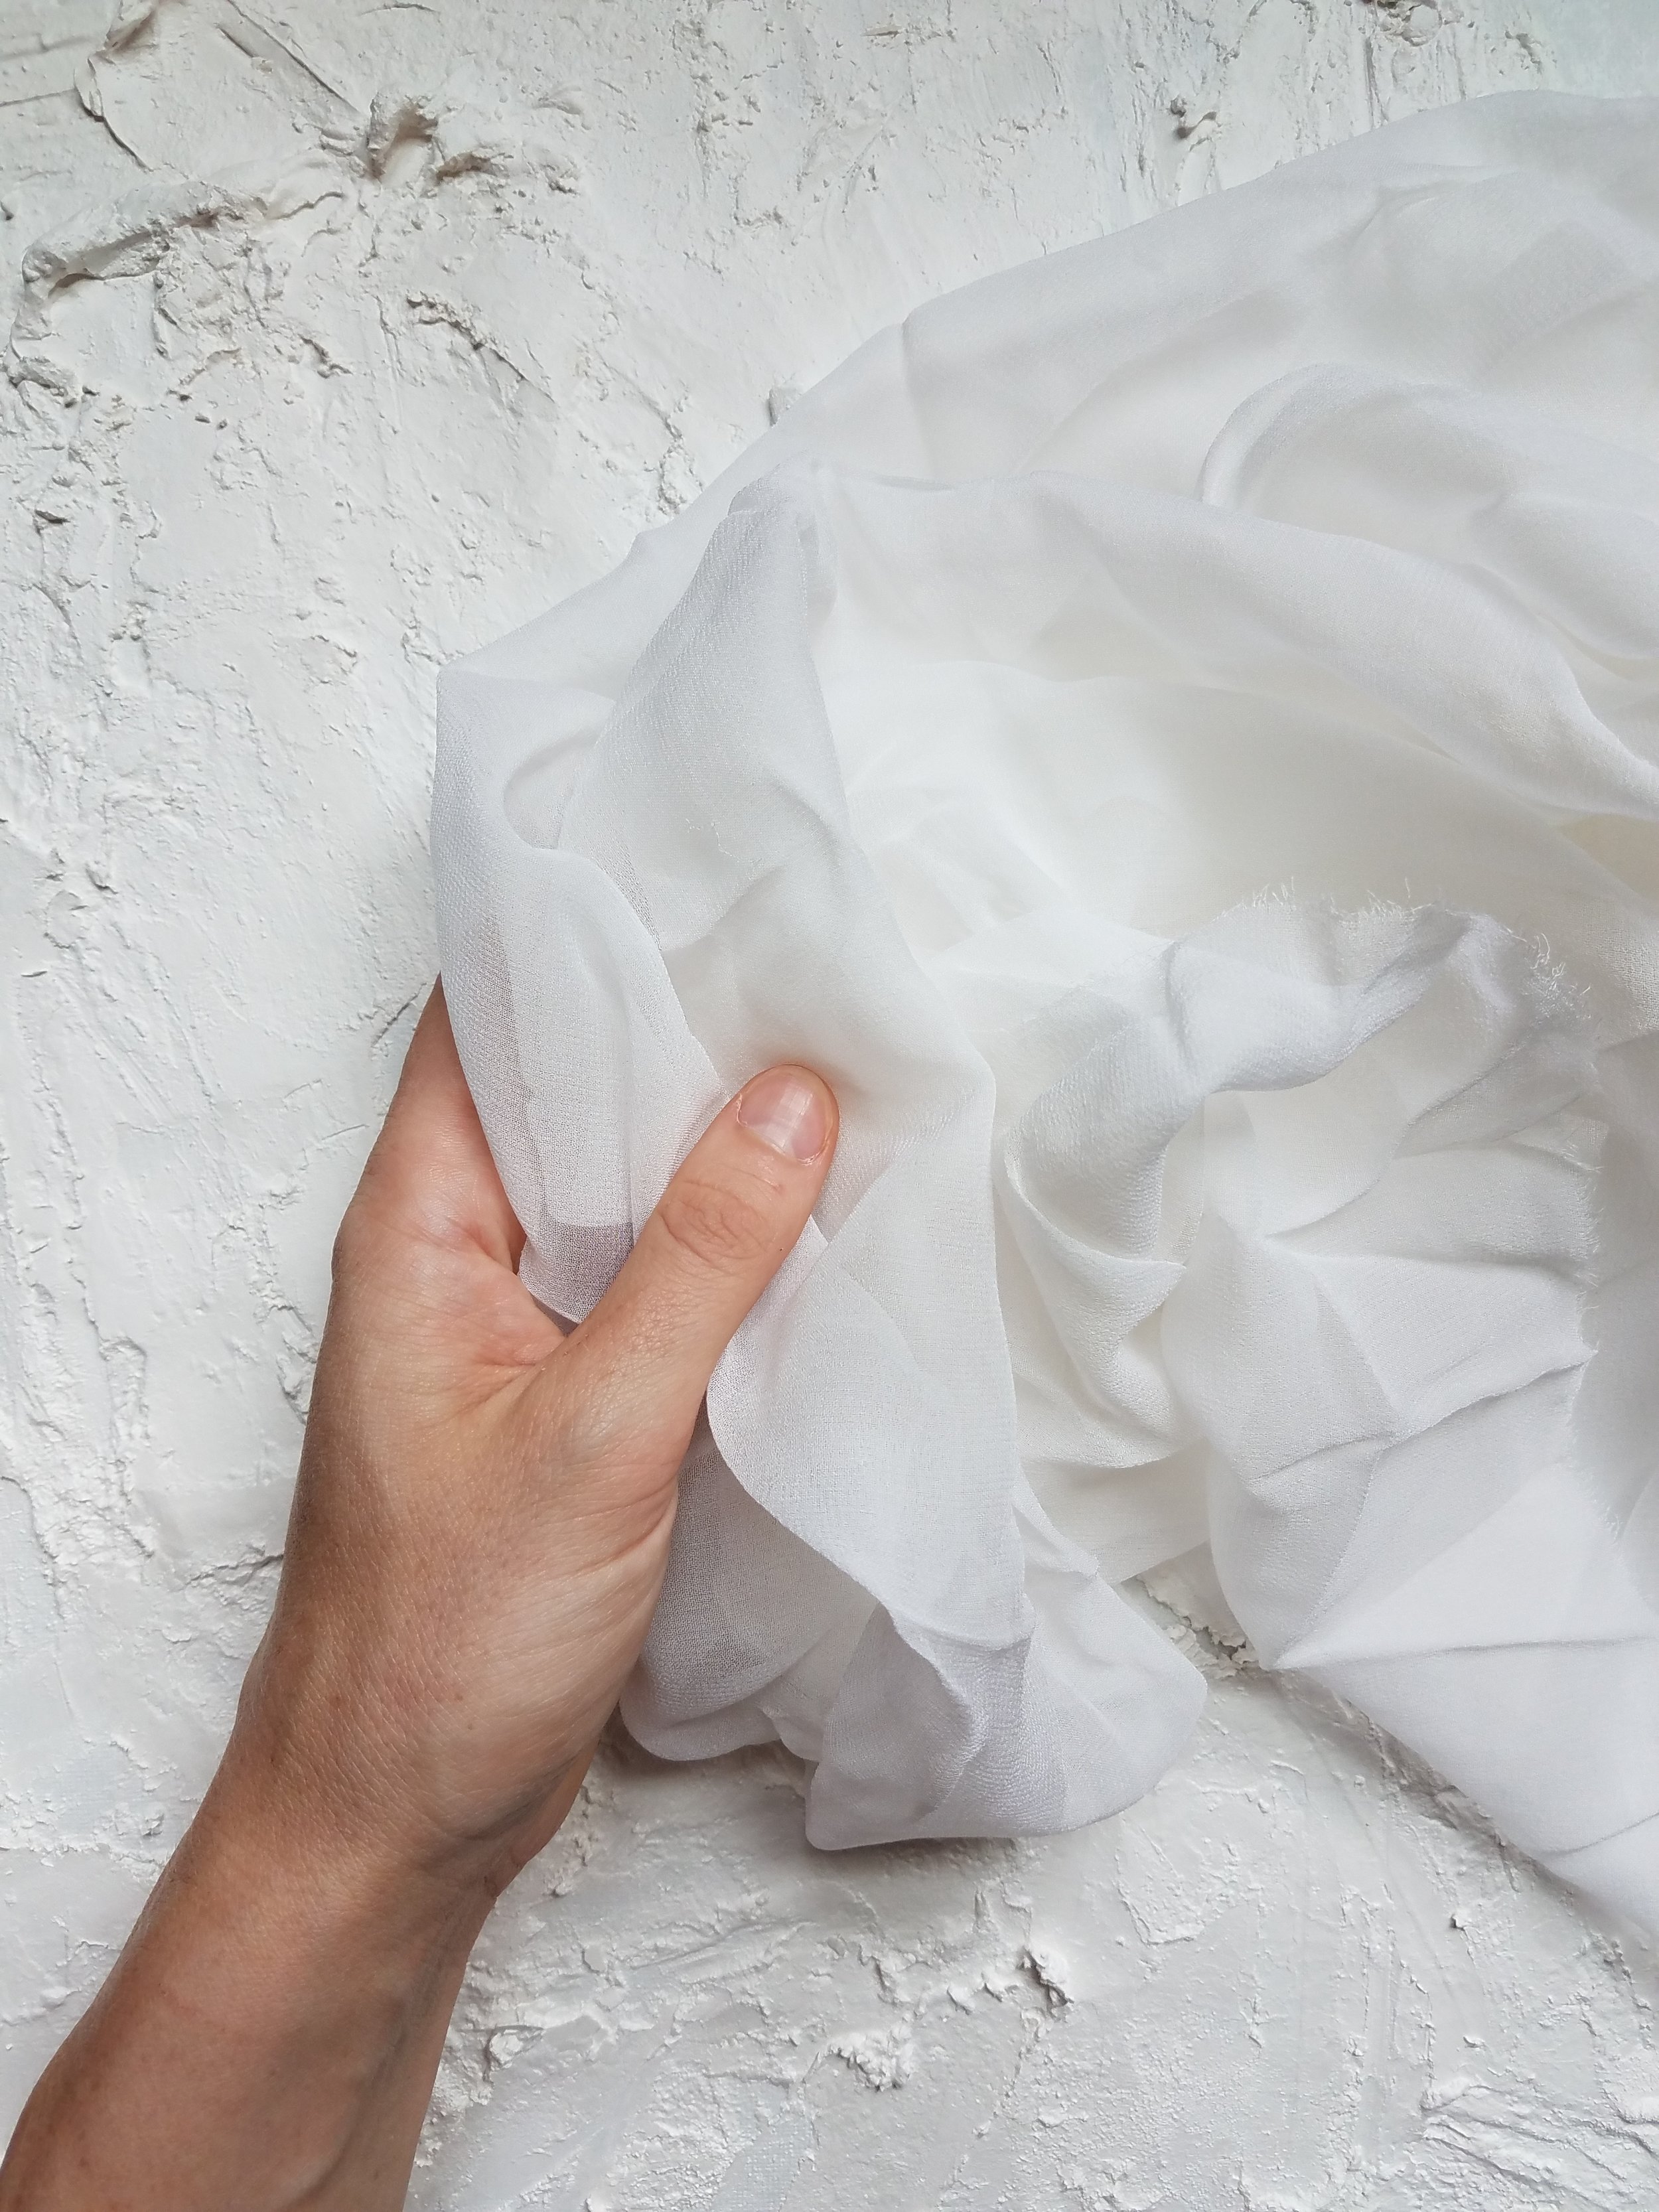
Do this until you have a complete strip of ribbon. In this test, I had to pull parts of the ribbon straight and take off stray thread fly-aways because I wasn’t working with a high-quality fabric.

Pull straight down the cut in your silk fabric

Finished strip of silk ribbon!
Step 3: Prep Your Dye for the Silk
You can make your own natural dye at home! Do a bit of research to determine what natural dye color you’re going for, and follow those instructions.
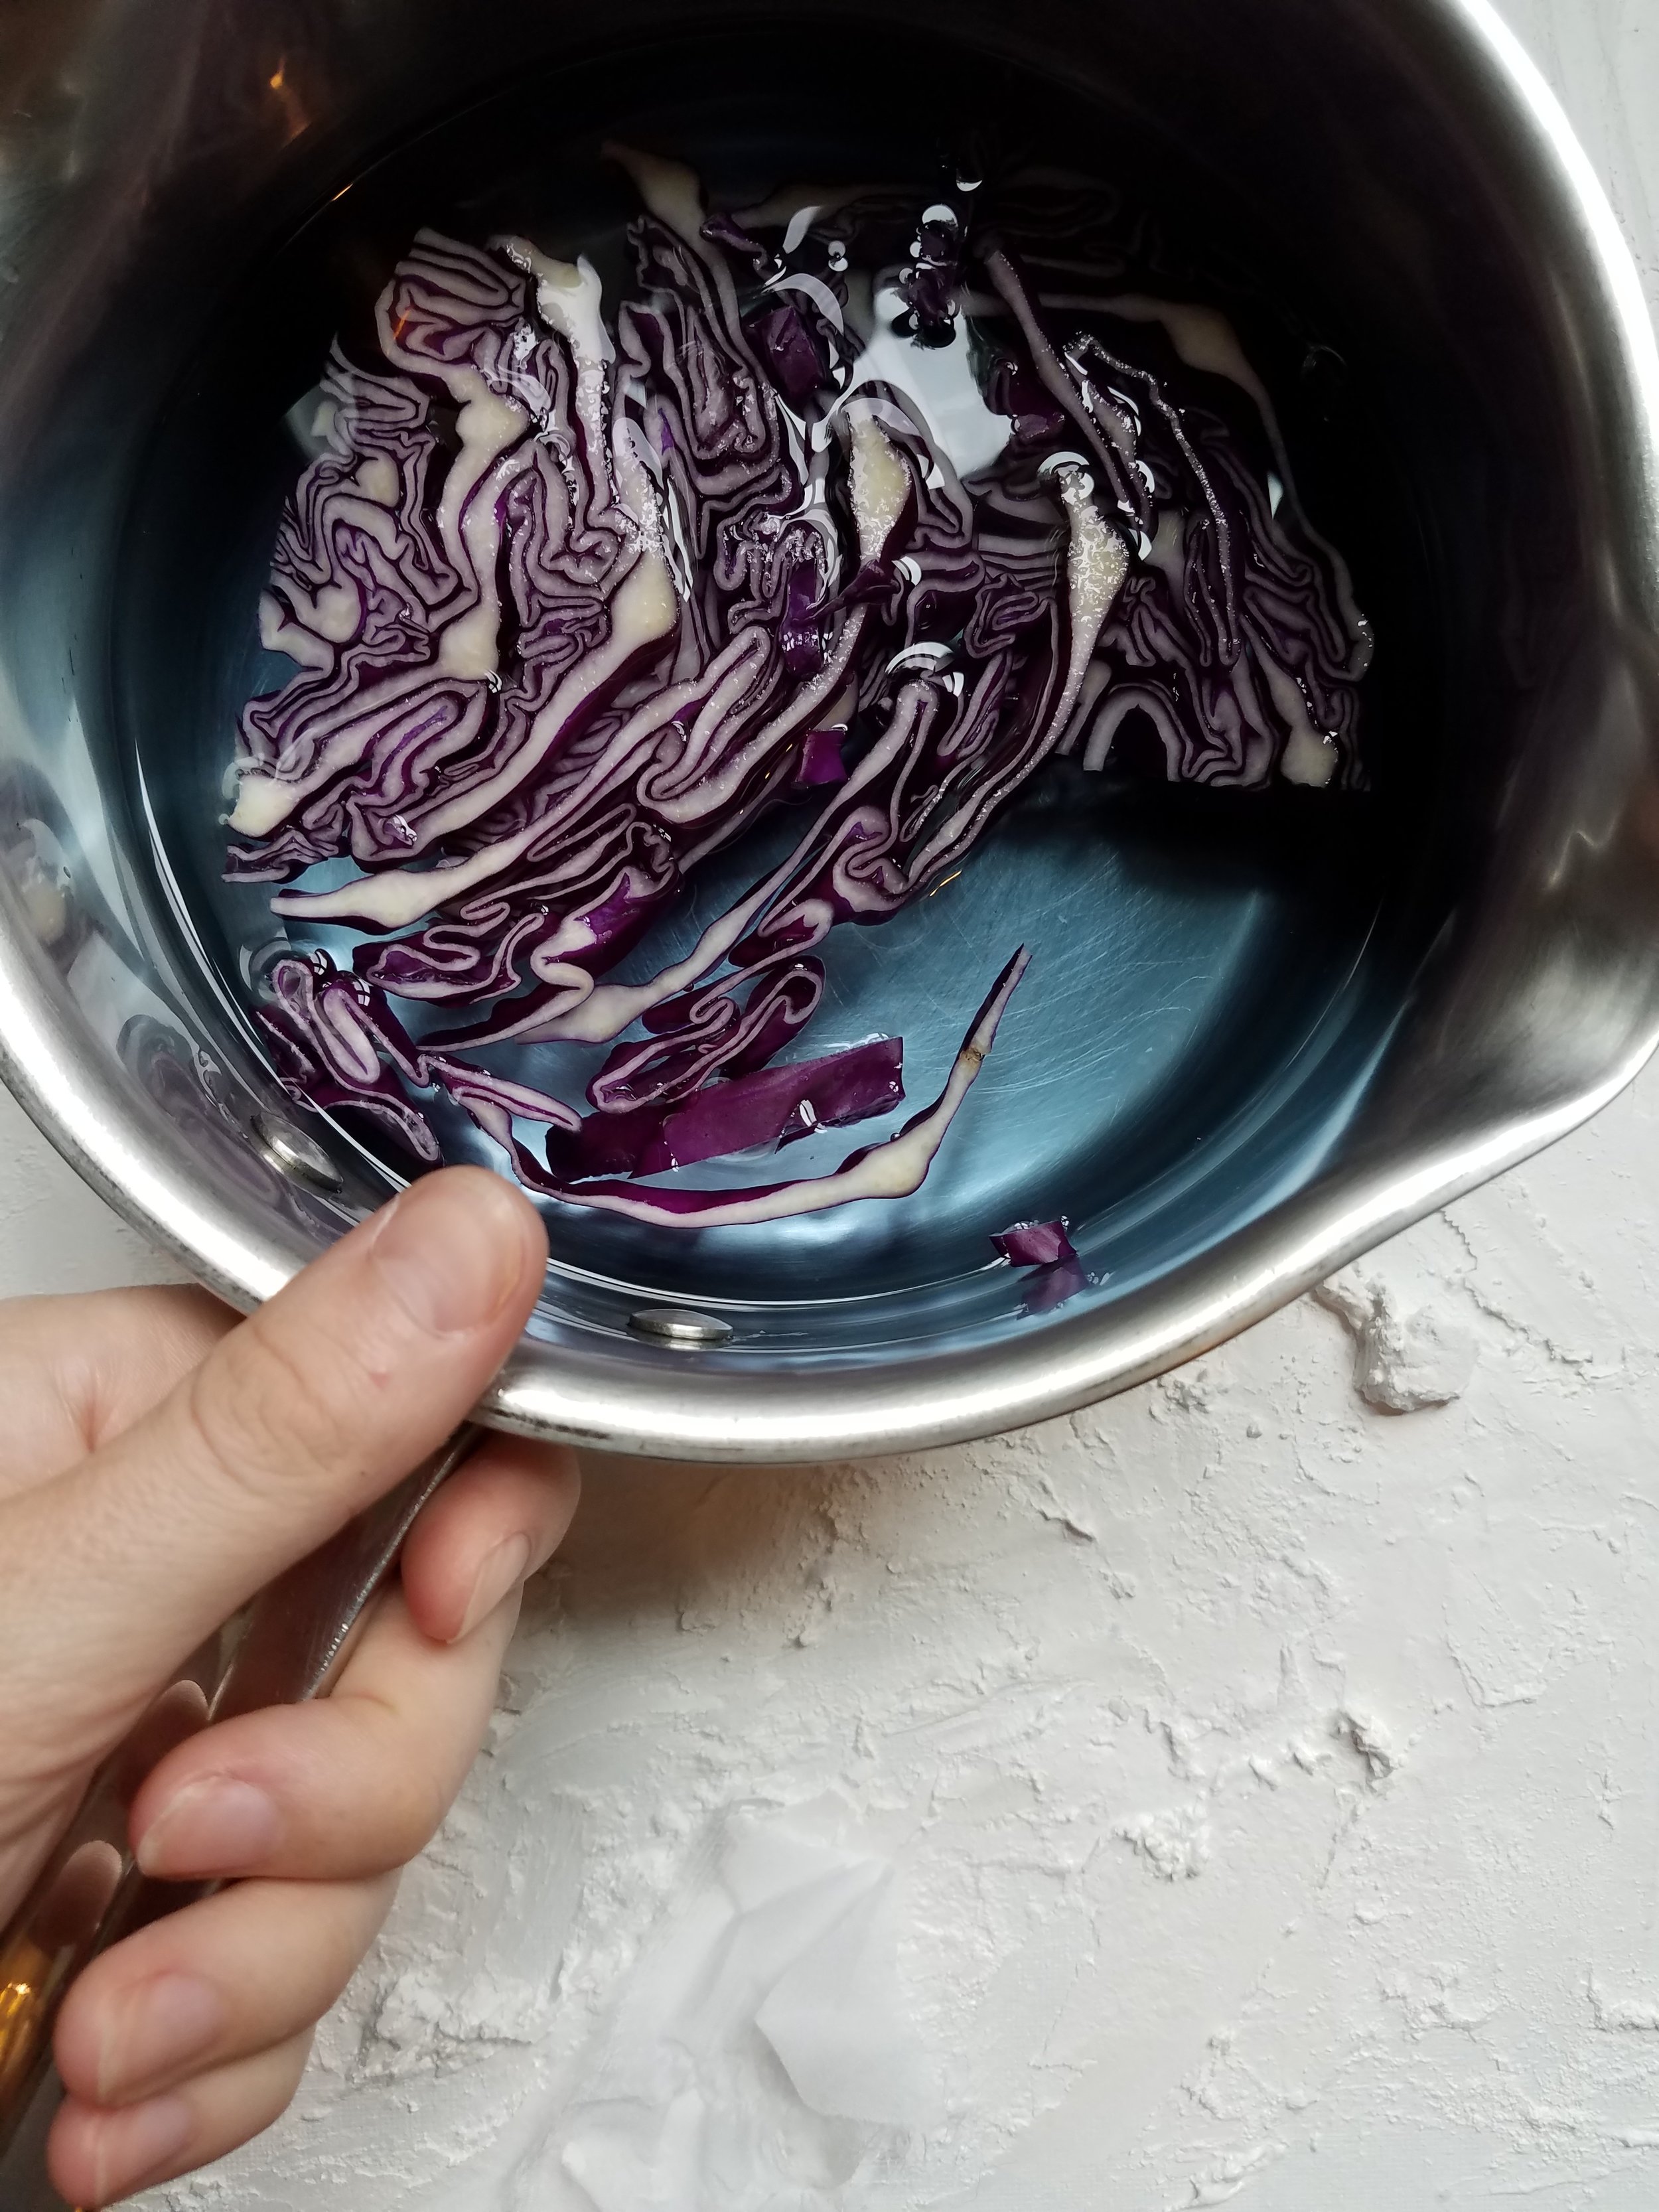
For this project, I looked up some common household grocery items that could be used to dye fabrics and what color they would come out to be. I chose red cabbage because it is supposed to give a blue dye, but can easily change color as you manipulate the pH with vinegar or baking soda.
I thinly sliced the cabbage and put it in a pot to just covered with water. You could already see the pigment coming out from the cabbage after a few seconds!

Create your own dye for silks using natural ingredients
Follow step by step methods for dye based on the color you’re going for
I then boiled the cabbage for about an hour to get as much color out the cabbage as possible. Once the boiling was complete, I strained out the cabbage to have a clean dye.

Purple cabbage used to make natural dye for silk ribbon

Strain your ingredients to complete the dye
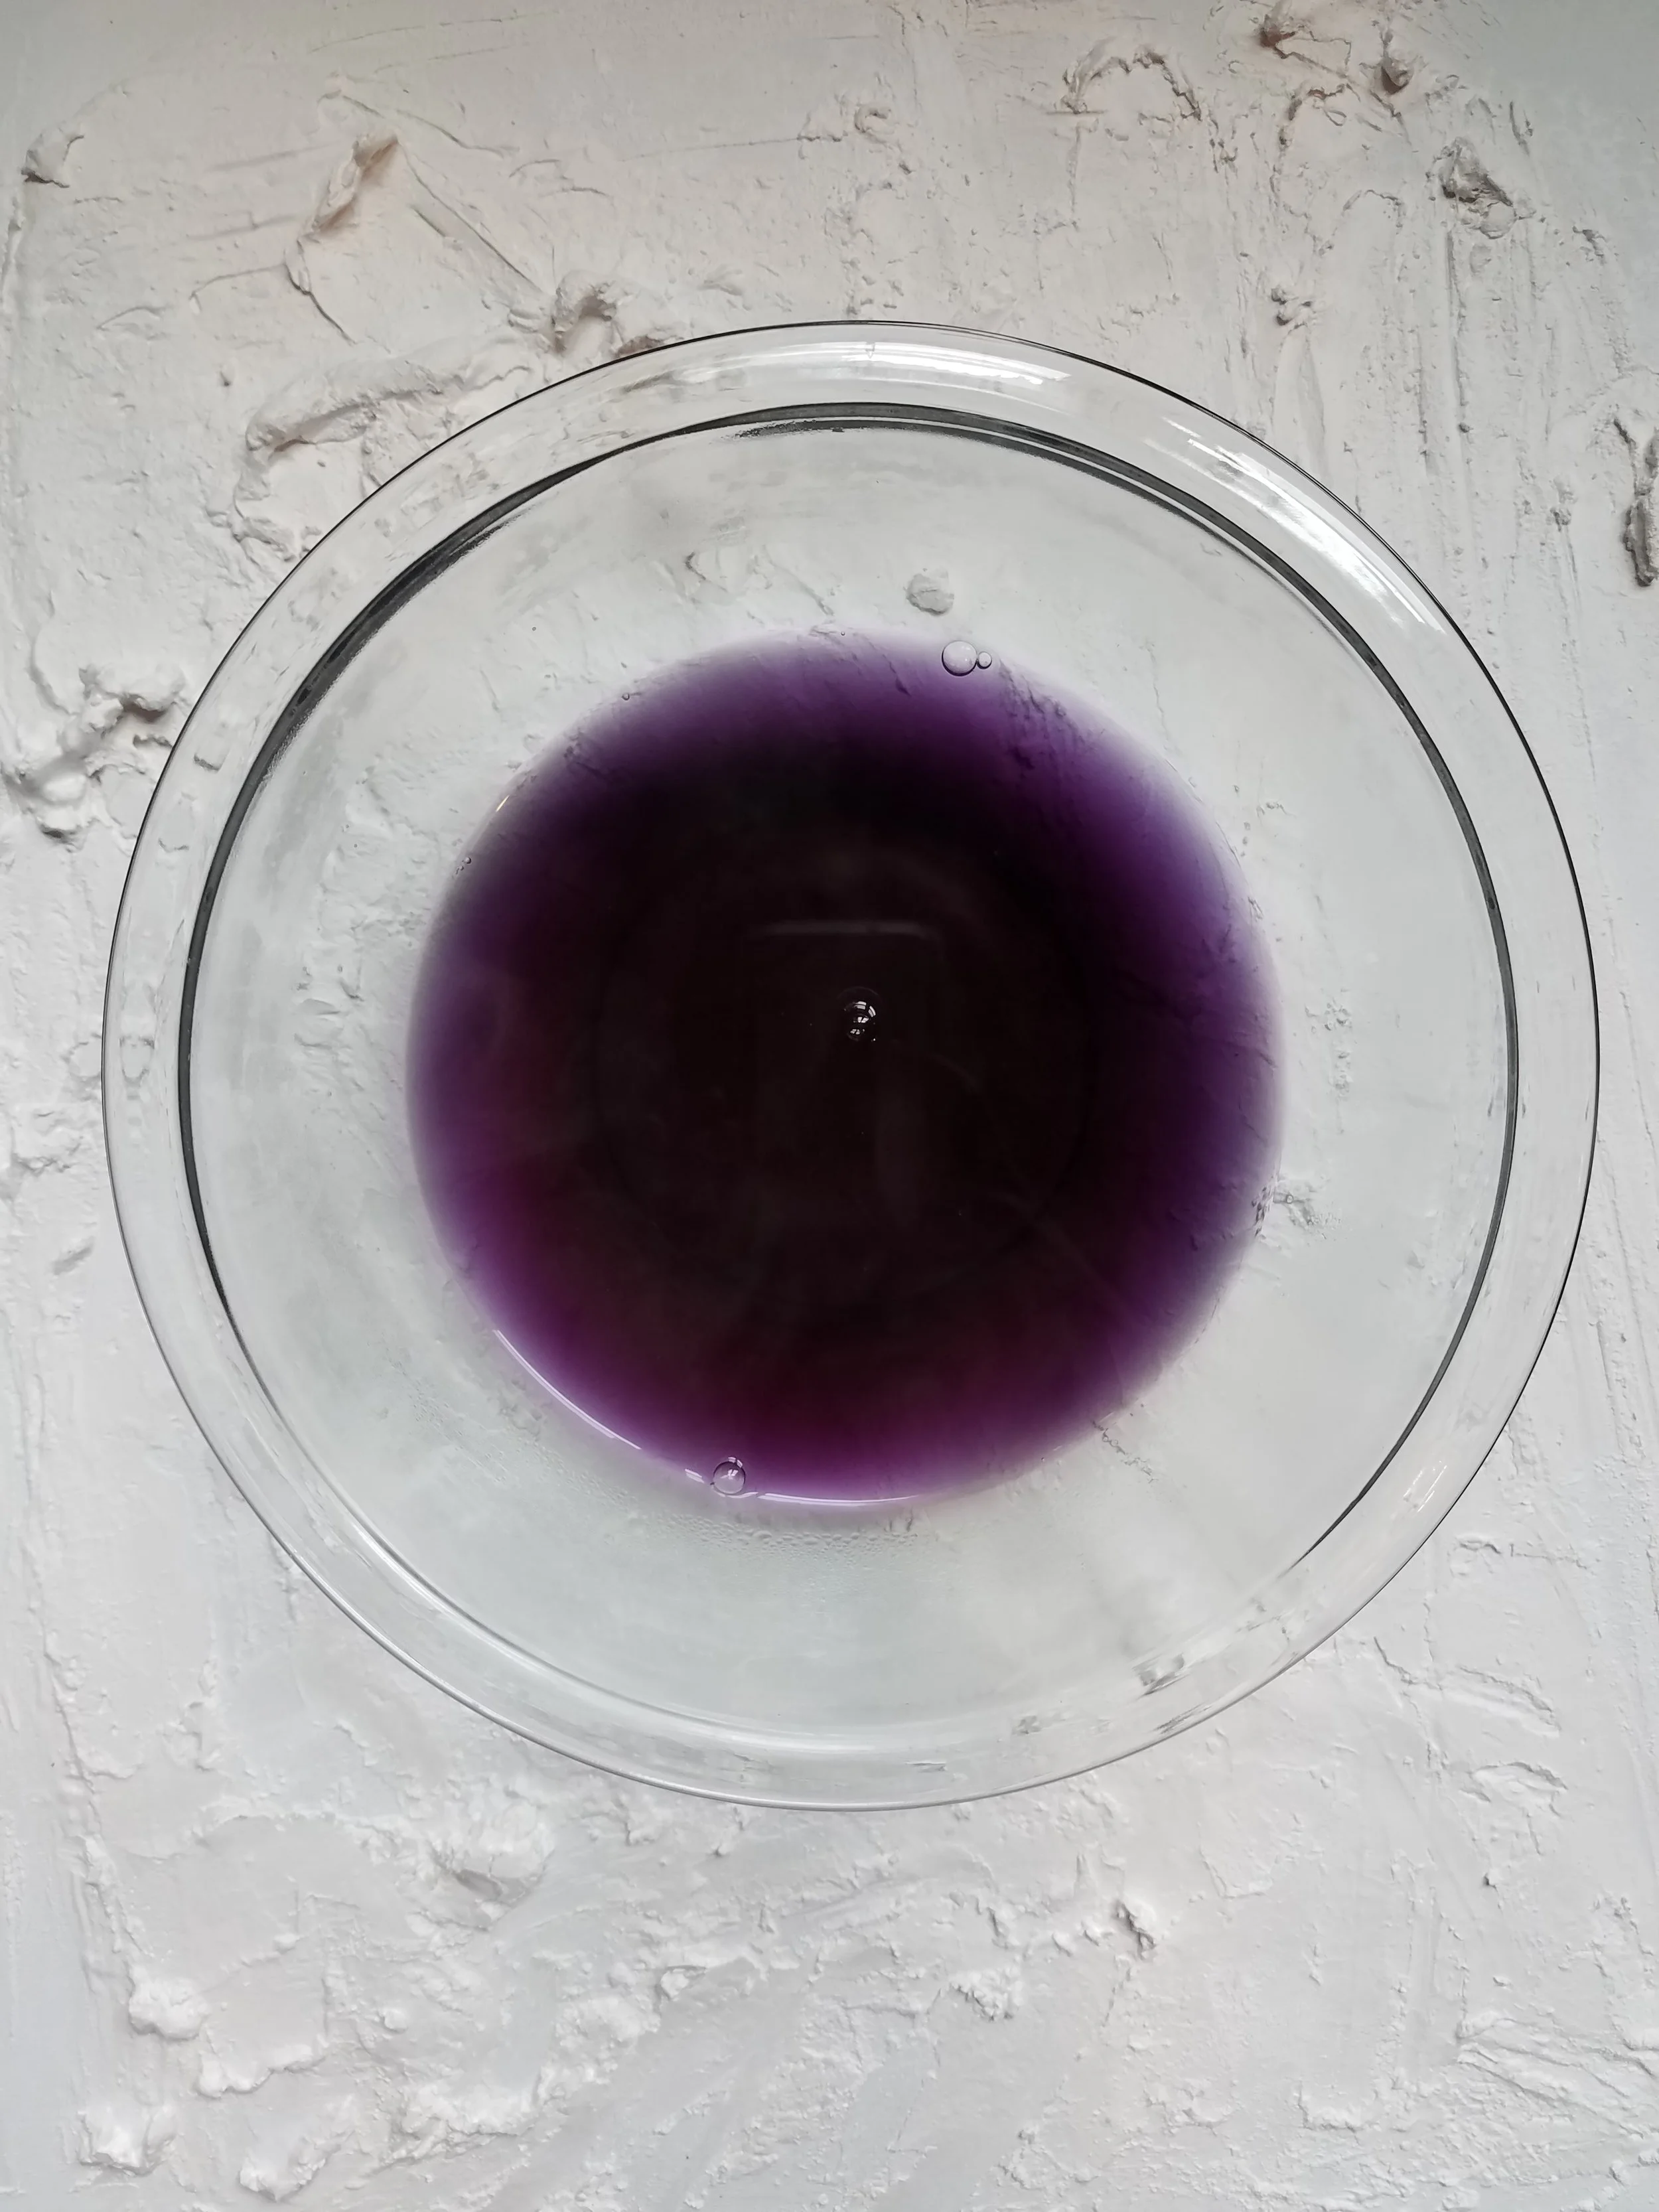
Homemade all-natural dye
Step 4: Dye the Ribbon
Below is a photo of the velvet, chiffon, and plain silk ribbon before dying.

Velvet, chiffon, and plain silk homemade ribbon
Submerge your ribbon into the prepared dye while it is still very hot. It should take the color instantly. For good measure though, for this project I let the ribbon sit in the hot dye over low heat for 30 minutes to get as much color as possible.


While your ribbon is taking in dye, prepare an ice bath for the ribbon. Once your dye time is up, remove the ribbon out of the hot dye and immediately dunk it into the ice bath.


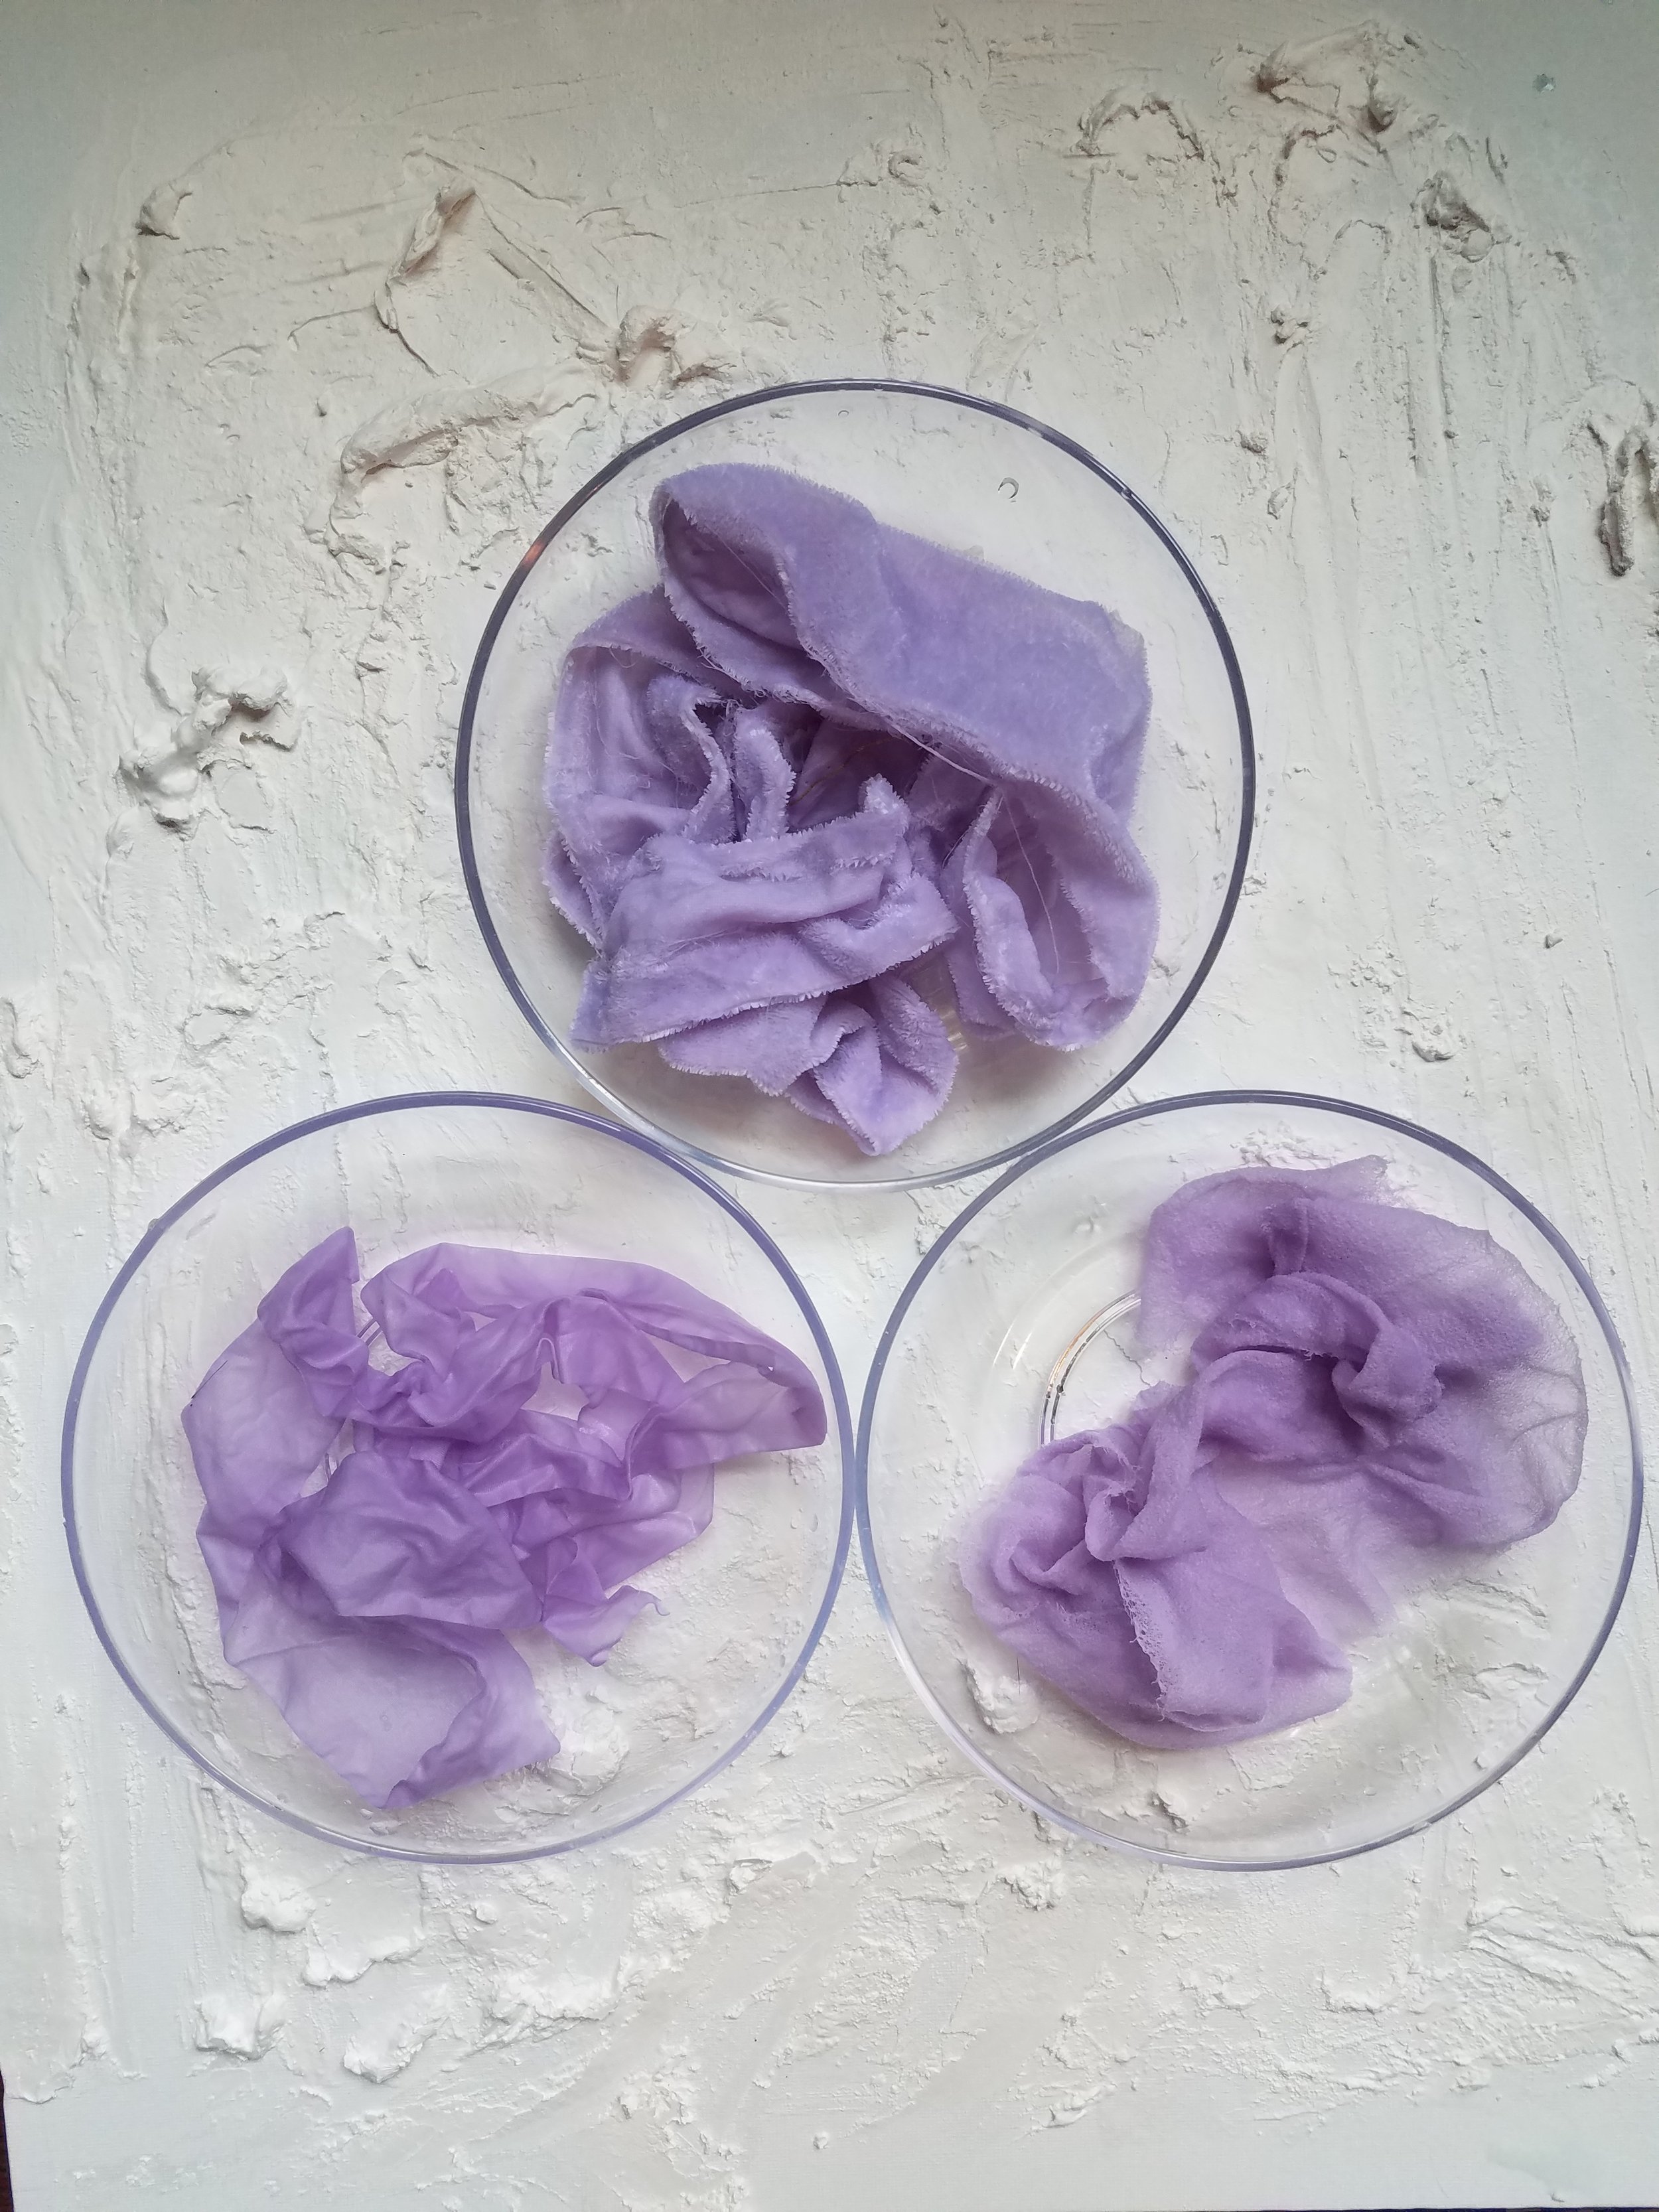
Press as much liquid out of the ribbon as possible and give it a quick rinse of clean water. (You can see below the velvet, chiffon, and plain silk ribbons after dying.)
Step 5: Let the Hand-Dyed Ribbon Dry, Then Press
Hang your silk ribbon to fully dry, and then once dried, press using a gentle heat.

I hung my ribbon on the shower curtain rod to dry. The chiffon and plain silk were ready in a few hours, but the velvet needed overnight drying. To reduce wrinkling, I opened and flattened the wet ribbon while hanging.
If you flatten the ribbon before drying, you get a lovely wrinkled version for a boho and casual look. But if you want fewer wrinkles, simply run the piece of the ribbon through a flat iron (like one you’d use on your hair) once the fabric is dry. In the photo below, the left side is wrinkled and the right side was ran through a straightener.

Step 6: Enjoy Your DIY Silk Ribbon!
I hope you enjoyed learning how easy, satisfying, and cost efficient this project can be! Go forth and give your bouquets that wonderful air of hand-done, effortless design.
A few important final notes to keep in mind:
Many of the hand-dyed silks out there are made with natural and plant-based dyes. This requires extensive knowledge of each dye and how they interact with the specific material the fabric is made from. Make sure to do your research!
It’s imperative to know the best type of mordant (or substance that fixes the dye to the fabric) that works best with each type of natural coloring. If you do not do this properly with natural dyes, the color will wash out almost immediately. I got lucky: The pot I used for boiling the cabbage and fabric was a type of inorganic oxide that acted as a successful mordant and allowed the ribbon to hold the color, although it changed the blue dye color to a strong lavender.
Have fun making your own silk ribbon, flower friends!
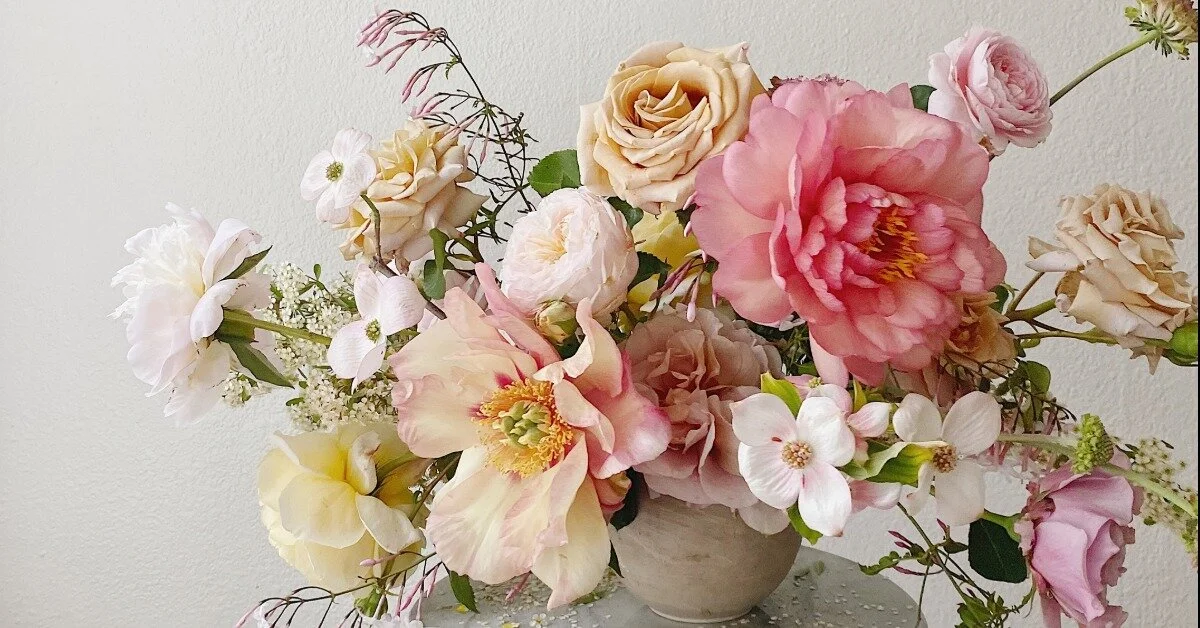
Use your silk ribbons for something gorgeous. To learn the tips and tricks of making beautiful garden-style flower bouquets (and more), check out our Bouquets and Personals online floral design class!