How & why to grow raspberry for foliage
I know it sounds like an unlikely and surprising candidate for floral design but I’m here to open your eyes about using raspberry canes for foliage. While raspberries are a common garden plant and found on most rural farms, I haven't found it to be a common design element in floral arrangements. This fact is what makes it a new and exciting plant! With local growers popping up everywhere, being a “shippable” product isn’t the only factor anymore, which opens the door to new and unlikely plants being usable. I predict that shortly, raspberry foliage will become an industry standard.
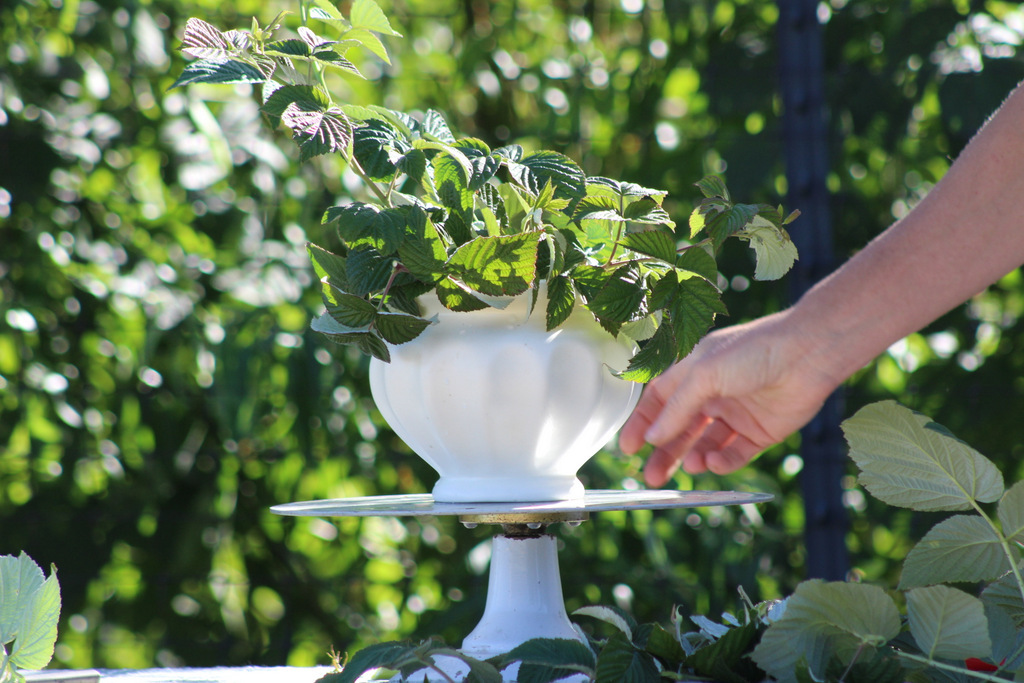
Raspberry is super easy to grow, harvest, and use. You really can’t make a mistake with it. It even thrives in floral foam and can be chopped into all sorts of tiny pieces to cover the unsightly stuff. Its natural form drapes easily to soften the edge of a vase, and it has a long vase life that will absolutely be the last thing to die in an arrangement. This heavily textured foliage with deeply veined leaves can hold its own, combined with the most elegant flowers and yet — is just as pleasing in a country bouquet. The benefits of using raspberry are so abundant that they outweigh the negatives. Now I'll share how to grow and use raspberry canes as foliage!
1. Buy the plants
Make sure you buy raspberries that are thornless and suckering. The fruit on second-year growth, are red, and sucker like crazy.
2. Plant them!
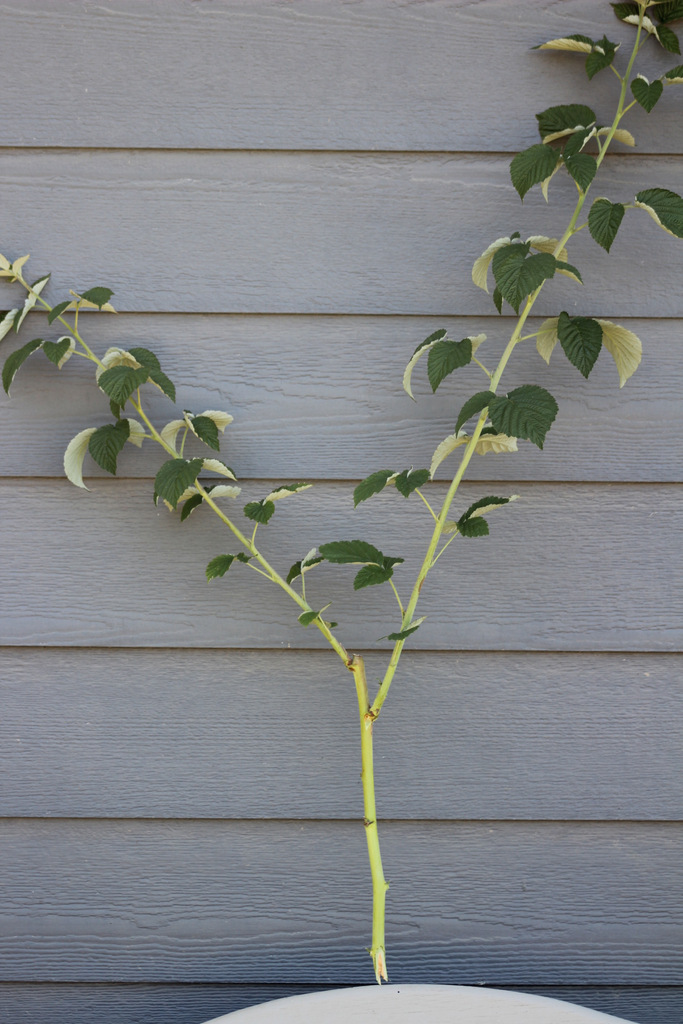
Here is an example of the cut-and-come-again feature. The main stem was clipped, so it then sent up two more very useable nice stems to cut from again.
- Plant them in a neat, single-file straight row somewhere away from other gardens (they like to sucker and will invade other spaces).
- Get rid of the grass in the spot you have chosen and then till or cultivate it in some way. You can even dig it by hand with a broad fork or garden fork. Early spring is a great time to do this, and of course, compost worked into the soil never hurts!
- Plant the roots/plants you receive and water them in to settle the dirt around the roots so that there is good contact with the soil. Keep them watered until they're well established. Some mulch is a good idea with a soaker hose laid down so that you can easily water them when needed (raspberry roots are shallow).
- Easy as that! You now have a raspberry patch for cutting foliage.
3. Maintaining the plants
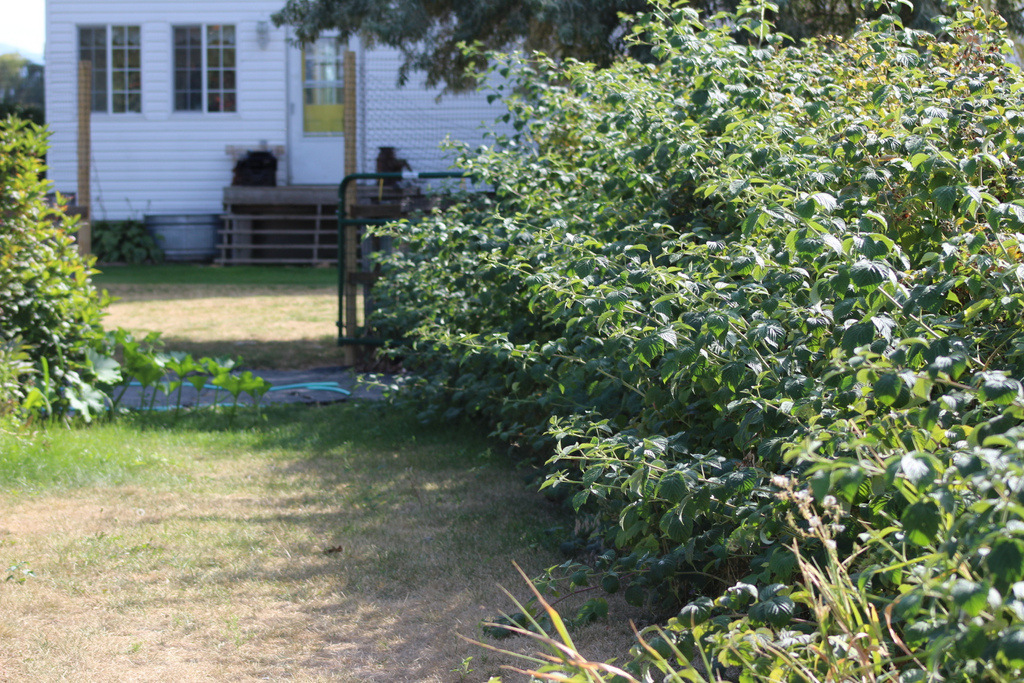
- When planted in a single row, you can easily mow around these plants with your lawn mower. This strategy keeps these beauties from becoming a large, matted, and tangled mess. Mow as close to the row as you like to keep it within its boundaries.
- I would cut the main stem of the plant down to about 10 inches. Then do not cut anything else the first year. Let the plants grow and build up strong root systems.
- In the second spring of growth, the plants will be leafless canes sticking up in the air. They will produce fruit and then die in the fall. You could clip back the tops, which would make them branch out and you would get more fruit/cutting material. These little side shoots will produce great little stems with berries on them for your design work.
- Also, during the 2nd season of growth, they will be shooting up more canes from the ground for next season’s fruit in their 3rd summer. Every time you take a cut, it will trigger the plant to send up another shoot making more stems for you to cut later. That is why I call raspberry a “cut-and-come-again” foliage. Once established, it just keeps pumping out stems from June through frost, non-stop.
- Maintenance in Spring: Every spring we cut out the old dead canes and tie up the newest living canes. They need to be tied up, or they will topple over onto the ground as the fruit ripens making picking awful and the patch unsightly. An easy way to stake the raspberries is to drive in metal fence posts down the middle of the row and tie a strong nylon string around the plants from post to post, cinching them together. You will cut this string next spring when you are cleaning the patch and put up a new one again.
- One word of caution: I have talked to other growers who say that in their areas raspberries get a funky disease which ruins the fruit. However, a fellow grower solved that problem. Every spring he completely mows down the raspberry patch to the ground. This measure prevents fruit from growing but doesn't prevent cut foliage (which you'll mostly be using). His method of cutting everything down completely takes out the maintenance issue in the spring. It doesn’t get any easier than that!

This winter, pick out a spot in the yard for that new raspberry patch and order your plants. You’ll make all that money back plus much more on the product you won’t have to buy from the wholesaler.