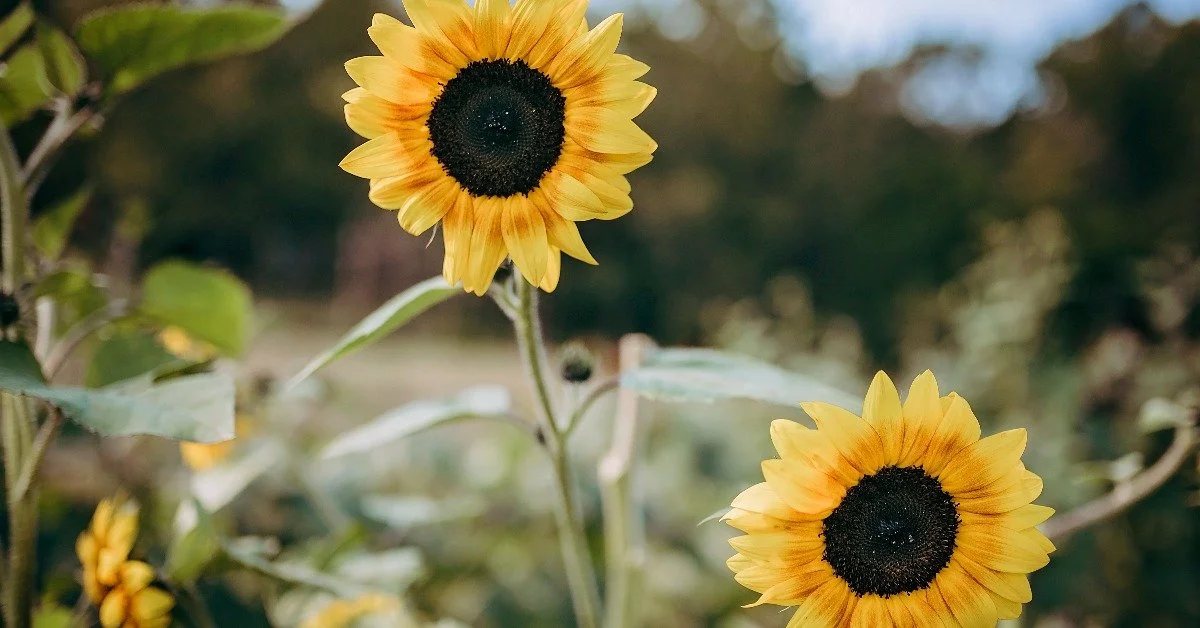
The Why and How of No-Till Flower Farming
There’s been a lot of buzz in the farming community about no-till farming. It’s a practice of preserving the soil ecology, sequestering carbon, and building soil organic matter. It is not necessarily new, but it is quite the shift from the way agriculture has been traditionally practiced over the last century.
Thankfully, young folks are entering the farming scene at a faster rate these days and are eager to do the best that they can while keeping in mind what’s best for the earth and mitigating climate change. This is where the interest in no-till farming comes in. I’ve been no-till flower farming for four years now, and I have already seen remarkable improvements in my soil and yields in my crops. It is my aim in this post to share why tillage is detrimental as well as exactly how you can start your no-till farm or garden!
why should you adopt a no-till flower farming method?
To first understand why farmers should adopt a no-till agricultural practice, it is necessary to know about tillage and it’s harmful effects. Tillage is any type of disturbance to the soil, most commonly done by tractors, by stirring and over-turning the earth. This is done to make the soil more workable in the short term, to “fluff up” the ground and make it easier for planting. Even though farmers have been tilling their lands for over a century and have managed to feed a growing population successfully, it has not been done without harmful effects, including killing all soil life (worms, snakes, lizards, and much more), compaction of the soil to create a hardpan, increased risk of disease pressure, increased erosion, soil runoff, decreased water infiltration, destroyed soil aggregates, soil loss, and reduced soil organic matter. The list is daunting.
The USDA released a statement in a 2010 article titled “Farming in the 21st Century: A Practical Approach to Improve Soil Health” saying, “ Tilling the soil is the equivalent of an earthquake, hurricane, tornado, and forest fire occurring simultaneously to the world of soil organisms . . . . Simply stated, tillage is bad for the soil.”
Wow! Imagine a natural disaster wiping out your state. Millions of people would die, and it would take a lot of time for you to re-establish yourself and your community again. This is what soil organisms go through every single season.
In the soil, there are entire communities and layers upon layers of life that have taken time to establish. When we till, we disrupt all of that. We kill all the life that was there. How ironic is it that we kill life to grow new life? This only scratches the surface.

One of the biggest impacts tillage has had on the environment is the decrease in soil organic matter (SOM). SOM consists of plant and animal residues at various stages of decomposition and substances synthesized by soil organisms. It is essentially what makes up a healthy soil. Before conventional tillage methods were introduced, America’s soils had roughly 6–10% SOM in them. Today, after only a century, our soils have 1–3% SOM. We do not have another century left to farm the way we are farming. Simply put, if we don’t shift the way we cultivate soon, we’ll lose all our available topsoil and farmland will be rendered useless. Depressing, right?
The bright side is, the soil has the ability to repair itself with a little help on our part. This is where no-till farming becomes critical. Soil organic matter contains carbon. It is necessary for healthy soils that carbon is stored there. Right now, there is too much carbon being stored in the atmosphere causing global warming. The very act of tillage causes carbon and nitrates get volatilized out of the soil, combine with oxygen, and become stored as greenhouse gases. Carbon and nitrogen are the two things a farmer needs most in their soil, and globally, we have already lost two-thirds of carbon in the soil to the atmosphere. By adopting a no-till farming strategy, one can begin to sequester carbon from the atmosphere and store it back in the earth. Agriculture is one of the largest and cheapest ways that we could mitigate the effects of global warming. According to Dr. Rattan Lal, Ohio State Soil Scientist, “A mere 2 percentage point increase in the carbon content of the planet’s soils could offset 100 percent of all greenhouse gas emissions going into the atmosphere.” There is so much promise here!
I could go on and on about the harmful effects of tillage, but I’m guessing you get the picture and you probably landed on this post because you’re interested in no-till farming! So let’s get to the good stuff.
how to implement no-till flower farming
There is a three-step approach, adopted by my mentors at Singing Frogs Farm in Sebastopol, California, who have been no-till farming for over seven years. Their practice is synonymous with what the USDA recommends, and it maintains that farmers:
Disturb the soil as little as possible.
Keep a diversity of living plants in the ground as much as possible.
Keep the soil covered as much as possible.
Keeping the soil covered—whether with living plants, mulch, or landscape fabric—is critical. This allows the top several inches of soil to be welcoming for soil-dwelling organisms. The soil is suffering when it is exposed, dry, and cracked. You can think of soil as the “skin of the earth." It’s living and breathing. Much like our own skin, we need to keep it replenished with quality moisturizer and generally covered—especially to protect it from the sun. Otherwise, our skin becomes dry, cracked, and unhealthy.
There are two different approaches you can take to get started with no-till growing. The first is through what’s called sheet mulching and the second is through occultation.
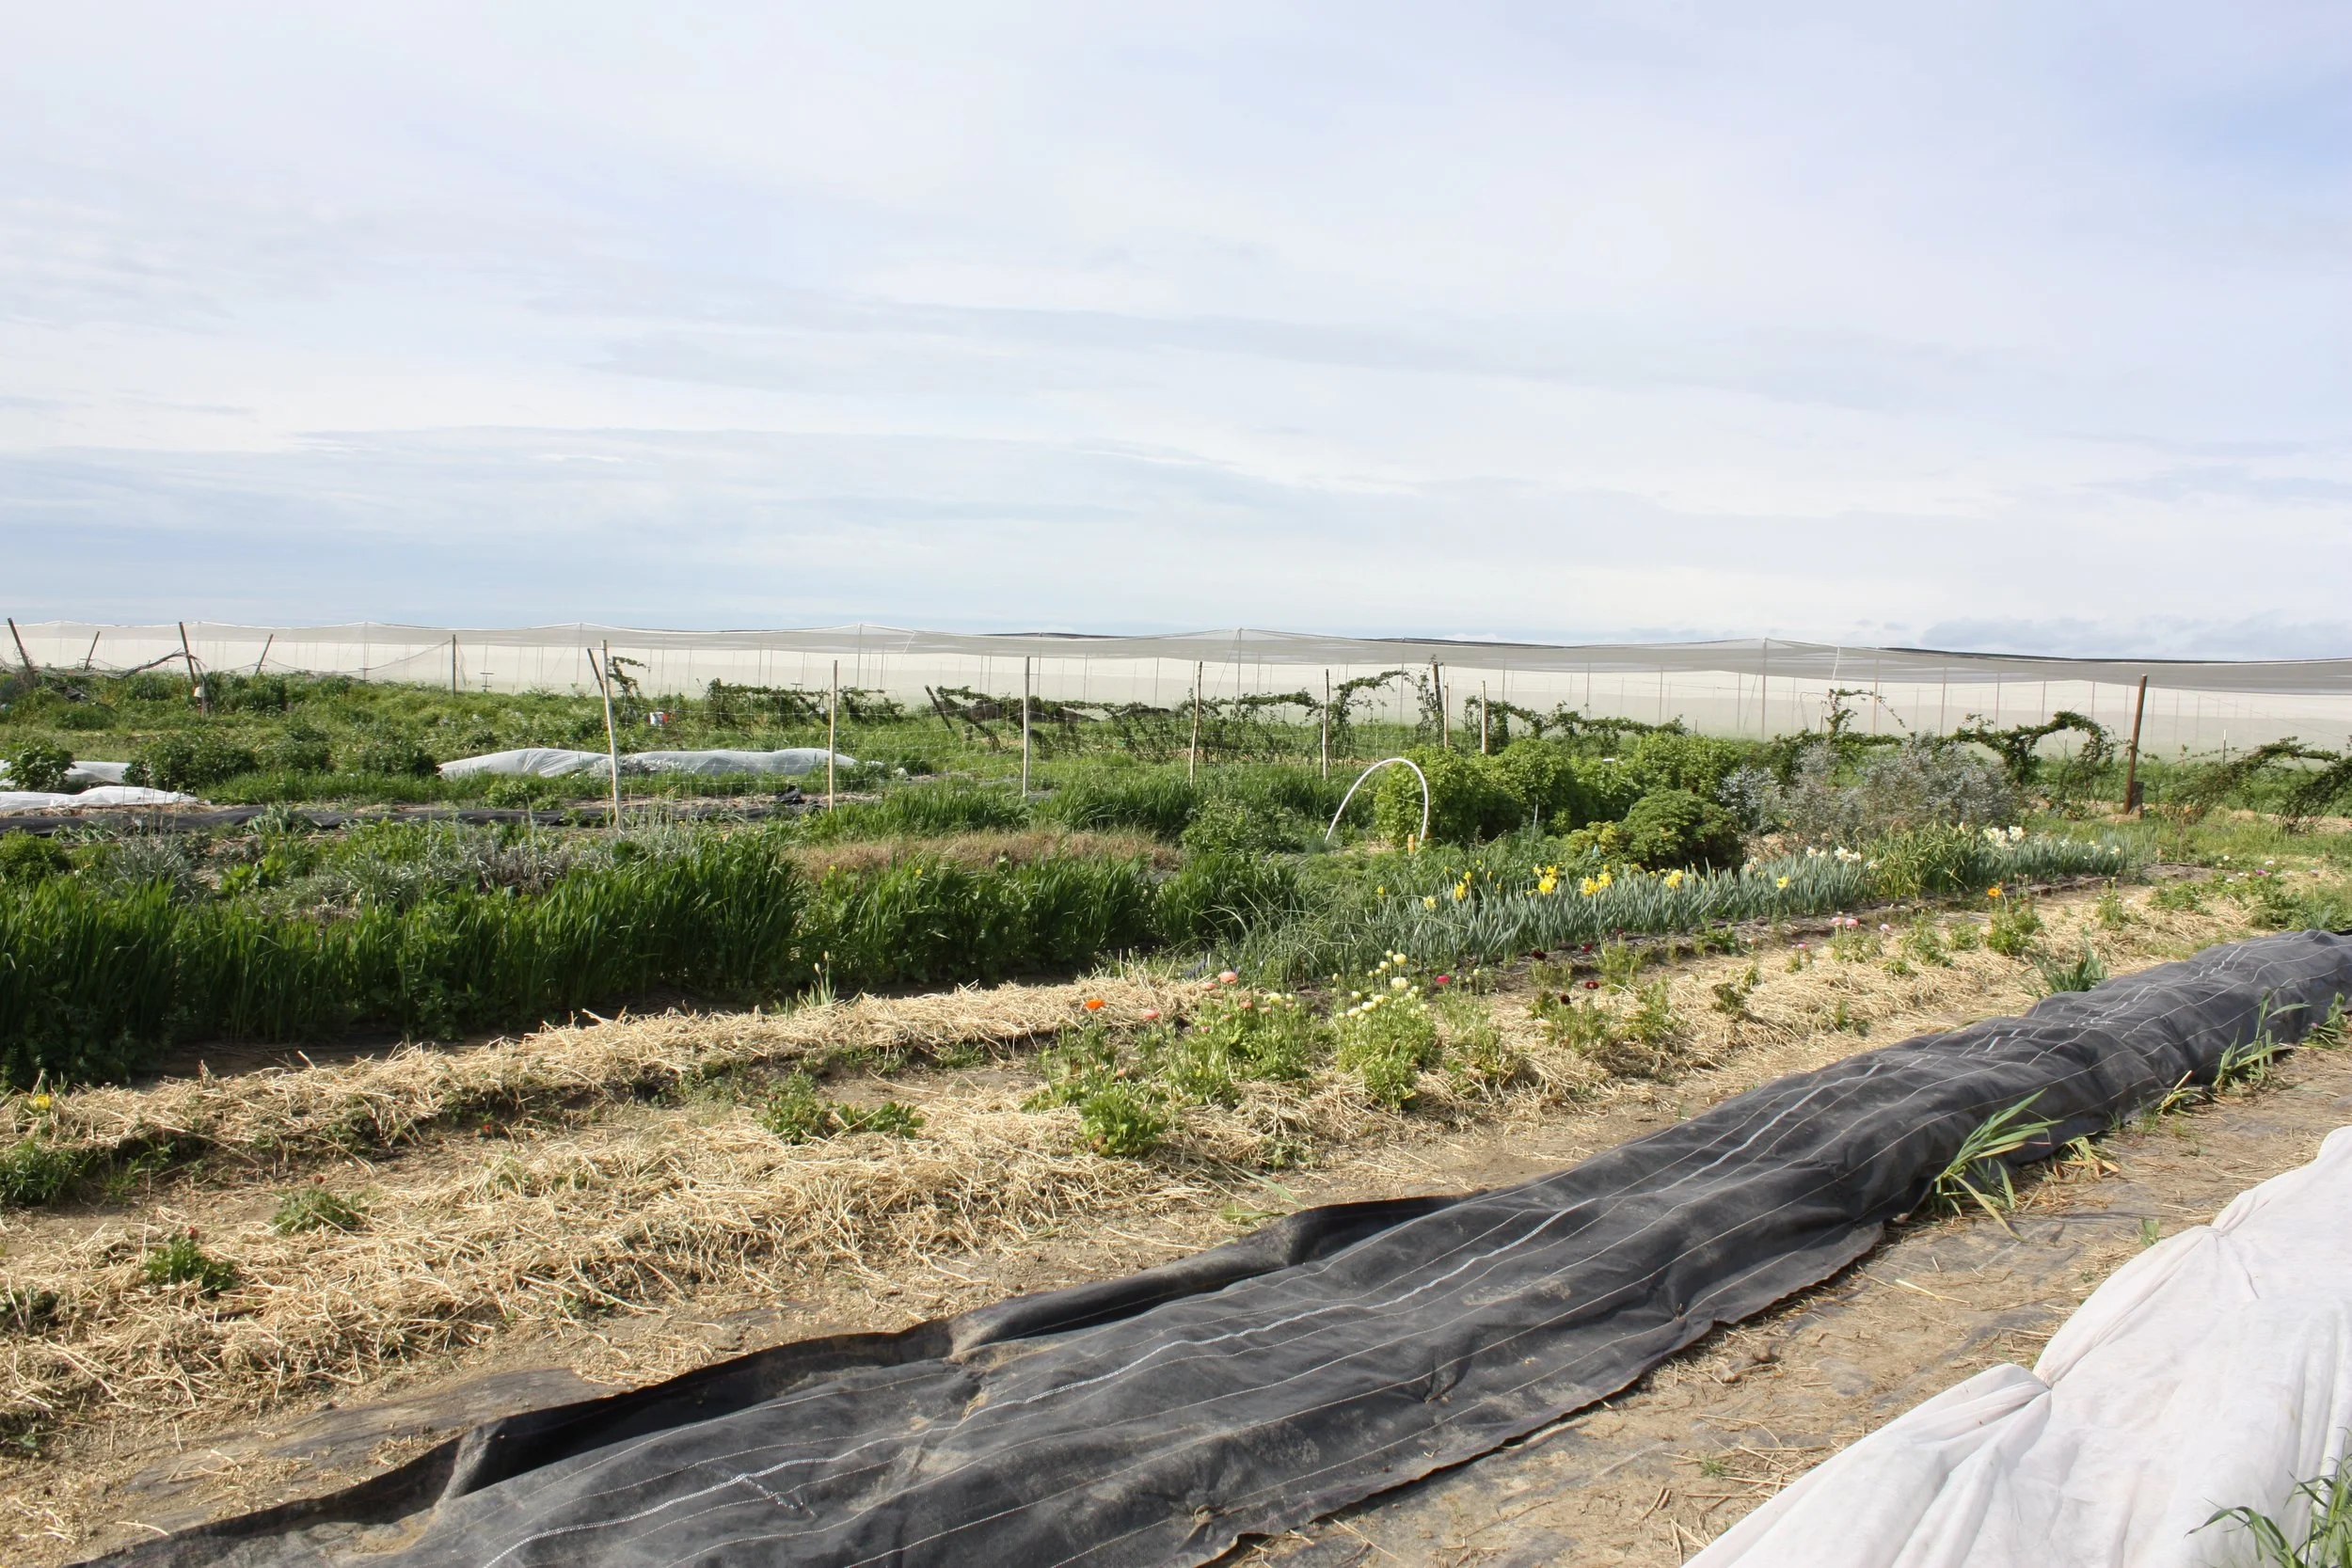
Sheet mulching is the act of covering your growing space with cardboard, amendments, compost, and mulch. Think layering and lasagna-style gardening. The amendments would be your first layer, then cardboard, then compost, and mulch as the last, top layer. This approach is resource-intensive, but you can plant into it much sooner, even within a couple of weeks.
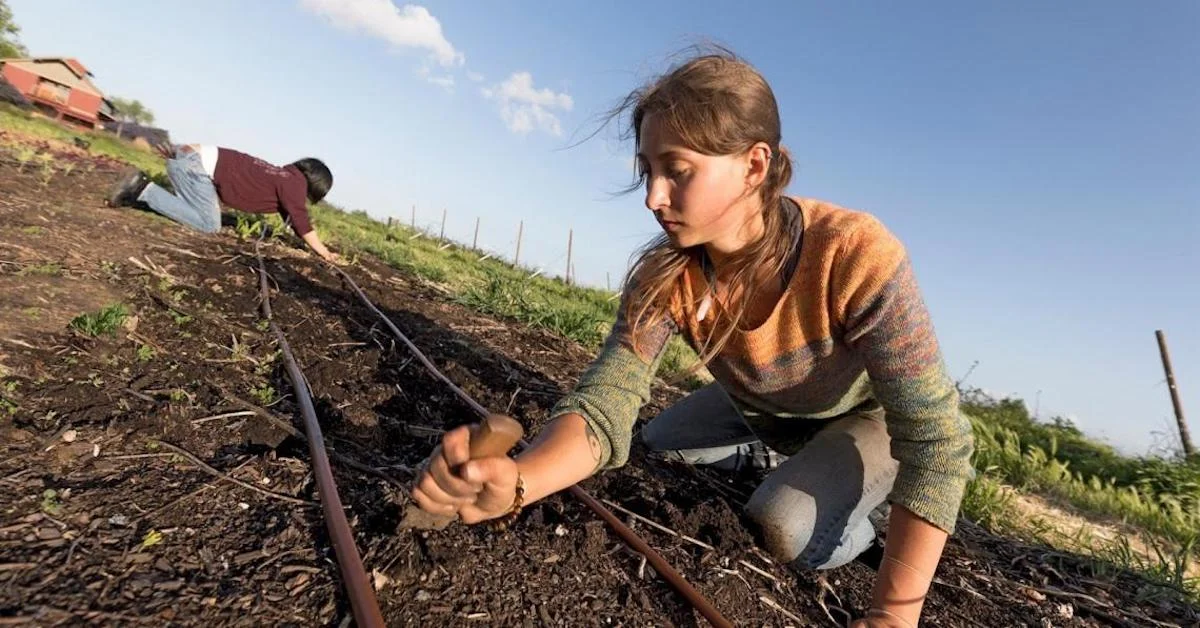
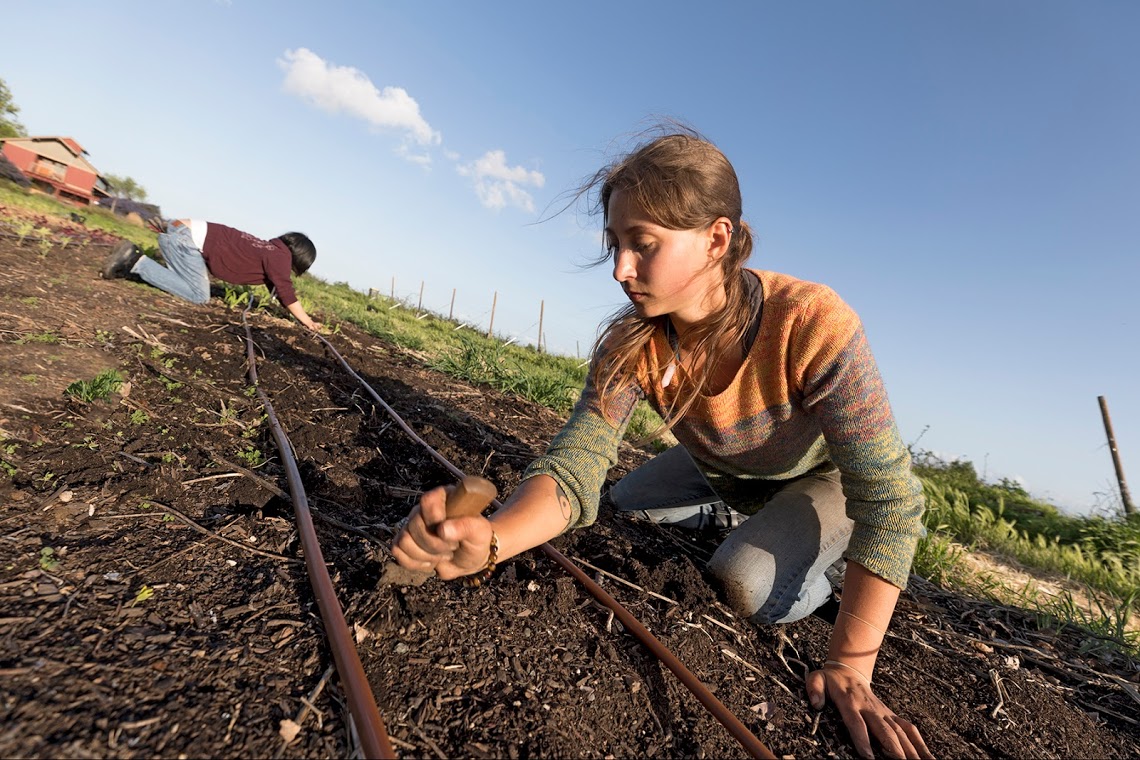
Occultation, a fancy French word meaning “hidden,” is the act of covering your growing space with woven landscape fabric. It is essential to use the woven landscape fabric, as opposed to plastic sheets, because the fabric lets in moisture and air, which will allow your soil organisms to thrive and break down the materials underneath. Additionally, the landscape fabric will block sunlight, which will smother weed seeds that try to germinate. This is my preferred method—it’s not as resource intensive, but it is time intensive. You’ll need to let occultation happen for 4–6 weeks before planting.
To help further, this is the exact approach I take when coming to a fallow piece of land that you want to grow on:
Get a soil test done. They are relatively inexpensive, take about two weeks for results, and it will give you insight into what you should be amending. Find your nearest soil analysis lab online, and they will have a sheet of information on how to take your sample and send it in. I would recommend the simple routine analysis with pH plus micronutrients test.
Depending on how your soil is depleted, get those amendments.*
Mow the grass, weeds, cover crop, etc., before they go to seed and leave the plant debris on the soil.
Add amendments and compost on top.
Cover with sheet mulch or landscape fabric.
If sheet-mulched, water the ground daily and you can plant in 1–2 weeks. If using occultation, wait 4–6 weeks.
Remove landscape fabric if occulting, and consider using a broadfork on your beds before planting.

*A note about certain amendments: Compost has a modest amount of nitrogen, but if you are depleted in nitrogen, compost won’t offer enough. My approach would be to get some clean animal manure (with no antibiotics, hormones, worm treatment, etc., present) and lay that on top as an amendment. Additionally, depending on how low you are in nitrogen, I would also take a season off to grow some legume cover crops to fix nitrogen into the soil (then you can do occultation on your cover crop). If you are depleted in phosphorous or potassium, then compost should do the trick! If you lack calcium (which is common), I suggest oyster shell or gypsum. Lime can help bring your pH back to neutral if you are too acidic. If you lack in micro-nutrients, I recommend Azomite, which is volcanic rock dust!
Now, using a broadfork is not considered tillage. It is merely a transitional tool to full on no-till farming. A broadfork has several long tines that you can sink into your soil if it’s really compact, and gently pull back to pop up the ground a bit. There is no turning over, no slicing or dicing. It is merely a tool to get more air pockets into your soil as you enter onto your no-till journey. I will add that a broadfork is not even completely necessary if you have harder compact soil, but it can help!
maintaining your no-till flower farming method
So, what’s next after you’ve started with no-till flower farming and have all your beds freshly planted out? How do you maintain this no-till method?
If you are intensively farming, the absolute best thing you can do is this:

Once a crop is finished yielding, cut it at its base right at or below soil level, leaving the roots in the ground. Take the top material to your compost pile. Sprinkle compost on top of the bed and more calcium if you were low, and then plant again! Plant your new baby transplants right next to the old root mass from the previous plants. The established microbiota from the old roots will travel to your new plants' roots giving them the edge to grow bigger and stronger!
If you are not ready to plant your bed with a new succession right away, you can do occultation again. Cut the plants at their base, leaving the roots in the soil again. If your top material is not diseased, you can leave it on top of your soil. Crush it up a little bit and add your compost and calcium. Then cover with landscape fabric and let that all decompose before you lift off the fabric and can plant again 4–6 weeks later!
Through sheet mulching and/or occultation, we allow the soil-dwelling organisms to naturally incorporate additions on top of the soil when given a little time and moisture. No-till farming is all about looking generations ahead and improving the land. It is a marathon, not a sprint. Through using these methods, time and time again, the soil organic matter will begin to build up beautifully—and your farm will reward you.
For further information on no-till growing, check out the amazing farms that I’ve learned from: Singing Frogs Farm in Sebastopol, California, as well as Bare Mountain Farm in Shedd, Oregon. Additionally, the notillgrowers.com site has excellent posts as well as a podcast featuring many other no-till growers called the No-till Market Garden podcast.
Happy no-till growing!