How to Use Soil Blockers for Better Seed Starting and Sowing
You might be wondering what is a soil blocker (also called a soil block maker). If you haven’t used one before, or are curious how they can simplify your flower farming practices, this article is for you!
What are Soil Blockers?
Soil blockers are British-designed tools used for creating cubes of compost to plant your seeds in. They come in two sizes:
Small, which generates 20 cubes (1.5cm/just over half an inch square)
Large (5cm/nearly 2 inches square), which creates four cubes
Soil block makers can also be used to start cuttings. And the larger soil blockers come with two inserts—one to create dimples for seed sowing and cuttings and the other to make a cube space to fit your smaller block.
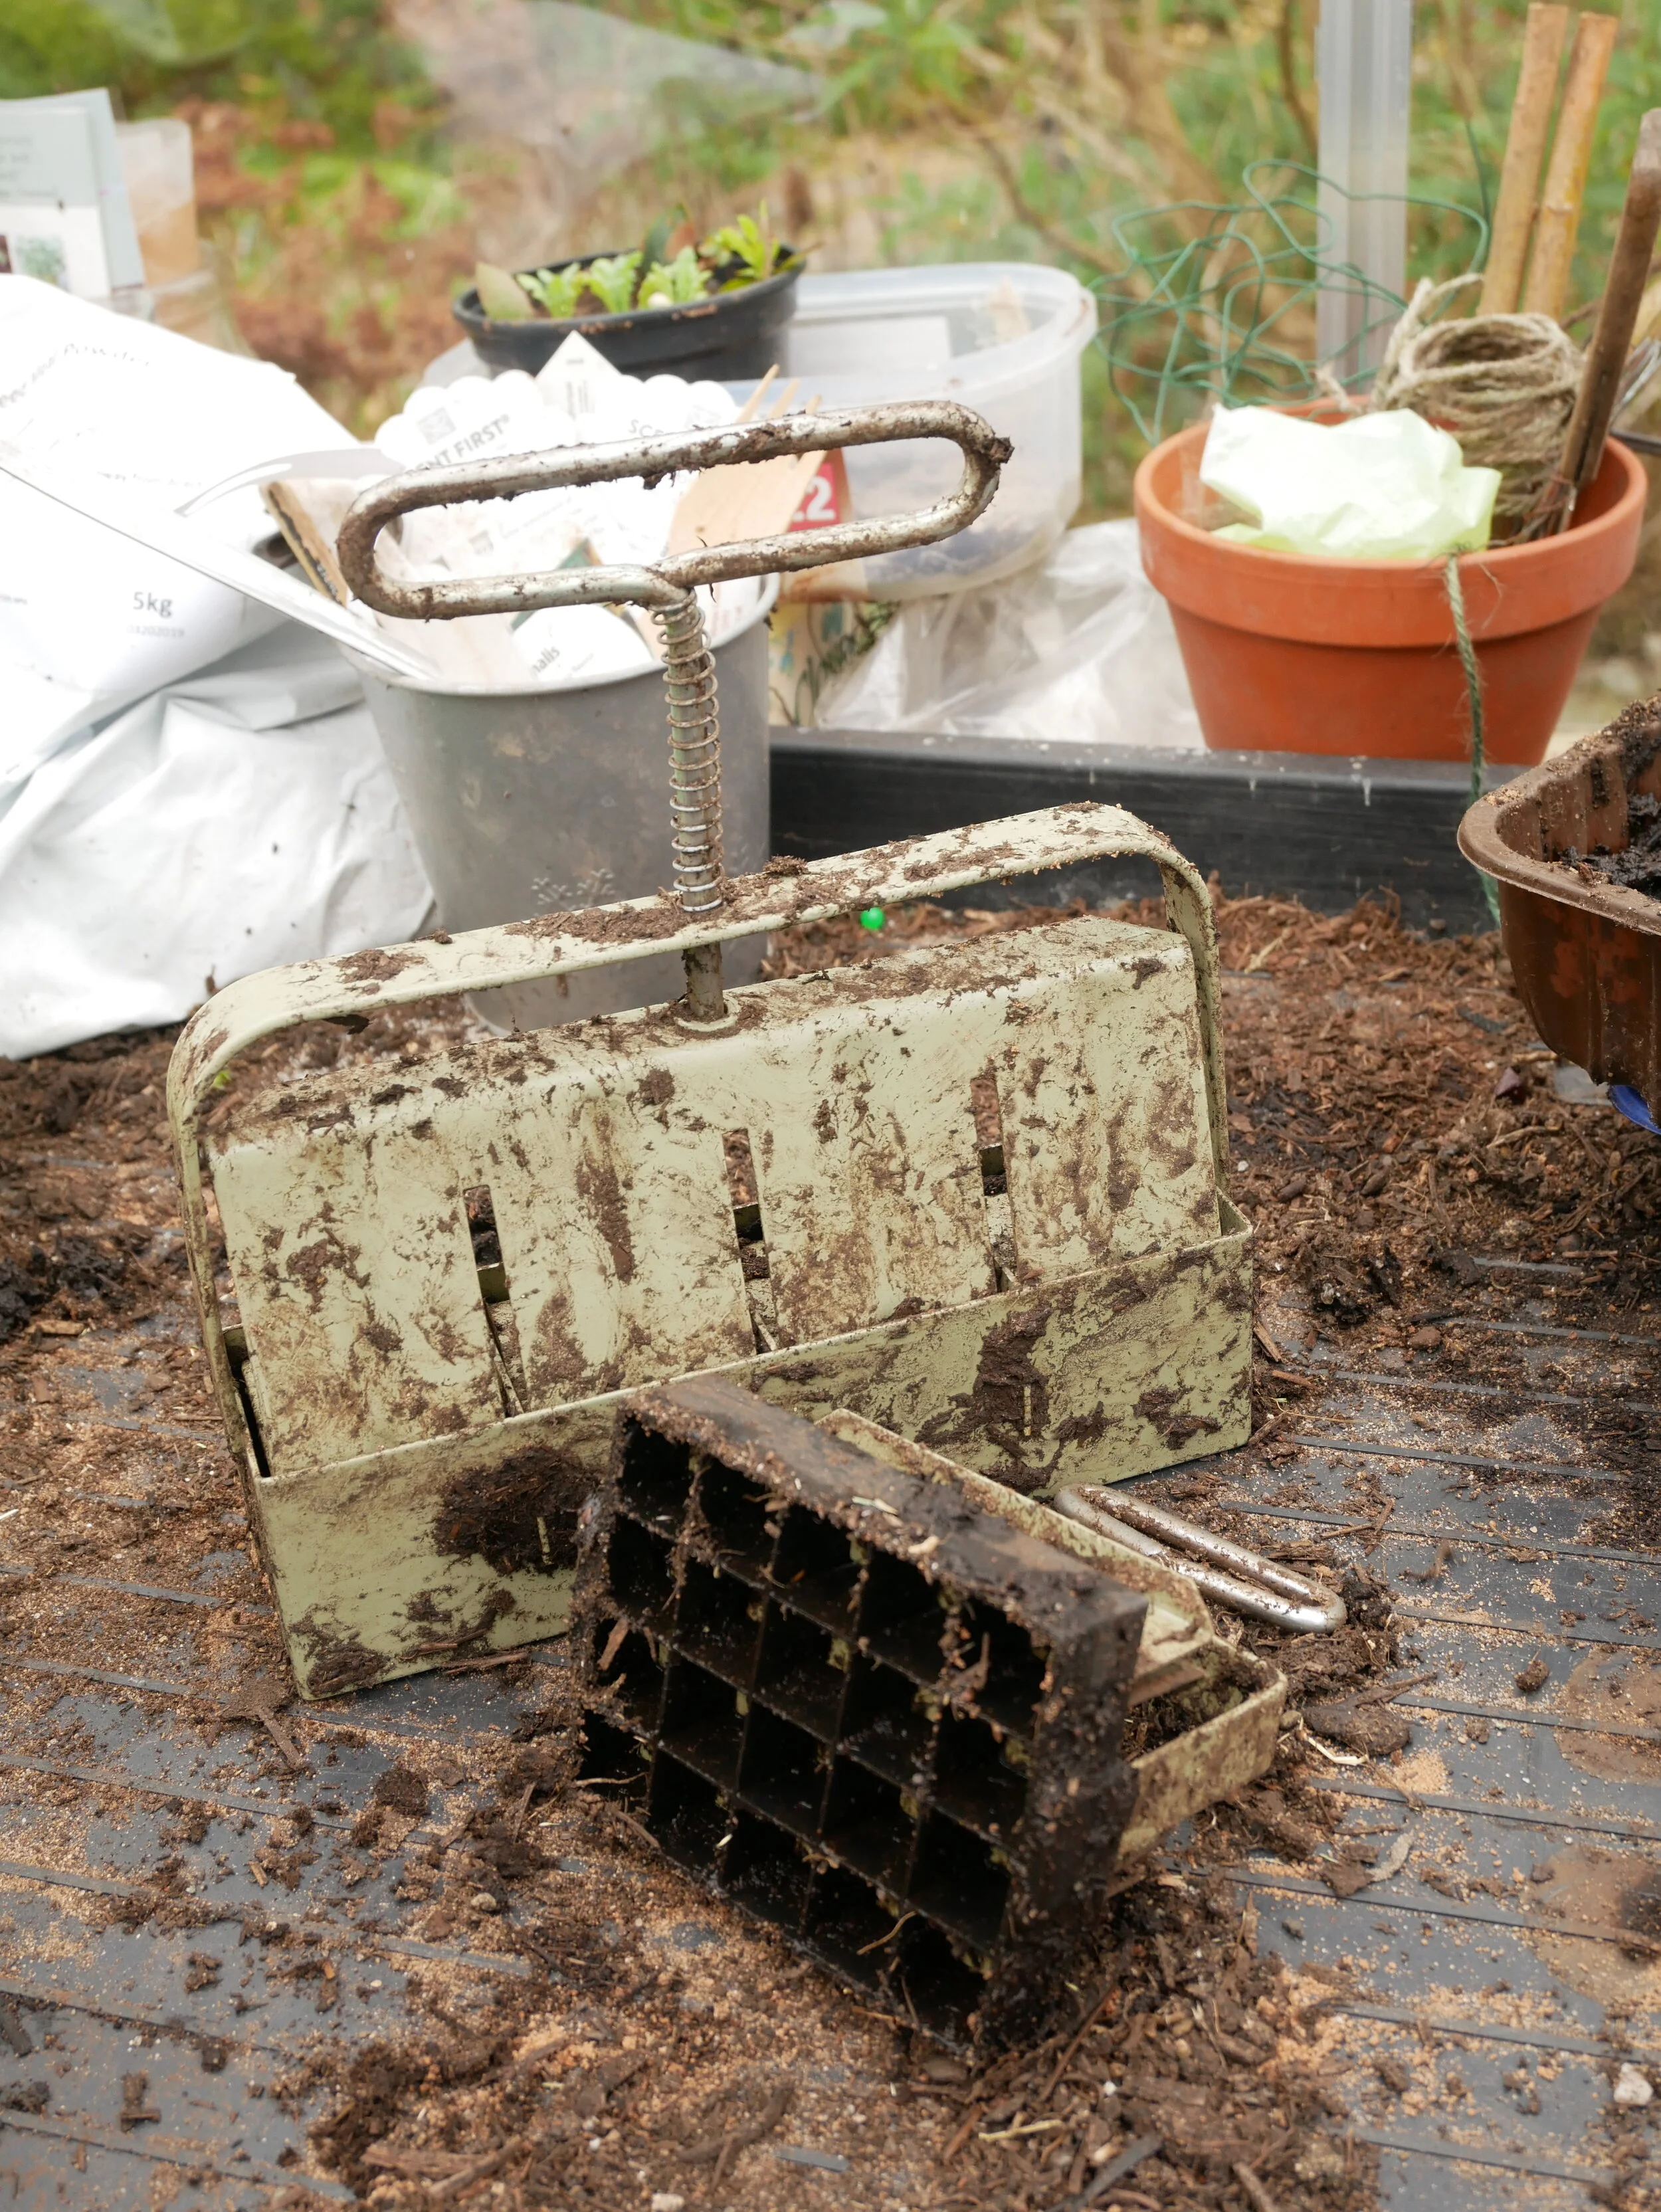
soil blocker tools used for seed starting
Why Use Soil Blockers?
Soil blockers have personally improved my seed-growing efficiency and given me greater control over sowing. Using blockers, you can:
Determine the germination rate of each variety of seed
Grow several varieties in one tray, rather than one type per tray
Know exactly how many seeds you have sown—because one seed goes in each block.
I find a soil blocker limits the temptation to sow a whole packet into a tray, which means using soil block makers helps seed go further—and the plants are healthier because they are not overcrowded.

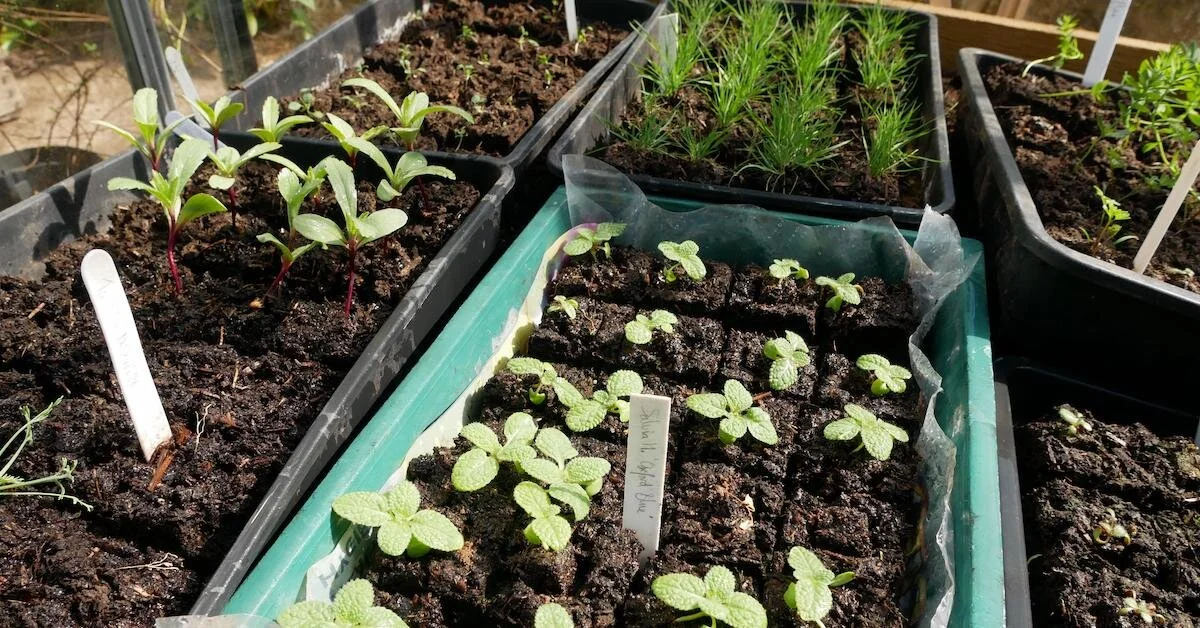
Seeds started using Soil Blockers
Benefits of Soil Block makers:
Wastes less seed—you know exactly how many germinate and how many you have sown
Uses less compost—you don’t need to fill a full tray
Saves space in your propagation area. In a half tray (21cm x 16cm/8in x 6in), you can fit 20 seeds of 4 varieties—instead of one tray having one variety. Alternatively, 8 sets of 20 blocks can fit in a large tray (21cm x 34cm/8in x 13in). Rectangular trays fit together better in the greenhouse than pots.
Saves time and plastic—no potting up, no need to buy lots of fragile plastic pots
Supplies you’ll need to Start Seeds with a Soil Blocker:
A watertight tray for mixing the compost
Soil blockers (both sizes—small and large)
Compost (I use the Dalefoot peat-free seed mix because it is local to me)
Rubber waterproof gloves
Tap water (not water from a water butt, as it can contribute to seedlings damping off)
Seeds
Sand or gravel
Watertight trays to sow your seeds into (or ones with drainage holes and a gravel tray to stand them in). Old margarine tubs with lids and mushroom trays from the supermarket also make good seed trays.
Cloche lids for your trays (or plastic bags)
A spray bottle for misting
Notes on Using Compost With Your Soil Blocker:
It is important to use a compost that retains moisture well. Use seed compost for smaller blocks and normal compost for bigger blocks and blocking up. Seaweed moisture retention granules are available to add to your compost mix, but I couldn’t decide whether they made any difference when I experimented with them.
The locally-made compost I use (Dalefoot) is made from bracken and sheep wool, which retains moisture a lot better than some of the coir-based composts I have tried in the past.

Prepare your seed starting tray
How to Use Your Soil Blocker
Prepare the trays that you want to sow into with a layer of sand in the bottom (about a cm/half an inch thick). This helps maintain moisture and stops seedlings from drying out.
Put your gloves on and mix up some compost with water in the watertight tray. It should be not too wet, but when you squeeze a handful, some water will run out.
The traditional soil blocker method is to press your blocker into your compost, but I have found the compost rarely stays in when you lift the blocker. I load the blocker up by hand, being sure to squish compost into all the corners of the cubes.
Now that your blocker is full of compost, turn it back the right way up and hold it over the tray where you want the blocks to go. Using the small blocks and a half seed tray (21cm x 16cm/8in x 6in), you can fit the blocker four times if you’re careful.
Depress the handle and release the 20 little blocks. I find it easier at this stage to carry on with the gloves and the compost and fill the tray with as many blocks as you need.
This is where the gloves really come into their own, as when you take your gloves off to handle the seeds, your hands are still warm, clean, and dry.

soil-blocked seed starting tray
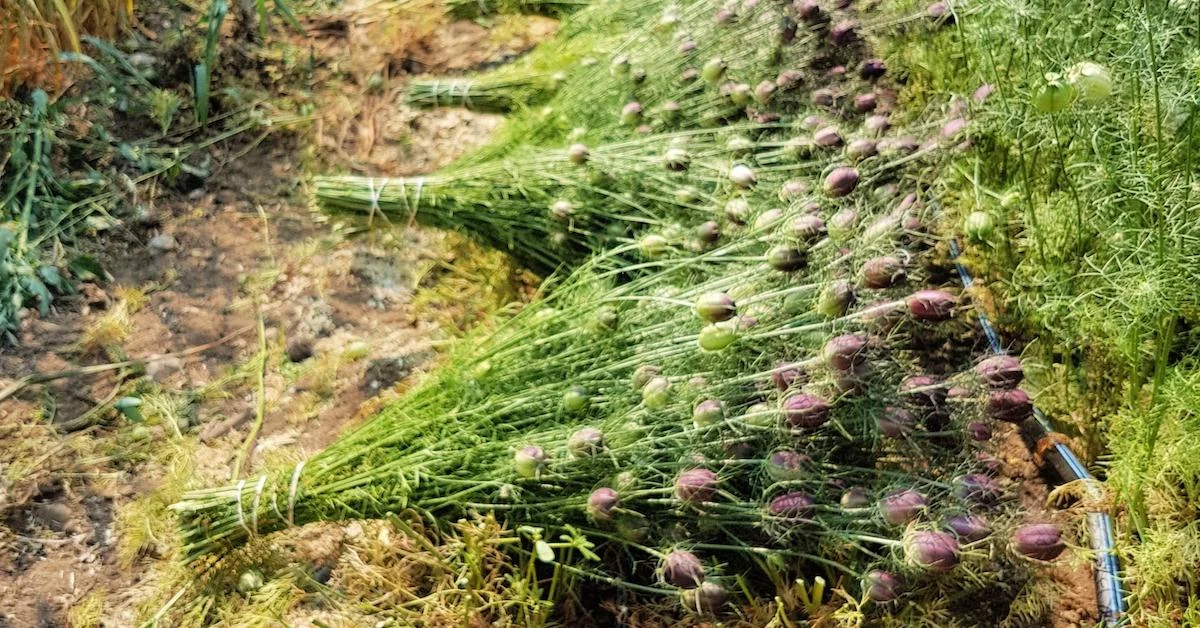
Use small blocks for small seeds and use the larger blocks for the bigger seeds, such as Scabious Stellata or Cerinthe. The method is the same for both sizes.

adding seed to seed-starting blocks
Sowing the Seeds into the Soil Blocks
Once the blocks are ready, take your gloves off and start planting the seeds.
It’s essential to get one seed per block. This is really tricky with the finer seed, so here is a tip that I find works with all but the finest grass, such as Fibre Optic Grass (Agrostis Nebulosa) which I sow in a tiny clump.
Place your seed on a teaspoon (I use an old ice cream sundae spoon that I had for excavating post holes when I was an archaeologist). Bet a seed label and push the seeds off the end of the spoon onto the block. With some of the seeds—if you touch the end of the seed label to the compost and then touch a seed—the slight dampness will pick up the seed and then you can wipe it into your soil block. You can see each soil block has a tiny dimple in the centre ready to receive the seed.
Check the instructions on the seed packet. If the instructions are to surface sow, do that. Otherwise, cover with a little bit of compost (use the spoon technique again) mist with a spray bottle and cover with a piece of the card if they are to germinate in the dark. Finally, cover with a cloche lid or tuck into a plastic bag to stop them from drying out.
Seed Care
Place your seed trays in a place that will receive the necessary light according to the instructions on the seed packets. Check every day that they are not drying out, mist accordingly, and wait!

prepared soil blocks
Blocking up
When your seeds have germinated, you will need to “block them up” (like potting up/on). Use the same technique detailed earlier; mix your compost up, using a normal compost this time. Create your larger blocks, and drop them into a watertight tray filled with a thin layer of sand or gravel.
Next, pick up the small blocks with the germinated seeds growing in them and place them individually into the square in the large block. Mist them. You can leave any that have yet to germinate in the original tray. This method is excellent because you can grow on the seeds that have germinated without disturbing the rest.

How to block up your seeds

Blocking up seed starts
Finally, let them grow on and harden off as normal before planting out.
Happy soil blocking!