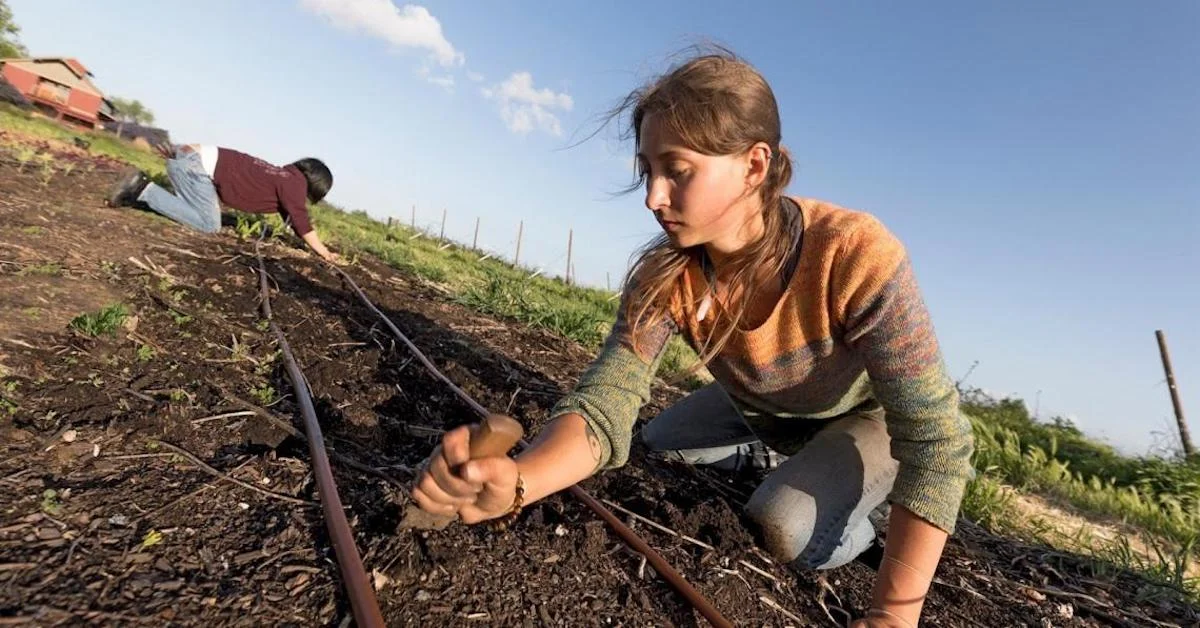
In this centerpiece video, Kelly makes a unique arrangement using a forest floor as inspiration. Watch as she pulls together unique mechanics to design an idea you can use in your next ceremony. Learn how to become a florist and take floral design classes online with Team Flower. Here you can even learn tips on flower gardening for beginners. We'll show you how to do flower arrangements in flower arranging videos.
Transcript
Up next, we have a really fun long table centerpiece display that we're going to work on together. I've partially constructed and deconstructed part of it. So we're going to go back through, and I'll show you kind of how to get up and to this point. And then, we'll keep finishing it out.
So what we have here, in terms of supplies, this is from Lowe's hardware. We have got a piece of siding that they use on homes. And what I did, it had a lip on one side. And I took the-- I think it was 12 or 14 or so feet in length-- and I cut it in half and put them end to end so that I would have a lip on both sides.
And I just used some packing tape to make them together-- to put them together, so I have kind of like a little tray, which is great because it makes it a little bit sturdier, you know, for lifting and things like that. But it's perfect for this type of project. The width on it is really nice.
We are working on, this is going to be a six-foot long runner. It's going on an eight-foot table. And whenever I get it on site to install, for Amy, we're going to put just a few more little pieces of moss on the sides. And then, I have just one more candle like this that's going to kind of sit and fill in the area on that last little bit.
So that's what we've got. It's sitting in. Then, I have some oasis foam. And it's just a simple-- it's not a fancy kind or anything. It's just a simple brick of oasis.
And what I did was I cut it. I just made little notches. And I cut it the whole way down in thirds that'll be nice and flat.
And once I did that, and this is kind of what it looks like once it's cut, just nice and narrow there, I took some Oasis waterproof tape. And I have gone down the entire length of it. And I just have everything taped in there to keep it from sliding one way or another. I think that's a really important thing to keep kind of everything in check.
If you wanted to, you could use some Oasis glue. But I just really don't like glue. But some people don't mind it. I seem to get it all over myself so I avoid it.
But you can use this tape instead if you'd like. And then, just with a couple of the leftover pieces of Oasis, I've made-- you can see here-- a little bit of-- a little bit of a level, or just a rise-- a rise here to make it a little bit taller. And that's so that my moss kind of can go up and down throughout the course of the display. So I just have one here and here and one here.
I have three different types of ferns. And I just left some space in between my Oasis. I sort of kind of laid everything out before. And then, I just left some space as I took them out of their pots. And I'm kind of, like, just temporarily potting them in there between the pieces of Oasis, and I've got three here.
And then, the other thing is these candles. And I just press them down into the Oasis so that they kind of had just like a little-- a little bit of sturdiness there. Then, it's going to get covered in with some moss and we'll adjust whenever it's in its final position, just to make sure everything's upright and in good shape.
So those are the supplies that we're working with. And I have this beautiful sheet moss, some local sheet moss. Since it is local-- it came out of the woods-- I put it in some water just to hydrate it.
And then, I also wanted to get the critters out. So that helped me get the critters. I just put it on a towel, squished it out, and then just kind of pressed through to make sure that I didn't have anything in there that I was carrying along that I didn't want to have with me.
So that's where we stand with that. We're going to go ahead, and I'm just going to layer some of this moss in here so you can see what that looks like. I'm using some pieces of wire. And this is, I think this is about a 20-gauge wire. You could use, I think, anywhere between 18 and 24 probably would be fine for this.
But I just made these little pins. And as I put the moss in, I just pin it into the Oasis. So the Oasis has several different purposes in this arrangement.
One is to give a little bit of different levels. Another is to have a place where we can pin in to secure the moss without using glue. And then, I'm going to be adding some fresh flowers to this. And I wanted to have a water source for those.
So I'm really just right now going to focus on the edges. And again, when it's in its final position on site, I'm going to go through and maybe just kind of, like, make this a little bit more irregular down the sides. But I want to leave some of that Oasis exposed right now so that I can see where to layer my fresh flowers in.
And that's the next step. So you can see over here, I had some umbrella fern that I just took apart. And I have that sort of spread throughout.
And then a little bit of this hydrangea. I'm going to add some more hydrangea, a little bit of seeded eucalyptus to get things started here. And then, we're going to kind of build up from there.
I love this hydrangea because it can go large scale. I have another project for this event that is very big. And these transition nicely from very big things to very small things.
You can see here, it has these sweet little berries and things you could pull this off, and this could become a part of a boutonniere or a corsage. It's also great to cut here in this area. And you can use this in a centerpiece, kind of to frame out the bottom of a centerpiece container or something like that. You can use it for what we're doing right now, or you can cut just each little piece off from the sides and kind of start popping those in like your seeing here.
I just love the lacy, romantic texture that this adds. This bride wanted to have a woodsy event. Her husband is very outdoorsy, but she's very romantic and elegant. And so we're sort of marrying the two together in this arrangement.
Probably not going to find hydrangea on the forest floor. But it does like shade or just in a beautiful garden. And you could easily find this type of plant growing in a garden where the moss and ferns and everything are.
Umbrella ferns are one of my favorite things to have on hand if bright greens are being used in an event. Because, again, like the hydrangea, it can be used in so many different ways. You can pull it apart and use it in a boutonniere. You can leave it together and have it framed, you know, a big fleurette for something that you're doing in a large scale arrangement, maybe for a church or something like that.
Now, with the seeded eucalyptus, we're just going to use really mainly the berries from it. But the leaves do kind of nod to this fern over here. There's a little bit of similarities there. So I might move on just a few of those.
The goal with this is some texture. This is a very textural piece with all the different-- there's actually several different-- I don't know if you can see them, the detail, in the camera-- but there are several different types of moss within this. And that's one of the beautiful things about having something that's fresh and local is you get this variation between the browns, the yellows, the greens, something that I really love.
You can get moss in cases from wholesalers. Generally, that's not a real tough thing to find. Price wise, it will differ, depending on where you're getting it from and all that kind of thing. But I think it's about between $36 and $40, when I've checked on it. So that kind of gives you a little bit of perspective, in terms of material costs.
The little ferns that we're using today are from a local nursery. And I think they're about $8 each. Sometimes if you can get into Lowe's, where the piece of siding came from, sometimes you can get them in there for about maybe $4. It just depends what you're looking for and what you'd like to have for your design.
The candles that we're using today are a birch bark unscented candle from Jamali Garden. And I just purchased two sets of those for this project. I'm going to go ahead and just loop this around. And just like I would an ordinary centerpiece or I could switch sides of the tables, except you're there, and I need to stay out of-- I need to stay out of your way. I just want to make sure I'm not overworking one section of the arrangement.
The next ingredient we're going to add is called Pennsylvania Knotweed, something that as the name would suggest is a weed that you can find oftentimes. It looks very similar-- although I'm told it's not, you know, the same thing-- it looks very, very similar to me to Kiss Me Over the Garden Gate, which is something that you can get wholesale different times throughout the year. So very big, another one of those ingredients that can go very big or very small.
With this, I'm going to start playing a little bit with height then start jumping up and out and creating a skyline for my table. The next time that you're in a city, you should kind of take notice of all of the buildings and the outline that they make up against the sky. And when you arrange, you can kind of-- you can think in a similar way. You're putting all the different buildings together.
And just like when you're doing a compote arrangement, you want to create a little bit of depth. In this table runner, as well, just be thinking of having it come in, go out. Most of these that I have right now are sort of centered. So with my next little round, I'm going to focus on adding that dimension, that depth.
The next ingredient we're going to add in are just some slightly pink roses. I didn't want this part of the reception-- this is going on the head table-- I didn't want it to look so, wow, this isn't something we're probably going to find on the forest floor. I didn't want it to look so different from the rest of the reception.
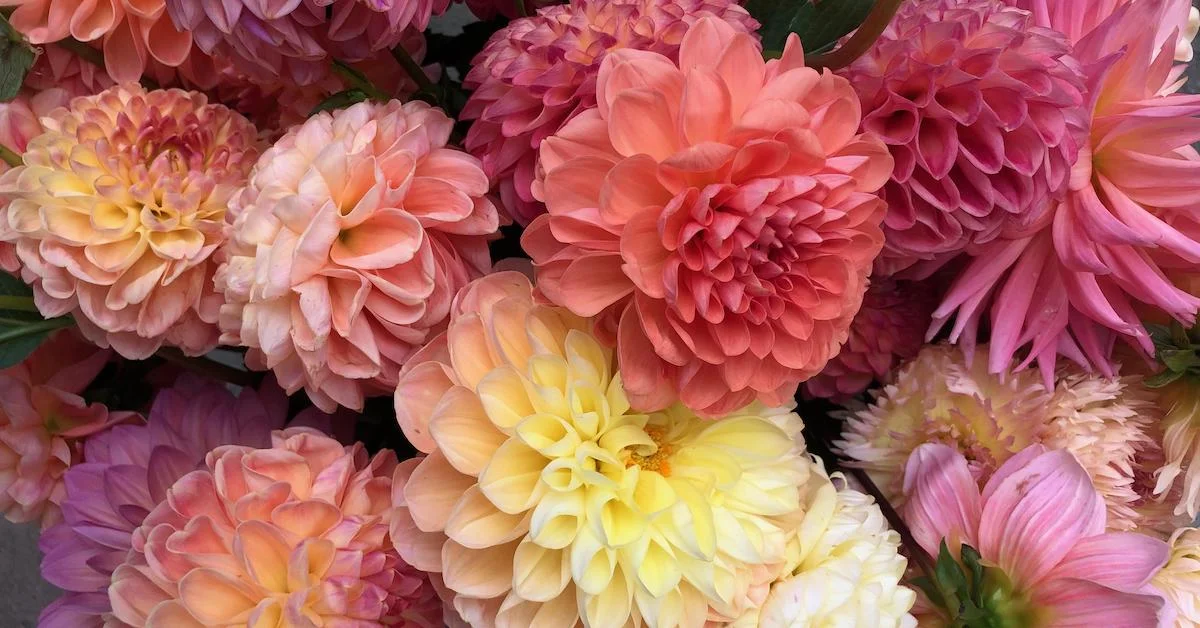
She loved the lushful arrangements, so they're full of, you know, dahlias and roses and things like that. So I do want to incorporate a few things to tie those spaces together. These roses I'm using to create little lines that help the eye travel through the arrangement. Let's see if I can do this upside down here.
So I'm thinking about the size of the roses a little bit. I don't want to-- it's kind of nice to move from big medium to small if you can. It just creates just a little bit of a more gentle progression for your eye. And now, I'm going to set my biggest point. And I'm going to go-- roses are going to be smaller again.
So this would be a great place to pop in a dahlia and frame-- frame it with the roses. I took just a quick little intermission so I could put a bunch of flowers in so you didn't have to watch me place every single one. So we sped that up for you a little bit.
We put it in-- we finished up the roses and made, like, little lines throughout the arrangement. And then, I went and added this white gumfrina, sort of at a medium level in the arrangement. And then, over here, I started going for my highest moment in the arrangement, which is going to be this Queen Anne's lace.
So you just want to make sure that you're not going really above your knuckles. And I'm just going to keep going with some of this Queen Anne's. And then, we're going to add in some dahlias.
I think, if you wanted this to be a really light airy design, I would stop here and perhaps, even, maybe not use the roses. But, like I said, I want this to coordinate with the rest of what's happening in that room. And it's just full of really gorgeous big blooms.
So we are going to add some dahlias in here, not a ton. It's obviously more light and airy than heavy on blooms. But I do want to add in just a few.
I think I'm going to flip this around so you can see what's going on over here and also so that I don't overwork one side of the arrangement. Over here, everything looks pretty good to me, except there are some moss spots in the front that we'll fill in before we wrap up. OK, I'll finish with some dahlias.
I'm just going to take note of where my roses are. And I'm going to put one in the same neighborhood, just nice and low. This is great if you have some stems that break. I actually have kind of a funny story about these dahlias.
I don't like taking Buster whenever I pick up my flowers because he's a crazy dog. And he runs all through the car. But I just was-- I knew all the places I had to go. And I thought, oh, he'll be so sad if he was just hanging out with himself all day.
So I'll take him with me. He loves to ride in the car. So I took him with me. And my car was completely full, completely full.
And I thought, there's no way-- I just had to make one more quick stop and run in to a store. I thought there's no way he's going to crawl back in there on top of all those flowers. Well, you better believe he did. He was sitting right on top of my dahlia bucket.
But believe it or not, I only lost-- I only lost, like, two stems from the whole ordeal. And those were the first two stems that I popped in here that just had a little bit of a broken neck. But oh, man, I couldn't believe it when I came back and saw that.
Then, after that happened, I dropped an entire bucket of water went rolling underneath my seat. If that ever happens to you and lights start going off in your car-- my "check engine" light was on. The "take it to the dealership" light was on. I thought it was over.
Then, I got to the dealership. And he said, oh, ma'am-- and I'm about in tears-- he said, oh, that'll dry out. No worries.
So if that happens to you, just wipe it up real good. Take it and check. But don't panic right away like I did, because it might be all right. Ooh, it's a heavy one.
So a few more dahlias and we'll be done. People have a hard time with dahlias, how to keep them alive and looking pretty. You can do them wholesale. If you're part of the Team Flower Community, there's actually a discussion going on right now about this and some good tips and advice from some other members about how to condition them.
But I just have not-- I have not had a good experience with wholesale dahlias. So I don't-- I don't buy them to try out all of the different solutions that you can put them in. But just get them local, and they're beautiful, and they hold well.
You still do want to keep them out of the sun, of course. But it's a much easier time. All right. I think we're about done.
As always, I'll kind of take a step away and then come back and see if there's anything glaring. There might be something you see in the camera that you're like, oh, Kelly, you need to fix that. But right now, to me-- of course, I'm close up to it and I've been looking at it so much, looks good.
And these candles, I don't think are getting lit at the venue. So I'm going to leave them where they are for now. But you might want, if you're going to do this, you might want to get yourself some cylinders to pop them in so that you have them covered if you'd like to do that.
They do take one that is a little bit bigger than what you would normally get for a bouquet vase. So they don't slide down in those easy. You need to size up.
So anyway, all right, well, that's the six-- that's the six-foot forest floor table runner centerpiece. I hope you enjoyed watching it. I hope it inspires you to think outside of the container and do something fun and interesting for your next client. Thanks for watching.