7 Easy Steps to Creating a Foam-Free Living Meadow
Meagan Kristin Photography
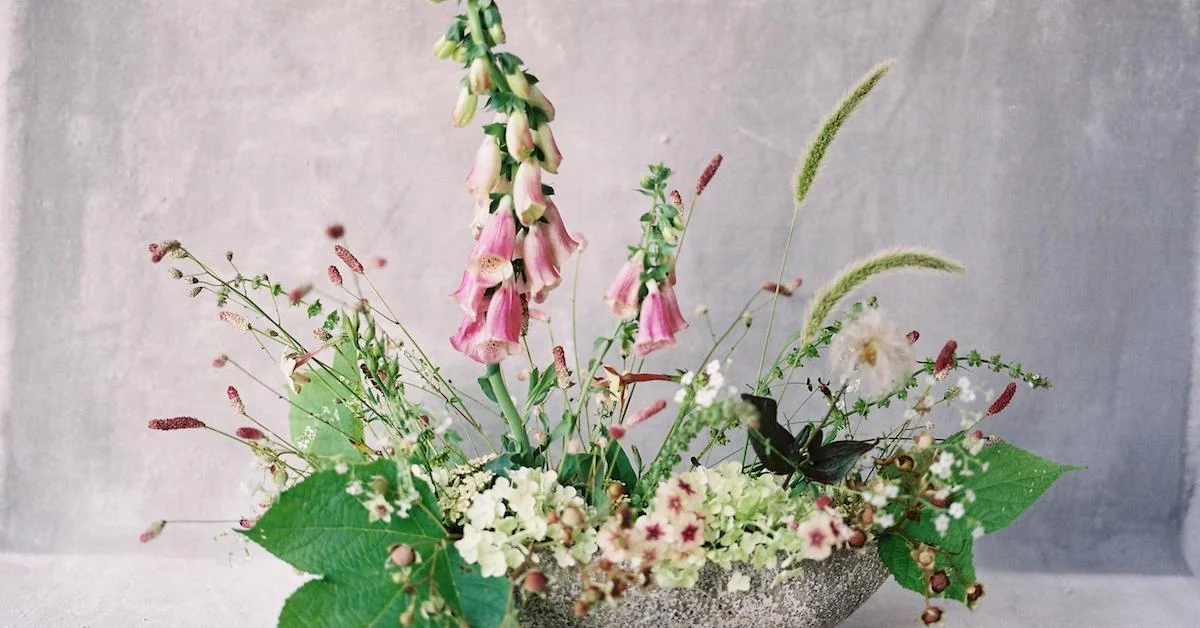
With an ever-increasing installation trend in weddings and event work, as well as the emphasis on foam-free floral designs, I was eager to figure out a way to create a ground installation, or living meadow, with foam-free mechanics that offered flexibility in multiple installation scenarios. There are so many options for foam-free installation mechanics out there, but this is the method that worked well for me. Hopefully, you will find it useful—or maybe it will provide you with a starting point for additional foam-free floral designs!
Here’s a quick overview of the steps involved, and then you can jump in for a more in-depth explanation of each! To create a foam-free living meadow installation:
Assemble your floral mechanics.
Prep your base.
Secure your wire.
Hydrate!
Begin your foam-free floral design by establishing shape.
Cover your mechanics.
To finish, add texture to your floral design.
Step 1: Assemble your floral mechanics
To create a foam-free living meadow, you will need:
12" plastic storage containers, approximately one for every 3 feet of coverage
Chicken wire (I prefer the rolls that are already 12" wide to save time, which is especially helpful on event day when time is in short supply)
Oasis waterproof tape
Wire cutters
Clippers
Heavy-duty garbage bags (if you are indoors)

Step 2: prep your base
Using your wire cutters, clip a section of chicken wire and wrap it into a roll. Place the roll into the container, making sure that the chicken wire comes up above the top of the container.

Step 3: secure your wire
Secure the chicken wire using waterproof tape. Be sure not to crush the structure of the wire—the tape is there to ensure the wire doesn't shift.

Step 4: hydrate
Fill containers with water for stability. If you are inside, place a layer of heavy-duty plastic garbage bags down first to protect the floor. If you are outside on a hard surface, such as a patio, consider adding a weight, such as a brick or a few rocks, to each container to prevent tipping in the wind.

Step 5: begin your foam-free floral design
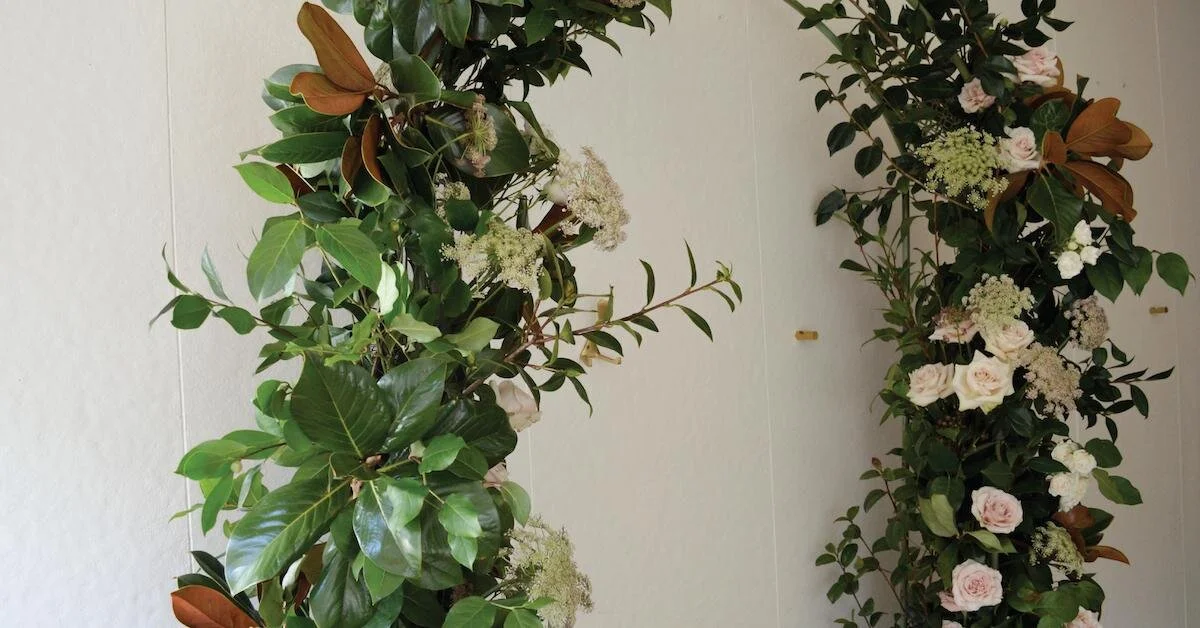
Using greenery, establish the general shape of the installation. I recommend structural greenery at this stage. Foraged tree boughs, dogwood, and huckleberry are all favorites of mine. You want to look for something that has several branches and is 24–30 inches long for optimum length.

Step 6: cover your mechanics
Fill in the structure with additional branches, making sure to cover all mechanics fully.

Step 7: add floral texture to your design
I like to add additional texture either with another greenery type—or even something floral. This is an excellent opportunity to utilize line floral or greens such as delphinium or olive.

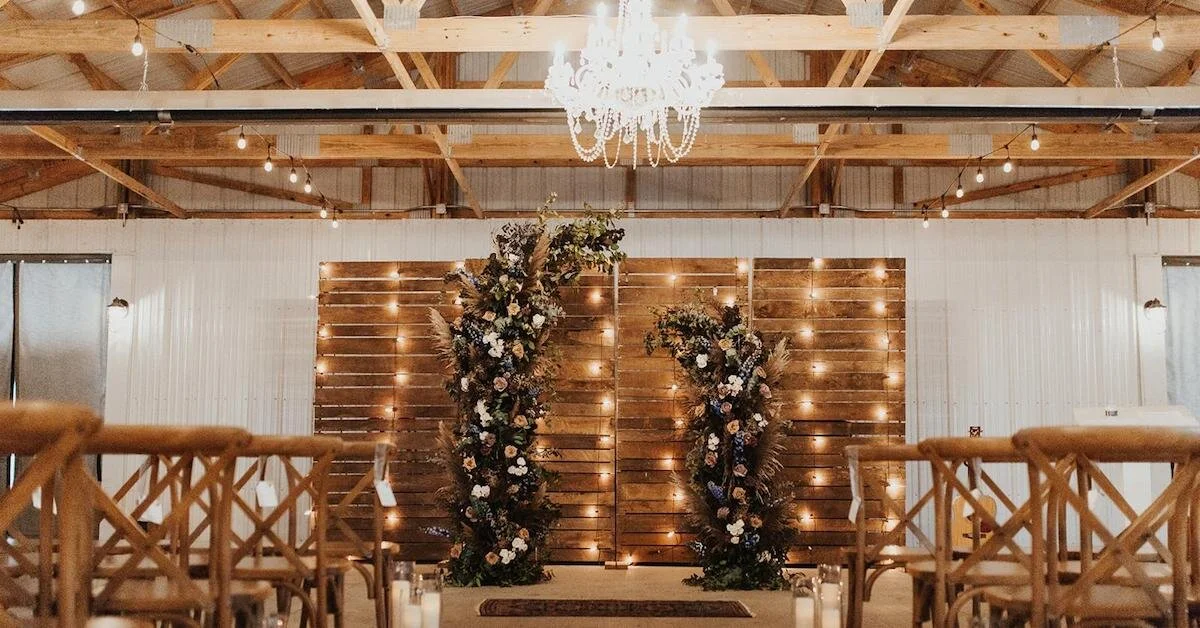
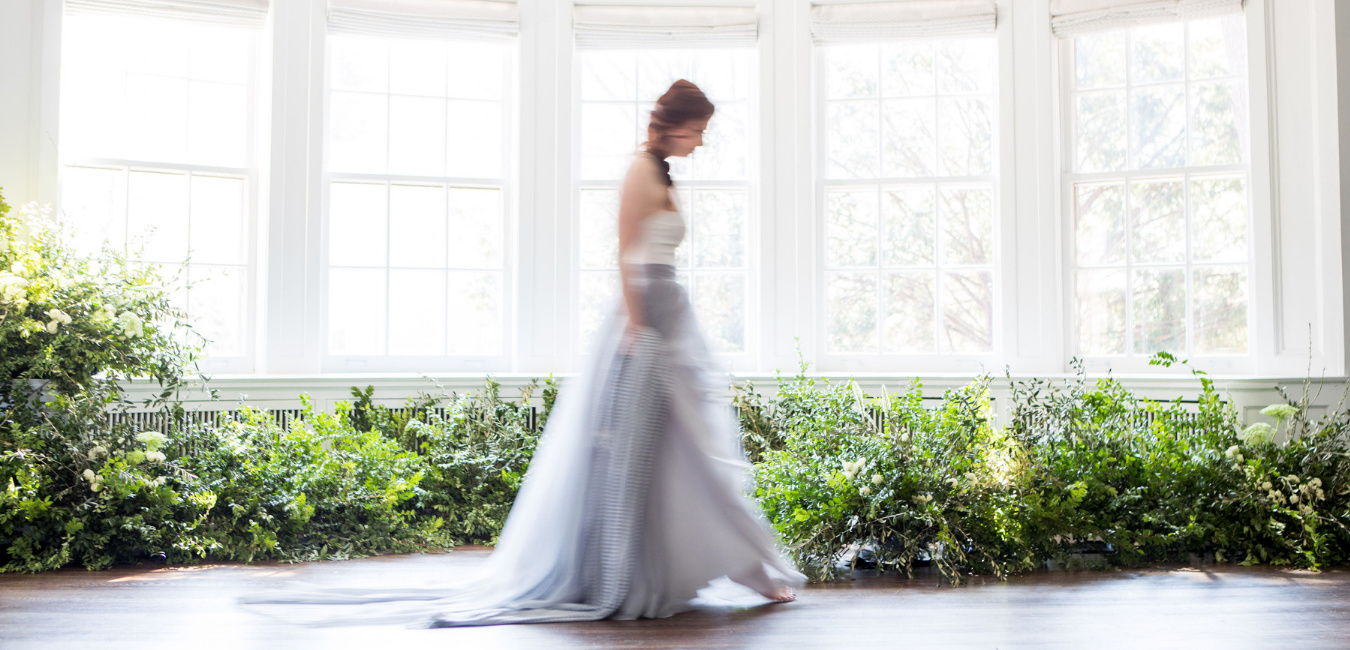
The ground installation is now complete! You can make it your own with the addition of floral elements, more greenery, or even play with the mechanic shape. What I like about using the plastic containers is that they are reusable, and since they are in sections, this same concept can be used to create over-sized aisle markers or even create a ground installation on a staircase. An additional benefit to a sectioned design: it allows for larger installations to be easily moved for re-purposing elsewhere—such as framing the dance floor. I am excited to see what you all create!

Photography by Nikole